A Space Saving Staircase For A Man Cave Loft Bedroom
By Clint Thomas
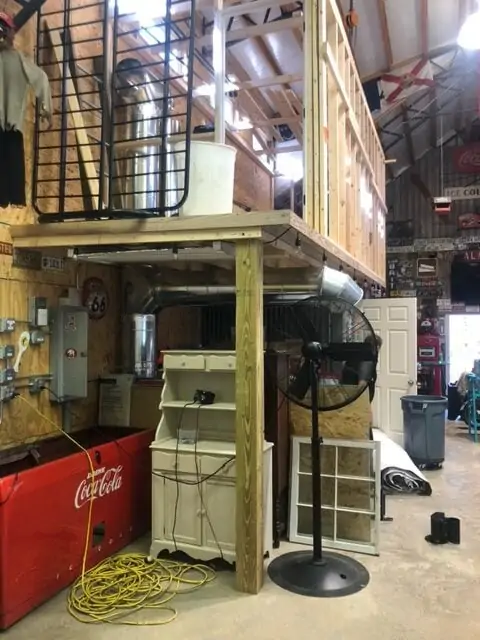
A friend of mine recently decided to utilize the space over the bathroom area in his man cave at his lake property as a loft. Since this idea was an afterthought, gaining access to the loft area posed a problem since a traditional American style staircase requires a considerable amount of floor space that he did not have to spare.
A traditional staircase is built at a slope of less than forty-five degrees and protrudes into the room reducing the useable floor space. In my friend’s situation, floor space was at a premium because the only viable location for the staircase is where he kept his workbench and other tools and a traditional American staircase would hinder his access to his workbench. Historically, in these situations many people would resort to installing some type of ladder but it’s difficult and dangerous to carry any load up a ladder.
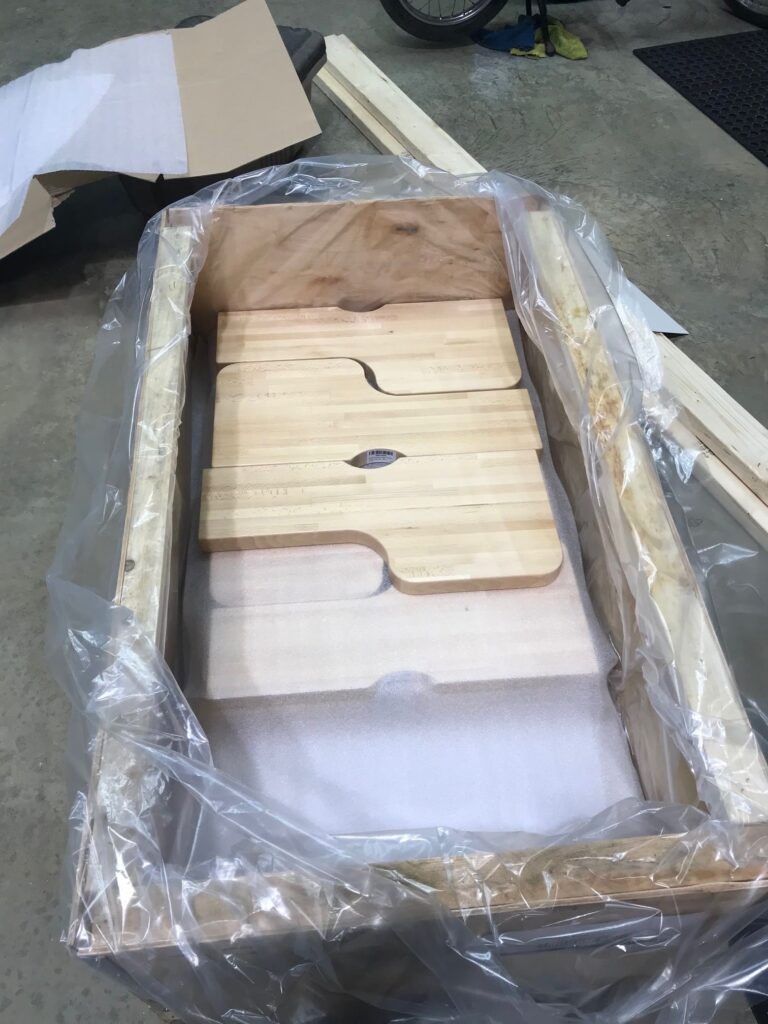
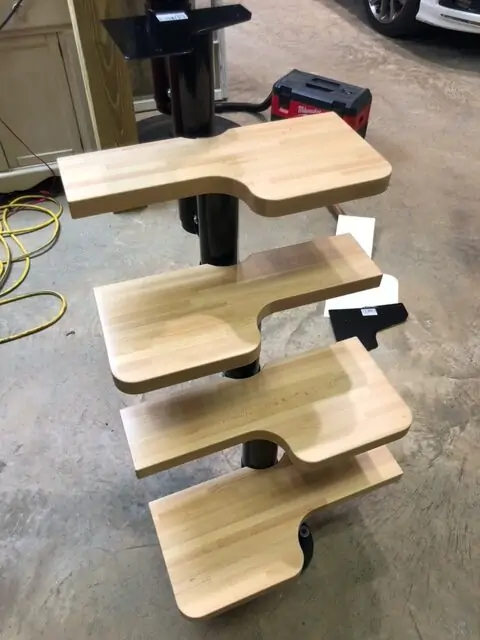
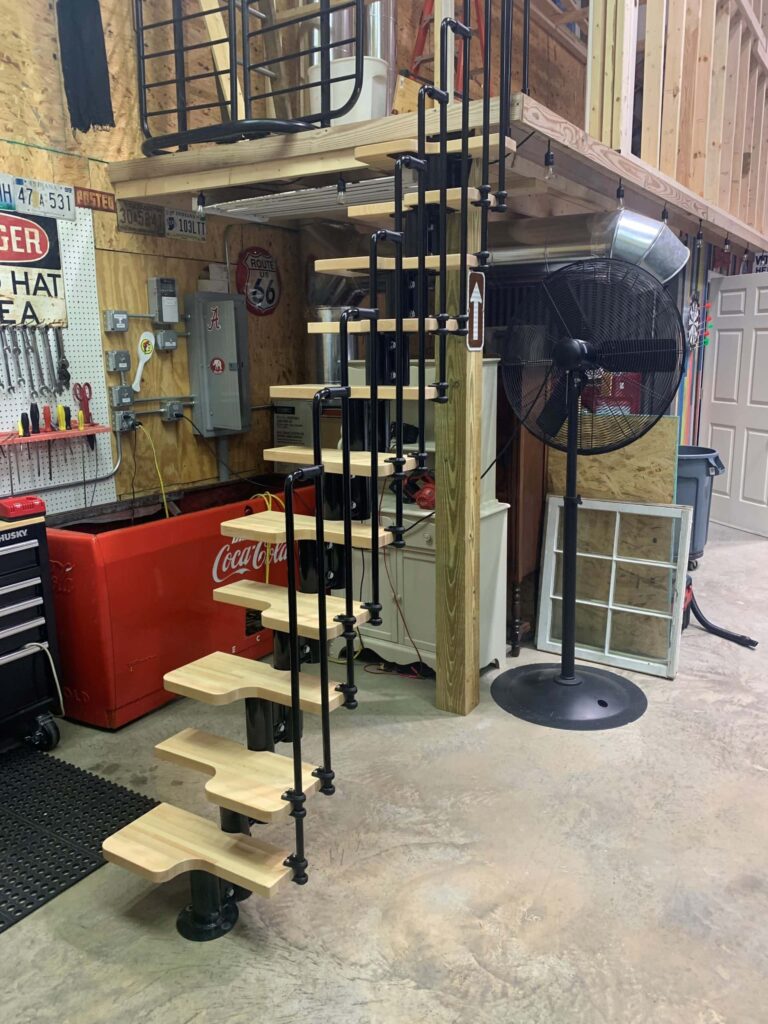
An alternative that has recently come onto the market in this county, but has already been popular overseas, is an alternating staircase. An alternating staircase is a staircase that has the treads alternating between left and right requiring the user to step with the correct foot each time. The treads resemble in appearance the top of a grammar school desk that all of us used as children with the stepping side consisting of a full tread and the Anon-stepping side being a narrow strip that is not used as a step.
The advantage of an alternating staircase is that it can be installed at an angle up to sixty-five degrees. Another advantage is that alternating stairs can be traversed facing the stairs or facing away from the stairs if the person is descending the stairs.
The primary disadvantage to alternating stairs is that they often will not meet the building code requirements of many localities. However, in rural areas that don’t have building codes (yes, there are actually parts of the United States that still don’t have building codes, such as, in parts of rural Alabama) alternating stairs are a viable alternative.
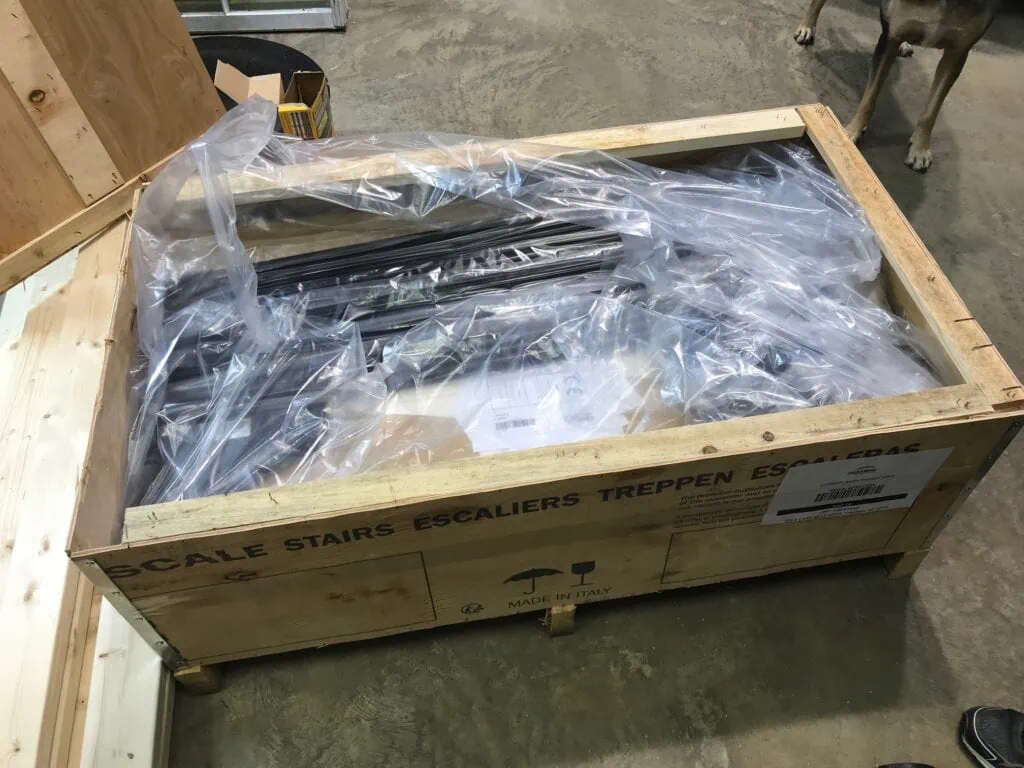
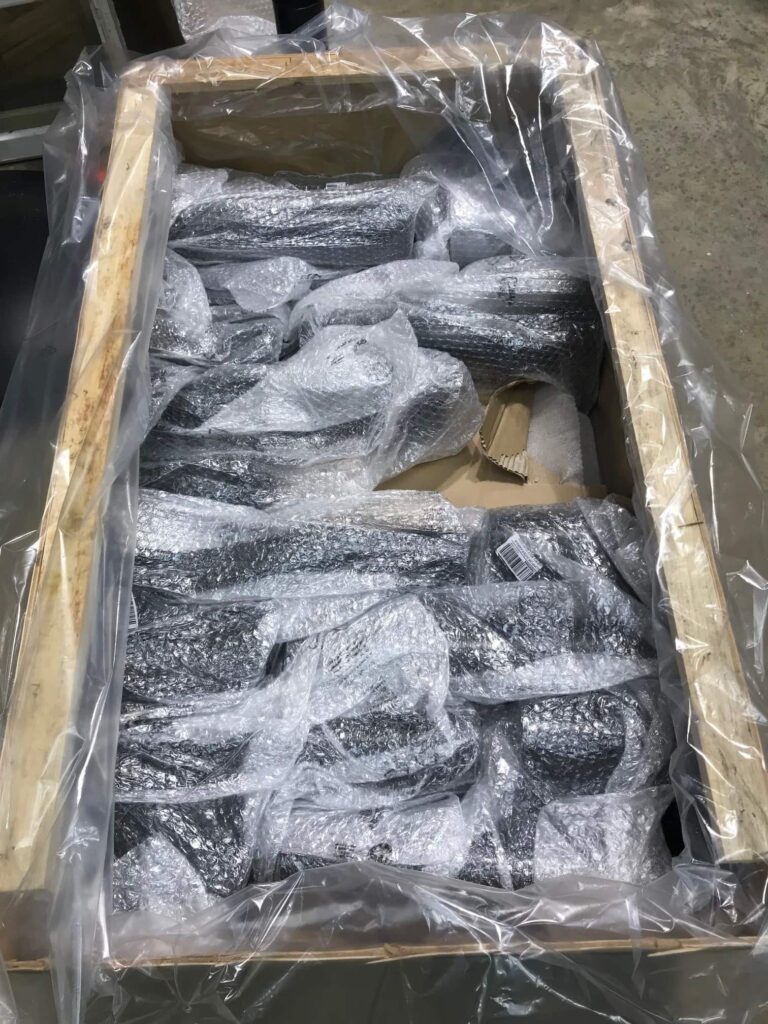
Arke` Stairs makes an easy to install set of alternating stairs. My friend, who lives in one of those non-building permit areas, purchased a Karina Modular Stair kit from Arke` Stairs to use to access his loft area. The steeper incline that this stair set allows coupled with the fact that the entire structure is supported by a single metal backbone made this the perfect choice for my friend because it required much less floor space than a traditional staircase. The kit arrived in a protective crate with all the needed components intact.
To begin the installation, he reviewed the installation manual that came with the stairs. The instructions provide a method for measuring the distance from the ground floor to the second floor and then performing some mathematical calculations to determine the rise and run for the stair set. Since my friend and I, who both told our high school geometry teachers that we’re never going to use this, are both mathematically challenged we opted to use a less technical installation method.
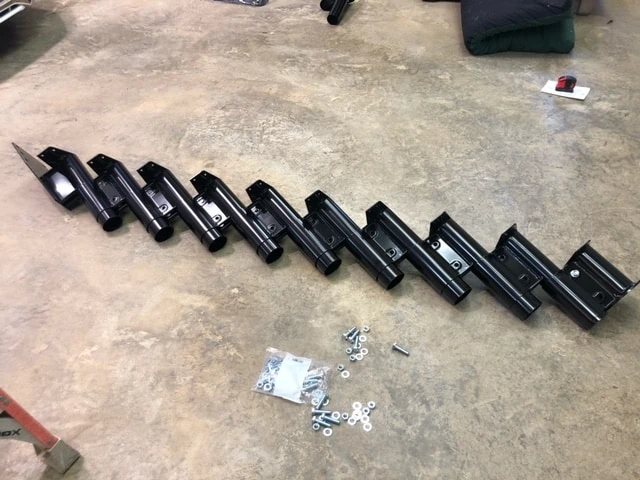
We began by laying the sections for each riser out of the floor and sliding each piece together keeping two of the sections out. This was followed by taking a measurement from the top of the stair set to the bottom to obtain a rough estimate of the height that the staircase would achieve.
A key part of this process is to assemble the stair kit so each step has the same rise as the others. It does not do to have one step that is six inches high and the next one nine inches. In fact, the standard rise for a stair-riser (step) is between five and seven inches. When we initially laid out the stair set on the ground, we adjusted each section so it would have a seven inch rise.
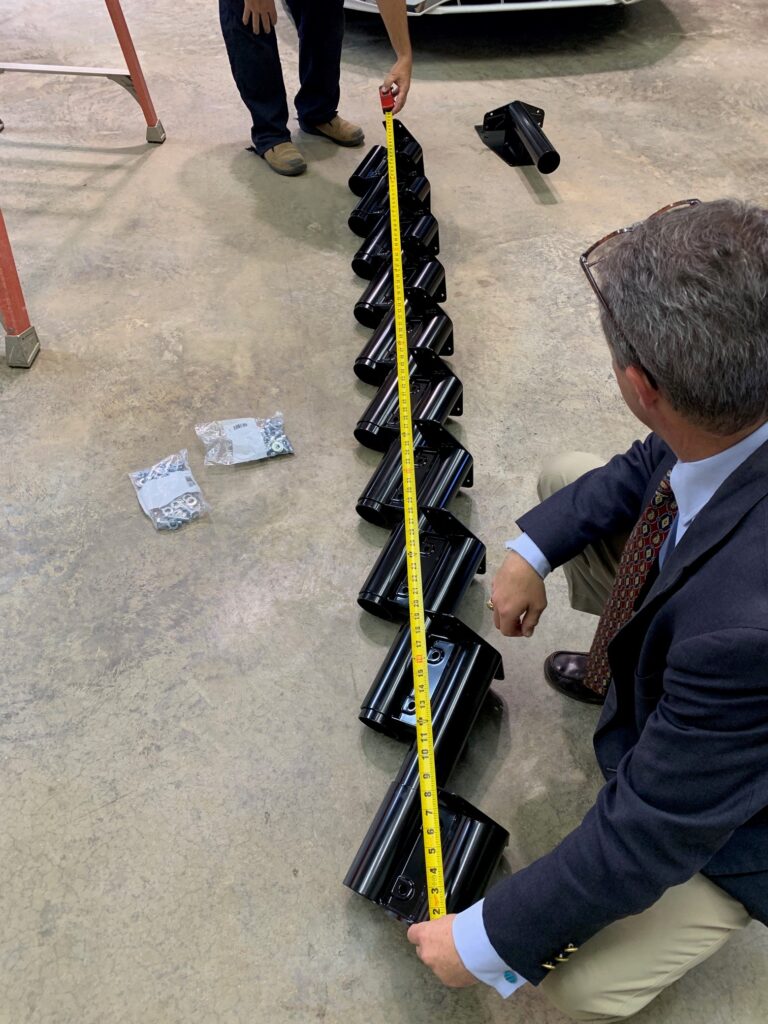
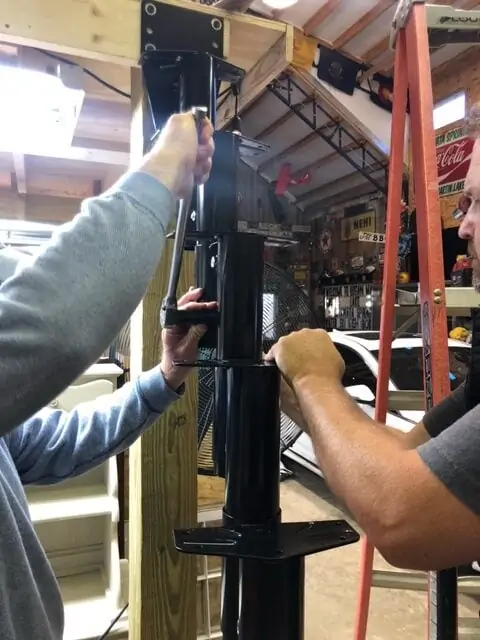
My friend then inserted a single nut and bolt set into each riser section and tightened it enough to keep the section from moving. The two of us then stood the staircase up into position to check its height. In our case, the height turned out to be too short. In order to correct this, we laid the staircase back down and added the two sections that we had held out and then repeated the process.
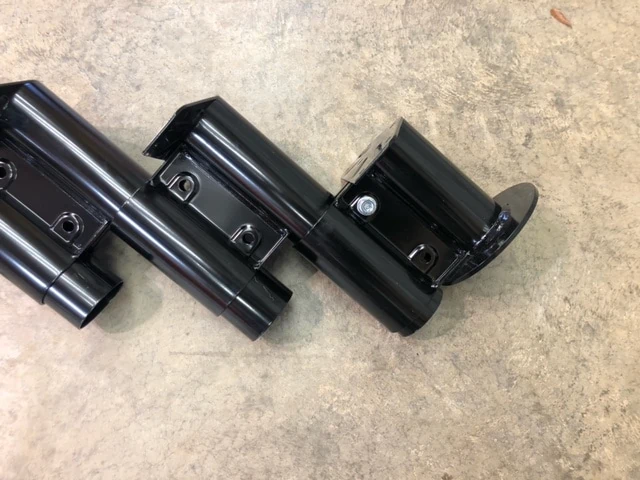
On the second attempt, the staircase was still a little over 10 inches too short. This ten inches was eliminated by counting the number of risers and dividing that number into ten which was the number of steps that we had. In our case, we had to extend each riser up another one and a quarter inches.
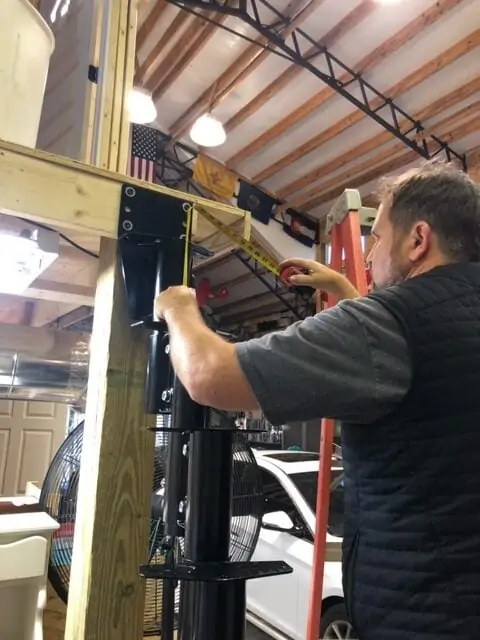
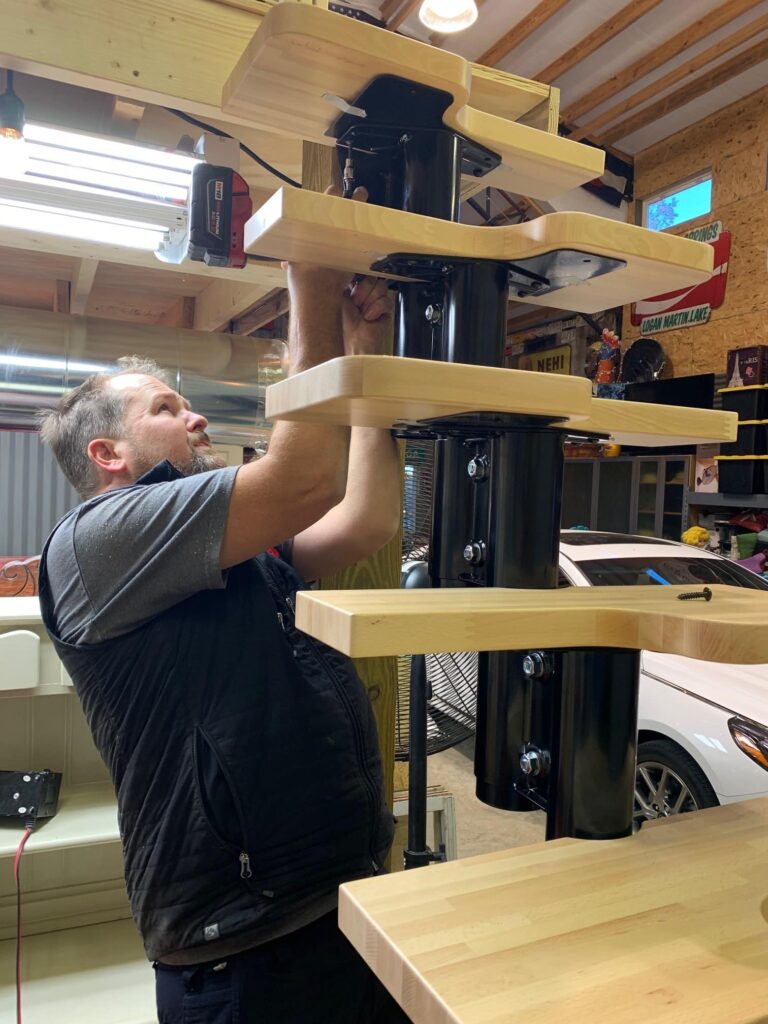
With the staircase’s backbone dry fit in place at the appropriate height, my friend was able to the secure the top plate in place using lag bolts. We then worked from the top down adjusting each step so that all of them were aligned together in a straight line. We followed this by installing the remaining (second) nut and bolt set in each riser piece and then tightening them with a breaker bar. The manufacturer strongly recommends using a torque wrench to ensure that the bolts are tight enough.
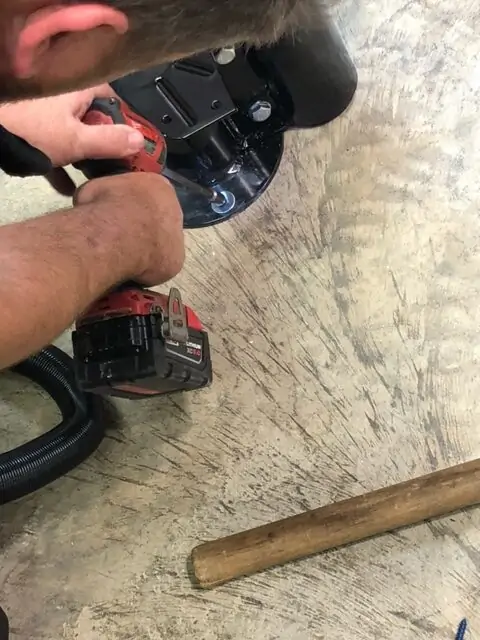
After we had secured the backbone in place at the top, aligned the stair treads and tightened each section, my friend used a hammer drill to bore two holes in the floor inside the bolt holes in the base plate of the staircase. This base plate got secured in place using Tapcons. The manufacturer provided its own factory supplied concrete fasteners but we were more accustom to using Tapcons.
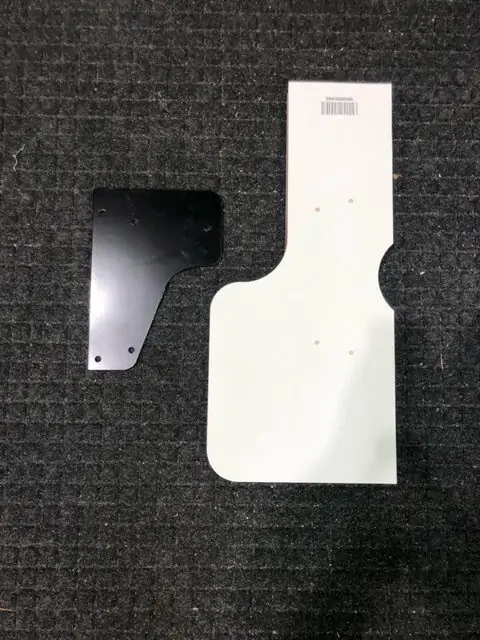
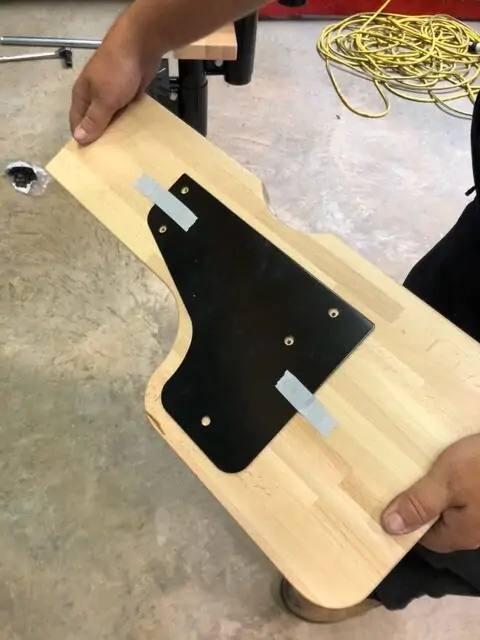
The assembly of the stair treads came next. As I explained before, the treads resemble a grammar school desk top with one wide end and one skinny end. The manufacturer did not pre-drill holes for the mounting bracket but it did provide a cardboard template that could be used to obtain the exact screw hole location. The key to this part is to ensure that you alternate the stair treads as you screw the mounting holes. We did this by laying three or four treads on the staircase at a time, pre-drilling the mounting holes and then attaching that tread in place before going to the next one.
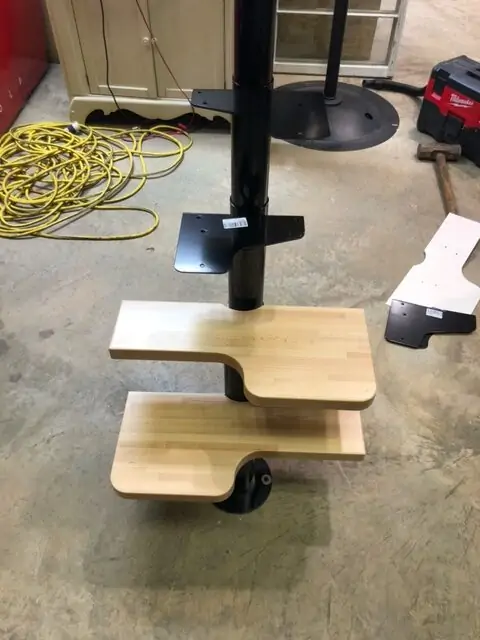
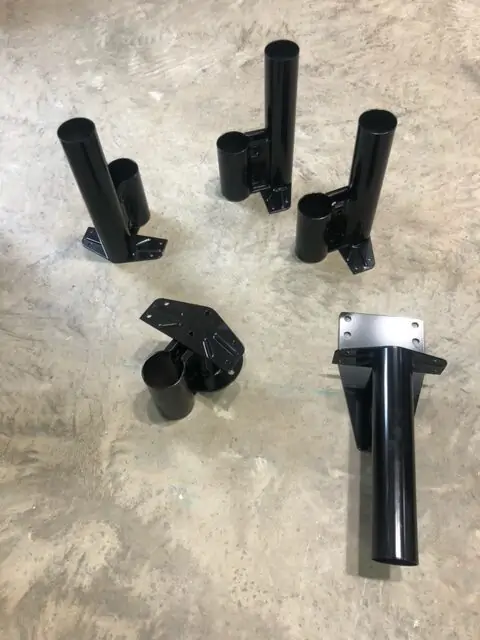
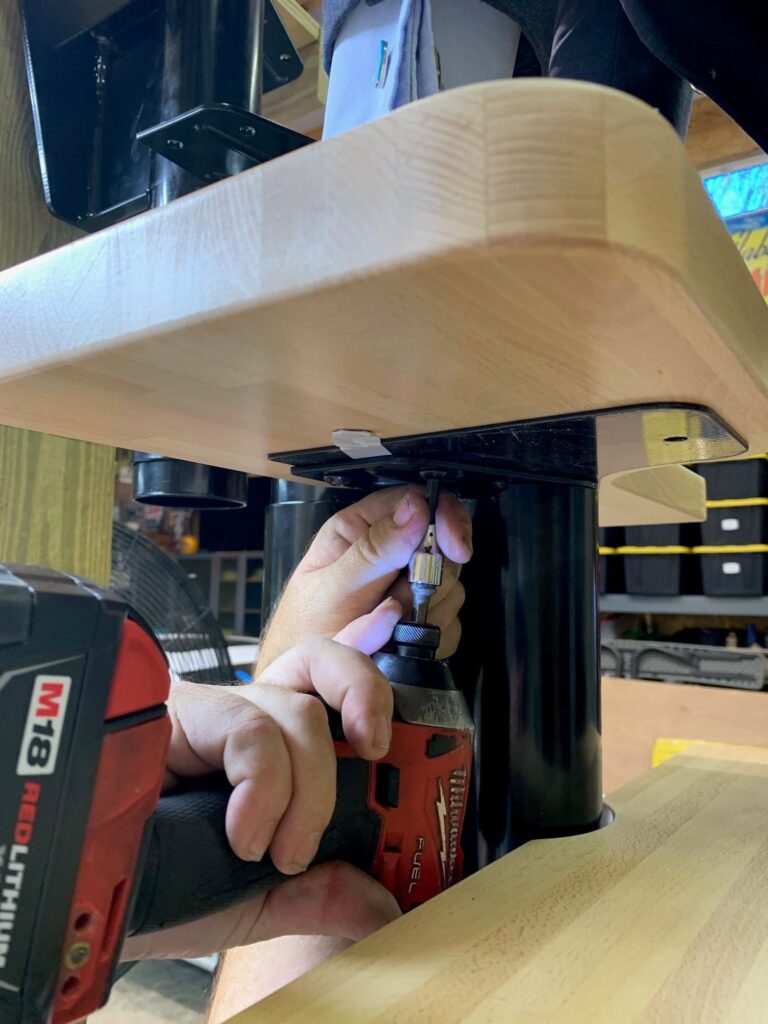
The treads are secured by being screwed through a metal mounting bracket from the bottom. Each tread rests on a metal plate which rests on top of the mounting bracket. The metal plate has as similar shape to the tread and adds stability and strength to each tread.
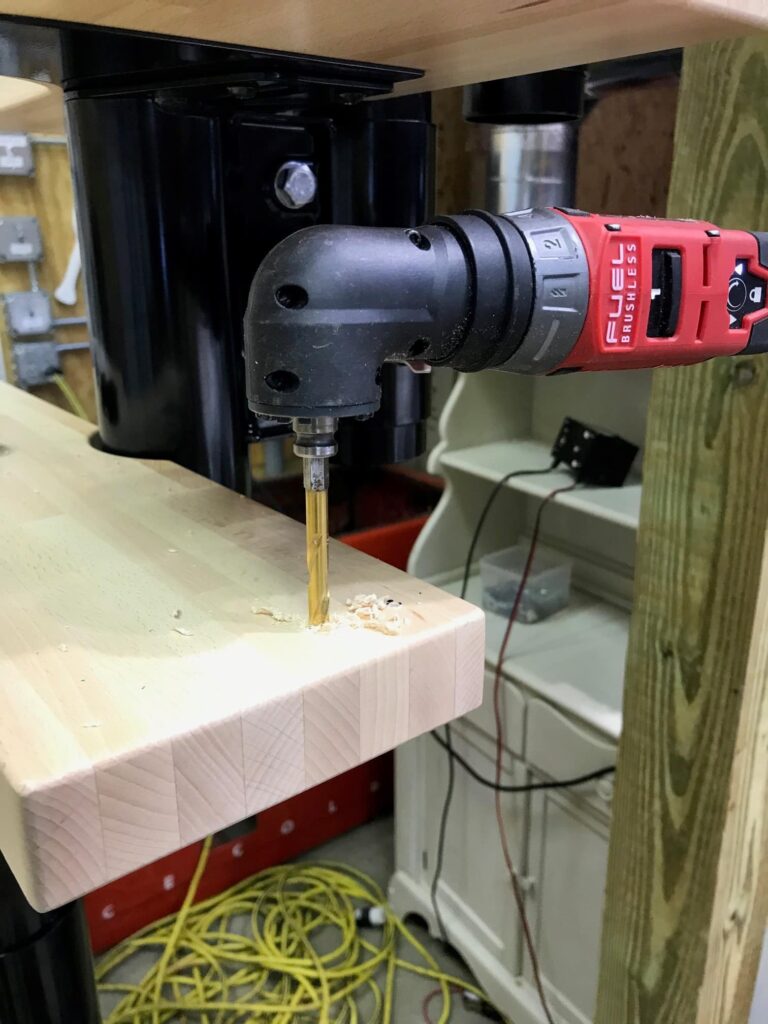
For ease of installation, my friend pre-drilled the mounting holes in the bottom of each tread and then aligned the mounting bracket with those holes. He followed this by taping the mounting bracket in place on the bottom of each tread to make it easier to get screws into the mounting holes. This process was repeated for each tread until we reached the top of the staircase.
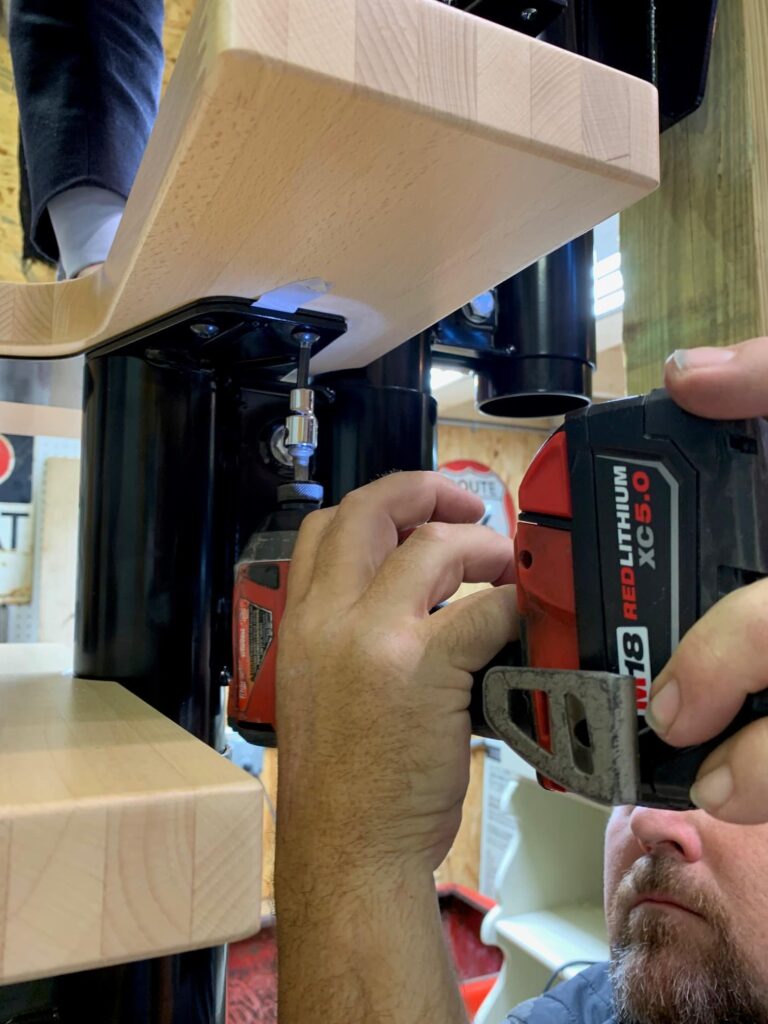

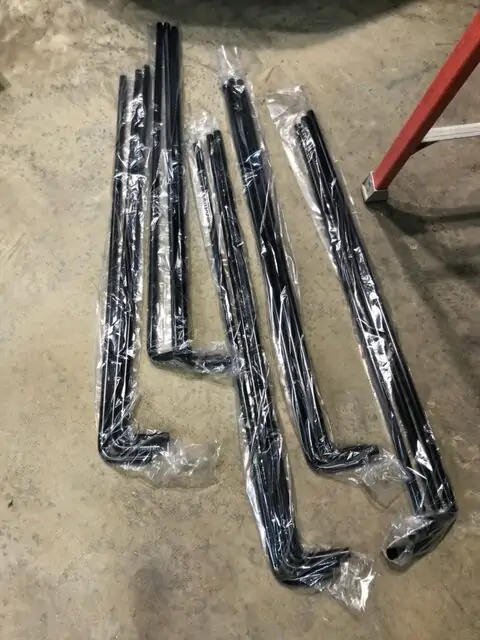
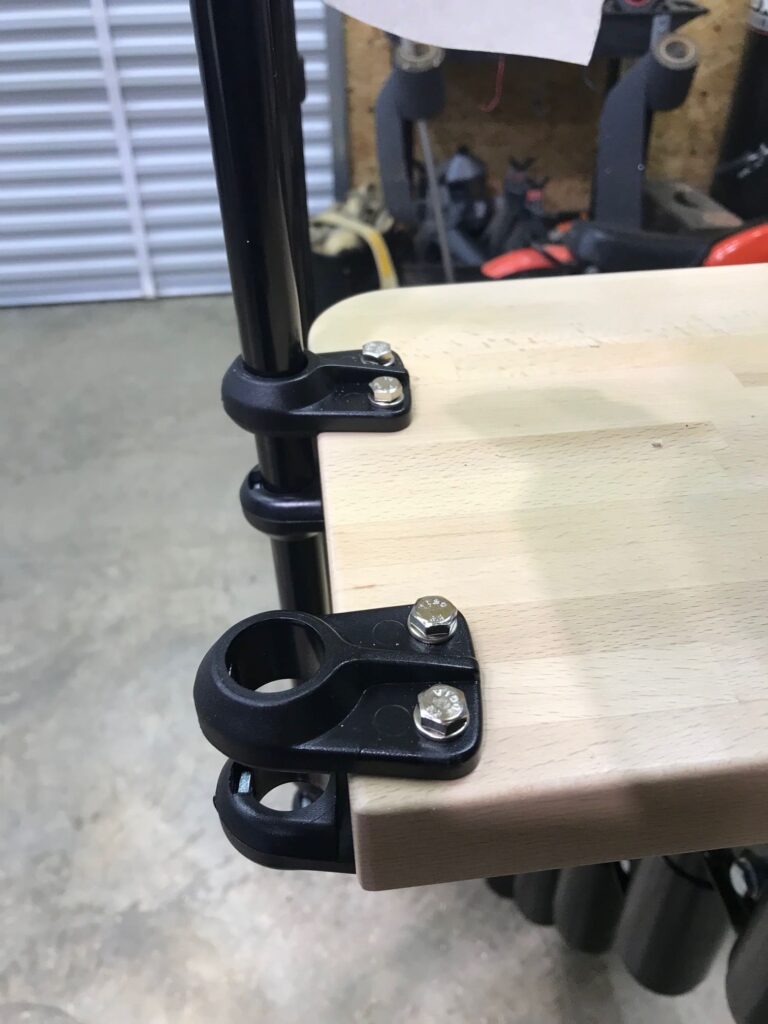
The only remaining step was to install the handrail which consists of pieces of tubular metal with a ninety-degree angle on one end. Each piece is assembled with plastic connectors which are secured in place with nuts and bolts.
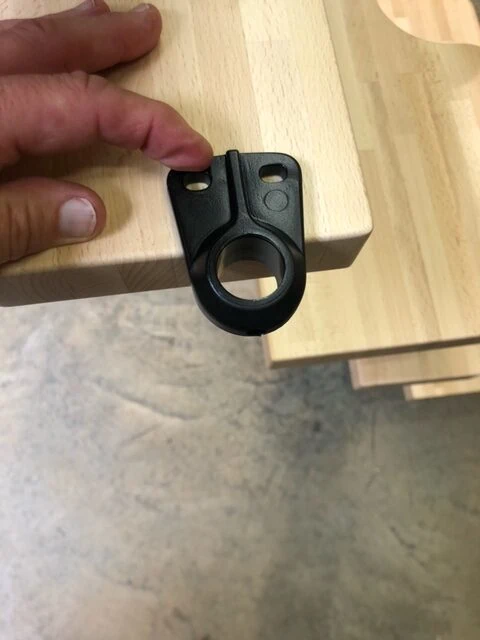
Plastic couplings are attached to the top and bottom of each tread and secured by carriage bolts that pass through the tread and both couplings. Each piece of tubular railing is then secured to the couplings with the nuts and bolts provided by the manufacture and are tightened using an Allen-head wrench.
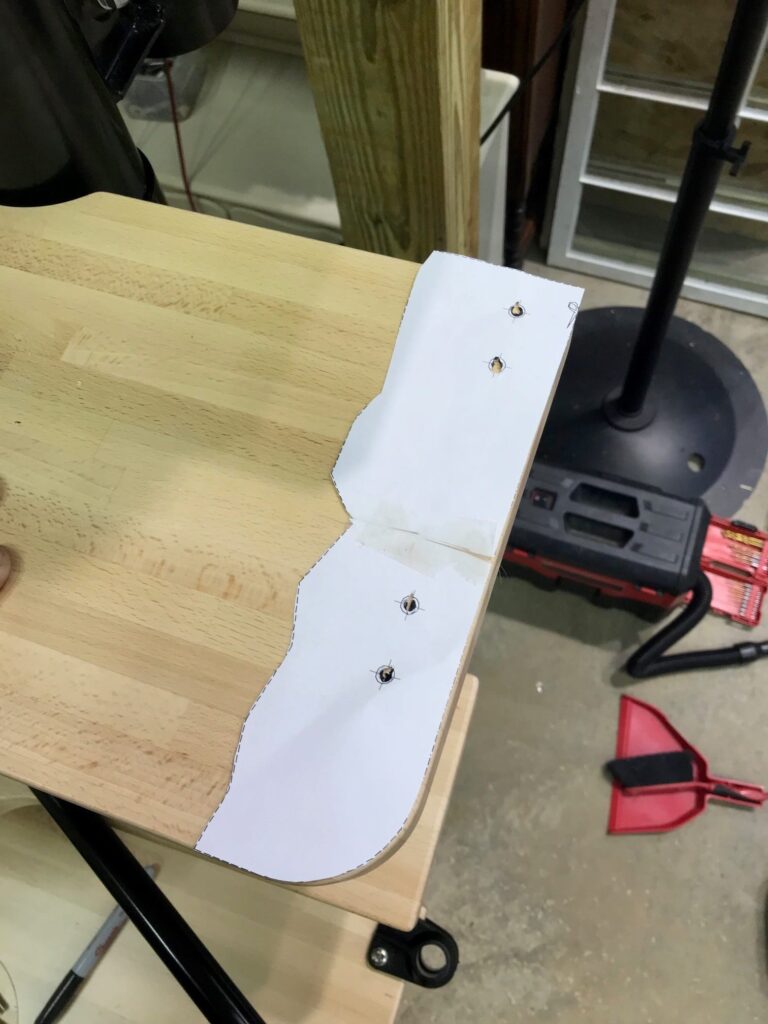
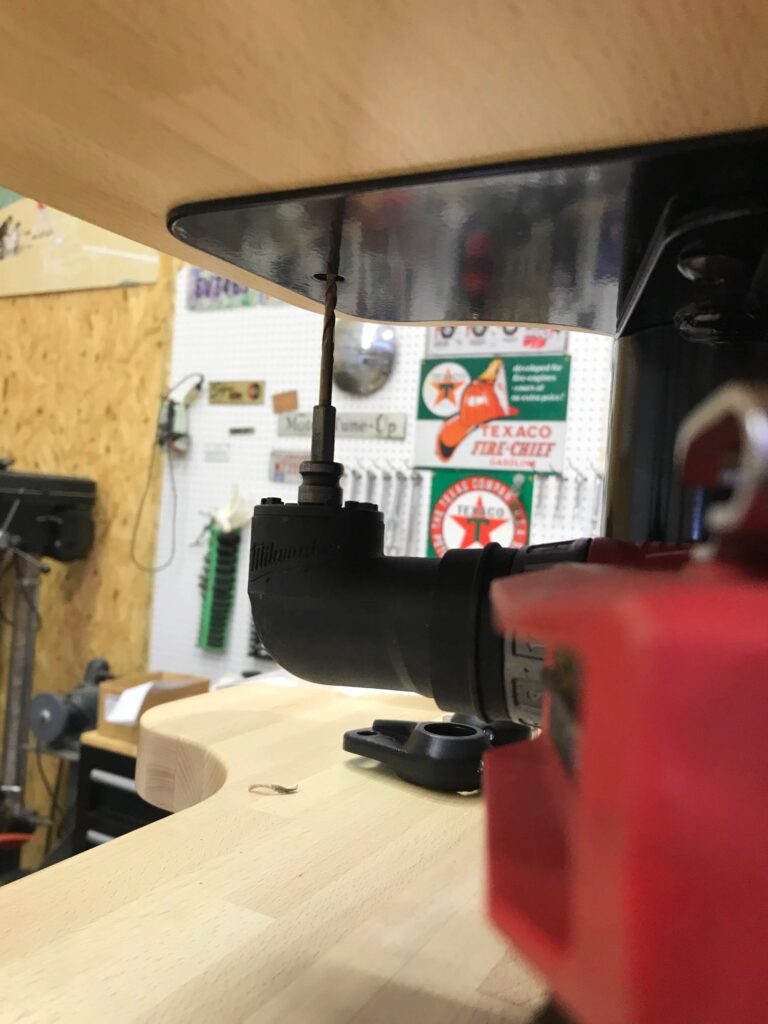
Similar to the mounting plate holes, each tread had to be drilled all of the way through the tread since they did not come pre-drilled. A paper template is provided in the installation manual that can be cut out and placed on each tread to mark the location of the screw holes.
A short piece of tubular metal will have to be cut off of a longer piece to go between the bottom step and the floor. This short piece is held in place by drilling into the concrete floor with a hammer drill and attaching the mounting cap to the floor with either a Tapcon or the plastic anchor and screw that are provided with the staircase kit.
The installation of this alternating staircase kit took two men the better part of a day and only a minimal set of tools and did not require any expert knowhow. If the building code in your area allows for the utilization of a non-typical staircase, and when space is at a premium, an alternating staircase might just be the answer to your dilemma.
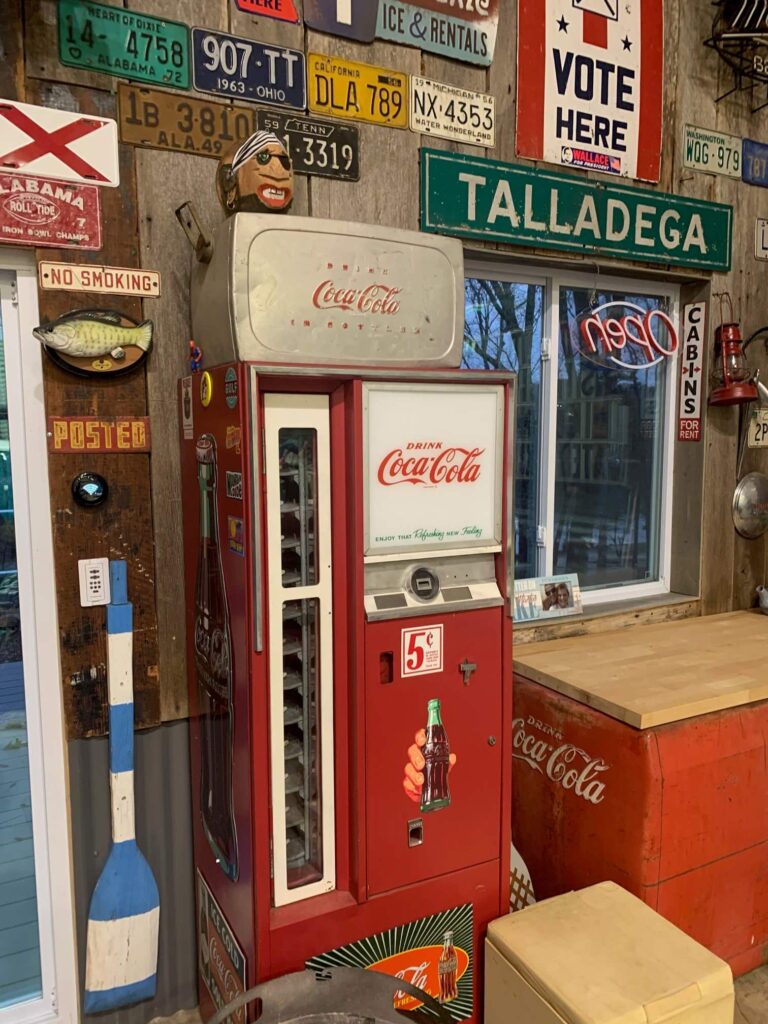
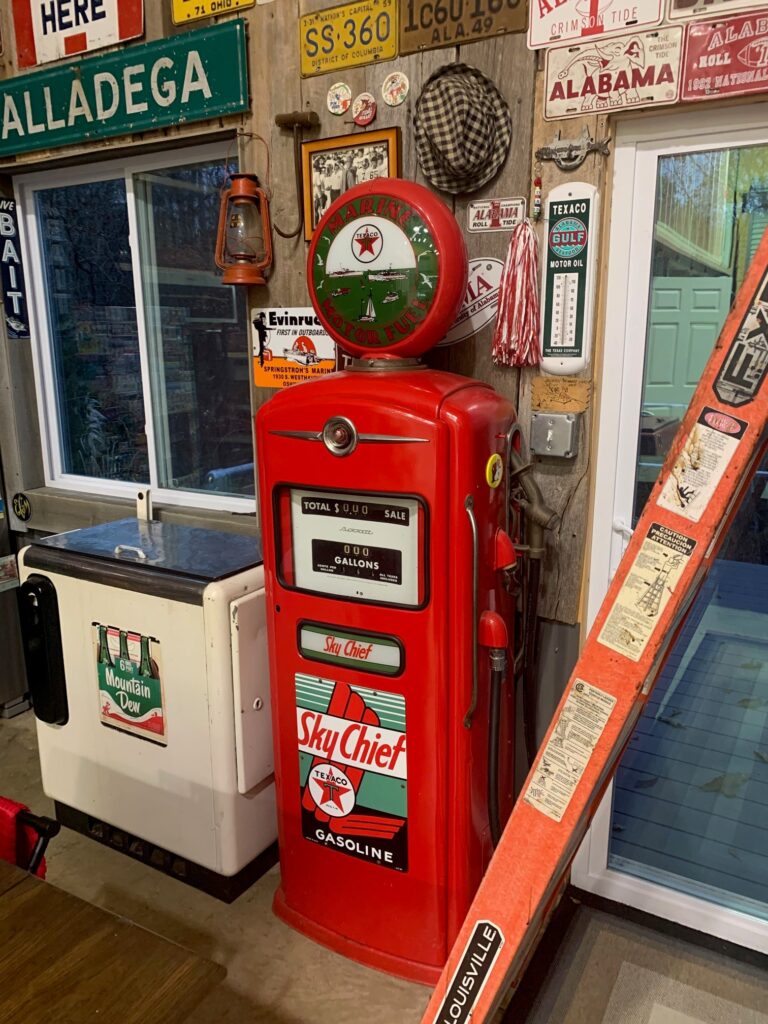
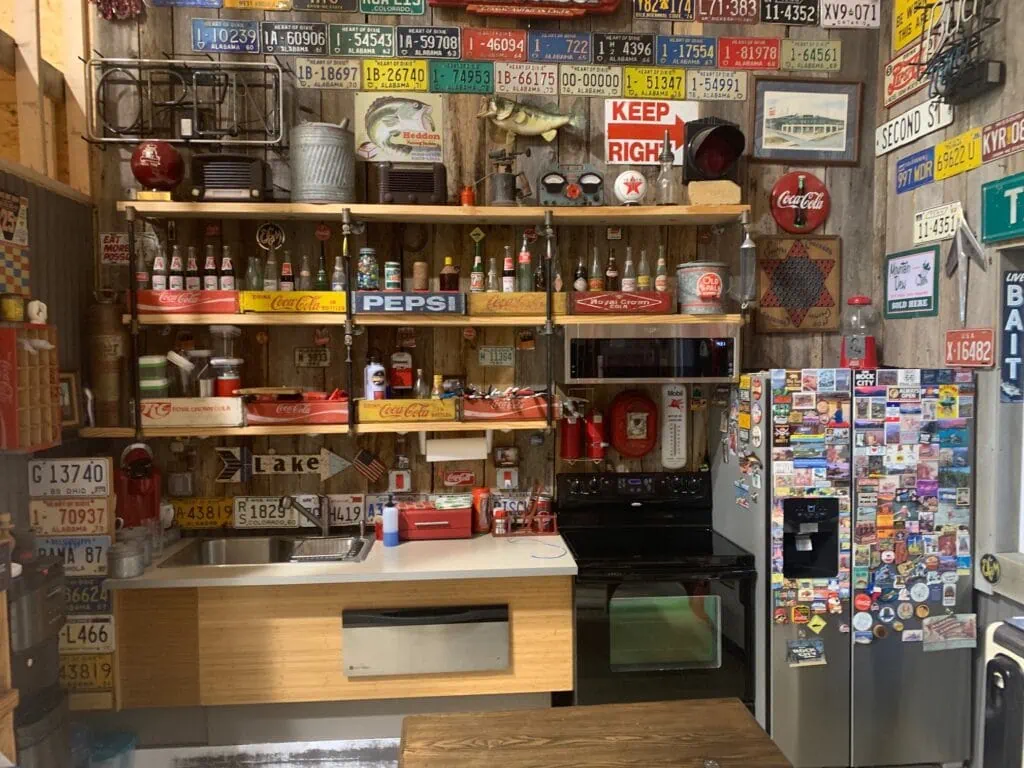
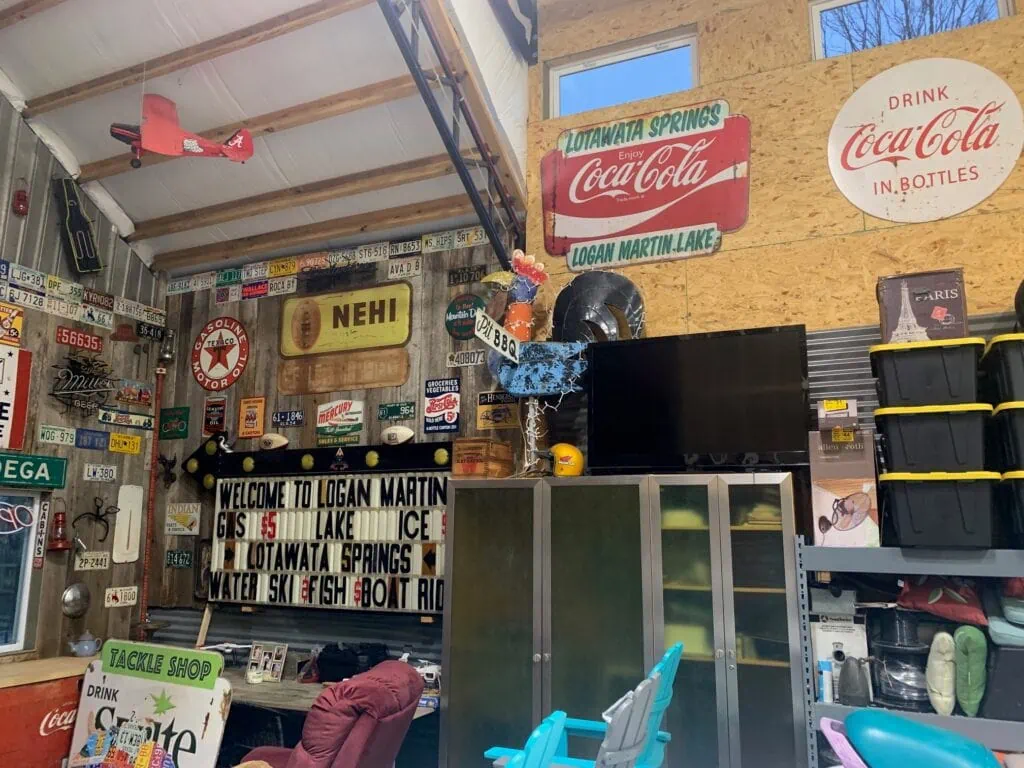
Editor’s note: Joey Prestage is in the process of finishing the interior his man cave garage on Logan Martin Lake. This project along with a deck project are 2 of the many projects involved in the process. We were fortunate to feature both of those projects here on our website. The inside of his man cave garage building is coming along nicely and is really pretty cool. I thought I would share some photos with our readers.