By Matt Weber
A car or truck’s lug nuts and studs are the crucial components that hold the wheels onto the vehicle. If they fail while driving, then one would expect bad things to happen, ranging from sudden immobilization to a complete loss of control that results in a raging inferno of twisted metal.
Although it’s highly unlikely that all of a wheel’s lugs will fail at once, it’s always a good idea to keep your wheels mounted securely to the vehicle with all appropriate fasteners, and broken lug studs are a common problem. If left unrepaired, the improper connection of the wheel can result in unwanted vibration while driving that could affect steering and lead to premature wear in other vehicle components.
The EHT staff recently broke a lug bolt during a routine tire-rotation job. We suspect the nut and bolt had been cross-threaded by a careless mechanic, because the bolt easily twisted in half when using a lug wrench without exerting any extra torque. Here’s a step-by-step account of how to replace a broken lug nut stud (also called a lug bolt or wheel stud).
Remove and Replace Lug Bolts / Wheel Studs
Use a wrench to loosen the wheel’s lug bolts while the vehicle remains on the ground. Then jack up the vehicle and support it with jack stands. Remove the lug nuts and pull off the tire.
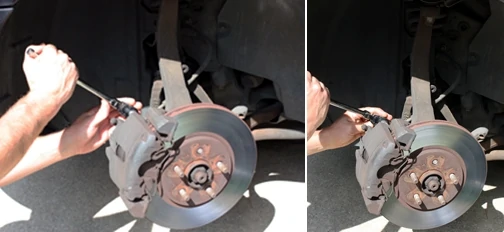
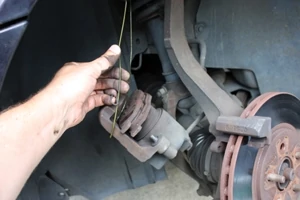
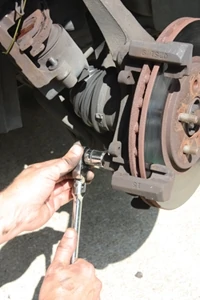
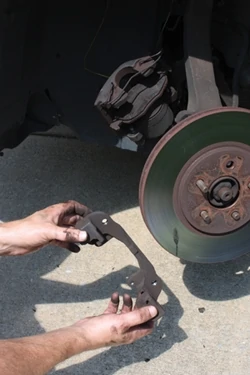
Next, use a socket wrench to remove the brake caliper. Note, the driver bits required to remove the caliper pins vary among manufacturers—some require hex bits, some require star-drive bits, etc. With the caliper off the car, use a wire to hang the caliper from the vehicle to keep the weight off the brake line. Then, remove the caliper’s mounting bracket. (If working on a drum-style brake system, remove the brake drum.)
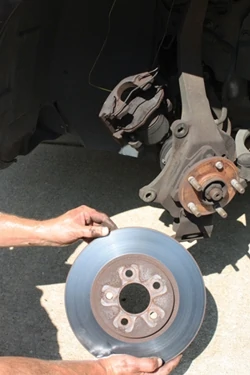
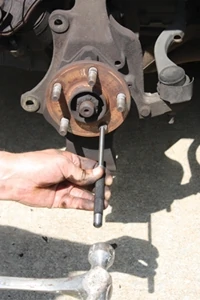
Remove the rotor and set aside in a place where it will not be scratched or exposed to dirt or oil. Use a metal hammer to knock the broken lug bolt out the back of the wheel. Aim carefully and be sure not to damage the threads of the adjacent lug bolts. Use your fingers to pull the broken bolt from the rear of the hub flange.
Install New Lug Bolt
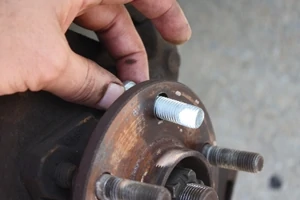
The replacement bolt was a stock part from a local auto parts supplier. To install the new bolt into the bolt hole, the wheel must be turned to align the hole with a slot on the rear of the hub flange, which provides the clearance to thread it through. If the hub flange must be turned for alignment, you may have to jack up the opposite wheel so the axle can freely spin to match the hole with the slot.
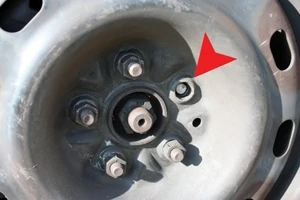
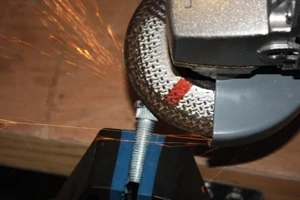
One unexpected problem with this job was the full, round head of the replacement bolt. You’ll see the in the photos that the head of the original bolt was flat on one side because it is positioned so close to the axle housing. The full head of the replacement obstructed the bolt’s insertion into the lug hole, so I had to clamp the bolt in a vise and flatten one side of the head with a 4-in. electric grinder.
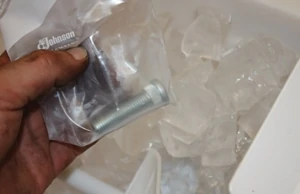
For easier installation, store the replacement bolt in a freezer for a few hours. The tolerance of the lug bolt and the hole will be very tight, and any small amount of contraction the cold temperature may cause in the metal alloy will make it easier to install the new bolt. This will help greatly with your wheel stud replacement.
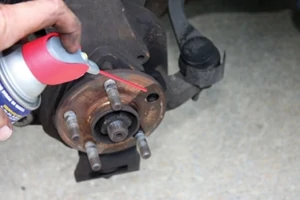
Use a metal-bristle brush to knock away any rust from the wheel and lubricate both the bolt and the bolt hole with a spray-on solvent. Insert the bolt straight into the hole as far as it will go (the bolt will stop at its shoulder at this point).
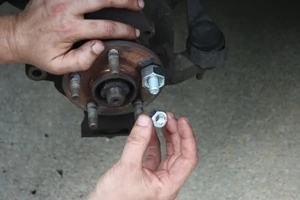
Thread a very large nut over the end of the new bolt (a stack of large washers will also work). The large nut is not intended to thread onto the bolt. There should be no positive connection between the bolt and large nut; it should slide loosely over the bolt like a washer to function as a spacer.
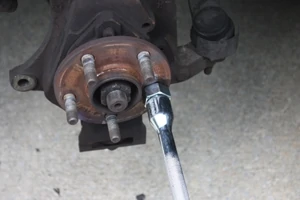
Next, thread the new lug nut over the end of the new bolt, sandwiching the big nut between it and the hub flange. Use a lug wrench to tighten the nut, which will draw the bolt into the hub until the bolt head is flush with the back of the flange and snugly installed. Remove the large nut, tighten the lug nut, and the job is done. Clean the rotor with brake dust remover. Reverse the procedure to replace the brake, wheel and tire, tightening the lug nuts to the manufacturer’s specifications.
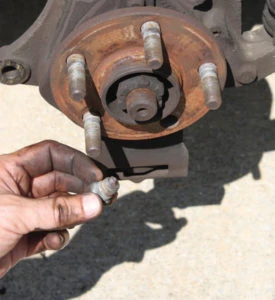
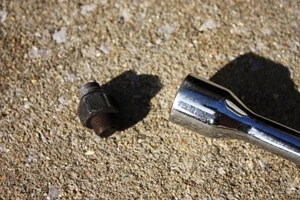
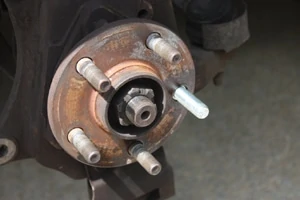
This wheel stud broke in half during a routine tire rotation.
The broken stud bolt must be removed and replaced.
Unscrew the caliper pins to remove the brake.
Use a wire to hold the brake caliper out of the way while you work, keeping weight off the brake line.

Other Automotive Related Articles


