DIY Install a Winch on a Pickup Truck


By Larry Walton


I’m sure you realize that your truck is one of the best tools you own. Not only does it get you to the jobsite or to the lumber yard and back, it hauls the other tools and supplies for your projects. You can improve the working capability of your truck by adding a winch. Not only can a winch help you recover when you’re stuck, you can perform a number of other lifting, towing and pulling tasks as well.

In fact, spend some time logging and you get a good feel for just how much work you can accomplish with the aid of wire rope and some blocks. I use my winches for pulling trees and shrubs, for dragging firewood logs to the road, for big game retrieval and for lifting heavy objects with the aid of an overhead block.

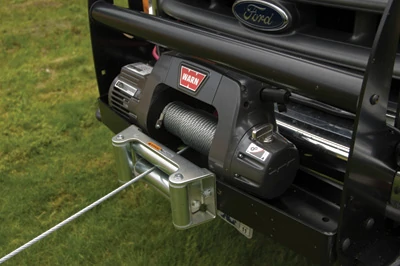
We recently installed a new 9.5ti Winch by Warn Industries on our project F-250.

Warn’s Trans4mer Grille Guard/Winch Mount Kit made it possible to use the stock bumper for installing the winch, which meant an aftermarket bumper was unnecessary. I felt confident that the mounting design would be sturdy. The winch mount connected solidly into the frame at the tow loop locations, with added bracing going back into the frame and into the bumper as well.

All of the parts fit well, and the only milling needed was drilling a few holes. While Warn’s engineers did a great job on their precision parts, the installation instructions needed a little help. Here’s how we got it done.
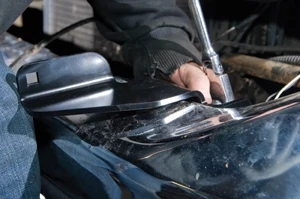
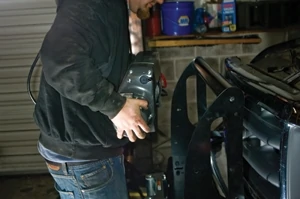
Removing the bumper involves two bolts near each fender well.
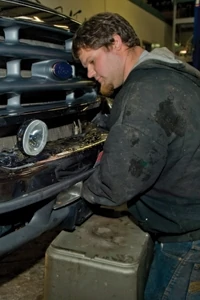
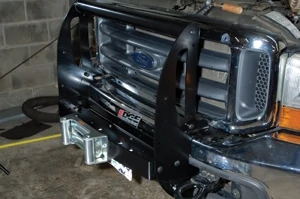
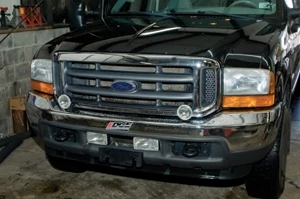
Shown is the front of our Super duty before installing the new winch. We found that the fog light locations were OK, but the driving lights would have to move.


Once you've removed the six bolts mounting the bumper, be careful with any wires attached to the fog and driving lights.
Once you’ve removed the six bolts mounting the bumper, be careful with any wires attached to the fog and driving lights.
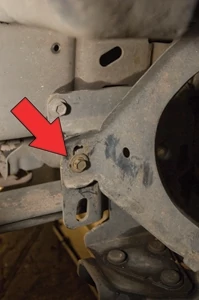
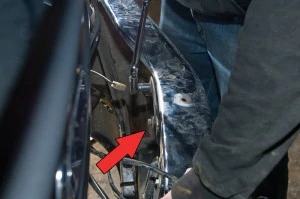
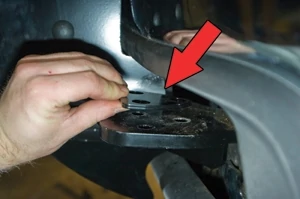
Find these angle brackets inside the fender wells. A bolt on each side needs to be removed to detach the bumper.
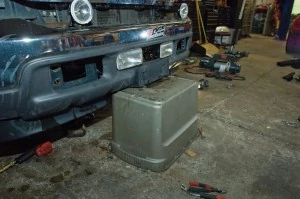
A plastic storage bin makes a good support for the loose bumper.
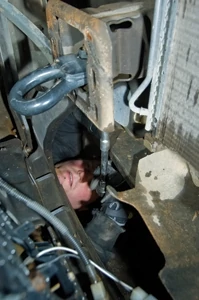
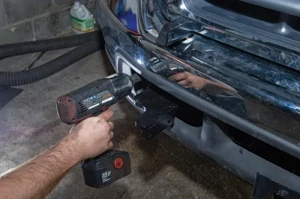
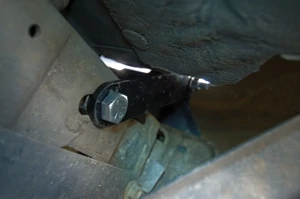
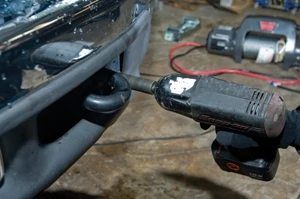
With the bumper off, we removed the tow loops from the end of the frame rails by accessing the bolts from underneath.


The upper brackets mount to the back of the bumper and curve up over the top of the bumper.
Remove these bumper mounting bolts to install the upper brackets.


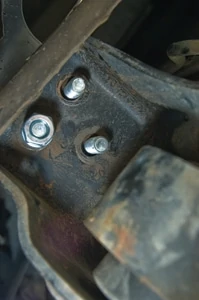
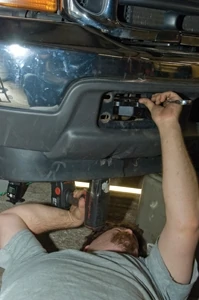
The frame extension mounting bolts take nuts from underneath.
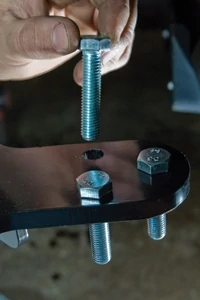
We put the bolts for the frame extensions in place before inserting into the frame opening and the bolts dropped right into place.


It was no problem sliding the bumper past the frame extensions and re-fastening the bumper.
Attaching the frame extensions involves holding the bolt heads at top while torquing the nuts from below. Because you can't get to the nuts with the bumper on, go ahead and torque them down. Shims in the kit help with most misalignments.
Attaching the frame extensions involves holding the bolt heads at top while torquing the nuts from below. Because you can’t get to the nuts with the bumper on, go ahead and torque them down. Shims in the kit help with most misalignments.
The grille guard tubes fit between the side members, but you want to leave the bottom tube out until after the winch is mounted.
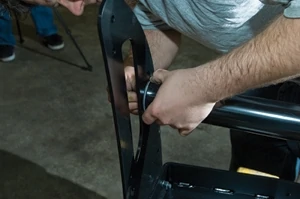
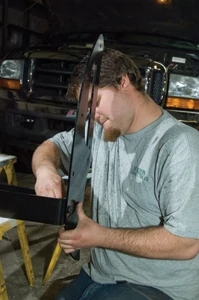
We assembled the grille guard and winch carrier according to the instructions.
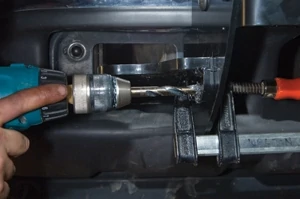
Once we determined the position of the winch carrier/grille guard, we clamped it to the frame extension bracket and drilled two 7/16- inch holes in each side member.
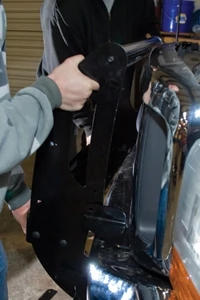
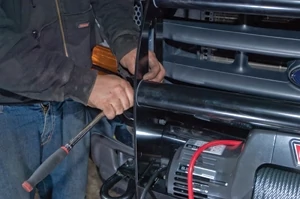
With the grille guard and winch carrier assembled, fit them to the upper brackets on the front of the truck.
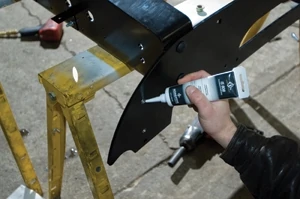
After drilling the 7/16-inch holes in the side members we threw the assembly back on the saw horses, cleaned it up and applied some silicone that came with the kit.
We used the predrilled holes in the frame extension brackets as guides for the holes we drilled into the brush guard side members.


The upper bracket brace attaches at the frame rail on the bottom and the bracket up high.
We put the assembly back into place with the bolts in at the upper brackets and used some of the shims that came with the kit to fill the space between the side member and frame extension bracket before putting in the lower bolts.


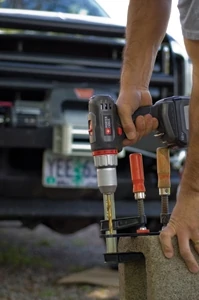
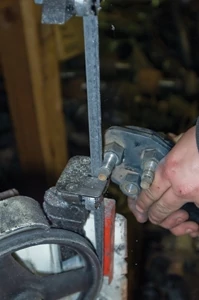
I found that using a pair of clamps and a cinder block was a pretty good way to hold onto the upper bracket brace for drilling.


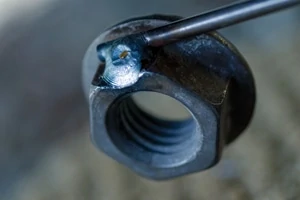
This nut (included in the kit) has a rod welded to it so you can feed it up into the frame rail.


We found that the factory tow loop bolts were too long for this application, so we threaded them back in the loops and cut them off before using them to install the tow loops.
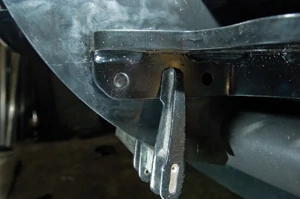
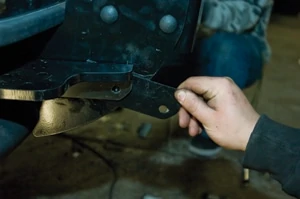
We used the supplied triangular trim plates to reinstall our tow loops on the frame extension.


We bolted the fairleads to the front of the winch carrier.
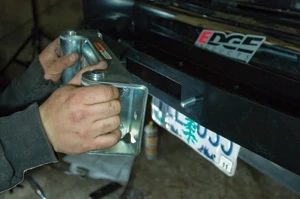
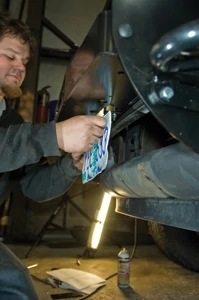
Our state requires front license plates so we used the supplied brackets to put the plate on the pickup.


After putting the nuts in the slots at the bottom of the winch housing, we placed it in the winch carrier.
With the winch carrier, brush guard and fairleads in place, it was time to install the winch.


After the winch was in, we installed the lower grille guard tube.
After the winch was in, we installed the lower grill guard tube.
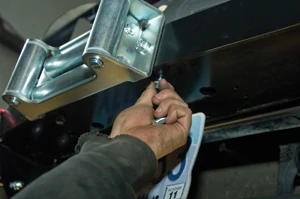
Four bolts go from the bottom of the winch carrier into the nuts in the winch housing.


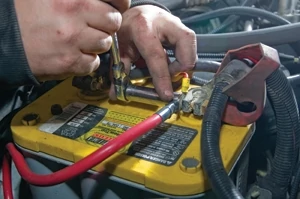
We put the electrical cables on the battery clamp bolt behind the existing nut.
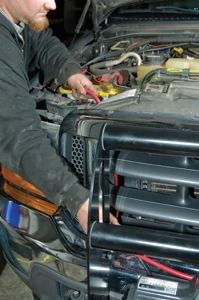
We threaded the electrical cables up through the grille to the passenger-side battery.
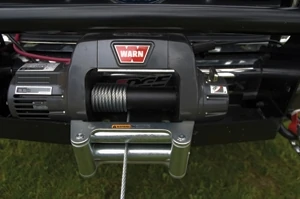
Our new 9.5T winch had max power spooled out. In our first pull we brought down a pine tree on a landscaping project.
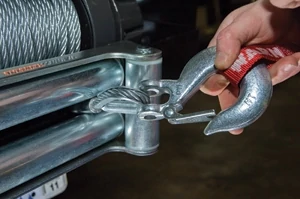
Finally, we performed the ceremonial attaching of the hook to the wire rope.

Hot Product

WiseCoat Clear
DeckWise® WiseCoat® Clear Premium Wood Deck, Siding, & Fence Sealer

DeckWise WiseCoat Clear Premium Wood Deck, Siding & Fence Sealer. This water-based sealer is meticulously crafted to protect and enhance wood surfaces, making it an excellent choice for outdoor projects. The key features of this sealer include: Advanced Waterproofing: WiseCoat Clear is a penetrating wood waterproofing system designed to thwart water intrusion. It deeply penetrates the wood […]

Read More >>