By Monte Burch
Building a Hexagonal Extension to a Deck
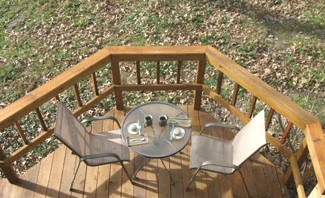
Remodeling a deck to suit your lifestyle is a great way of bringing new life to your home. The old deck shown in this article adjoined a bedroom and had steps leading off a narrow walkway. The steps were in the wrong place when a new cooking area was added to the existing deck. New steps were added to make access easier and the former step area was turned into a sitting area for two, just off the master bedroom. A small, half-hexagon-shaped deck extension provided a great place for early morning coffee or evening relaxing. The same design, however, could be used on a new deck to add interest and a tête-à-tête area.
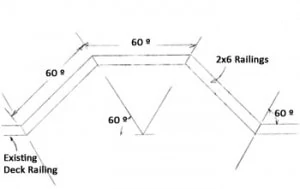
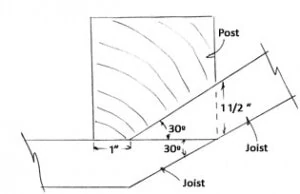
In the deck shown, the outer step and rail support posts were simply cut off the same height as the existing deck to provide support for the deck extension. This created a smaller (48-inch) outer section to match the width of the step posts, with 5-foot adjoining sides. These angles were a bit hard to work with, so the drawings show how to create a standard shaped hexagon with 60-degree angles. The small size could also be increased, but more support would be needed. Although the construction appears complicated, it’s fairly easy if the angles are carefully cut. Take your time and check each piece before you cut.
First Steps
If building a new deck or extension on an existing deck, you will need to install support posts for the outside corners. Locate the post holes and dig them to the depth needed. Place the posts in position, making sure they are properly located and plumb. Then add pre-mixed concrete around the posts to anchor them in place. Allow to set at least 24 hours.
First step in the construction shown was to remove the old steps, railings and even the old deck boards.
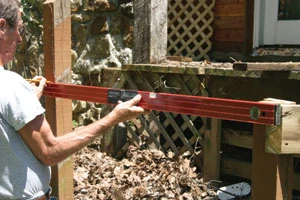
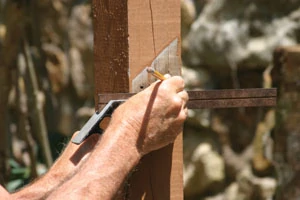
The second step is the same if building with new outer posts. Using a 4-foot level and a straight-edge board, mark a level line from the top of the existing deck joists to the outer corners of the outer support posts. Then, cut off the posts at the correct height.
Before building, consult local codes for code compliance. The entire deck was assembled with Wolmanized Residential Outdoor Wood, pressure-treated lumber to match the existing deck. The deck was also assembled using deck screws. My choice for all deck work is Phillips II Plus Premium Exterior Screws. I’ve been using them with pressure-treated wood for a number of years with excellent results and durability. These screws come with a matching driver head in the box and are extremely efficient and easy to use with no stripping of the heads. A Bosch 18V Impactor impact driver made quick and easy work of the assembly.
Attention to Angles
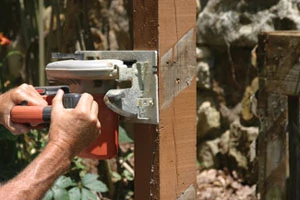
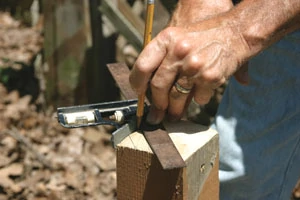
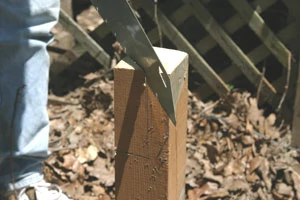
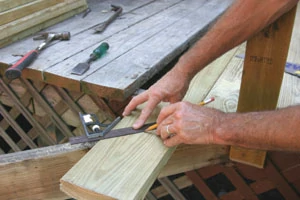
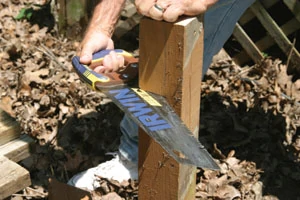
The outside corners must be cut at an angle to receive the angled end-cut joists. Use an angle-finder or bevel square to determine and mark the angle across the top of the posts. Next, use a square to mark the width of the joists on both outside edges of the posts. Connect a line on each side of the post between the marks. Use a sharp handsaw to cut away this triangular piece.
Cut the two side joists to the correct angles and length, and anchor in place. Then, cut the outer joists and anchor in place. For the deck size shown, you will also need to cut and add another floor joist between the outer joist and existing deck joist. These ends must also be cut at an angle to match.
Install the Decking
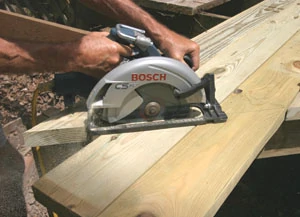
With the framework assembled, the deck boards are then installed. In the case shown, the old boards were removed and new boards were used to cover the old deck framing, extending outward for the new deck area. The ends of the deck boards are cut to match the angles of the outer joists. The deck boards extend out past the joists 1-1/2 inches. The deck 4-by-4 posts extend down past the top edge of the deck 5 inches and have their bottom edges cut at a 45-degree angle. The deck boards are notched to fit around these posts.
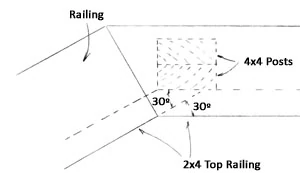
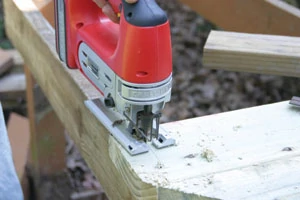
Lay the deck boards in place and temporarily fasten, then cut off the outer waste end pieces. Mark the location and outlines of the posts and bore starting holes in the inner corners. Cut these notches using a saber saw. Cut the posts to correct length and fasten each to the deck joists with pairs of 1/2-inch diameter through bolts with washers.
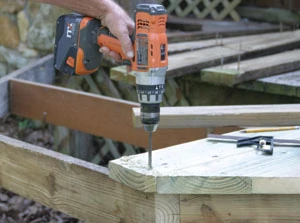
Next, cut the top and bottom 2-by-4 rails to correct length and angles and fasten them in place to the posts. Then, cut the top 5/4 rails to the correct length and at the correct angles.
Even the best carpenter may not have precise angles at the corners, and the top rails will show any off joints. Double-check the angle cuts by laying these pieces in place before making the cuts. Fasten them down on the top 2-by-4 rails and to the top ends of the posts. The outer corners are fastened together with a predrilled screw.
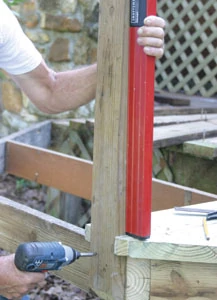
Cut the 10-1/2-by-1-1/2-inch balusters from a 2-by-6. Cut them to 22 inches in length, and with 45-degree angle-cut ends. Fasten the balusters to the back or outside of the horizontal top and bottom railings. Space the balusters according to local codes (usually no more than 4 inches) with their top ends butting up against the bottom of the 5/4 cap railing. Use a level to make sure they are installed plumb.
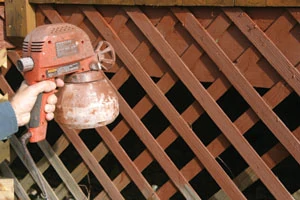
Finish the deck using the finish desired. In this case the bottom of the 3-foot high deck area was closed off with pressure-treated lattice painted to match the house trim. Now for a little relaxing time to enjoy your new deck area.
SIDE NOTE
Choices in Hidden Deck Fasteners
Ty-Lan Enterprises manufactures high-quality hidden fasteners for decking, available in both high-strength low alloy steel and stainless steel coated black, and compatible with CCA or ACQ pressure-treated joists.
The Shadoe Track track-style fastening system is ideal for wood, PVC or composite decking and is available in 4- and 8-foot lengths. Shadoe Track is also sold in a convenient 4-foot length pack with fasteners included.
The Hidden Link fastener is an easily installed clip that works exceptionally well with hardwoods and quality wood decking such as cedar, mahogany and redwood. It is also effective with PVC or composites. The Hidden Link is packaged in a box with enough clips and screws for 100 square feet of decking.
The Mantis clip system is designed for slotted decking made from PVC, composites or wood products. The Mantis can be installed with a typical screw gun or use the coil-fed NailScrew pneumatic gun to install the Mantis clips even faster. The Mantis clips come in a box for 50 square feet of coverage or a contractor bucket for 250 square feet of coverage, with screws included.
Other Fencing Article


