By Monte Burch
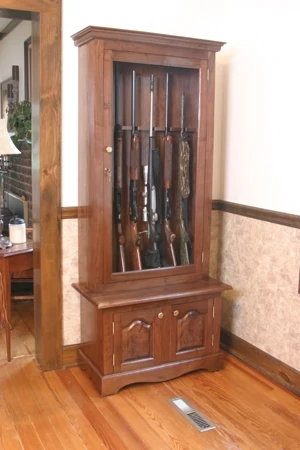
This classic walnut gun cabinet safely stores guns, ammunition and valuables while adding beauty to your décore.
A lockable display case can be used to store and display guns, trophies or treasured heirlooms. The case shown is made of walnut, one of the most beautiful woods, and a classic for this type of project. The walnut was grown on the author’s farm, harvested and air-dried for about five years. The bottom doors are beautifully figured crotch walnut. Oak, pecan or cherry could also be used.
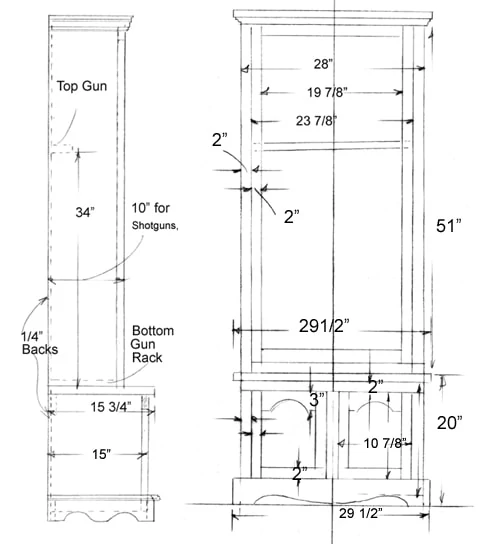
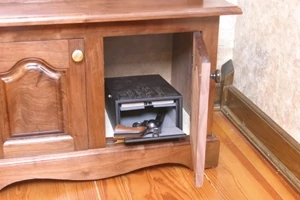
The case is constructed in two parts, the bottom and the top sections, and the two fastened together. The top display portion has a keyed lock. You may wish to lock the bottom as well. The top portion is designed to store and display long guns, the bottom for ammunition and accessories. The case shown also features a locking storage vault anchored to the inside. This can be used to store and protect a handgun or other valuables.
Included is a GunVault Mini Vault that features a computer-operated, touch-control panel that opens the spring-loaded vault door in seconds at a touch of your fingers with your own private security code. The Auto Lock protects children and defeats intruders. The GunVault is battery powered, also comes with backup key.
Although the construction appears to be classic casework, new techniques and tools make it much easier to build. Techniques include biscuit joinery as well as pocket-hole joinery and a new Raised Panel Door System from Woodline USA.
Because several “wide” boards are needed, first step in construction is to plane all rough wood to the same dimension, in this case 3/4 inch. This makes final sanding and smoothing of the glued-up boards much easier. Surfaced boards can also be purchased. You will still need to joint one edge smooth in order to rip to the sizes needed. This can be done on a jointer or with a hand-held power planer.
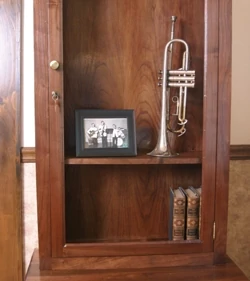
Beginning with the bottom section, rough-cut the boards to length and width to make up the sides. Lay all boards for one side on a smooth flat surface and mark across their face edges for the biscuits. Letter or number the boards with the same number or letter on joining edges. This makes it easier to assemble when gluing up. Set the biscuit joiner to half the thickness of the boards and cut the biscuits.
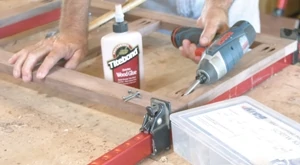
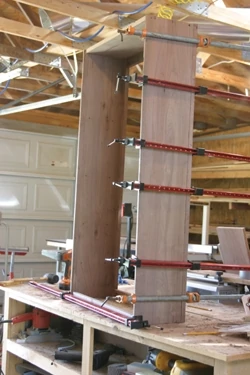
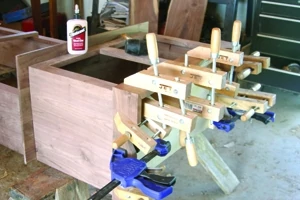
Place newspaper on a workbench top or other smooth flat surface. Position the clamps in place and lay the boards down on the clamps, making sure they align properly. Then, beginning with one board, place glue in the biscuit holes. In this case Titebond Dark Wood Glue was used to go with the dark walnut. Place biscuits in the holes. Place glue in the biscuit holes of the board edge as well as on the joining edge. Continue gluing and adding biscuits until all boards are ready to clamp. Beginning at each end, pull the boards together with the clamps, making sure the biscuits align. Also make sure all four corners of the glued-up board are down flat on the clamps. Then add clamps between the two end clamps until a bit of glue is squeezed out along the entire joint lines. Allow to dry overnight.

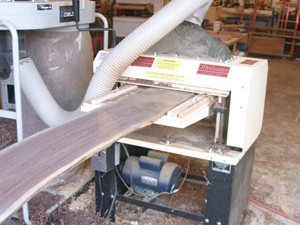
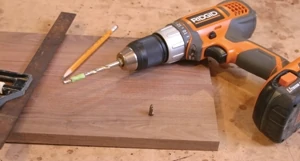
The front face frame of the bottom cabinet is assembled as one piece, and then fastened to the sides. In classic construction, this would be joined with mortise-and-tenon joints. A faster and simpler method is to use pocket-hole joints with screws and glue. Place an end of the uprights in the pocket-hole jig and bore holes. Bore holes in the opposite end, and then repeat for all uprights. Place the pieces on a set of clamps, place glue on the ends of the uprights and clamp together. Use a carpenter’s square to make sure the assembly is square and all corners are down snug on the clamps. Then fasten solidly together with Kreg hardwood screws. Allow to set overnight.
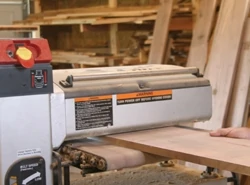

Smooth the glued-up bottom sides, removing any squeezed out glue and irregularities in the joints. This can be done with a portable belt sander, power planer, drum sander or with a hand plane. Rout a 1/4-by-1/4-inch rabbet on the inside back edges of the sides. Make sure both inside and outside surfaces are smooth. Cut the bottom sides to final width and height and sand smooth inside and out.
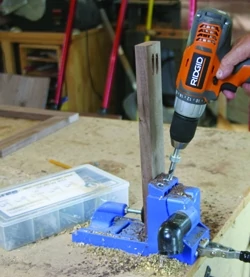
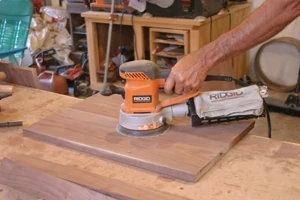
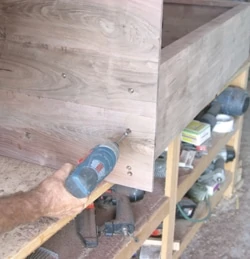
To assemble the bottom section, first drill pocket holes in the inside front edges of the sides as well as the top edges. Then drill pocket holes in the inside edges of the top piece of the frame and the top back support. These will be used to join the top to the bottom section. Apply glue to the front edges of the sides and clamp the front frame to the sides. Install the Kreg hardwood screws to further anchor the parts together. Cut 3/4-by-3/4-inch wood cleats and fasten to the inside of the sides and the bottom front face frame. These are used to anchor and support the case bottom. Cut the case bottom from 3/4-inch plywood. Note it is cut the same width as the sides, less the 1/4-inch rabbet. Fasten the bottom in place down on the cleats with glue and screws. Fasten the upper back cross-support in place with pocket-holes into the upper edges of the sides. Again, make sure the case is assembled square. Allow to dry overnight, then sand the sides and face edges smooth as well as the front joints of the face frame.

The face frame for the top section is assembled with glue and pocket-hole joints in the same manner. The back edges of the top side pieces are also routed to receive the back. If using solid wood, rout to the wood thickness. If using walnut plywood, rout to 1/4-by-1/4-inch.
If you plan to make the case double-duty as in the one shown, drill holes for shelf pins. If you intend to use it only as a gun case, shelf pins are not needed. To drill the holes, position both upper section side pieces side by side and mark the locations on both at the same time using a carpenter’s square. Then use a try-square to mark the distances from the edges. Bore the holes only to the depth needed for the shelf pins. Use a piece of masking tape on the drill bit to mark the depth and make sure you don’t bore through the sides.
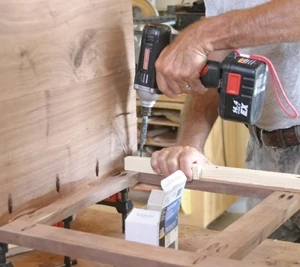
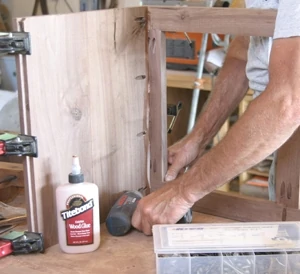
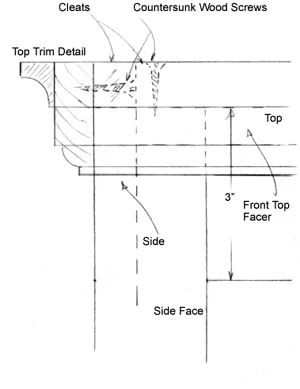
Assemble the upper case sides and face frame, using biscuit joints, again making sure it is assembled square. Cut the glued-up top piece to fit between the sides, again making it 1/4-inch narrower so it fits flush with the side rabbets. Install with countersunk wood screws through the sides and top frame piece into the top. These will be covered with the top trim pieces. Cut and install the bottom back support piece with glue only, clamping solidly and allowing it to set.
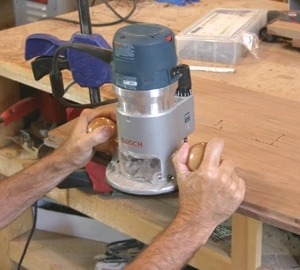
Glue-up the top piece of the bottom section, again using biscuits to join the pieces. Sand and smooth and cut to final size. Then rout the decorative edge.
To assemble the cases, fasten the bottom case top piece to the underside of the top case sides, front frame bottom and bottom back support with screws up through the underside of the bottom case top and into the upper case bottom edges. Then fasten the bottom case to the underside of the bottom case top piece with screws through the pocket holes drilled in the sides, top back support and front case top piece.
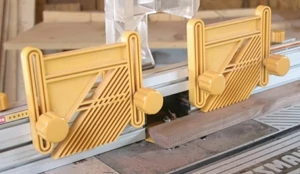
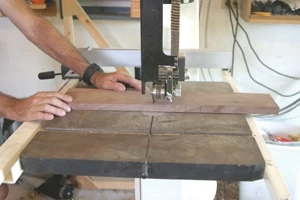
Cut the bottom trim pieces to rough length. Rout the decorative top edges. Then enlarge the squared drawings and create patterns. Cut to shape using a jigsaw or bandsaw. Sand all curved surfaces. Cut 45-degree joints for the front edges and fasten to the case bottom with wood screws from the inside of the case sides into the trim pieces. Cut the top trim pieces and rout their edges. Install the top outer trim piece to the inner trim pieces with glue and wood screws. Cut their corner edges at a 45-degree angle and fasten to the top of the case with glue and countersunk wood screws from the inside of the case. Cut walnut plugs and glue over the screws.

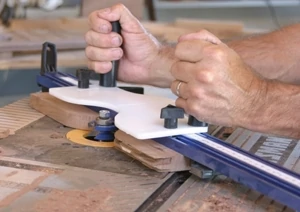
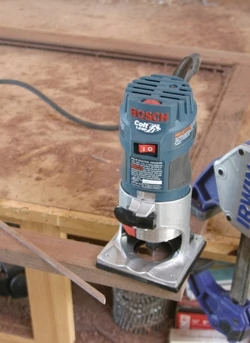
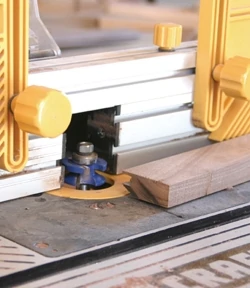
The next step is to create the upper case door. This is basic rail-and-stile construction. The pieces are routed with the appropriate bits and then glued together. Again, make sure the frame is assembled square. (Note: More information on creating rail and stile doors is shown in the online EHT article on Creating Frame-and-Panel Doors.) After the door has set overnight, cut out the back edge to receive the glass. Woodline USA has made this extremely easy with a special bit designed just for the purpose. And, when you finish, you have a wooden glass-holding strip that can be used to fasten the glass in place. Create the raised panel doors for the bottom section, again using rail-and-stile construction.
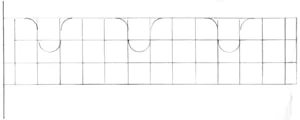
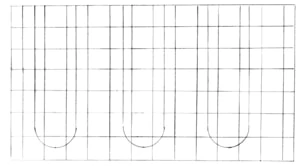
Enlarge the squared drawings for the upper and lower gun supports and cut these to shape, then sand smooth. Install the supports in place. Finally install the upper and lower case backs. These can be installed with glue and wood screws or staples or brads.
Note: if you’re using the case as a trophy case, sand and finish the shelves and install in place on the shelf-holding pins. Or you may prefer to use glass shelves and even add a light to the inside top. Sand and finish the case as well as the doors, install the glass in the upper door and hang the doors.
Other Project Ideas


