By Matt Weber
How to Build a Sectional Entertainment Center with Pocket-hole Joinery.
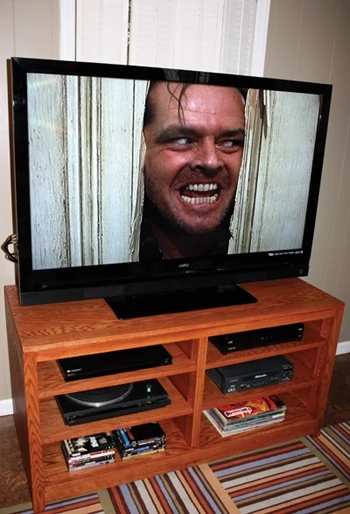
Flat-screen televisions are all the rage for dens and living rooms, but the larger versions in the 4- to 5-ft. range can outsize the old entertainment stand that held the former, smaller TV. A wider stand can give the entertainment area a better sense of visual balance while providing storage for a cable box, Blu-ray player, game console and more.
After seeing the high price of several furniture-store entertainment centers, I decided to build my own to save some cash. I’m more of a wood “tinkerer” than a seasoned wood-smith, so I wanted a design that would provide adequate storage and organization while also requiring fairly basic carpentry skills that I could accomplish without pulling out my hair. After scouring the internet I found such a design at www.woodsmith.com, where the website offers free downloadable building plans for a Sectional Entertainment Center. This proved to be an excellent resource, and if you plan to build this piece of furniture, I recommend you visit their site for the original plans, complete with detailed illustrations and additional instructions for creating matching side cabinets and even some frame-and-panel doors for the center.
However, the existing building plan was specific to a 42-in. wide entertainment center. I had a 52-in. TV and wanted a 54-in. center to support it. The plans detailed here have been modified from the original design to achieve the 54-in. width. This article will show the tools and techniques I used to take the project from a pile of boards to a finished piece of furniture.
Pocket Holes
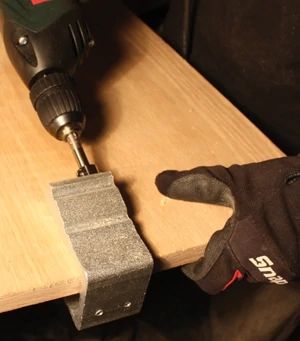
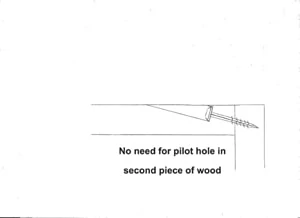
With few exceptions, this entire entertainment center was built using pocket-hole joinery. Pocket-hole joinery relies on a simple two-step process to create a very strong wood joint. First, use the pocket-hole jig with a special “stepped” drill bit to drill the pilot hole. The jig clamps to the workpiece to guide the drill bit at a steep offset angle into the wood. The bit has a 3/8-in. diameter shank and features a shoulder with a narrower tip. The shoulder of the bit drills a countersink for the screw head, while the narrow tip drills the pilot for the screw tip. A collar on the bit stops the drilling at exactly the right depth for the screw. With this type of wood joint, you’ll only need to drill one work piece. Then, simply align your work pieces and drive home self-tapping, square-drive screws for a rock-solid connection.
For this project I used a new pocket-hole jig kit from General Tools & Instruments that includes everything needed—the drill bit, the driver bits, the jig and even some screws.
Building the Carcass
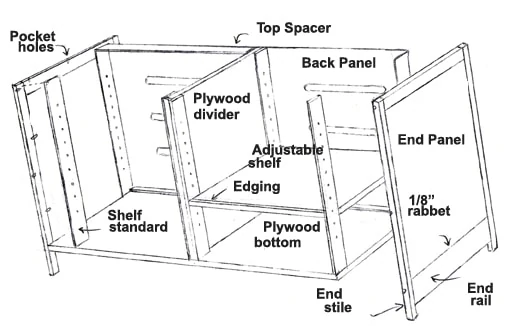
The basic case or carcass of the entertainment center consists of two end panels connected with a top and bottom plywood panel and a plywood center divider. The rails and stiles of the end panels, as well as the face-frames and finished top are constructed from solid 3/4-in. oak.
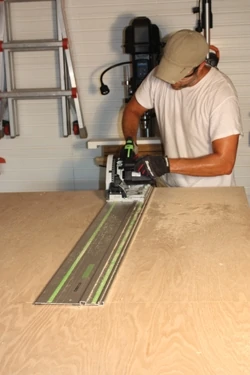
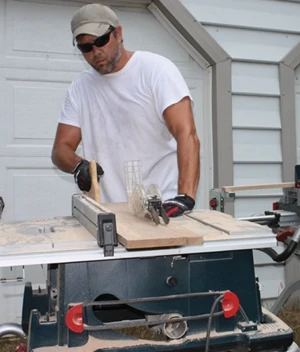
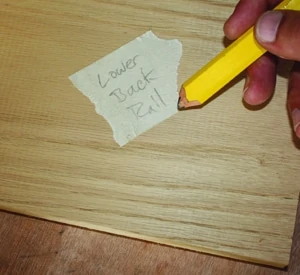
My first step was to cut all the components to size on my miter and table saws, and label the different pieces.
Cut List:
End Panels (2) 3/4 ply. x 20-1/2 x 21-1/8″
Upr. End Rails (2) 3/4 x 1-1/2 x 20-1/2″
Lwr. End Rails (2) 3/4 x 3 x 20-1/2″
End Stiles (4) 3/4 x 1 x 27-1/8″
Case Top/Btm. (2) 3/4 ply. x 22-1/2 x 52-1/2″
Center Divider (1) 3/4 ply. x 19-1/4 x 21-7/8″
Divider Edging (1) 3/4 x 1/4 x 21-7/8″
Front/Back Stiles (4) 3/4 x 1-3/4 x 27-1/8″
Upper Front Rail (1) 3/4 x 1-1/2 x 50-1/2″
Lower Front Rail (1) 3/4 x 3 x 50-1/2″
Upper Back Rail (1) 3/4 x 3/4 x 50-1/2″
Lower Back Rail (1) 3/4 x 6 x 50-1/2″
Shelf Standards (8) 3/8 x 2-1/2 x 21-7/8″
Back Supports (4) 3/8 x 1-1/2 x 25-1/8″
Back Panels (2) 1/4 ply. x 20-1/4 x 26″
Shelves (4) 3/4 ply. x 19 x 25″
Shelf Edging (4) 3/4 x 1/4 x 25″
Top Spacers 1/8 x 1-1/2″ strips
Top Panel (1) 3/4 x 24 x 54″
(1 pkg.) #8 x 1-1/4″ Pocket Hole Screws
(16) Spoon-Style Shelf Supports
(12) #8 x 1-1/2″ Pan-head Screws
(8) #8 x 1-1/2” Wood screws
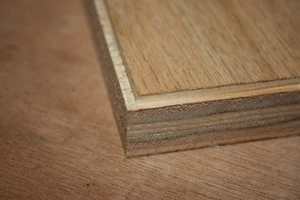
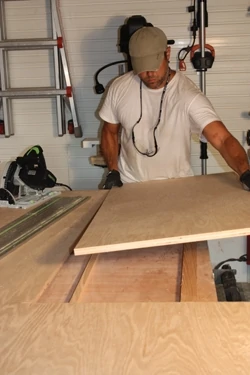
After cutting the plywood end panels to size, I ran them over a router table to cut a 1/8-in. rabbet along the outside edges. When I screwed and glued the oak rails and stiles to the plywood panels, the rabbet created a shadow line to add some decorative flair. The stiles are flush with the upper rail but extend past the lower rail to serve as legs for the entertainment center.
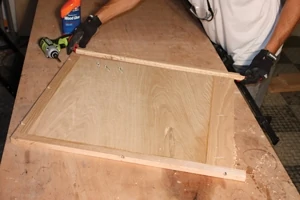
Note:It helps to face-clamp the corners of the rails and stiles flush when assembling the panels. Use some quality wood glue in conjunction with the pocket holes, but do so sparingly to minimize cleanup. Also, be sure to drill your pocket holes on the interior of the panels (the side without the rabbet).
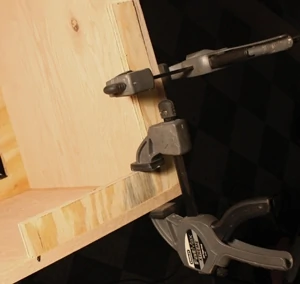
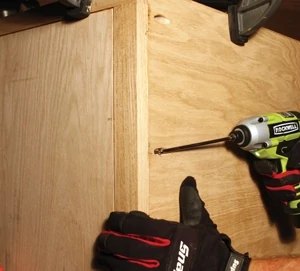
Once assembled, the end panels can be joined with the top and bottom of the carcass to create a rectangular box. I drilled pocket holes around the perimeter of both the top and bottom panels, to join the end panels and eventually to the face-frames at the front and rear. Before drilling the new holes, refer to the fastener locations on the end panels to make sure you avoid drilling in spots where you already have pocket screws. Also, locate your holes on the sides of the panels that will face the floor (on the bottom panel) or be concealed by the solid oak case top.
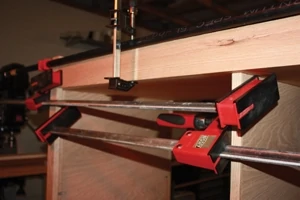
The top panel is mounted flush with the top and inside edges of the end panels, secured with glue and nails. To hold the end panel square to the top, I made a couple of right-angle plywood braces that I locked into position with some wood clamps while I drove the screws.
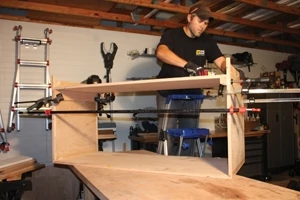
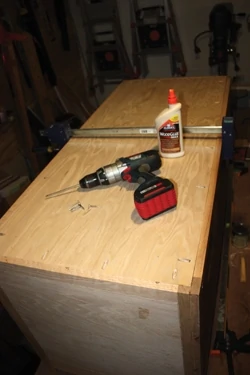
With both panels attached, I flipped the U-shaped carcass upside-down to install the bottom panel flush between the ends. To create a toe-kick area at the bottom of the entertainment center, the top of the bottom panel is positioned even with the top edge of the lower rails. To hold the bottom in position while I drove the pocket screws, I had to clamp a couple of temporary cleats onto the end panels to support the plywood. This step also required a 7-ft. pipe clamp to draw the two end panels snugly against the bottom panel.
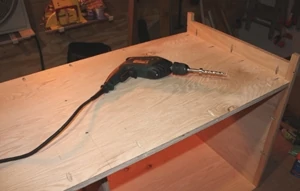
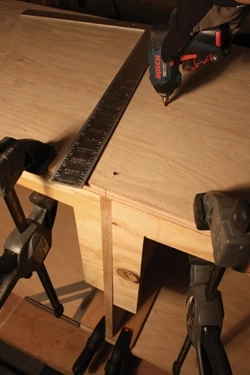
Next step is to install the case divider, but first I cut a strip of 1/4-in. 1x solid oak edging to conceal the exposed plywood edge of the divider. This type of edging is also used on the leading edge of each shelf. I attached the edge strips with wood glue and countersunk finish nails, filled with putty and sanded clean. To position the divider flush with the front edge of the case, I reenlisted my right-angle braces and wood clamps. Note that the divider is not joined with pocket holes. I attached it with wood screws driven through the top and bottom panels and into the upper and lower edge of the divider.
From inside the case, I then drilled pocket holes along the edges of the end panels to connect with face-frames.
Face-frames
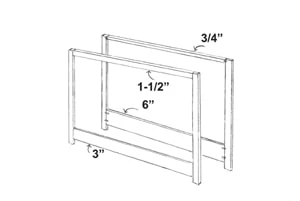
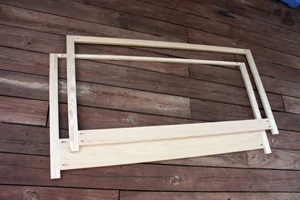
The front and rear face-frames are assembled with pocket-screwed butt joints, similar to the rail-and-stile end panels. Again, face-clamp the butt joints when fastening. Note that the frames are not identical. The rear frame has a taller lower rail to create as a storage trough for wires and cables. Position the lower rail edges of each face-frame 1-1/2-in. above the bottom ends of the stiles to create legs for the entertainment center. To line up the face-frames flush with the edges of the case, I used a variety of clamps and spreaders to nudge the wood into position. Apply wood glue at all the seams and fasten with pocket screws through the top, bottom and end panels.
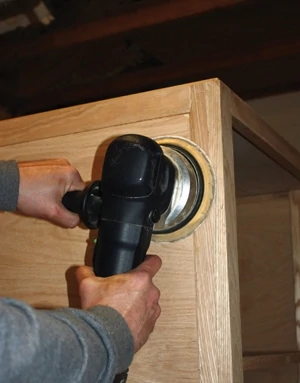
Minor problems when the face-frames are out of plane with the case can be touched up with a random orbital sander—but proceed gingerly to avoid rounding a corner or misshaping the edge.
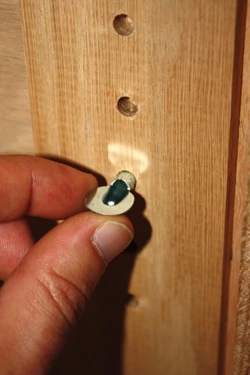
The shelves are supported by shelf-standards and spoon-style shelf pins. The shelf standards have a series of identical 1/4-in. holes for the pins so the shelves can be arranged at a variety of heights. The standards also serve double-duty by covering most of the pocket holes inside the case.
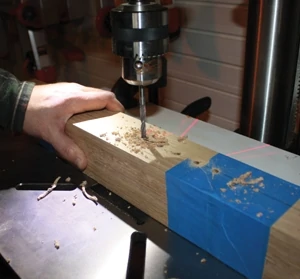
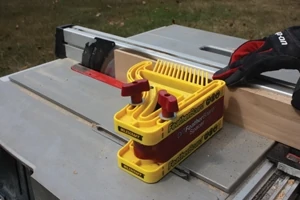
I ripped the solid oak standards to 3/8-in. thick on my table saw (eight are required) and cross-cut them to size. It’s crucial that the position of the pin holes be identical among all the shelf standards—otherwise a shelf will sit crooked. To make this happen, I used masking tape to tightly wrap all eight standards into a single block. I marked off the holes 1-in. apart and drilled the block in sequence using a drill press with a guide fence. If no drill press is available, a handheld drill will work in a pinch, but be careful and keep the bit plumb when drilling.
The shelf standards can be glued in place without nails or screws. This is easy to accomplish on the front, where any standard C-clamp will work. However, the rear standards align with the back of the divider, which doesn’t extend all the way to the back of the case. This prevents the use of C-clamps, which won’t reach.
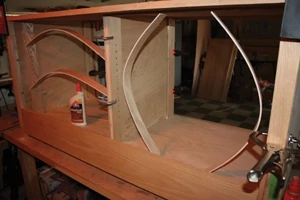
The experts at Woodsmith.com suggest a clever solution for clamping the rear standards (I can’t claim credit for this). To hold the standards in place, use thin strips of wood cut slightly longer than the width of the cabinet area. Bow the strips to fit them between the standards. The outward pressure of the bowed strips keeps tension on the standards to hold them in place while the glue dries.
With the standards installed, I then used the bowed strips to glue the upper and lower back-support strips flush with the rear of the standards.
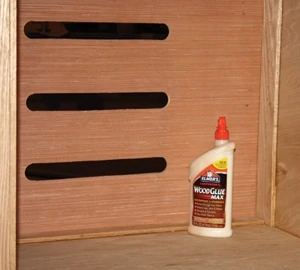
The flush 3/8-in. “frame” created by the rear edges of the standards and support strips provides the mounting surface for the back panels. The back panels are made from 1/4-in. plywood. I cut three 1-in. slots through each panel using a hole-saw and jigsaw. The slots will route wires and cables from the electronics to the storage trough between the back panels and face-frame. Glue the back panels in place along their outer edge.
Finished Top
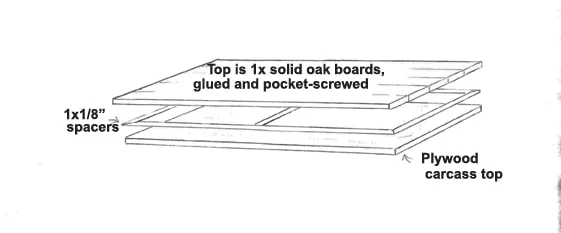
To create a shadow line with the same visual theme as the rabbeted end panels, the case has a layer of 1/8-in. thick spacers placed between the top plywood panel and the solid oak panel. To keep the shadow line 1/8-by-1/8 in., I cut the spacers 1/4-in. smaller than the perimeter of the table top. For example, to accent my 54-by-24-in. top, I made the spacers with a 53-3/4-by-23-3/4-in. outside perimeter. When centered on the case and covered with the solid top, the spacers create a 1/8-in. square channel.
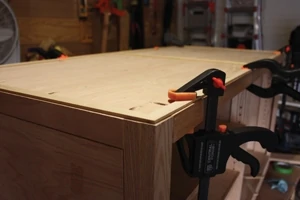
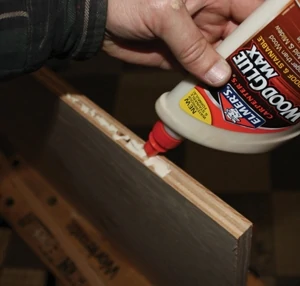
I ripped the spacers from some scrap poplar stock and clamped them in place, fastening with glue. Run a center spacer down the middle to help support the middle of the solid oak top.
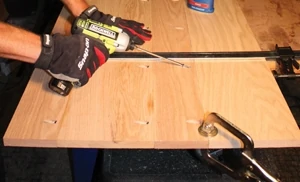
I constructed the solid top from 1x dimensional oak lumber, edge-joined with wood glue and pocket screws. The top is built to match flush with the edges of the case. I fastened the oak top by drilling countersink pilot holes from beneath the plywood top. I then cinched it in place with pan-head screws.
To sand the top completely smooth, I used a random orbital sander, starting with 120-grit abrasive and graduating to finer grits.
Finally I cut the shelves to size, cut a slot in the rear of each for wire access, and added the solid oak edging.
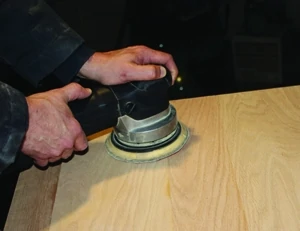
Before staining, sand the entire case with progressively finer abrasives. I recommend wrapping up with a sanding block, which can remove the tiny swirl marks left by circular sanders.

I then finished the entertainment center with a coat of cherry-toned wood stain and several coats of polyurethane.
Other DIY Projects


