By Monte Burch©
How to build a perfect place to store blankets- and more.
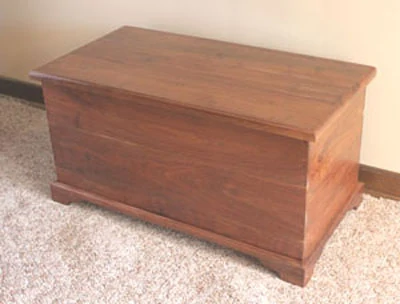
Last Christmas, Kelsy, my then 14-year old granddaughter, asked if I would build her a hope chest. Hope chests are also called blanket chests because they were often used to store quilts and other valuable collectible items. Since grandfathers are owned by their granddaughters, I said yes.
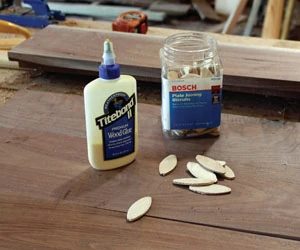
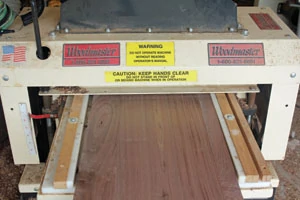
I decided to build the chest from walnut grown, harvested, cured and milled on our farm. The wood had been curing for about four years in my barn and was ready to be used. Other wood choices would be oak, cherry, pecan, red cedar or even white pine. You might consider making the chest from plywood to cut the cost and make construction easier. This would eliminate gluing up the solid stock. It would also cut down on the weight somewhat, as well as possible warping problems. I had to glue up the top twice, due to a “twisted” board.
First Steps
The first step in constructing the chest shown was to surface plane all the stock to the correct thickness. Then, joint one edge and saw the stock to the widths needed. When using this type of “salvaged” walnut lumber there will be waste, including the outside sapwood. Once all stock has been sawn, joint all the edges smooth.
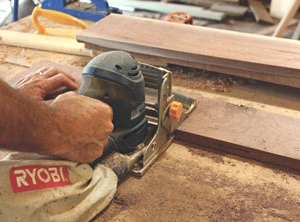
The narrower pieces can be joined to create the wider stock using either dowels with a doweling jig, such as the EZ Pro Doweling Jig Kit from General, or with wooden biscuits and a biscuit cutter. The wide stock shown was assembled with wood biscuits and a biscuit cutter. First, lay the pieces for a side or top on a smooth, flat surface and butt the edges together. Make sure the edges align properly and fit snug. Re-joint any edges that have bumps, waves or rough spots.
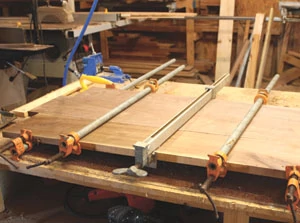
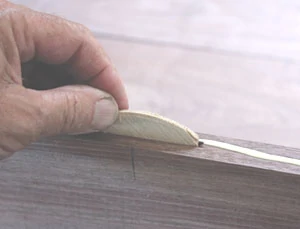
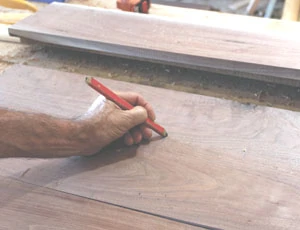
Mark one end of each board with a letter. This helps identify boards and the gluing sequence. Mark across the edge of two boards with the marks spaced about 6 inches apart. This same sequence can be used whether doweling or biscuit joining.
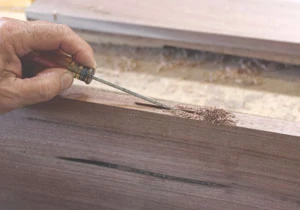
If biscuit joining, lay one board out flat and set the biscuit cutter depth to half the thickness of the board. Press the biscuit cutter against the edge of the board aligning the center mark on the cutter with the mark on the board, turn on the cutter and push the blade into the stock. Repeat for the other marks. Then, cut the adjoining boards in the same manner. Using a thin screwdriver blade, clean all the wood chips from the biscuit holes.
Gluing Up
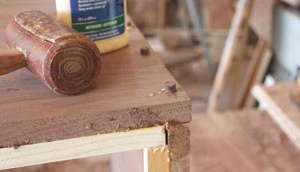
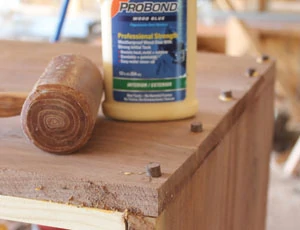
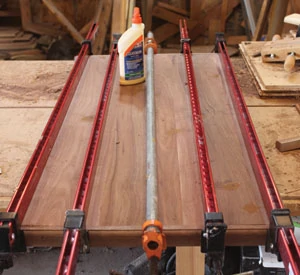
Clear off a flat, smooth work surface and cover with newspaper. Lay bar clamps in place—you’ll need at least four, and more is better. Stand one board for the front assembly on edge and using good quality wood glue, run a glue line across the edge and into the biscuit slots. Insert the biscuits, turn the adjoining board upright and place glue in the biscuit slots. Position the two boards with the biscuits aligning in both slots and tap together with a rubber hammer. Repeat for the remaining boards. Make sure all boards are flat on the bar clamps and tighten the clamps alternatively until all seams are tight and glue is squeezed out. Leave in the clamps overnight. Repeat the steps for the other pieces.
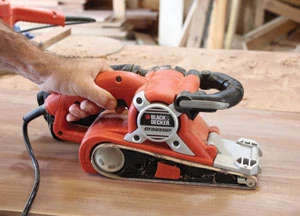
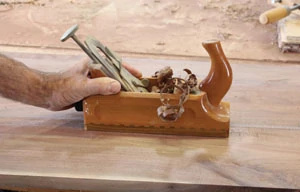
Regardless of how careful you are in joining the boards, there will be some slight differences in the edge joints. Use a hand plane or a belt sander with a coarse belt to even all surfaces on the back and front of the glued-up sections. Follow with a fine grit belt sander, then an orbital sander with a medium grit, and finally with a pad sander with a fine grit. As you can see, using hardwood-faced plywood is much easier and faster, but you would need to glue solid strips to the exposed ends or miter the corner joints.
Case Assembly
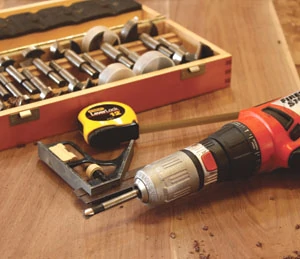
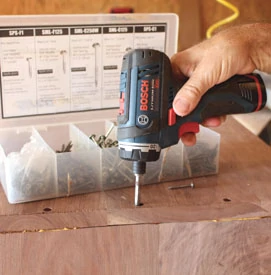
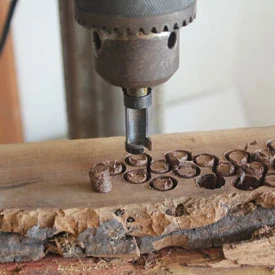
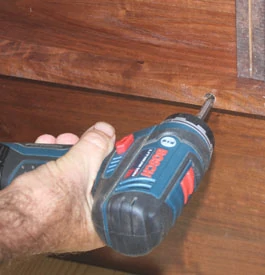
The case was assembled with glue and screws covered with hardwood plugs. I used this method because it’s extremely strong, easy, and also provides some decorative appeal. The screw holes will have to be drilled, and also holes for the plugs formed. If you have a countersink bit set you can do this operation in one step. If not, you can use a forstner bit to bore the plug holes 1/4-inch deep. Then, use a 1/8-inch drill bit to drill for the screws. Make sure the plug-hole bit drills a hole to match the plug cutter.
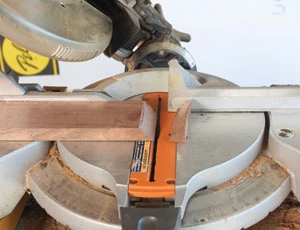
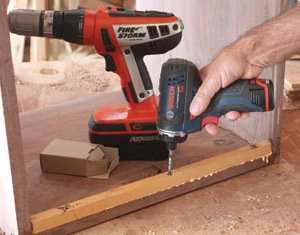
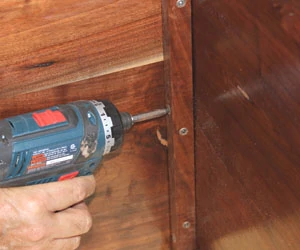
Before assembling, cut the glued-up sections to proper width and length. The end cuts can be done using a miter gauge on a table saw. Run a glue line on both edges of one end and position the front and back in place. Use bar clamps to fasten the assembly together, and you may need help for this step. When you’re sure the assembly is aligned properly, install the screws. Use a top quality screw. I used Kreg self-tapping Pocket Hole screws, 1-1/4-inch fine thread with a deep No. 2 square-drive recess. Before installing the screws, predrill into the edges of the end board as well. Make sure the case is assembled square.
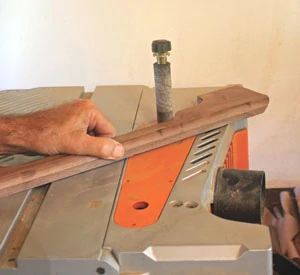
Cut the plugs using a plug cutter installed in a drill press. Pop out the plugs, place a bit of glue on their ends and tap with a rubber mallet into the holes to cover the screws. Allow the glue to set overnight, then use a belt sander to sand the plugs flush with the wood surface. Fill any holes with good quality wood putty followed with a finish sander.
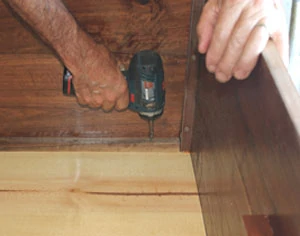
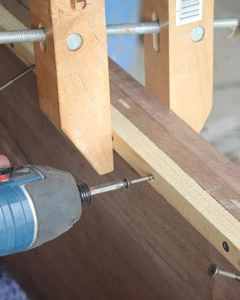
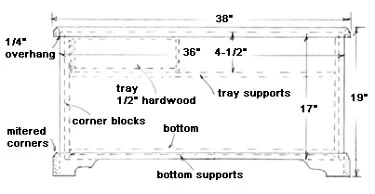
Rip 3/4-by-3/4-inch bottom support strips and fasten them in place on the inside of the bottom using glue and screws. These do not have to be countersunk. Apply the desired finish to the inside of the case and then cut and install the bottom. This can be 3/4-inch plywood, or solid stock. If the latter is used, install crosswise of the case. Fasten in place with glue and screws driven up from the underside of the bottom support strips. To further strengthen the case, cut 3/4-by-3/4-inch corner blocks and glue and screw them in place. These screws should be countersunk to prevent their edges from catching on items.
Making the Apron
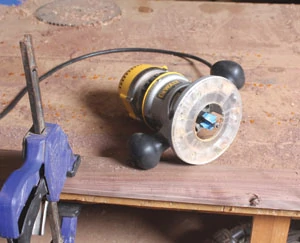
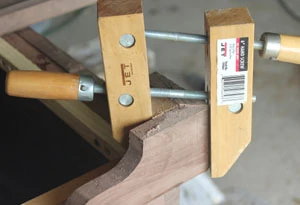
Rip the pieces to the correct width for the apron/feet, cutting them somewhat long. Their top edges are routed using a 3/8-inch beading router bit. This is done easiest on a router table, but you can also use a hand-held router. Simply clamp the stock to a solid surface, rout one end, then reclamp and finish routing. Make sure you stop and start carefully so there is no marring. Measure the ends of the case and cut the ends of the end aprons to length using a 45-degree cut. Temporarily clamp the ends in place, then match/measure and cut the front and back apron pieces, making sure they all meet smoothly and the joints are tight.
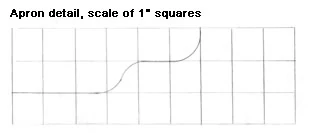
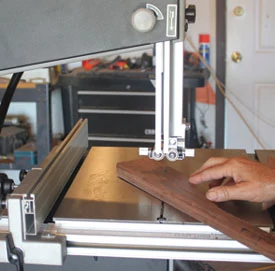
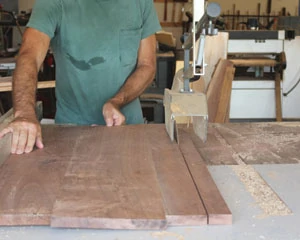
Lay out the pattern for the bottom apron/feet, following the squared drawing above. It’s a good idea to make a wooden pattern for the end cuts from 1/4-inch plywood. You can keep this for future use, because you’ll probably get requests to build more of these “family heirlooms.” Cut the pieces to shape. You can clamp the ends to a workbench or table top and cut with a jig saw, but a bandsaw makes the work much easier and more precise. Sand the contour cuts. A bench-top drum sander makes this chore easiest, but you can also clamp the pieces in a vise and use a drill-mounted drum sander.
Place glue on one end piece and clamp in place. Fasten in place with screws driven from the inside of the bottom case into the aprons. Install the opposite end piece in the same manner and then install the front and back aprons. Make sure all joints are tight and smooth. Cut corner blocks for the feet and install with screws and glue. Finish-sand and smooth the entire case, then apply the desired finish. Polyurethane brush-on satin varnish was used with this case, four coats, using extremely fine steel wool between coats.
Top it Off
The top features a routed edge band. After the top is sanded smooth and final cuts are made on the ends, rout the decorative top edge of the banding using a 3/8-inch beading router bit in a router table or by hand routing. Rip the strips to proper width and plane their bottom edges. Lightly round the bottom inside edges with a sander to provide a smoother, softer feel when the lid is lifted. Measure and cut the end pieces for a 45-degree miter joint. Glue these in place using bar clamps to hold securely. Allow to set overnight, and then cut the front piece to fit between, and glue and clamp it in place. Fill any slight cracks with good quality wood putty. If glue has squeezed out between the edge-banding and top joints, remove with a sharp chisel. Sand the top smooth inside and out and finish to suit.
The lid is held in place with Rockler Lid-Stay Torsion Hinges, rated for 30 in-lbs. each. These hinges work as a hinge and lid support all in one. Installation is quick and easy. Now all that’s left is to put a big bow on your project and set it under the Christmas tree.
Lift-Out Tray Option
The chest shown also features a matching lift-out tray to hold smaller valuables. The tray slides on ¾-inch supports placed around the inside of the chest. The tray is made from ½-inch stock, but ¾-inch plywood will also work for the bottom. The tray is also assembled with wood screws, glue and plugs.


