

By Matt Weber
Countertops made of granite, marble, travertine or other natural stone are popular for their distinct, timeless appearance and durable low-maintenance performance. Available in thousands of colors, natural stone countertops can be polished to a smooth, lustrous finish that holds up well to heat and can potentially last a lifetime. However, all stone is porous to some degree and should be protected with a quality stone sealer to prevent water, oils or other liquids from soaking in and leaving stains. To get the most vibrant life from a stone countertop, it’s smart to re-seal the surface every three to five years.
Over time, general-purpose cleaners that aren’t specifically formulated for stone can break down the sealer. This chemical agitation combined with the daily abrasive wear and tear that comes with a heavily used countertop can degrade the polish, discolor and even scratch the stone. A quality sealer can restore the stone’s luster, reinforce protection and make the countertop easier to clean.
The travertine countertop in this article had last been sealed five years ago, and the surface had since become dull and patchy with bare spots where the sealer had worn away. This article shows the steps we took to sand away the old sealer and apply a new coat to give the countertop a like-new appearance.
Note that the matte-finished travertine shone in this article had not been polished to a glossy sheen upon installation, and any gloss on the surface was due to the sealer on top. I know this because I installed the counter-top myself. This is important to note because if your contractor-installed stone countertop has a high-sheen polished surface then you should probably skip sanding the surface and just clean the countertop thoroughly before applying a new coat of sealer. Sanding a shiny, polished countertop will dull the finish, and to re-polish the surface to a high gloss will require wet-sanding with very fine abrasives—and a lot of practice. The polishing process progresses through finer and finer abrasives until finally graduating to a hog’s hair polishing pad with a polishing compound. It’s quite a chore to achieve that professional sheen, so don’t bother sanding it if you don’t need to.
Step by Step
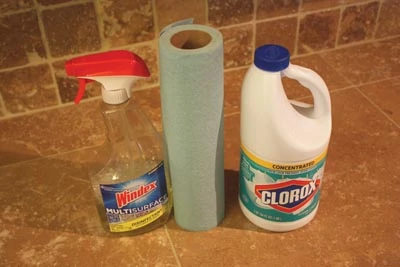
Clean the countertop thoroughly, paying particular attention to the grout joints. You don’t want any dirt or grime to be sealed onto the countertop.
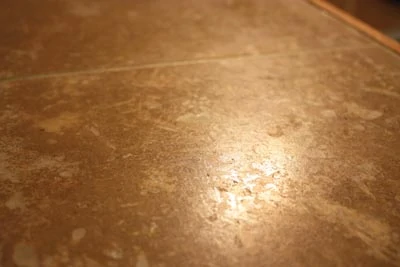
The countertop in this article had patchy bare spots where the sealer had worn away. I decided to sand away the old sealer and start from scratch. Again, if your countertop is polished to a glossy finish, then you should skip sanding and go straight to cleaning and re-sealing.
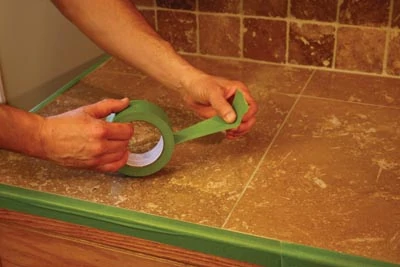
Mask off all surrounding areas that you don’t want exposed to the sealer.
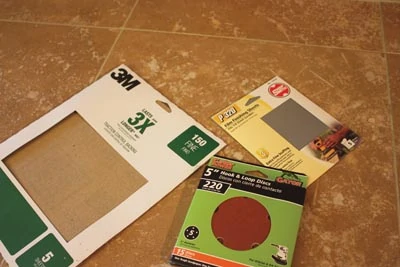
Select a variety of progressively finer bits, the coarser abrasives to remove the old sealer and the finer ones to smooth out the surface in preparation for the new sealer. The finer your abrasives, the more polish you can impart to the countertop.
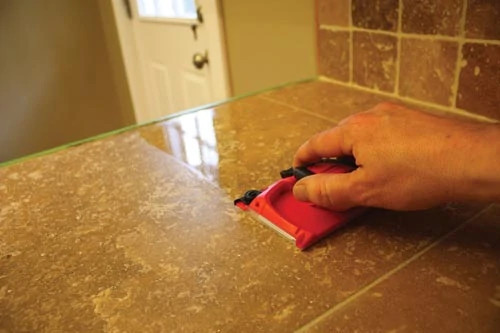
I began removing the old sealer with a random orbit sander equipped with 100-grit abrasive.
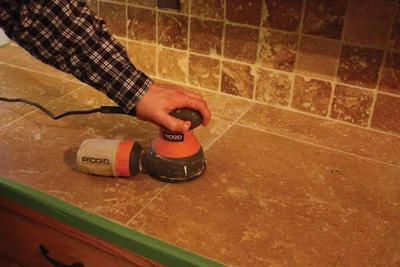
I made three steady passes to remove the old coating.
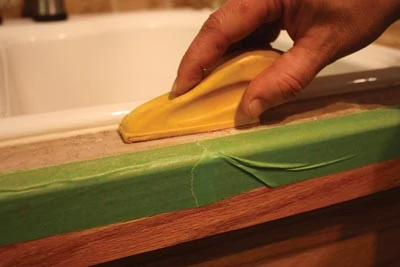
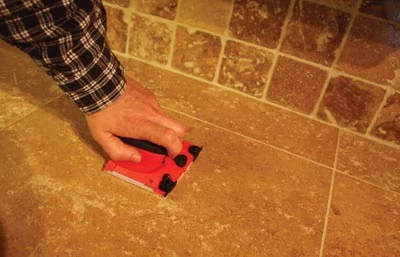
A handheld detail sander can easily fit into narrow spaces.
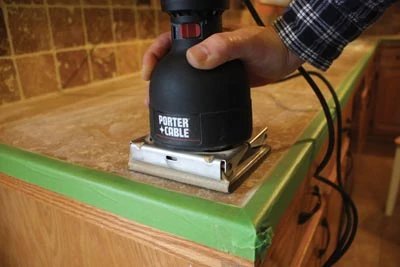
A quarter-sheet sander like the Porter-Cable Speedbloc can get right up to the edges of corners.
I made several passes graduating from 100-grit, to 220 to 350 until all traces of the old sealer were gone and the surface felt perfectly smooth to the touch.

If you decide to sand your countertop surface, keep a hand broom and dustpan ready because the abrasion will generate a lot of messy residue.
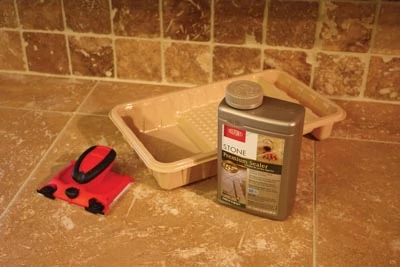
I chose to use a water-based penetrating sealer from DuPont that can last up to 150 percent longer than a regular sealer. Always follow the sealer manufacturer’s instructions for application.
I applied the product with a paint pad. Specifically, I used an edging pad from Shur-line that conveniently fit into the narrow places around the stove and other obstacles.
For best results, spread excess sealer over the entire area for even penetration. Allow the liquid to penetrate the surface for 15-30 minutes.
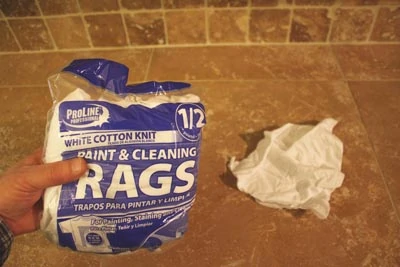
Remove excess sealer by wiping the surface with clean, dry towels. Avoid using cheap shop towels or paper towels, which can leave dye, lint or fibers in the sealer. I recommend using white cotton knit rags specified for “paint and cleaning”.
Most stones and grout will require two coats. A few of the more absorbent stones may need additional coats to be properly sealed. Wipe away excess sealer from the final coat. A full cure is achieved after 24-72 hours, but the sealer will dry to the touch in only about an hour.
Side Note
How can I tell if my stone has already been sealed?
Apply a coin-sized drop of water to the top of the stone and let stand for at least 15 minutes. Cover the drop with a glass to slow evaporation. If the stone didn’t darken, then the stone is probably sealed against water-based stains. (Testing for oil repellency is more difficult because if the stone isn’t sealed, then the oil may stain it.)
Other Countertop Articles
