

By Larry Walton
Photos by Mark Walton
Installing a LVL Beam and Removing a Load Bearing Wall To Create an Open Space
It may look like home improvement skills come naturally for my brothers and me, but it’s mostly due to a lifetime of lessons strung together. Early on we learned from our dad, a professional carpenter and a prolific remodeler of the house we grew up in. But we also learned some remodeling lessons from our mom. One of our earliest memories of a home improvement project was carried out by mom at her friend Betty’s house. The ladies decided it was time take out a wall between the dining room and the living room to accommodate her friend’s large family. Mom walked down to Betty’s house with dad’s circular saw in hand, and the friends made short work of the wall.
When Mom proudly reported on the project at dinner, she heard a thing or two from dad about the dangers of removing potentially load-bearing walls and all of the possible obstructions that could have been hidden inside the wall. Mom just shrugged and said, “None of that happened, and it will look great when you and Alan finish the details.”
Few projects on a house interior can bring as significant a change as removing an interior wall between living areas to open up the space. Prior to the 1970s, many homes were designed with smaller defined spaces than we usually see in the current era, which is why “opening up the space” has become such a popular upgrade.
There are several design considerations for removing an interior wall, including sight lines, traffic flow, lighting, resale value, privacy and family dynamics. If you decide the change is desirable, there are some logistical and structural considerations as well. These can be divided into questions about what else the wall is doing besides breaking up the space. Interior walls often provide hidden passage for utilities such as HVAC (heating, ventilation and air conditioning), electrical wiring and plumbing.
Interior walls can also provide load-bearing support for the roof system, for the floors above, or for intermediate support of long spans and splices in the ceiling joists.
In the case of the project featured here, we noted a pair of outlets in the wall and determined there were no water pipes or HVAC ducts living in the wall. However, a quick inspection of the rafter components in the attic space revealed that the ceiling joists were perpendicular to and supported by the unwanted interior wall.
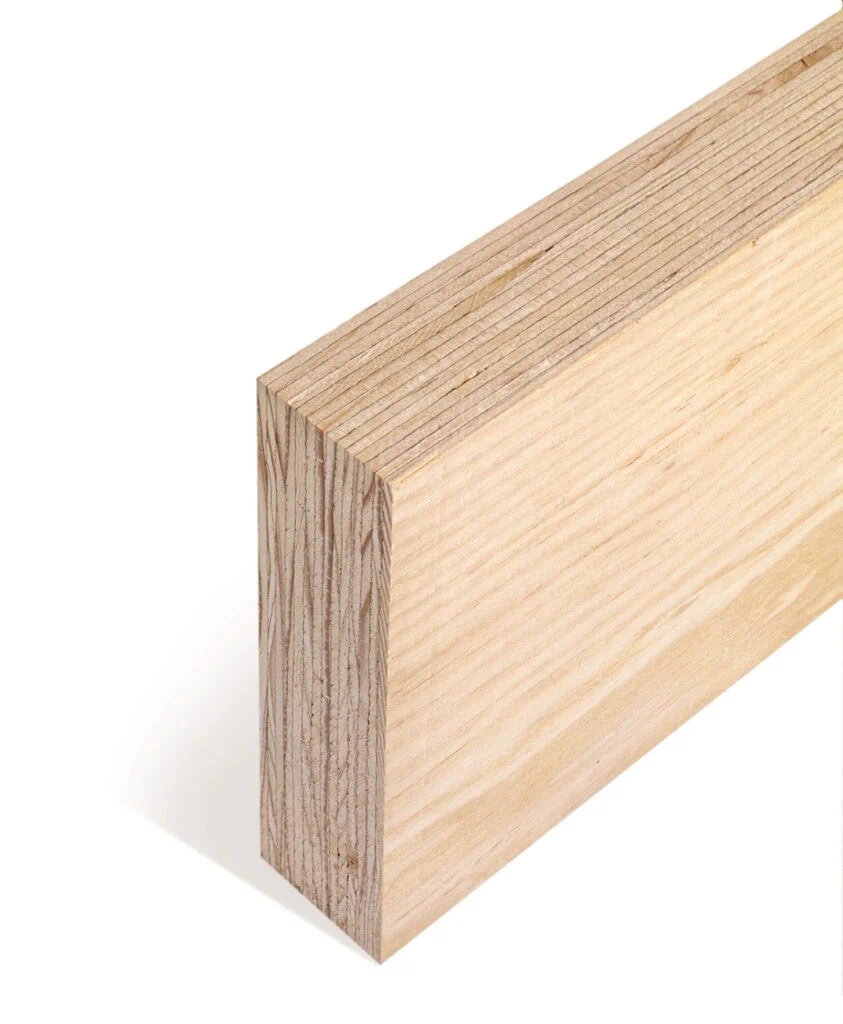
Right away we could see that the ceiling was too low to put a beam under the ceiling joists, so we asked our engineer if he could spec out a beam to go above the ceiling joists in the attic (supported on each end by wall framing). He did the calculations for a 3-1/2-by-12-in. laminated beam to replace the bearing wall.
After ordering the beam and removing the drywall from both sides of the wall, the remainder of the project was about installing the LVL beam, removing the wall framing and filling the voids in the floor, ceiling and adjacent walls.
Here’s how we got it done:
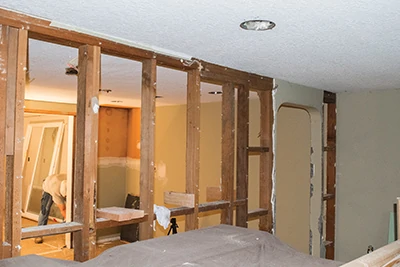
Removing the drywall was as far as we could go in removing the interior wall until the beam was in place.

We poked the beam through a vent opening in the gable end of the house.
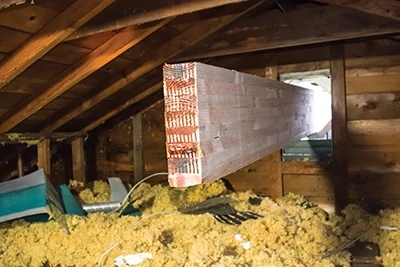
We put half of the beam inside the attic, which made it easy for Chad to balance it while I came around to the inside to get a grip on the interior end.

We cleared insulation from around the area where the beam was to go, but we had to move it into position under some recently-installed furnace ducts.
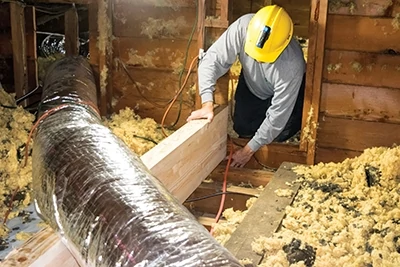
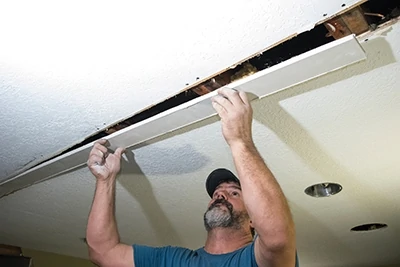
It was pretty easy to align the beam over the top plate of the interior wall, which was outlined by the break in the ceiling drywall of the two rooms below.
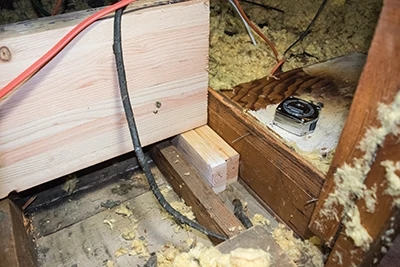
We cut some blocks to fill in the space between the beam and the top plate of the walls that would support the ends of the beam.
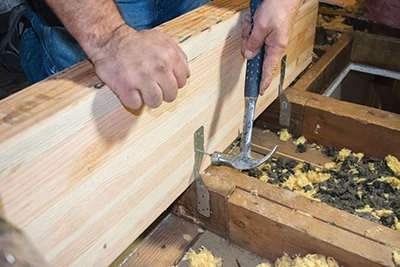
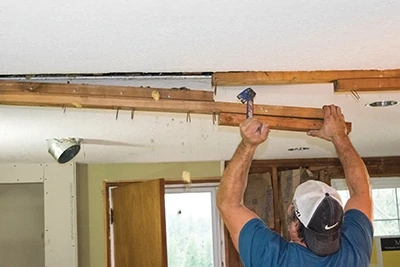
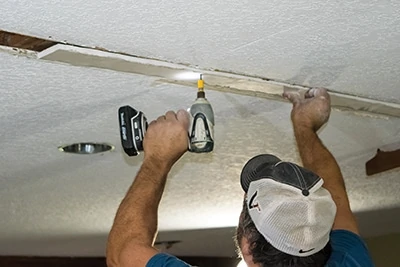
We nailed straps as outlined by our engineer on both sides of the beam and into each ceiling joist.
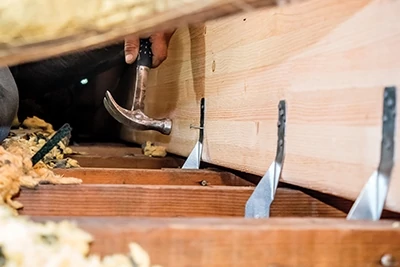
It takes a lot of nails to properly fill the nailing positions on the two straps at each ceiling joist. The ceiling joists are hanging from the beam so sheer strength is very important.
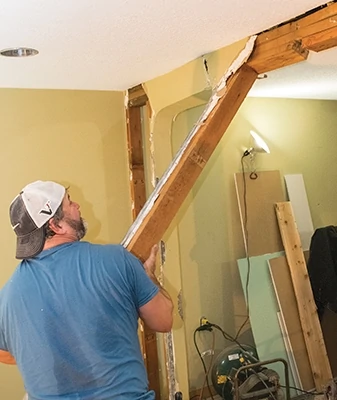
With the beam in place we could remove the load-bearing interior wall studs.
With the studs removed, we pulled down the framing wall plates, which were nailed into the ceiling joists.

The bottom wall plates were trapped between decades of flooring layers and had to be pried out of place.
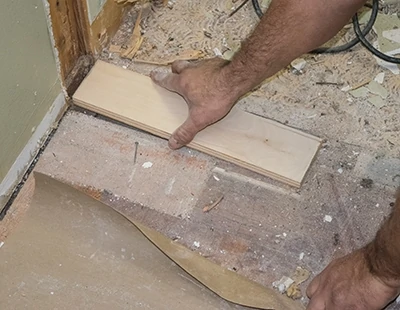
We cut filler strips to fill the voids left by the bottom wall plates.
We blocked out the framing as needed so 1/2-in. drywall would flush out with the existing drywall in the living room and dining room walls.
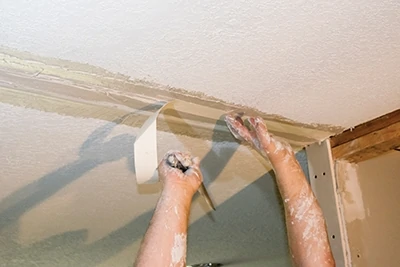
Strips of drywall were attached to the ceiling joists to fill in the gaps where the top wall plate was removed.
The drywall strips were joined where the ends would be supported by the ceiling joists.
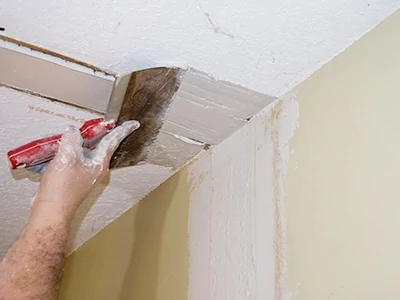
We filled the joints between drywall pieces with joint compound.
We also used joint tape over the drywall joints to avoid cracks in the compound.
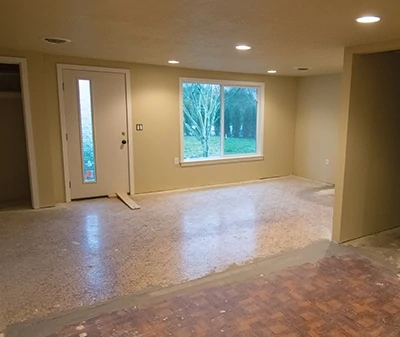
You can see where the interior wall was located by the change in flooring. The new open space will make the house feel much larger and will be a great selling feature when the house goes on the market.
