


Lowering a Load Bearing LVL Beam in an Attic Buildout Project
By Clint Thomas
There is an old adage amongst homebuilders – It’s cheaper to go up, than out. Adding a second floor or a partial floor above an existing structure requires less cost than trying to increase the overall footprint of a house. Unlike the traditional ranch-style or craftsman style houses that our grandparents lived in, houses today come in all shapes and sizes. It is common to have houses with divided roofs and a multitude of peaks and gables that are the natural result of steep-pitched roofs.
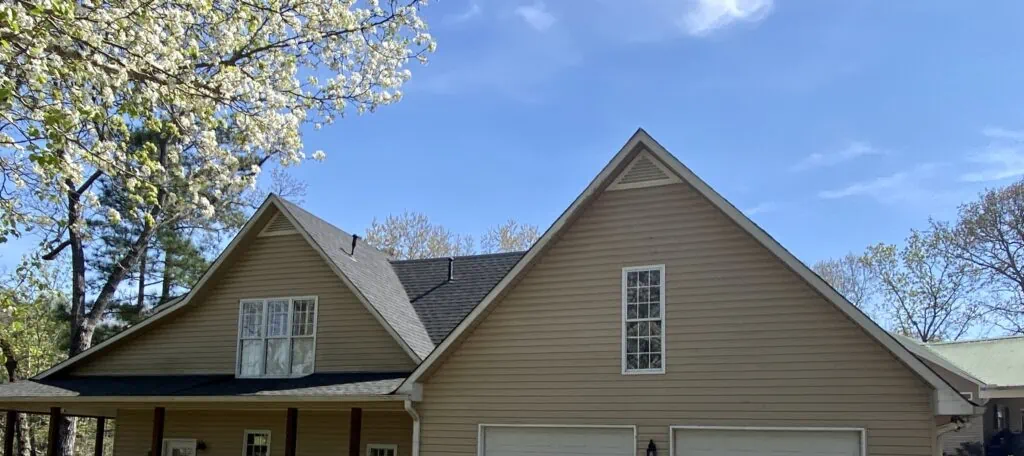
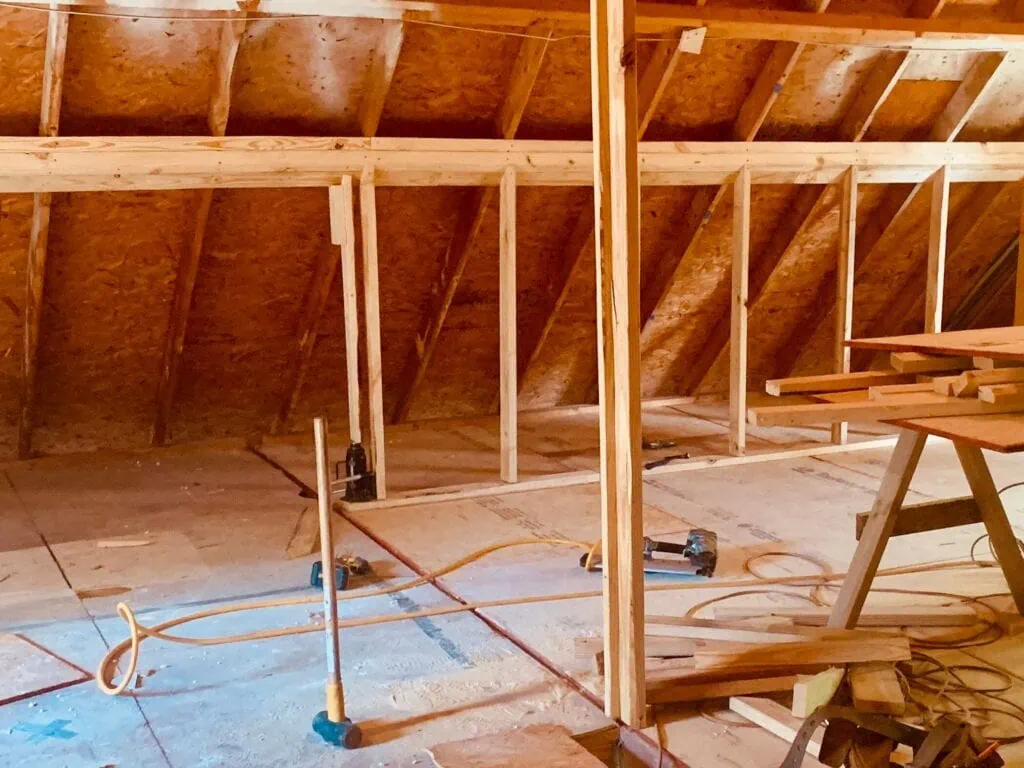
More often than not, newer homes have their fair share of unused space that some might even call wasted space. A friend of mine recently called me with the idea of finishing out the attic area above his two car garage. The roof on his house had a steep pitch, approximately a 10:12, which gave his living room a nice vaulted ceiling. Consequently, the unfinished space over his two car garage also had a vaulted ceiling and a lot of empty floor room that was easily accessible from a doorway in his upstairs hallway.
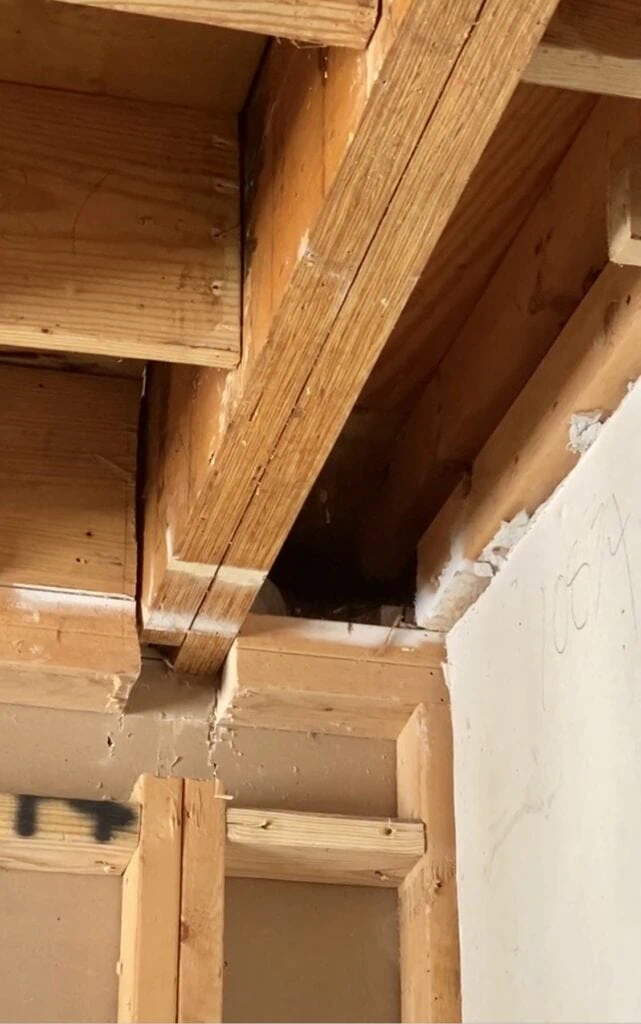
The main problem that he faced in converting this unused space into livable space was a laminated veneer lumber (LVL) beam that was a key structural component for his garage ceiling which protruded up through the (floor) joists in the unfinished attic space creating a step-over in what would be the middle of his new room. This beam had been installed to make the garage ceiling level which caused it to protrude from the attic floor. My friend did not want the floor in this area to be two different levels so the only viable option was to lower the LVL beam down 6 inches to make it flush with the attic floor. He was not concerned about losing six inches of ceiling height in the center of his garage. This was preferable to having a step-up in his new floor.
Laminated veneer lumber began to be manufactured in 1941 for aircraft parts. Douglas fir is the most common wood followed by Yellow Poplar and Southern Pine that is used for laminated veneer lumber. The manufacturing process for LVL is similar to that of plywood, except that the veneers, thin layers of wood, are assembled along the longitudinal plane instead of across each other as is done in plywood. As a result, LVL is not limited by the length of the raw material, i.e., the tree it is cut from. The primary advantage of LVL is that it is one of the strongest wood-based construction materials on the market today. LVL beams are commonly used for I-joists, headers, rim-boards, beams and trusses. The main disadvantages are the high cost, the weight of the beam and the density makes it almost impossible to nail into.
The LVL beam spanned the garage from the side wall that was contiguous with the house to the outside wall of the garage. It carried the weight of the joists attached to it for the frame of the garage ceiling and also supported some of the weight from the cathedral ceiling above it.
Anytime that a structural component of a house is modified it can have serious impacts if it is not done correctly with the worst case scenario being a collapse of the portion of the house that is being worked on. As one structural support is taken away, a new one has to already be in place to carry the load.
The process to lower this LVL beam was similar to the method used to eliminate a load bearing wall but with a few differences. Fortunately, the beam was in his garage which allowed for, not only, a flat footing to work off of but the concrete garage floor provided a solid surface with sufficient strength to support the load of the upstairs portion of the house.
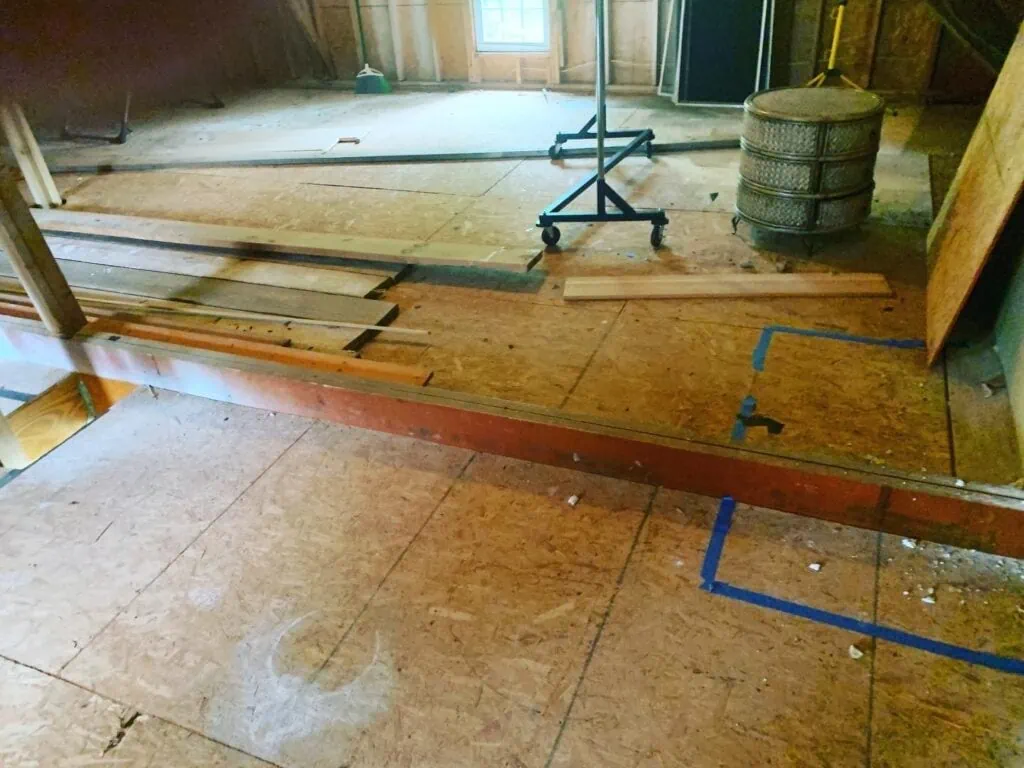
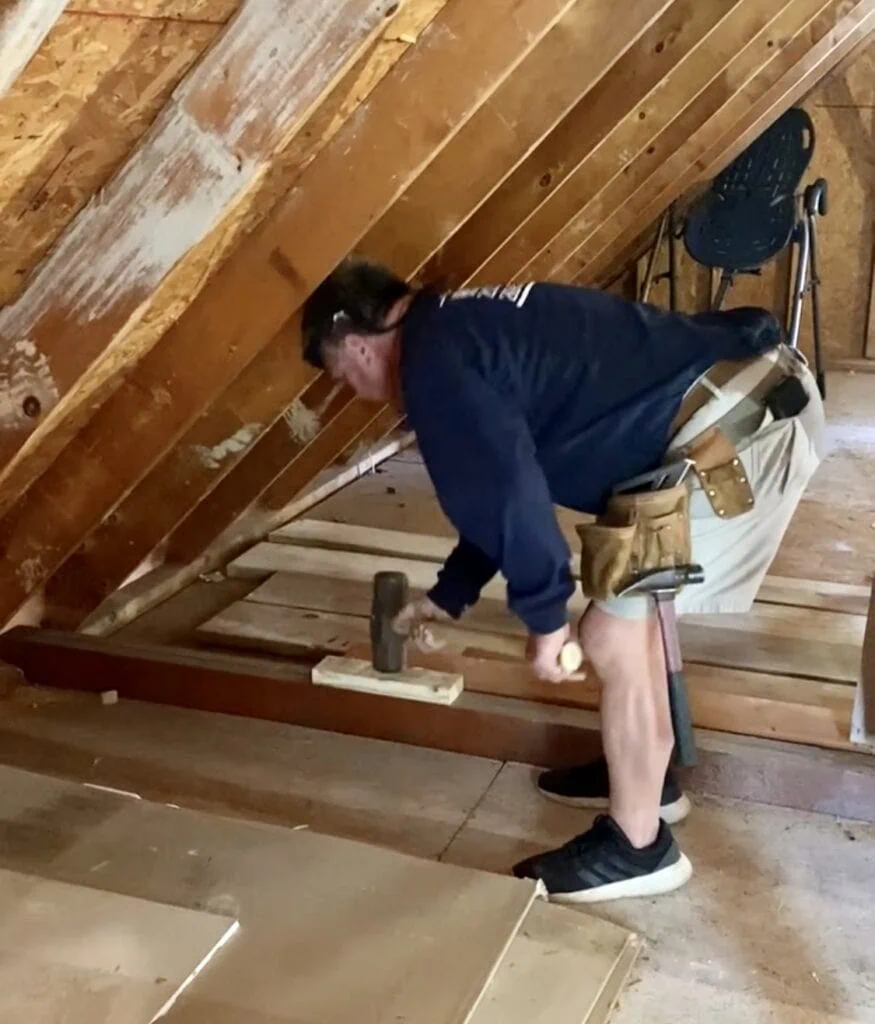
The process began by cutting out twenty-three inches of sheet rock in the garage ceiling on both sides of the LVL beam. Two temporary walls were then constructed, one on each side of the LVL beam and running parallel with it, to support the weight that the beam was carrying. These two walls were actually constructed a quarter of an inch taller than the garage ceiling. This allowed some of the weight to be taken off of the LVL beam once the joists were cutaway.

With the sheet rock removed and the two new supporting walls erected, the next step was to make temporary support posts out of 2×4 material that were graduated in height at one-inch intervals. By using these posts, the LVL beam was lowered only one inch at a time which limited the possibility of a collapse that a sudden drop of six inches might cause. A total of four support posts were used for each step. These were evenly spaced out along the length of the LVL beam.
These temporary support posts made from double 2×4’s nailed together that were one inch shorter than the height of the LVL beam. Shorter pieces of 2×4’s were nailed to both sides of the support posts at the top and stuck up over the posts four to five inches (think of a fork with only the two outside tines). This insured that the LVL beam would be locked in place directly above the support posts and could not move. Now, it is very important to make sure that the support posts are perfectly level and plumb when the LVL beam gets lowered onto each one. Otherwise, the weight from the beam can cause the post to kick out in from under it if the post is sitting at an angle.
Another precautionary step was to cut a hole through the plywood sub-floor in the attic and extend a support post from the garage floor all the way to the ridge of the roof to temporarily provide support to the roof structure once the LVL beam was cut loose.

The final step was to install triple 2×4’s on both side walls that would support the LVL beam once it was lowered down into its new resting place. We removed a strip of sheet rock on both walls so we could fasten the new 2×4 supports to the existing frame of the house. This also involved having to cut out the plate in the existing wall to create a notch for the LVL beam as it was lowered into place.
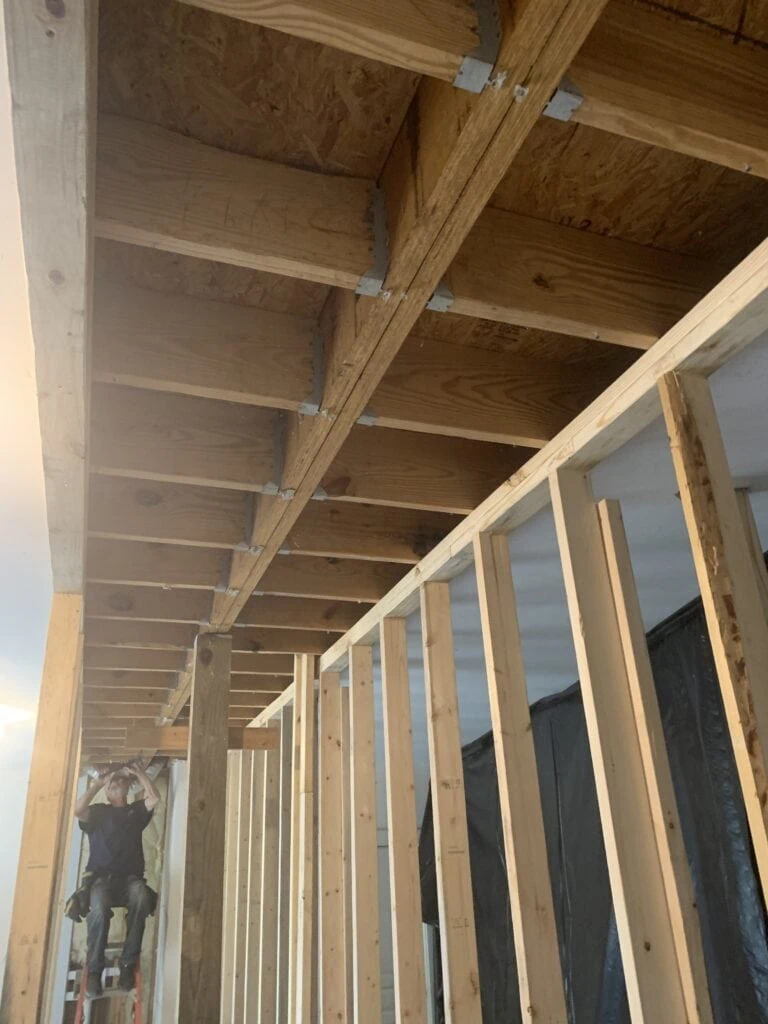
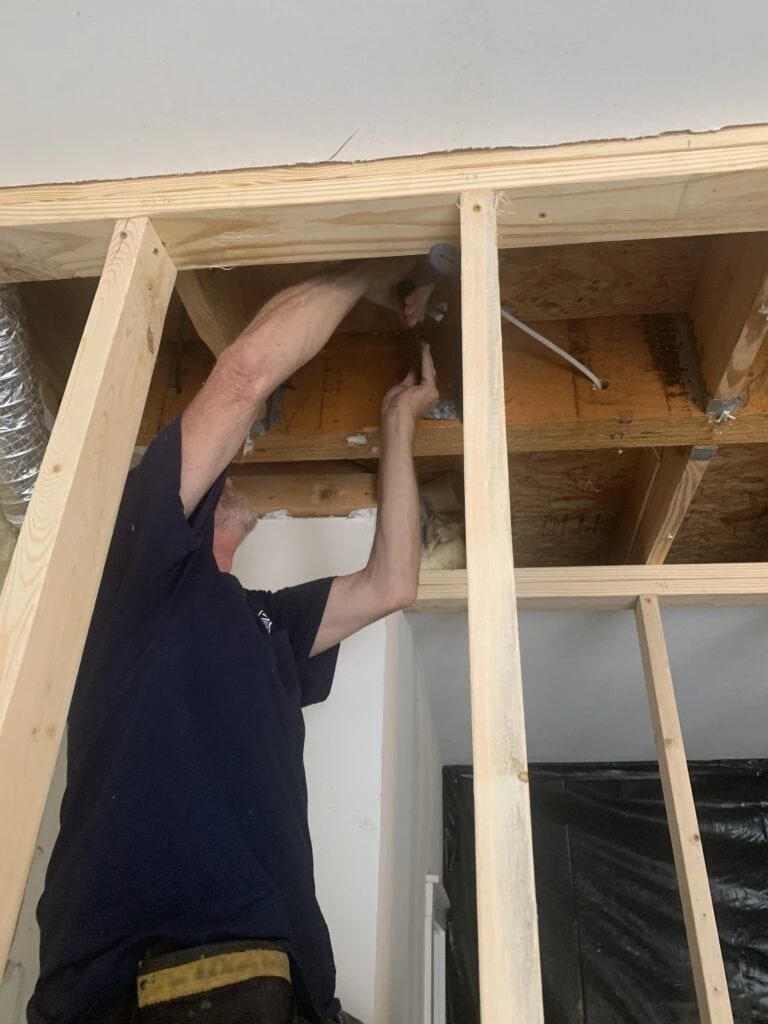
Once everything was in place, the next step was to disconnect the floor joists from the LVL beam on both sides of the beam. Metal joist hangers, such as the ones manufactured by Simpson Strong-Tie, had been used to connect the rafters to the LVL. All of these had to be removed which was a labor intensive process that took almost an entire day.
With all of the support pieces in place and the joists cut away from the LVL beam, the only step that remained was to detach the LVL beam at both ends and then gently tap it down to the temporary support pieces using a sledge hammer working from above. After both ends of the beam were resting on the temporary support pieces, a new set of temporary support pieces albeit one inch shorter, were moved into position. Once the next set of temporary support pieces were in place, the previous set was removed and the beam tapped down to rest on the new shorter support pieces. This process was repeated until the LVL beam firmly rested on the triple 2×4 supports at both ends of the beam. With the LVL beam in place, the temporary support posts that had been used to lower the beam down were removed.
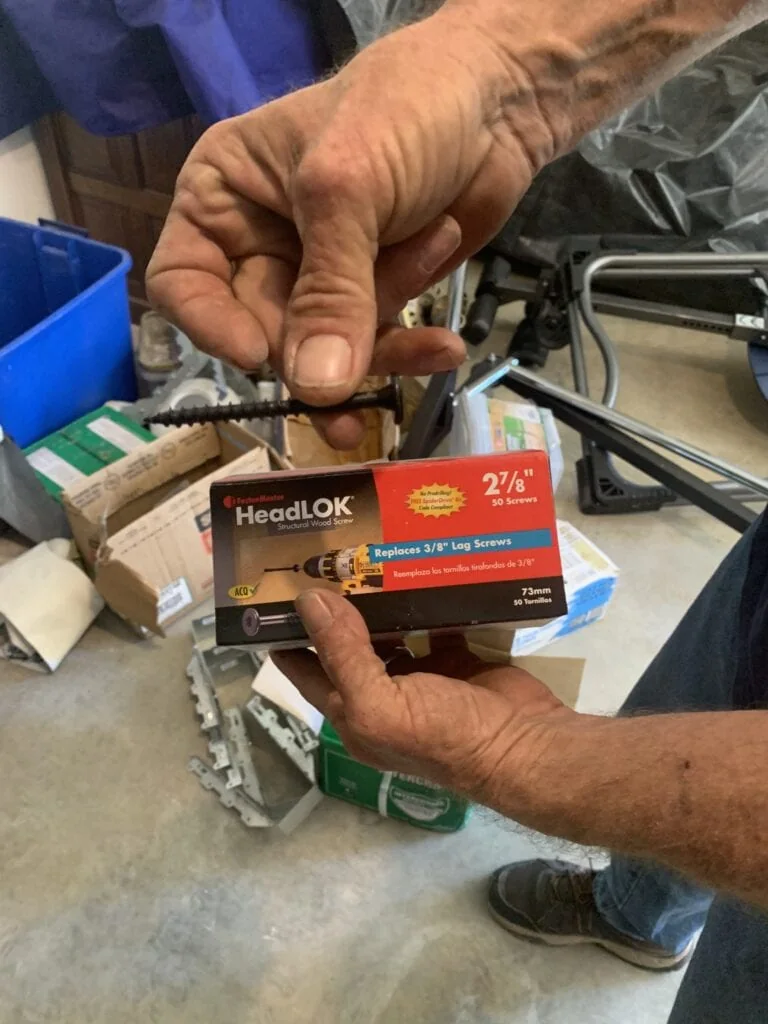
As previously mentioned, laminated veneer lumber is very dense. It is so dense that it is almost impossible to drive a nail into. Therefore, screws are the usual choice. The builder used 2 7/8″HeadLok structural wood screws to fasten the LVL beam together and to attach it to the house’s existing frame.
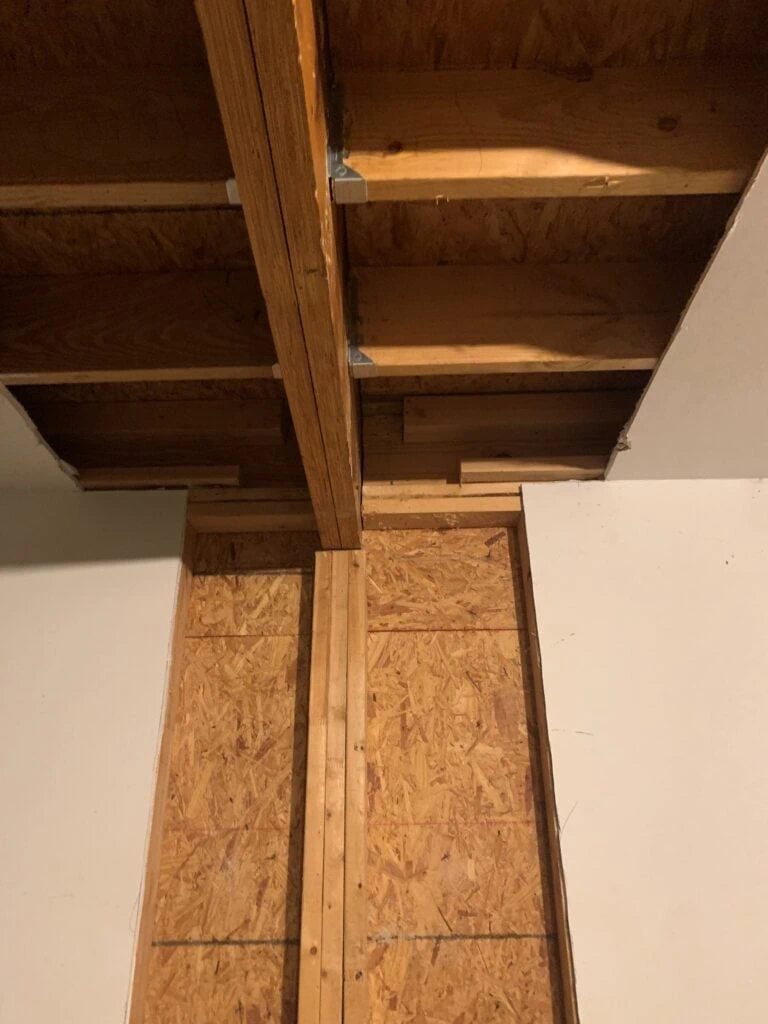
With the LVL beam securely fastened into its new resting place, the next step was to attach the metal joist hangers that are now required by most building codes along both sides of the LVL beam. After attaching the new metal joist hangers, the support walls were removed one at time after verifying that the joists were in the proper alignment with the new joist hangers. The floor joists were then fastened to the metal joist hangers.

When working on any structural component of a house, always adhere to the old adage of haste makes waste. Work slowly and methodically. It is also strongly recommended to check your local building codes before you begin any such work and when in doubt, ask a professional. A few hundred dollars, even a few thousand dollars, paid to a structural engineer is a lot cheaper than trying to remedy the damage caused by a collapse or other catastrophic problem.
Special thanks to Danny Hayes and Bryan Buchanan of HHI Building and Remodeling for their work on this project and for sharing their expertise on this subject.
