By Mark and Theresa Clement
Every Deck has its Day. Steps for Rebuilding your Backyard Deck.
The beloved backyard deck, in historical terms, is a pretty new element in houses coming into vogue some forty or so years ago. What’s more, decks are the only structure we build on the outside of the house that must endure what’s called “wet service,” i.e. rain, snow, sunlight, drying and so on. Yet, when it comes to popular DIY projects, my experience is that there is hardly one more desirable than building a deck—nor as potentially dangerous. While many DIY’ers I’ve met think it takes just a few weekends (pros and veteran EHT’ers know better) to slap a deck together, it’s more complicated than that.
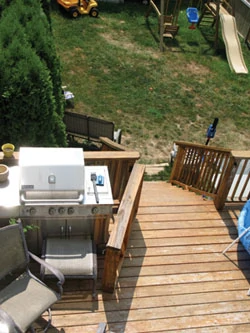
Adding to the confusion, until recently, there weren’t enough deck-specific construction details in the building codes. Deck builders and inspectors borrowed from both common sense and standard stick-framing practices like joist spans and spacing. But the challenge was that typical stick-framed structures have “structural redundancy.” In other words, double top plates interlock walls, joists span from bearing-point to bearing-point, point loads go to the foundation and so on.
Due to the weather exposure and common construction inefficiencies, decks have a finite life-span, usually around 20 years. Some decks are vastly under-built. Others are smartly built but have simply lived too long outdoors. And, still others just no longer match the homeowner’s current outdoor living requirements. For any—or all—of these reasons, there are millions of decks that need to be re-built or at least need a re-boot.
On this deck, we encountered each of these issues and used that to design and build a better outdoor living space for the homeowner and their growing family. The old deck had lived its life. The yard and neighborhood called for some sweet design features to maximize space, utilize dead space and to calm the busy view with what we call “static busters.” That was the challenge. Here’s how we met it.
Design
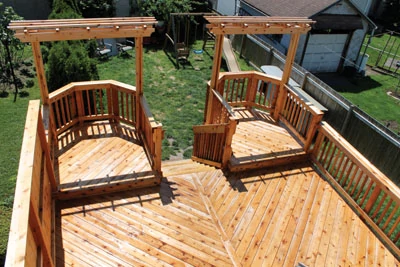
We love the opportunity to reboot a design. The old deck was a basic rectangle with a center stair sticking out the front into the yard, creating a dead space on either side—too small to do anything with; too dark to plant anything symmetrically. It worked, but it was just OK.
The new deck surface would surround the stairs with raised “islands.” And since this is an in-town home there’s a lot of what I call “visual chatter” from the surroundings, which we quieted (static busted) by adding two pergolas on the islands and a diagonal decking pattern on the Western Red Cedar decking. Tie in a privacy fence and some simple trim details, and this backyard blow-out takes the space from bland to boo-yah!
Demolition
The first step to smart demolition is using the right tools and techniques. The second part is storing and getting rid of the debris in a way that makes sense for workflow and budget.
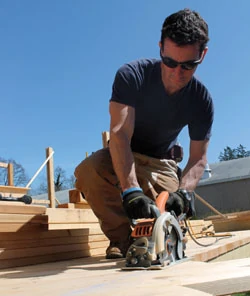
Tools and Techniques. There are lots of ways to disassemble a deck. For this deck, my go-to tools were the circ and recip saws. To gain access to the joists—and to disable the “membrane” created by the decking—I got a bunch of cheap-o blades and ran my saw down each side of the joists. This not only turned the deck boards into a type of easy-to-pick-up confetti, it exposed the joists, which I could then halve with my recip saw. I went through about 40 bucks in blades (I managed to hit every nail), but the deck was in pieces and being hauled out by lunch.
Building Back—Construction Details
While many framing details for this deck are typical—we flashed and lagged a ledger to the house; spread joists on 16-in. centers—there are a few project-specific details that are good takeaways for similar projects.
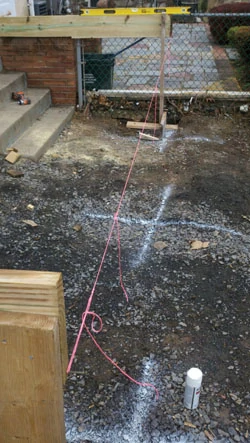
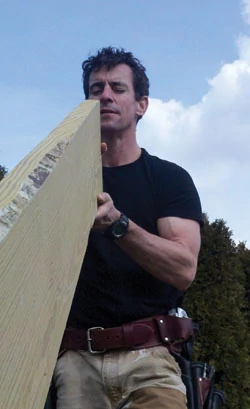
Straight and Square. No matter what you build, you want to build it as straight and square as possible—a challenge here. Because this deck houses its stairs between two islands, that makes it a pretty deep structure at 23 feet away from the house. Once you get that far away from your layout control points, things like a slight curve in a joist can create big headaches down the road. So for the outside band joists we selected the straightest framing we had, then string-lined them once they were installed to make sure we ran true. Later on, when we pulled layout, we could count on accuracy.
Cantilever Beam. Our joists rest on cantilever beams, double 2x10s in this case, and making a solid connection between the beam and the joist bottoms is important.
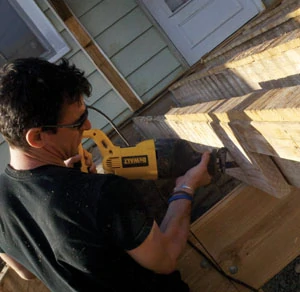
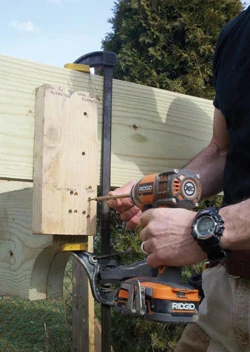
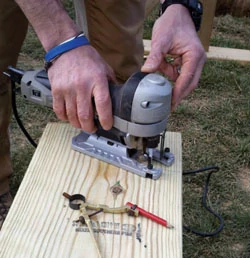
Detail is also important. While many deck builders clip a 45-degree chamfer on the bottom corners of the beam, we cut a half circle out of ours using a jigsaw.
While we like the way it looks and it sets our designs apart (even though I’m pretty sure we’re the only ones who really notice), the semi-circle makes the beam-ends manageable with clamps. Instead of hoisting and trying to sink a fastener while death-gripping the board in place, we clamp it tight and take our time.
Temporary Supports. For most decks, we cut our outside band joists to finished length, then place the temporary supports (usually a 2×6) in the same location as the beam. This serves two masters: First, it supports the joists; second it serves as a temporary connection point for the cantilever beam.
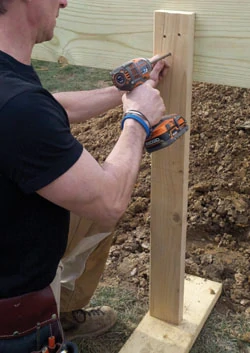
On this deck, however, we had one long beam at mid-span which we assembled conventionally. We also had three short ones (one for each island, one for the stairs) so it made more sense to build those temps a little differently.
We ran the island band joists (four of them) long, then held them on layout with temps. Theses joists were supported on one end by the mid-span beam and on the other by our temps. So instead of running more temps to the ground to carry the smaller beams, we simply used cleats (scraps of 2x) to suspend the beams in place until we could set a single post and base in the center. This minimized the labyrinth of supports otherwise required.
Another thing we did differently with these temps is we gave them a wide, flat base. Normally a 2x run to ground does the trick, however this deck was carrying a lot of weight, and the ground was wet enough that the lone 2x sank. It took more time on the front end, but I like this wide-base technique so much that I’ll repeat it on all my decks from here on out.
Footing Tubes.I am not a big fan of footing tubes—not because they don’t work, but because they are a major-league hassle to lay out. It’s really hard to get the tube plumb in both directions and get the post to land in the center. What’s more, if you set your j-bolt hardware in concrete before you set your post then make a mistake, well, now your problems are cast in concrete.
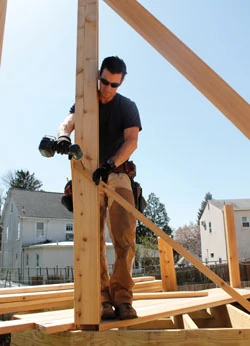
Here, I laid them out meticulously. It took a long time and we still had to tweak everything plumb and centered. The reason is that the minute you start placing concrete in the tube, it moves the tube. Next time, I’m either building my own footing tubes out of 1/4 plywood and 1x or I’m going to set and brace the post—with the hardware already on it—then place the tube below it and fill up concrete to my hardware.
Decking
Design. One of the underlying elements of this large deck is to create a unified sense of place, but one with smaller spaces to ease the wide-openness. Making places and spaces encourages them to be used rather than just be a big ole empty halo around the table and grill. It all starts with diagonal decking, and for this project we used knotty 2×6 Western Red Cedar. It’s easy to work with, readily available, stable and awesome looking, plus it’s both durable and green. For the framing and ground contact, we used pressure-treated lumber. And I source it from a pro yard. It comes banded, straight as can be expected for framing and dropped where I want it, which is not always the case with off-the-rack lumber, delivered or not.
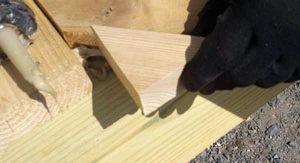
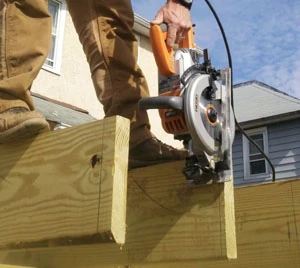
Installation Details. We ran a triple joist in the center of the deck space with 2x cleats on each side. We then ran a center “header strip” that each diagonal deck board ties into. On the raised islands, we reversed the decking angle to add visual texture. This might seem esoteric, but it gives the eye someplace to rest within the deck space.
We ran the ends of the deck boards wild over the band joist, snapped a line and cut to fit as we would with typical decking. For the inevitable little triangle fillers, we cut these to fit then glued them in. To hold them fast while the glue dried we pre-drilled and set a finish screw.
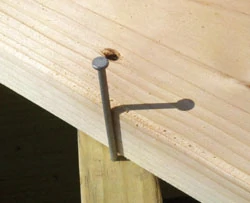
We used 3-in. deck screws to fasten the 2×6 deck boards. And even though we spaced the boards, shadows made the joists hard to see. To stay on course, we periodically used our layout squares to project the line from one board to another.
Islands and Pergola
Corners.To create the islands and soften the lines of the deck, we mitered (aka “clipped” or “dog-eared”) the corners. Each miter cut in each part of the assembly is 22.5 degrees. Why? Multiply 22.5 x 4 and you get 90. In other words, even though the corner is clipped it still has to travel 90 degrees through space to change direction. It’s tempting to use 45-degree cuts here but it exposes end-grain. Using 22.5-deg. miters hides the end grain, making the assembly better looking and longer lasting. The miters for the guardrail assembly are also 22.5-deg. each.
Raised Islands. Raising the islands, by comparison to building the rest of this deck, is easy: simply toe-nail 2x8s on top of—and perpendicular to—the main joists at 16 centers. Once you reach the dog-ears, the joists are cut on a 45-degree angle and covered with the band joists.
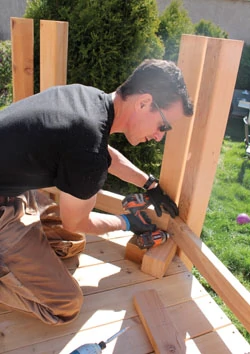
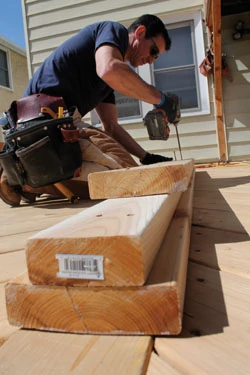
Pergola Posts. We made the pergola posts by laminating a 2×6, 2×4, and 2×6 forming an “H” to create shadow-lines and remain stable. We interlocked the built-up posts with the rim joist using Fasten-Master THRU-lok structural screws. These meet code and go in super-fast. While installing the posts, use angle braces (we used some 1-by rippers) to hold them plumb in both directions until the rafter assembly can be installed.
Stairs. There are a number of ways to attach stringers to framing but we like to trap them between blocking and toe-screw them, which means there is no way they’ll wiggle loose over time.
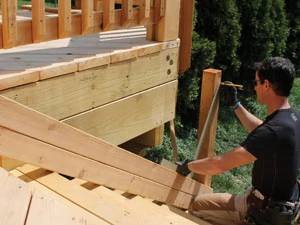
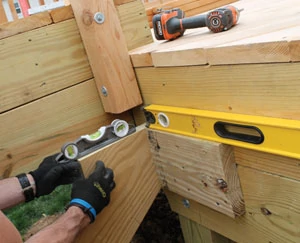
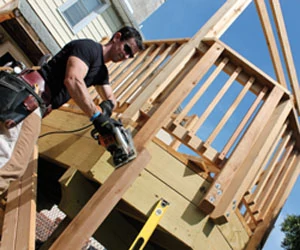
For the guardrail rails, I use the posts for layout. I set the 2×4 rails on the stair nosing, then mark the backs. I then cut a compound miter to soften the square edge.
Pergola Rafters and Purlins. As with so many pergolas, this one is part art, part science. We used 8-ft. stock for the posts, which created an opening of 82 inches between the deck surface and the bottom of the 2×6 girder. It both looks and feels right. We always test these out before we make our final cuts because it’s really easy to make a pergola too tall (looks silly and lost) or too short—people won’t want to be under it (also, silly).
The girders are 2×6 with a 60-degree clip cut on the ends. The rafters are 2×4 with a 60-deg. cut and the purlins are 2×2 ripped from full 2x stock on the table saw. The rafters are laid out carefully—8 inches inward from the end on each side, then in the center of the span. The interior rafters are centered between the left or right rafter and the middle rafter. Equal division and proportion is key for a pergola.
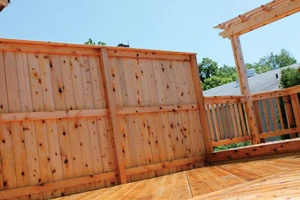
Once installed and part of the deck—along with the privacy fence—we have a destination for the eye to see something awesome without closing in, or closing off, the space. You can still see past it and into it. But various chatter like garages, roof vents, and the “talkative” neighbor fade gracefully into the background.
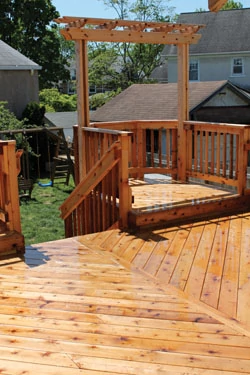
And that’s the point. Decks done right are part of the yard and the outdoor experience. Making them fit with the space, the neighborhood, and the lifestyle are just as important as the construction details that bring them to life.
Editor’s Note: Mark & Theresa Clement are hosts of MyFixitUpLife. The idea of a well-designed deck is to max out the landscape and be part of the yard, not on top of or cut off from it. In this case we were able to get more deck—and more yard—in the same gesture.
Other Deck Related Articles


