By Larry Walton
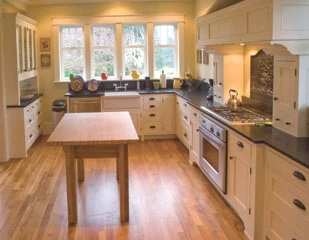
Not many years ago we were marveling at marble vanity and granite kitchen countertops in those put-on-the-booties tour houses. Today the availability of quarried, dimensional stone has brought new meaning to hard surfaces in many more homes.
Although granite is tougher than marble, which is not common in American kitchens, it occurs naturally in a range of hardness. Most can still be scratched by knives and other kitchen utensils. Also, granite is porous and must be sealed to minimize staining and to keep it from becoming a bacteria-growing science experiment.
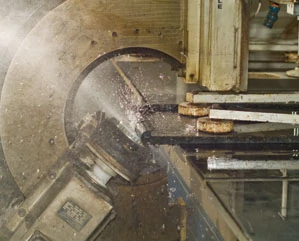
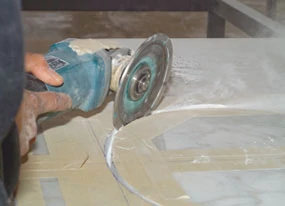
The big custom counter fabricators have stockpiles of quarried rock slabs, which they fashion with laser templates and computer-guided milling machines. Obviously you can’t just whip out your woodworking tools and cut a chunk of rock for your next countertop, but there are some options available.
“You can buy $20,000 in tools to be set up like a caveman,” according to one of my friends in the business. But he doesn’t like to talk about the pre-cut and edged counters available, which is probably what you would install in your home.
Love the look of Corian®, but don’t love the cost? Well DIY solid surface countertops can be an extremely affordable and elegant option with material from SolidSurface.com. Using basic woodworking skills and tools, you too can install your own custom solid surface countertop, desktop, bathroom vanity, laundry prep areas, shower walls, or other surface of your choosing. Click here for more information.
I received a $6,200 bid for a custom installed countertop in our kitchen using mid-range stone. I can buy enough pre-bullnosed rock here in town for about $2,500, which leaves about $3,700 for tools and labor. However, the finished product depends a lot on kitchen design. Seam locations and limitations on shapes and sizes may dictate whether or not the counters should be custom-fabricated and installed.
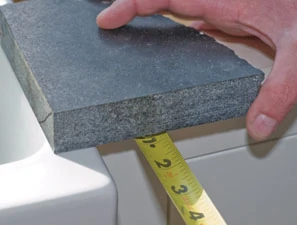
In general, dimensional stone gets quarried to either a 2- or 3-centimeter thickness. Three-centimeter tends to be more expensive but it has better structural strength, and the edge can be shaped without additional help to give it depth.
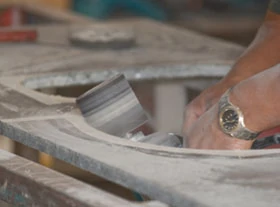
The 2-cm stone is the thickness that is more economical and tends to be readily available for the non-professional installer with pre-finished edges. The edges on 2-cm counters receive a build-down treatment to give them the look of added bulk. Sometimes the edge is mitered, which gives it a square look and hides the seam well. More often, however, a strip of granite is cut and glued to the underside of the edge, and then a heavy-duty router cuts it into a bull-nose shape. The edge seam may be visible to the critical eye.
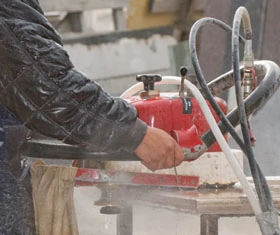
These pre-fab counters also have a single-thickness, polished edge on the back side, which can be cut along the length of the counter and used as a matching backsplash.
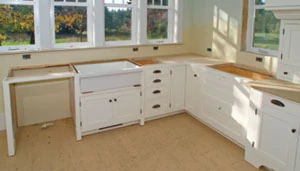
The 2-cm counters need to be supported with plywood sub-decks for added structural strength. Overhangs are usually supported with corbles or cantilevered steel rods.
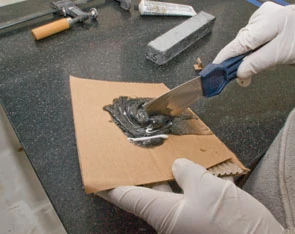
A two-part epoxy with counter-matching colorant can be mixed on a scrape of cardboard.Cabinets should be very flat, level, well anchored and sturdy. It should be obvious to the most casual observer that big pieces of rock are heavy.
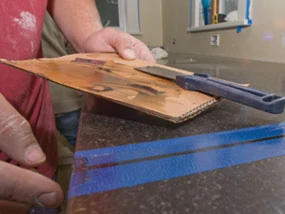
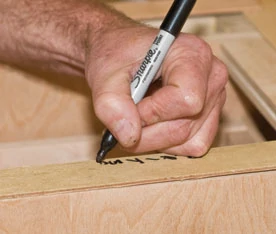
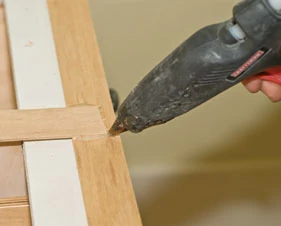
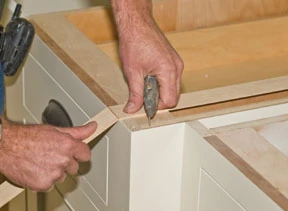
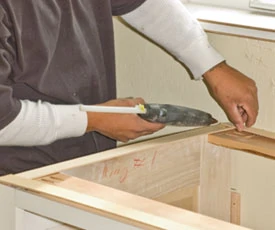
Regardless of the grade of granite you buy for your project, it’s still pretty expensive material. That’s why many installers make templates of wood strips or heavy paper to eliminate measuring mistakes. Wood templates have the advantage of holding up well in a wet saw environment, but you a can use roofing felt pieced together with duct tape as well.
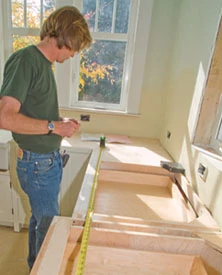
Make sure you label your templates to indicate which is the front and the back edge, and where adjacent features in the kitchen are located.
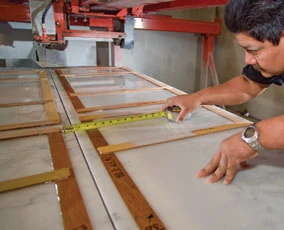
Sinks mounted under the counter are traditional for stone counters, but shaping and polishing the edge of the sink opening is a challenging task. You may wish to install a surface-mount sink instead.
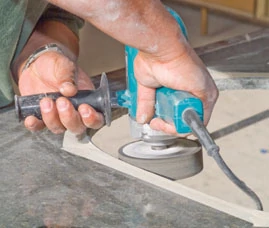
Making seams in granite countertops is another big challenge. A two-part epoxy acts as both an adhesive and filler. Whenever possible, seams should be made over well supported sections of cabinets. Cuts should be straight. It’s a good idea to score the edges below the surface, so the epoxy can extend into the notches for increased sheer strength.
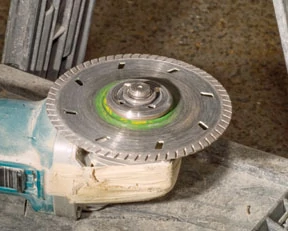
Do not make your seams with the idea of grinding and shaping them flat later. It is extremely difficult to match the factory polish of your stone. Attempts to grind and buff the surface usually result in a noticeable change in sheen giving the seam areas a dull appearance.
Dry-fit the pieces before mixing the color-matched epoxy, paying particular attention to shimming the pieces so they are flat on plane with each other. Place a strip of masking about 1/2 inch away from each edge of the seam.
Remove or tip the pieces enough to place construction adhesive between the cabinet and countertop, and reposition the pieces leaving a 1-inch gap at the seam.
Mix the epoxy, spread epoxy onto the edges along the seam and press the pieces together. Scrape excess epoxy off the top using the masking tape as a form to maintain proper epoxy depth.
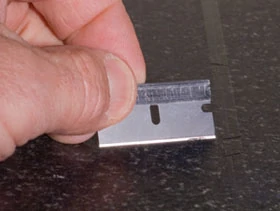
Remove the tape. Clamp and shim the pieces as needed to get them flat. Use a straight razor blade to test that the pieces are on plane. If the edge of the blade bumps into the edge of the stone, it is too high.
After the epoxy has set up, shave the excess epoxy off the surface with the razor blade. Apply a recommended sealer to the surface. Fit and place the backsplash as designed.
Name That Rock
Dead geologists must be rolling over beneath their grave stones at what the quarried countertop industry calls “granite”. So don’t be shocked if a geologist at your next house party tells you that your counter is actually monzonite (or syenite, or gabbro, or anorthosite, or gneiss). Just tell him that he wasn’t actually invited, but he’s welcome to set his beer on the feldspar-bearing rock, while he dishes up some more free food.
Other Countertop Articles


