By Rob Robillard
Learning how to properly clean brushes after using oil paint will improve longevity of the brush and the quality of your paint project. Over time, keeping your oil brushes clean can save you money, too.
I’ve learned this lesson the hard way. It only takes one slip-up (letting the oil paint harden), and your brushes will be permanently damaged or ruined.
Considering that a good quality brush costs anywhere from $15 to $20, it would be a shame to toss them every time you paint.
Before you even get started painting with oil-based paint, you want to make sure you’re using the that are right brush for the type of paint you’re using. I suggest using a high-quality China bristle or Ox hairbrush designed for use with oil paints.
Also, check out these tried and true painting tips to make sure you’re saving time and money with your DIY paint project.
How to Clean Oil Paint Brushes
Follow this process on how to clean brushes used with oil-based paint, and your brushes will have a long-life span and provide good quality brush strokes for years to come.
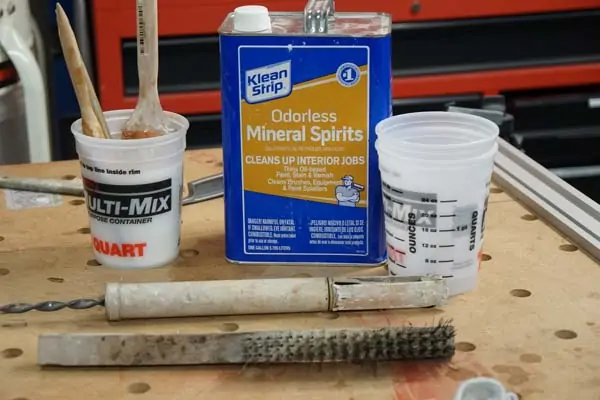
First, gather the supplies you’ll need to get your brushes looking new again.
Supplies Needed:
• Newspaper (or piece of scrap paper)
• Brush Comb or wire brush
• Solvent
• 3 Quart containers
• Brush spinner
• Rag
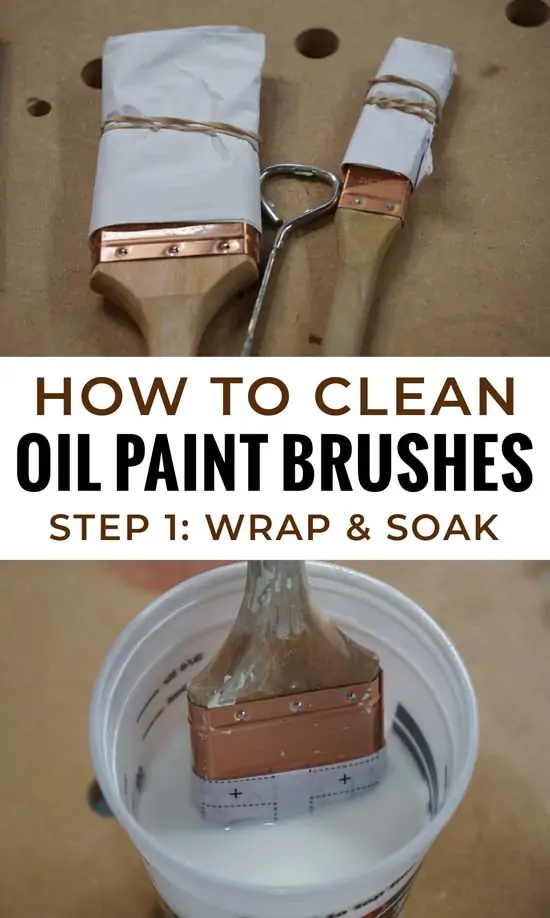
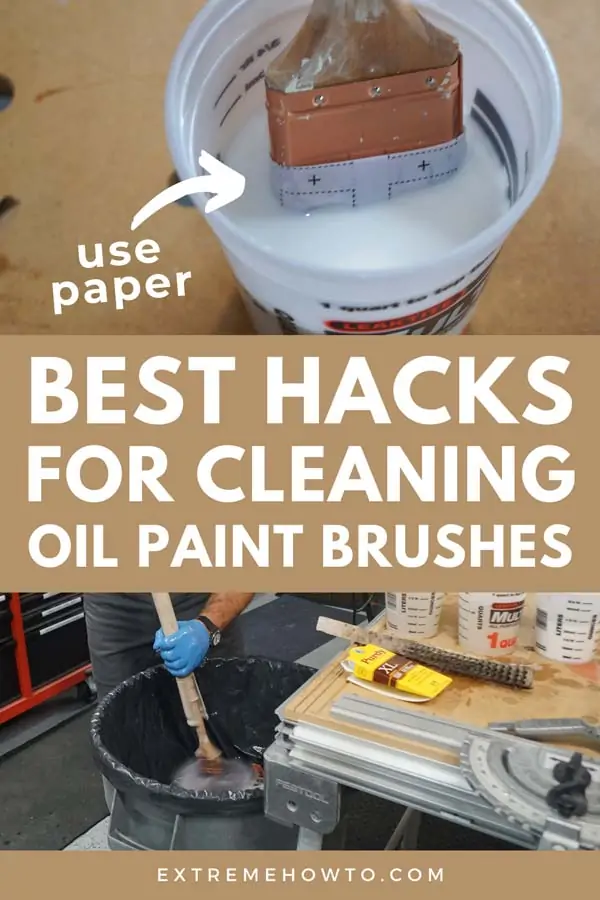
As soon as you’re finished your painting project, wrap the brush in newspaper or a sheet of scrap paper. Add a rubber band to keep the paper in place. Next, set the covered brushes in a quart container of paint thinner to soak overnight. Fill the container to cover the brush ferrules, and let the thinner do its job.
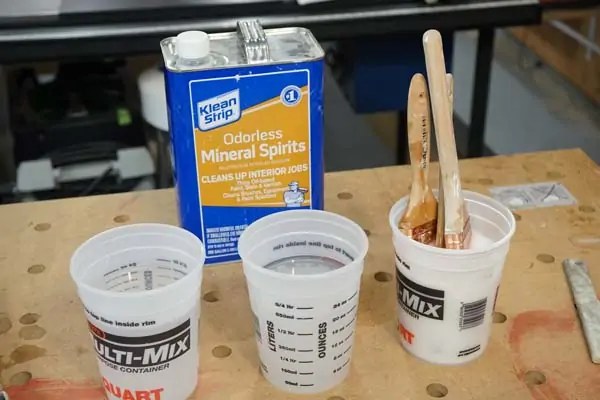
After a day of soaking, set up two more quart-size buckets of paint thinner, and get ready to start the manual cleaning process. Unwrap the brush, and re-dip it into the container it was soaking in.
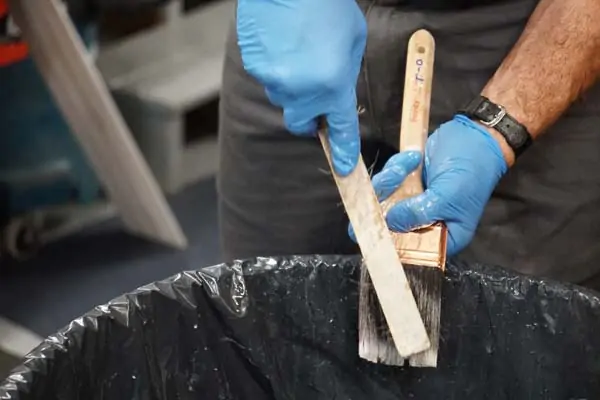
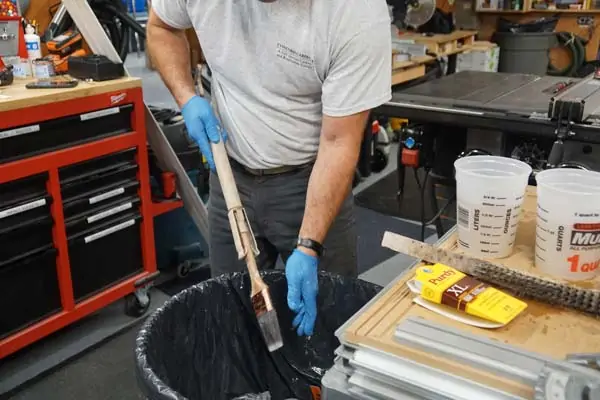
Then, place the brush down on a rag (or end of a trash barrel), and using the wire brush, stroke the China bristles from the ferrule to the brush tips.
Repeat this dip and wire brush process 2-3 times in each quart bucket (see detailed steps below). Each time, the brush gets continually cleaner and cleaner.
Finally, finish the oil brush cleaning process by spinning the brush.
After spinning, I like store the brush back in the cardboard wrapping it came with when I bought it. Alternatively, you can wrap your brushes in new newspaper, securing it in place with a rubber band.
Cleaning Oil Brushes – 12 Steps:
1. Unwrap brush
2. Dip brush into container 1
3. Wire brush from ferrule to tips
4. Repeat 1x
5. Dip brush into container 2
6. Wire brush from ferrule to tips
7. Repeat 1x
8. Dip brush into container 3
9. Wire brush from ferrule to tips
10. Repeat 1x
11. Spin brush till dry
12. Store in original cardboard wrapper
Recycle Your Paint Thinner
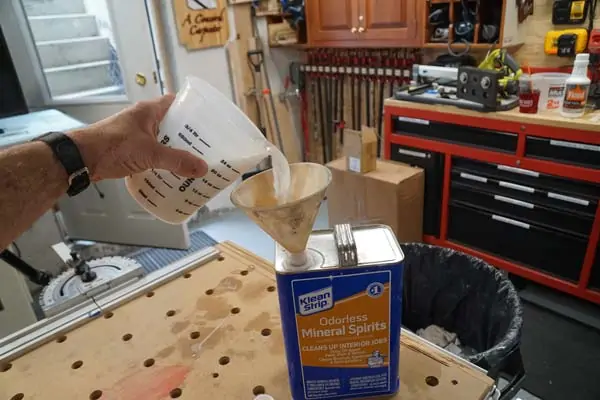
Once done cleaning, recycle the paint thinner back into its container. I keep two containers: one with fresh paint thinner and one with the recycled thinner. The paint in the used thinner will eventually settle to the bottom of the container allowing it to be reused indefinitely.
The next time I clean an oil brush I use this thinner for my Quart container 1 and 2, reserving Quart container 3 for fresh thinner.
Note on Paint Thinner and Other Solvents When Cleaning Oil Paint Brushes
The drawback to using a solvent is the fumes. Unfortunately, solvents evaporate quickly and are very easy to breathe in. Be sure to use adequate ventilation when using solvents indoors.
Get More Painting Tips from Experts
• Did you know there’s a “right” way to paint a room? Check it out here!
• Learn how to prep your next paint project just like professionals.


