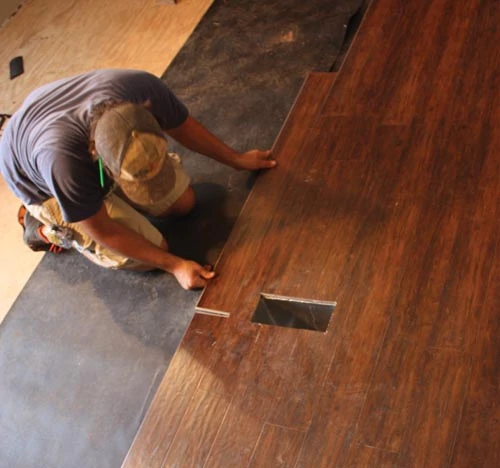
Easy Installation makes Homeowners happy.
By Matt Weber
Wood floors that require air-nailers, staples and construction adhesive for installation can intimidate would-be DIY’ers and prompt them to call up a contractor. However, many of today’s easy-to-install floor systems make it simple for even first-time DIY’ers to renovate a room with only a few basic tools. A variety of user-friendly flooring products now give home enthusiasts the ability to outfit a room with the look of new wood in just a few hours. Here’s a look at three different methods currently on the market.
Laminate Flooring
One of the most popular choices for DIY installation is click-together laminate flooring. Laminates are manufactured from high-density fiberboard planks covered with decorative sheeting and a clear plastic wear layer. The flooring comes in a vast array of wood appearances, such as oak, cherry, walnut, beech and tons more options. Many new laminate flooring lines show remarkable attention to detail with realistic textures on the top surface, from the look of worn, rustic wood to high-gloss finishes.
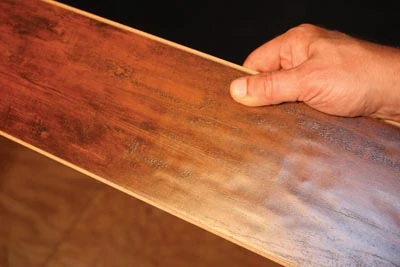
Compared to solid wood flooring, laminate flooring is notably less expensive. Durability is another key feature. Many laminate flooring products are impervious to most stains and very resistant to scratches. The boards are prefinished at the factory and often feature a built-in sealant to help protect against moisture absorption. Some laminate flooring manufacturers even offer a lifetime wall-to-wall warranty against wear-through, stains, fading and water damage from everyday spills and damp mopping.
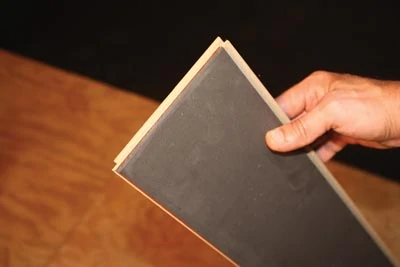
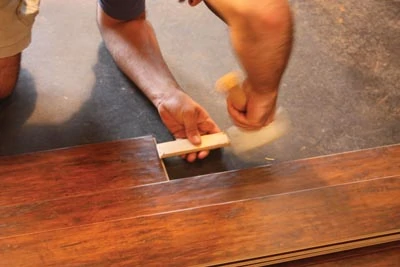
These floating floor systems are typically installed with tongue-and-groove boards that connect along the edges at a slight angle, with the plank then folded downward to “click” the joint together, locking the boards into the floating floor. No nails or glue are used to fasten the boards to the subfloor; instead, the completed floor floats like an assembled jigsaw puzzle, held stationary by weight and friction.
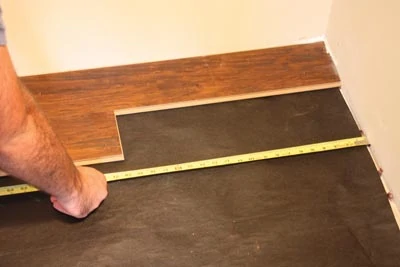
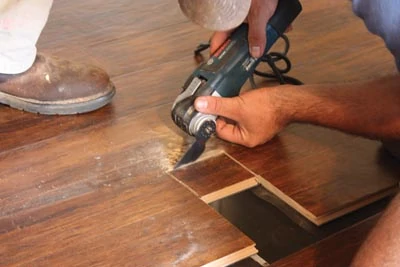
Installers will need a circular saw for cutting the planks and a jigsaw for notching out obstructions, but the majority of the installation can be completed with little more than a hammer and block to nudge together the tongue-and-groove joints.
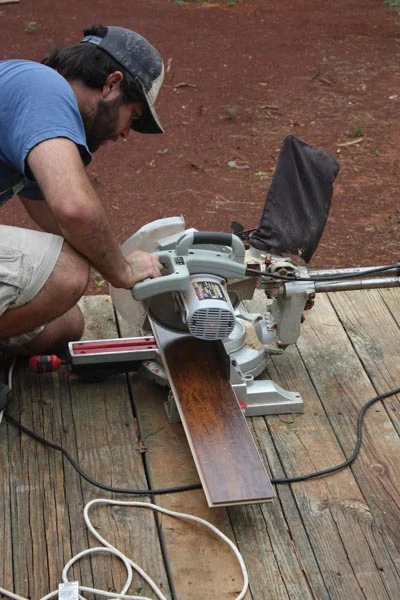
A similar product to laminate flooring, engineered flooring features a layer of genuine solid wood roughly 1/8-in. thick atop a fiberboard core instead of the decorative sheeting. The engineered products offer the unique grain character of real wood, plus they can be sanded and refinished (usually only once). These products install just like laminate floors but are generally more expensive.
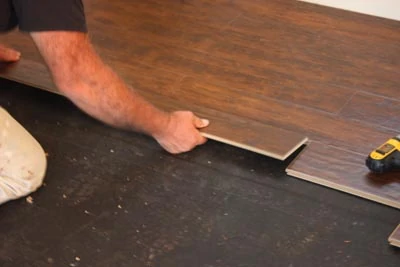
The EHT staff recently installed the Kensington Manor laminate flooring from Lumber Liquidators. The most unique feature of this flooring line is its hand-scraped finish texture, giving the surface of the floor a beautiful rustic look and feel. We chose the “Warm Springs Chestnut” color tone, and Lumber Liquidators backs the flooring with a 30-year warranty.
Laminate Flooring Installation Tips
- Prior to installing, allow the flooring to acclimate at room temperature for a couple days so the boards don’t significantly expand or contract after installation.
- Ensure the subfloor is flat, with no high spots or dips. Slight dips can be built up with contractor paper, but areas lower than 1/4 in. over 6 feet should be filled with a subfloor leveling compound.
- Lay a moisture barrier over the subfloor if installing over concrete or crawlspaces. Lay a polyethylene foam underlayment over the moisture barrier. (Some flooring products, like the Kensington Manor laminate shown in this article, include foam underlayment attached to the boards.)
- Maintain a 1/4-in. expansion gap around the perimeter of the room between the floor and walls to allow space for the natural movement of the floor.
- Make sure the planks are mixed sufficiently when you install them so that you don’t end up with too many identical, light or dark panels next to each other.
- Stagger the end joints by 8 inches or more.
Vinyl Plank Flooring
Vinyl plank flooring is a flexible product that allows DIY’ers to install on uneven subfloors or over existing floors, such as wood, concrete, vinyl, linoleum and even ceramic. The vinyl planks look like real wood (or tile), but unlike laminate flooring, the material is much more water resistant so it can be installed in bathrooms and basements. Vinyl planks are also typically less expensive than laminate.
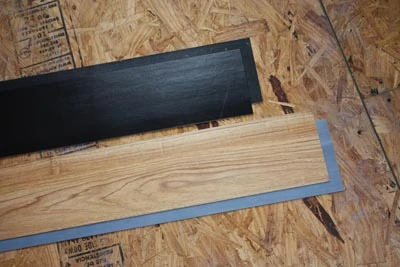
Vinyl flooring does have its pitfalls. It doesn’t add much resale value to the home, and although the flooring is scratch-resistant, it is not as durable as laminate, and dog paws have been known to damage the surface. The product also might have a chemical odor that can irritate sensitive individuals when newly installed.
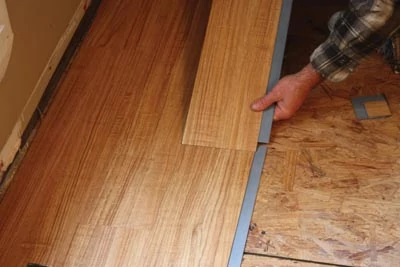
Adhesive-backed vinyl planks and tiles have been available for years, but some of these products are notorious for coming unglued after installation and sliding apart underfoot, opening ugly joints in the floor.
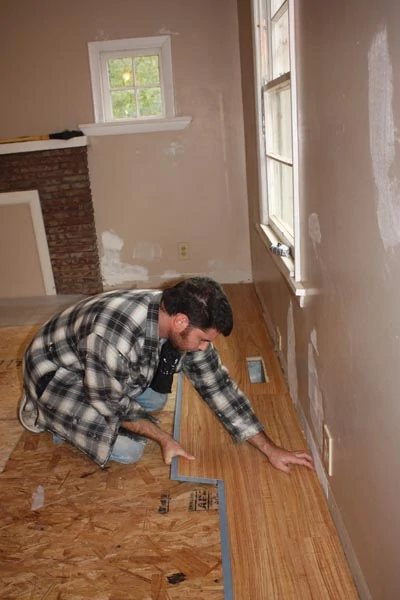
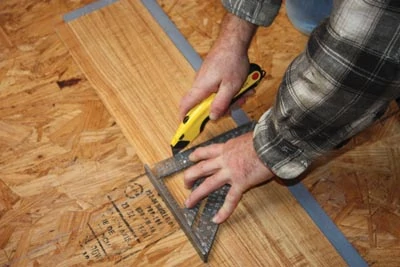
However, the EHT staff recently installed an alternative system called TrafficMaster from Allure Flooring that relies on adhesive edge strips to assemble a floating vinyl plank floor. With this system, no underlayment is required, and the planks stick to each other rather than to the subfloor. Just remove the paper backing from the adhesive strips, align the strips between one plank and the other, and press into place to close the joints. The thin vinyl planks can easily be cut as needed with a utility knife.
Vinyl Plank Installation Tips
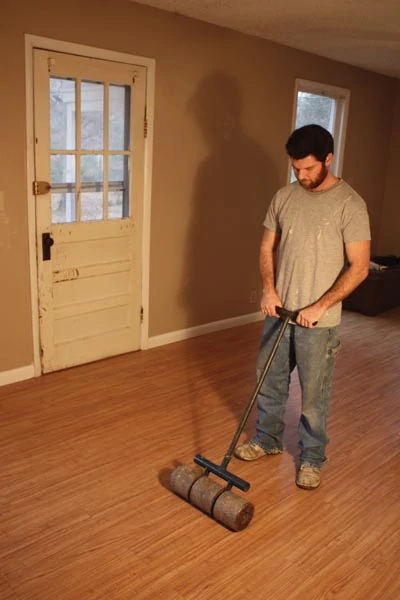
- Make sure the existing floor is completely clean and free of debris. The vinyl planks are very thin, and any small objects that are trapped beneath the installation will be visible on the surface.
- Although this is a floating floor, use vinyl floor double-sided tape at the first edge to help hold the first rows stationary during installation.
- Use a good, sharp utility knife and a Speed Square as a guide to make straight, accurate cuts.
- A pair of aviation snips works well for making small cuts around trim.
- Some professionals recommend using a hair dryer to warm the adhesive edges along newly joined seams to help melt the glue together and give the planks a tighter bond.
- Finish the installation by rolling the surface with a vinyl floor roller, available at rental outlets, which helps press all joints together to assist the adhesive bond while also ensuring all seams lay flat.
Self-adhesive Membrane Installation
What makes this method of installation so unique is that it can be used to install traditional hardwoods without the need for nails, nailing guns, compressors, messy adhesives or special adhesive trowels. Elastilon is a patented self-adhesive membrane that cuts installation time in half. This method allows almost any species of hardwood flooring up to 3/4-in. thick to be installed over almost any surface, including wood, old vinyl tiles, linoleum or ceramic tiles. With the proper installation, it can also be applied directly over concrete—above, on or even below grade.
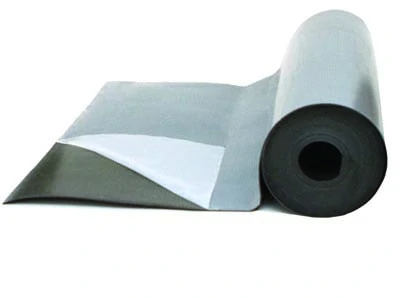
Installation is a simple three-step process: (1) Lay out the Elastilon membrane on the subfloor. (2) Peel off the protective film. (3) Press your wood flooring onto the sticky surface. Once the floor is installed with Elastilon there is a permanent elastic bond that allows for the natural expansion and contraction of the boards while reducing gapping, cupping and buckling. The Elastilon membrane reduces both airborne and impact sound transmission, increases underfoot comfort, allows for installations over in-floor heating, and can be walked on immediately.
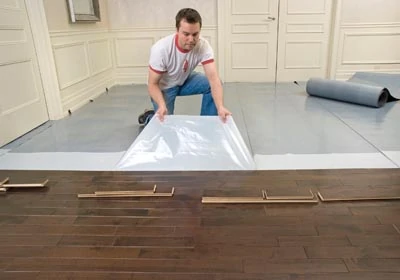
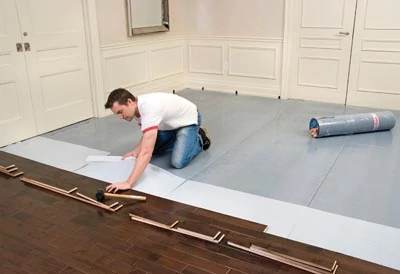
- Follow the standard rules for the installation of wood flooring, such as allowing the boards to acclimate at room temperature prior to installing, and maintaining an expansion gap along the walls.
- After a board has been installed on the membrane, you only have a brief period of time to remove it. If necessary, carefully pull up the board from the Elastilon, being careful not to tear the membrane. Reposition carefully and press the piece into the adhesive. Once the adhesive sets (approximately 20 minutes), the only way to remove the board is to cut it out and re-glue the four sides of a board back in place.
- It’s necessary to put weight on the floor (as easy as walking over it) to help the boards adhere evenly to the membrane.
- To minimize board-end gapping, apply a quality carpenter’s wood glue to all end joints.
Other Flooring Articles
- 15 tips for Tile installation
- Hardwood Flooring Tips from a Pro
- Handy Flooring Tools
- How to Distress Pine Flooring


