The cleaning and staining of the deck was way past due (for probably 3-4 years). Six years ago I wrote this article (http://extremehowto.com/deck-makeover/) describing the details involved in the pressure-washing and staining of my deck. I wasn’t coaching youth sports anymore, and my kids were playing school ball. I foolishly thought that I would have time to do all of my projects around the house that had been neglected for years. I did this one project 6 years ago and then the volunteer jobs at the high school came calling. Now I’ve got both kids out of the house and we are empty-nesters. No excuses are available to avoid the work. Time to get back at it!
The wood deck was built with pressure-treated pine in 1994 and was in surprisingly good shape. I had toyed with the idea of putting on a new surface and adding new railing. But, the more I looked at the deck, the more I thought I would try another good clean and stain project first to see if I could get a few more years out it.
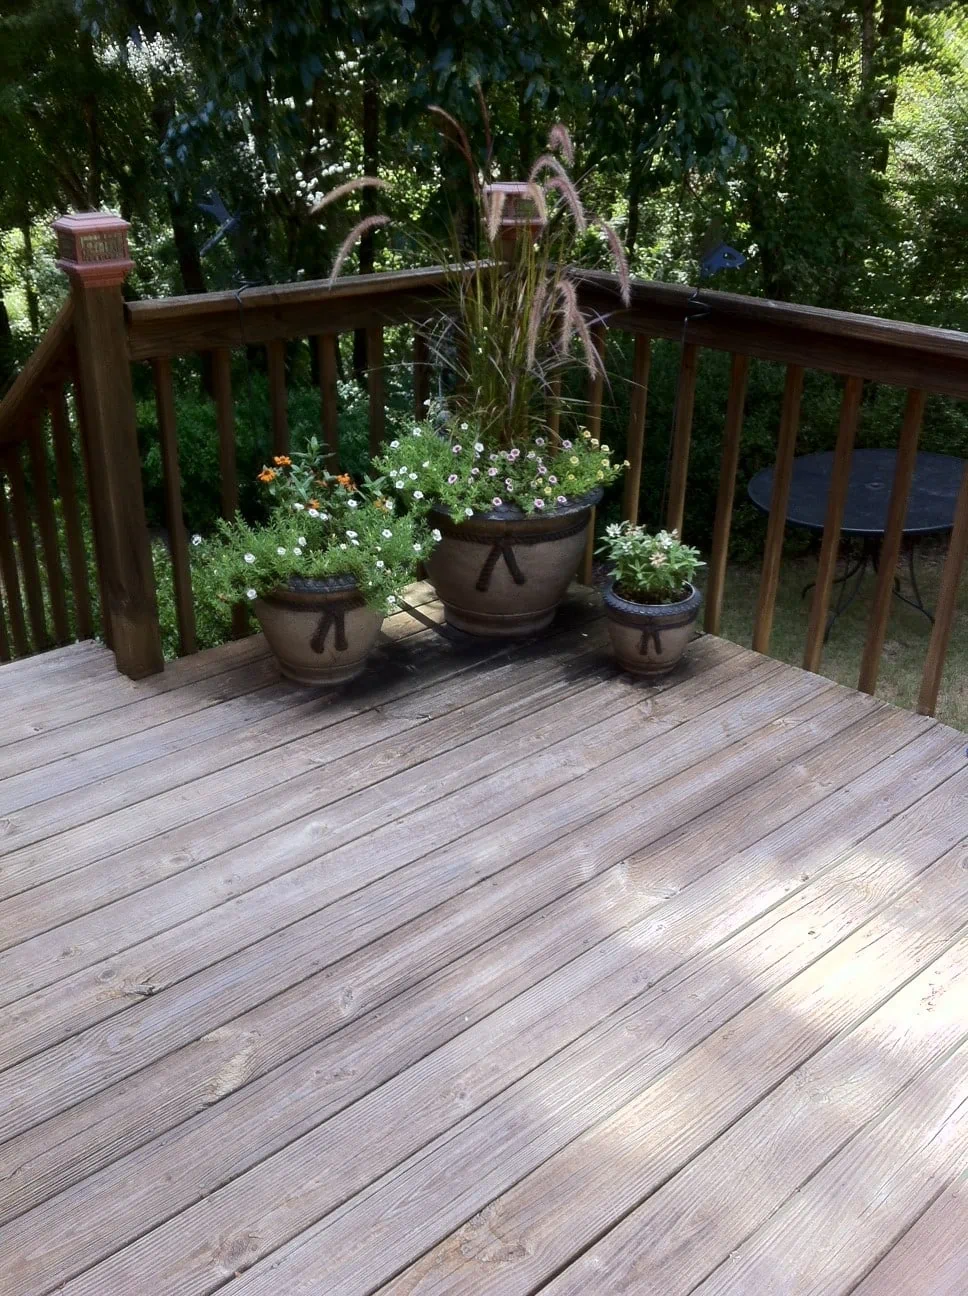
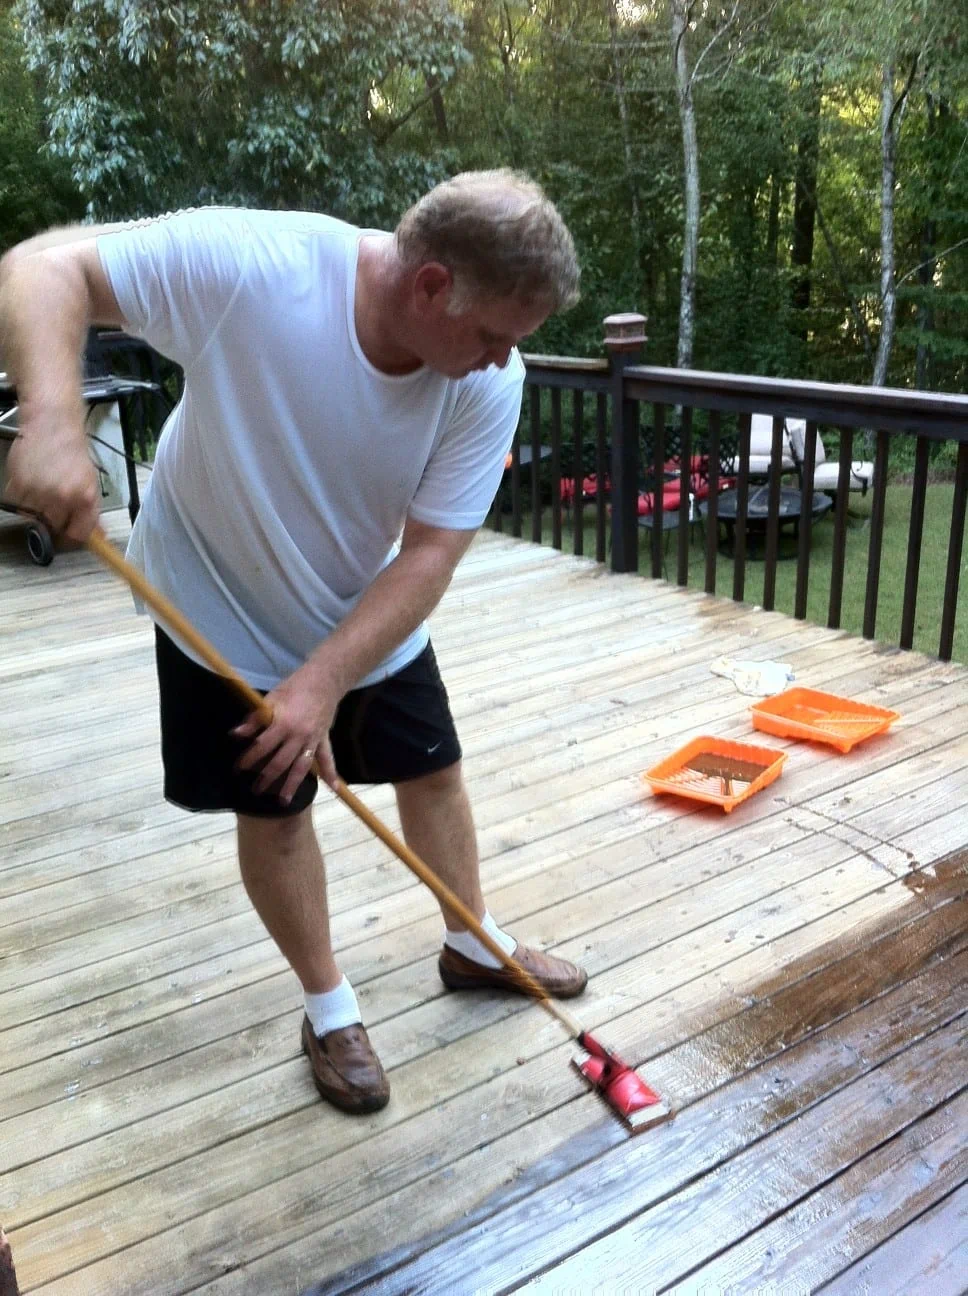
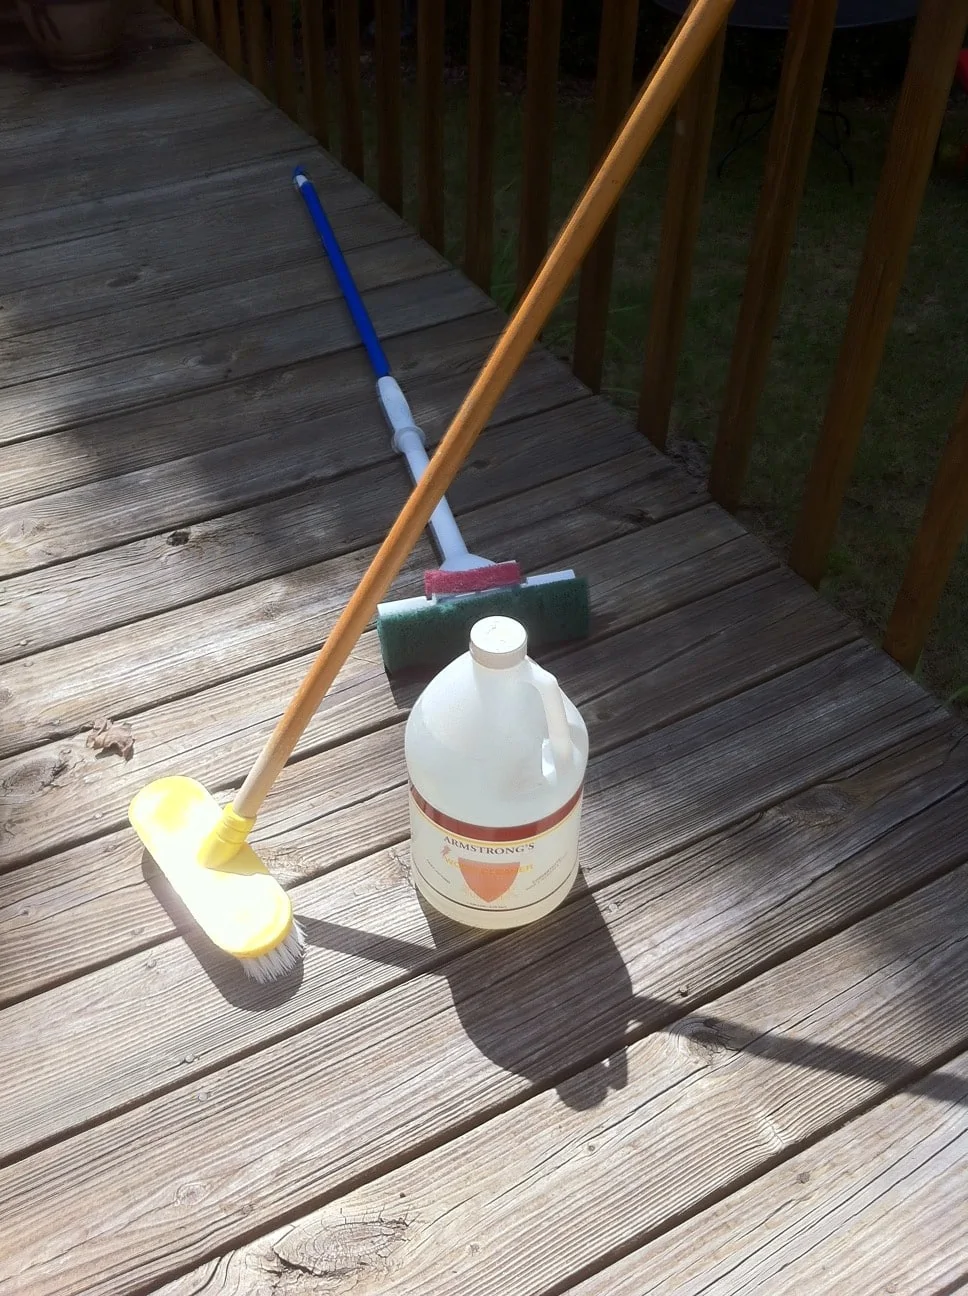
I decided to start by cleaning the deck with a strong wood cleaner using a sponge mop and long-handle scrub brush. I didn’t want to put any pressure on the wood. The deck had been pressure-washed a couple of times in the past, and I felt this time we could prevent any possible splintering and other damage by using a good cleaner with some elbow grease. The cleaner did its job removing the dirt and mildew. It also brightened the wood considerably. After cleaning, I allowed 48 hours for the deck to dry out.
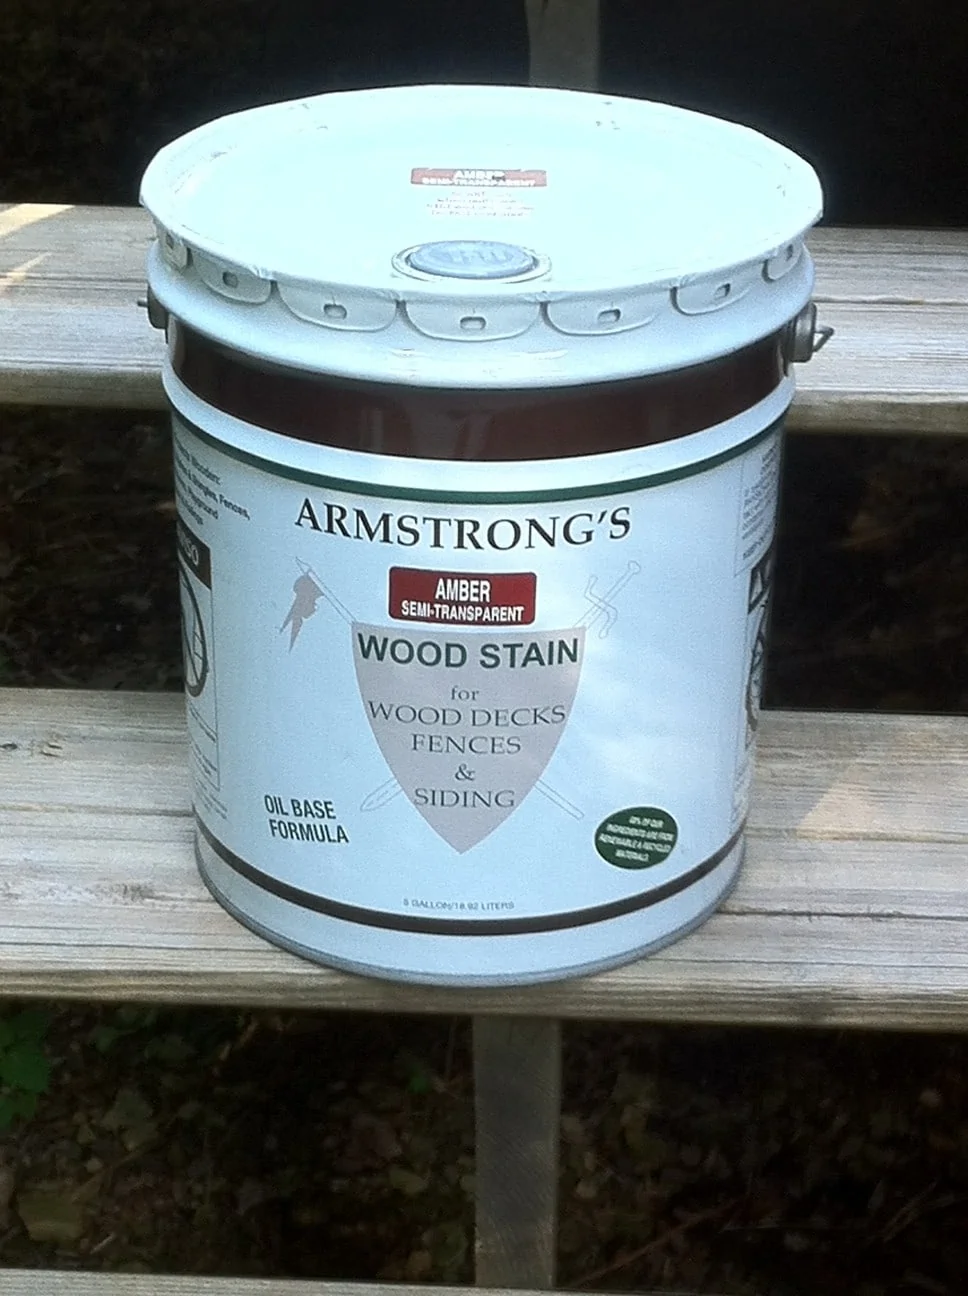
Now it was time to start the staining process. For this project, I chose Armstrong’s Amber Semi-Transparent stain. This stain is a new product in the terrific line of stains manufactured by Armstrong-Clark Company. The color was recommended to me by an old friend, Jake Clark, who also happens to be President of Armstrong-Clark. To learn more about Armstrong-Clark stains, check out this article, Recipe for a Quality Wood Stain.
I have always stressed using brushes, rollers, and deck pads for outdoor staining projects. You will get a better finish than you do with spraying. The brushes and rollers will work the product into the wood to allow for maximum protection as well. The wood on this deck soaked up the stain extremely well.
I want to add that it is very important to shake and stir your stain thoroughly before applying. This will help maintain a consistent color over the entire deck.
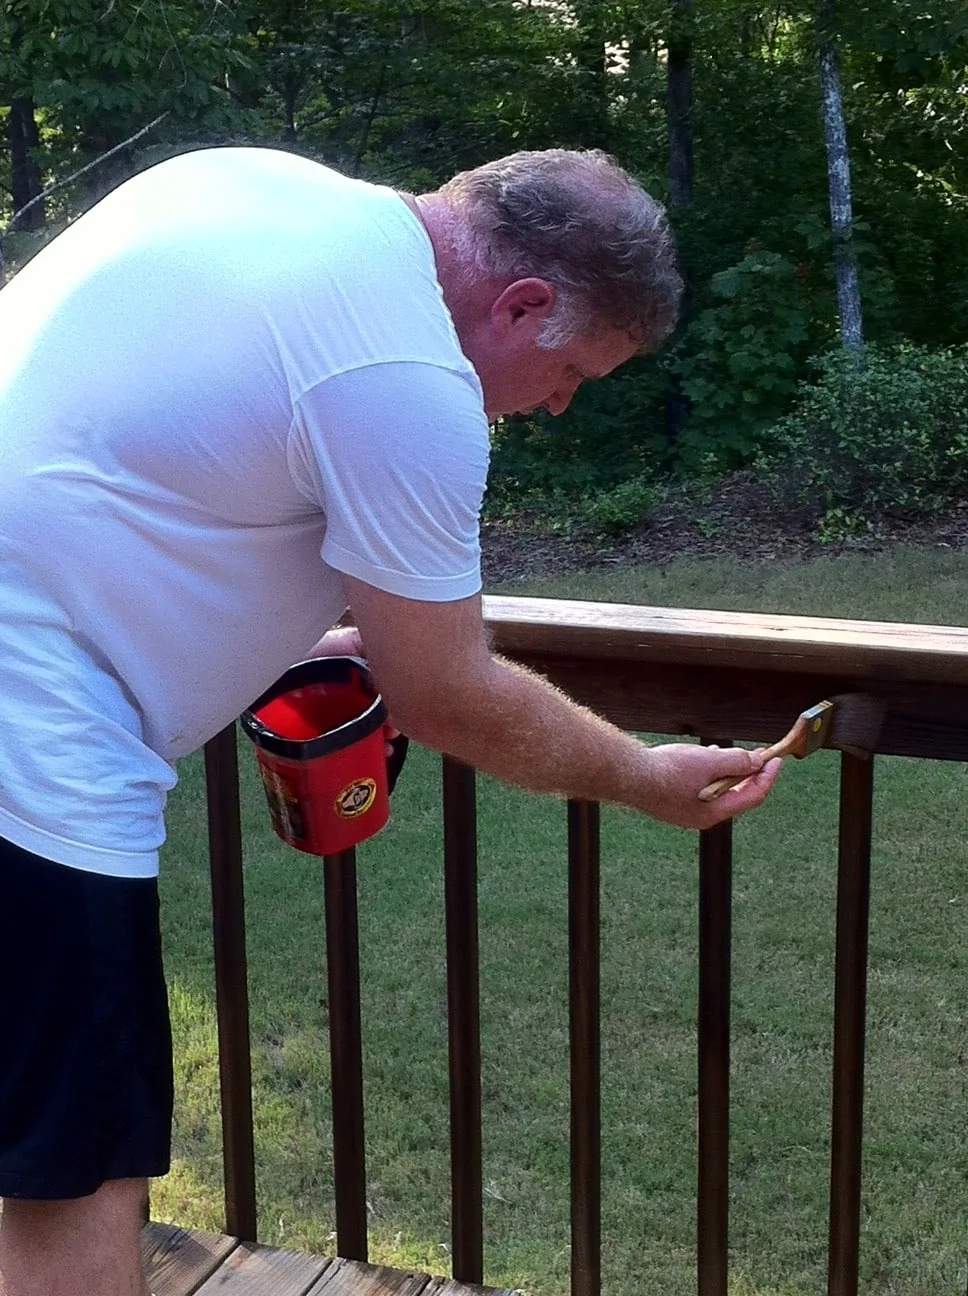
I started with the railings and pickets using brushes and rollers while generously applying the stain. I allowed those to dry for 24 hours before starting on the deck boards. I like using a foam deck pad for the deck boards as it works the stain into the boards and applies an even coat. I allowed the deck boards 24 hours to dry and then went back with a second coat.
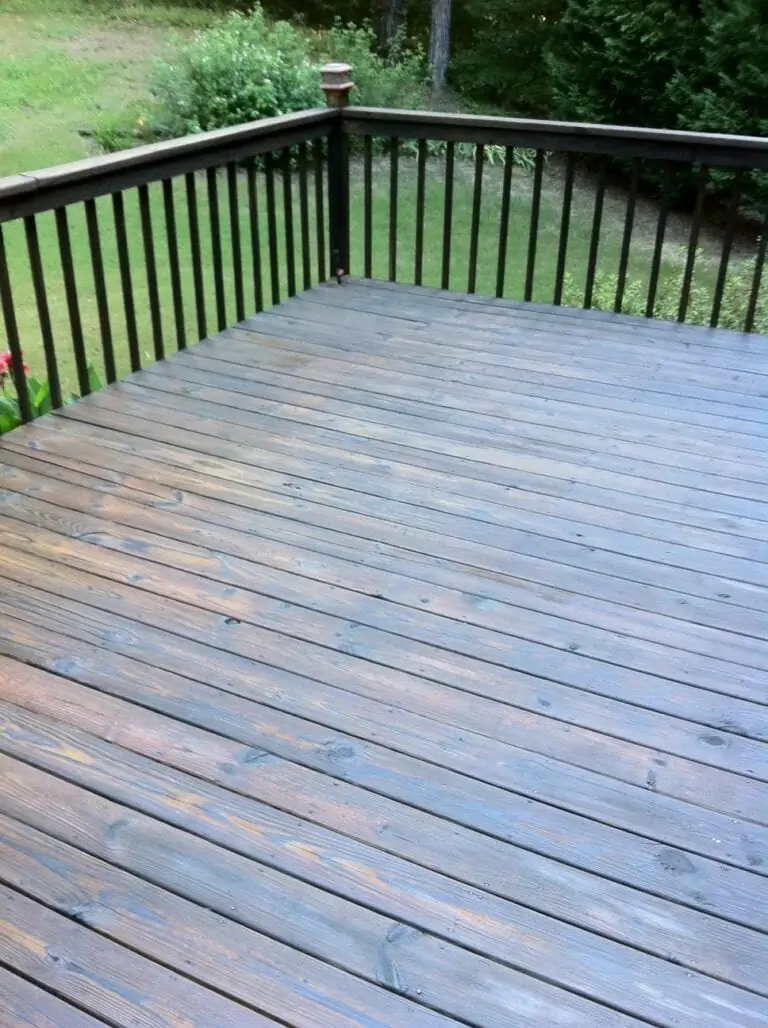
I was truly surprised with the results (given the age of the deck and its recent appearance). The deck looks great (see top photo). Jake made a solid rec on the color and we have had several nice compliments. This new look for the deck will enable the structure to reach it’s 20th birthday and beyond. – C. Gillikin


