

Create a Thin Brick Accent Wall for an Authentic Man Cave
By Luke Guinn
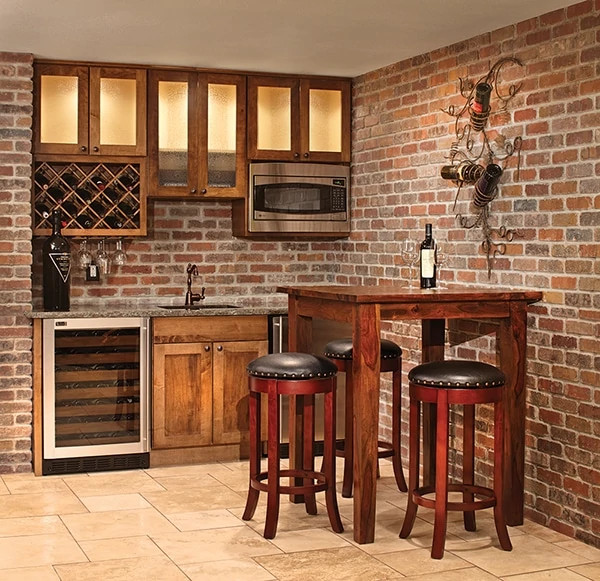
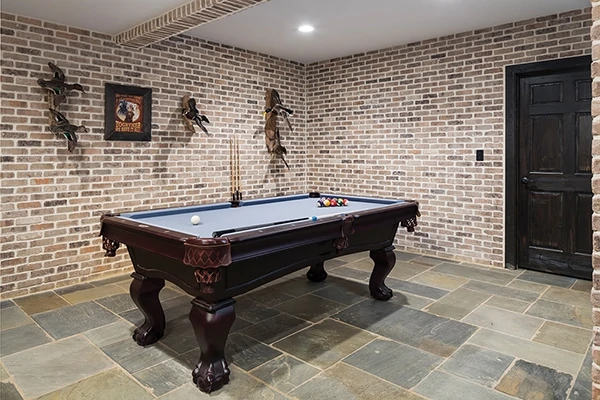
“What happens in the man cave stays in the man cave.” It’s a common phrase cited about a man’s personal space within his home—typically a room separate from the main living areas, such as in a basement, attic, garage or office. Featuring masculine-driven design choices with little or no feminine input, a man cave provides a place to hang out with male buddies to watch sports or movies, play pool, poker or video games, or indulge in jam sessions with fellow rock star wannabes.
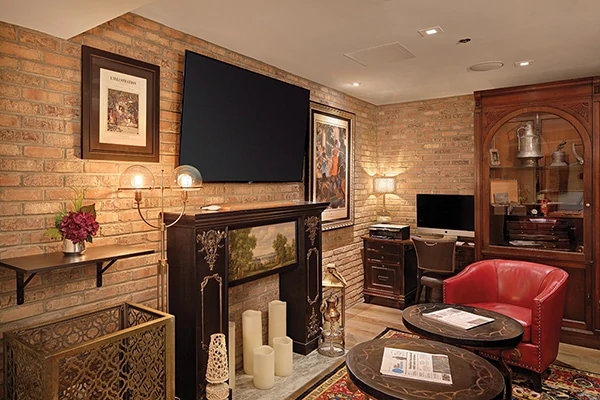
However, “what happens in the man cave stays in the man cave” doesn’t have to mean the design is limited to an old couch, recliner and mini-fridge in an unfinished attic room framed in wood studs, or a sterile garage or basement space surrounded by cinderblock walls. Nor does it mean the only significant piece of décor in the room is a 65-inch state-of-the-art TV for gaming. Man caves often feature sports memorabilia, trophies, posters and other collectibles, setting them completely apart from the overall décor of the rest of the house. In fact, much time and attention are frequently given to the room’s theme―from a sports bar to home theater, hunting lodge or casino cave—and the décor and furnishings to carry out that theme. Many man caves also feature soundproofed walls, smart technology and full kitchens.
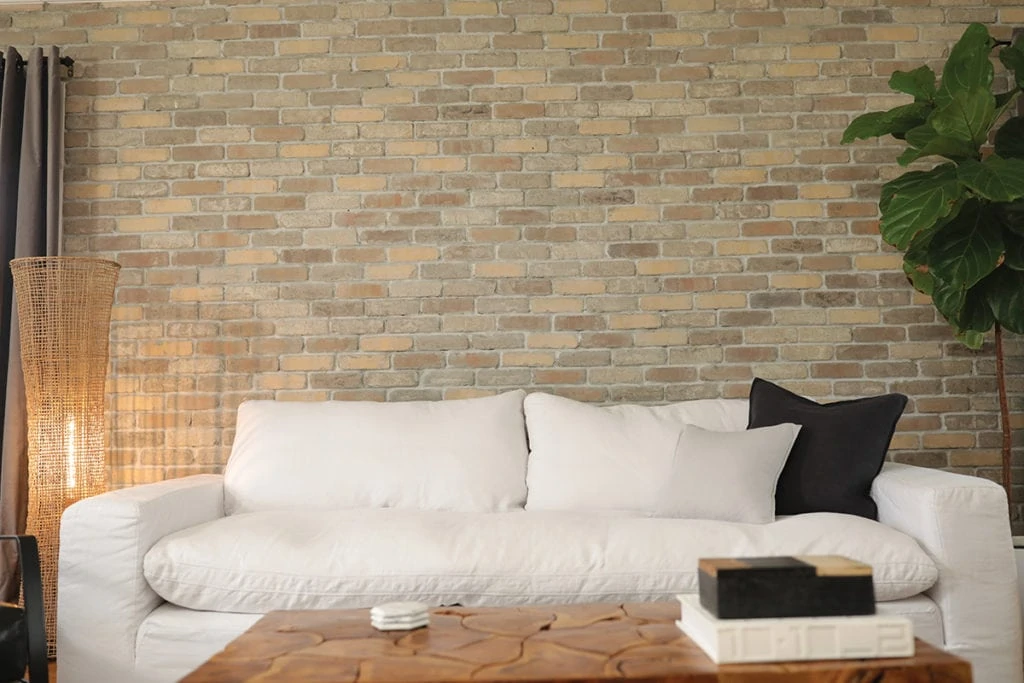
The conversion of an existing space in the home into a man cave is one of the most common DIY renovation projects today, and one of the most popular materials used in man cave design is brick. Since most homes don’t come with a ready-made wall of exposed brick, DIY’ers can easily create the look themselves with thin brick.
Made from natural materials, thin brick is real, kiln-fired clay brick cut thin. This cost-efficient product provides exceptional strength, durability and protection, thermal mass and sustainability, and is user-friendly for both large and small remodeling projects. It’s easy to maintain and retains its good looks for decades, and because thin brick is so lightweight, there is no need to worry about reinforcing the walls or subfloor of your space. Thin brick goes easily into any space and can be installed quickly without footings or ledges. It adheres to concrete, plywood, paneling, drywall―even metal. Additionally, it serves as a bold design element for any room, adding a wide variety of warmth, texture and eye-catching patterns. Thin brick may also be painted for a more contemporary, less timeworn look.
Here’s how you can create an eye-catching thin brick accent wall in your man cave.
Measure
Before purchasing your thin brick product and materials, calculate the square footage of the wall where you want to install the brick. Check the coverage chart on your product packaging to see how many square feet one box of thin brick will cover. These charts typically offer multiple grout size options, giving you the opportunity to choose how wide your grout lines should be. Additionally, some brick manufacturers offer online calculators (generalshale.com/calculators/brick) to help you estimate the cost of materials, with the exception of grout, mortar and any additional tools you may need to purchase.
Wall Preparation
Make sure the wall is smooth and clean, removing all dust and debris to enable the adhesive to properly bond. It’s important that you maintain a consistent wall level as much as possible by sanding away unwanted glue or residue ridges and tapping nails flush with the surface of the wall. Use a level and a chalk line to create a temporary line across the bottom of the wall. This will help you keep the bricks straight and level as you adhere them to the wall. A straight piece of wood will also serve as a temporary ledger.
Cutting Thin Bricks
You will need to cut bricks for the left- and right-hand sides of your wall, creating half pieces that will begin your second row of bricks. Completing this step prior to installation will save you time during the process so you can avoid having to repeatedly stop to cut more bricks.
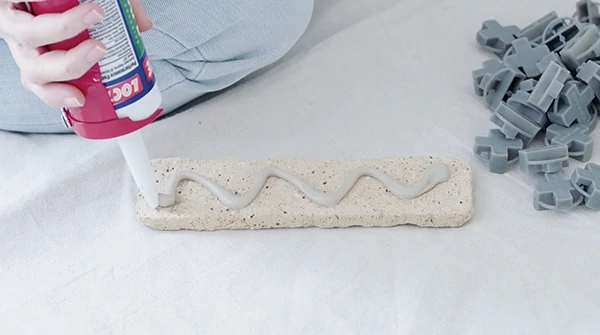
Installing Thin Bricks
Begin the installation process by applying a full or half piece of thin brick in the bottom left-hand corner of the wall. Spread the mortar on the back of the brick with a notched trowel and place it on the wall, pressing slightly. Continue upward with a half-cut piece of thin brick (if you began with a full-sized piece) using the same application technique. Create even rows with the thin brick in a “half running bond” pattern, offsetting the thin bricks so that they overlap by half the width of the brick. This design is the most common layout for brick masonry walls because it creates a strong structure and requires minimal cutting. Plastic spacers can assist with keeping the grout lines even. Work your way up the wall, row by row, brick by brick, until you have completed the installation.
Grouting and Sealing Thin Bricks
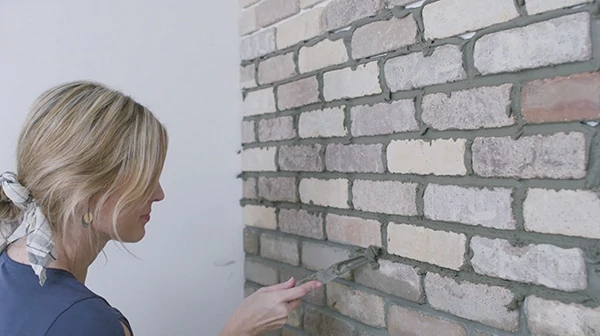
Allow the thin brick to dry for 24 to 48 hours before you begin to apply grout between joints. If you prefer thick grout lines, use a trowel to scoop grout into the lines. For smaller grout lines, use a grout float to fill the lines. Both methods leave excess grout on top of the bricks, which can be removed with a damp sponge. Once the grout has dried overnight, you can seal the brick and grout to keep the porous materials from soaking up spills and staining.
There are three general methods of applying sealers to thin brick surfaces. The first (and most common) method is using a roller brush and paint roller tray; second is with a paint brush and bucket; and third is with a professional sprayer. Homeowners and do-it-yourself enthusiasts have the option of selecting two types of sealers—penetrating and film-forming. Penetrating sealers soak into the brick, leaving most of the surface texture and original coloring intact. Film-forming sealers, such as acrylic or polyurethane, create a slick, shiny coating over the top of the brick, making the brick appear darker in color. It is recommended that you apply two coats of sealant.
Before applying the sealant, cover any carpeting or other flooring materials in the accent wall area of your man cave to avoid having the brick sealer bleed onto those areas. Painter’s tape is also recommended to protect any molding or walls that do not need to be touched with the sealant. Next, scrub the wall surface with a warm water and vinegar solution (1-part vinegar to 15 parts water), using a brush or sponge, then rinse with clear water. Allow the brick to dry completely before applying sealant.
If you wish to achieve a rustic aesthetic, you can also leave the brick unfinished so it maintains its rough, textured surface. However, because brick is made of clay and is grouted with cementitious mortar, brick walls are highly susceptible to stains unless they are properly sealed.
Thin Brick Accent Wall Maintenance
If you decide on a brick accent wall for your man cave, you can preserve its beauty and prolong its lifespan by removing dirt and debris from the surface with a wet microfiber mop dipped in a solution of vinegar and warm water on a quarterly basis. Stains in the mortar or grout of your brick wall can be removed by working a phosphoric acid cleaner and water into the seams with a brush as they arise.
It is recommended that you reseal your brick wall every one to three years, on average. First, remove any dirt or debris with the water-vinegar solution, then apply a commercial brick stripper to remove the original sealant. Apply fresh sealer to the thin brick and grout with a foam brush.
