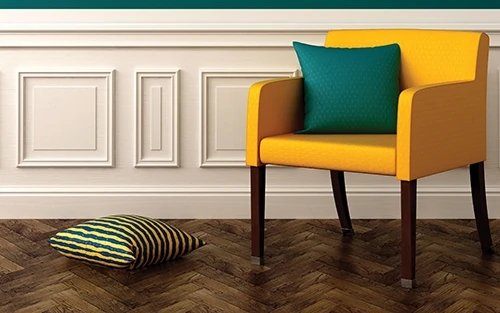
Check out these four DIY-friendly approaches to wall trim.
By Matt Weber
The term “wainscoting” refers to almost any treatment you give to the lower portion of a wall that’s in contrast to the upper portion. This often involves a system of panels capped by a chair rail that lines the lower wall. Wainscoting can be comprised of raised panels, bead-board, sheet paneling, picture-frame molding and more.
The original purpose of wainscoting was reportedly to cover the lower part of house walls that were often affected by rising dampness. These days wainscoting is used as a trim detail to enhance a home’s interior décor. The general rule of thumb is that the wainscoting panels are usually 1/3 the height of the wall, but ultimately the decision is up to you, and your pattern and color choice can dramatically change the overall look of a room.
Bead-Board
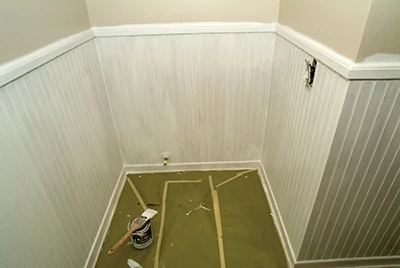
Traditional bead-board wainscoting is easy to install for DIY’ers because of the narrow repeating pattern. You can essentially cut the tongue-and-groove panel along any of the bead-board joints and then seam it to the next panel by hiding the cut edge inside a shadow line. This ability to cut the panels at any point without interrupting a visible pattern is why bead-board is often a favorite wainscot pattern for small rooms like bathrooms, where the walls may be too short to accommodate a larger pattern such as raised panels.
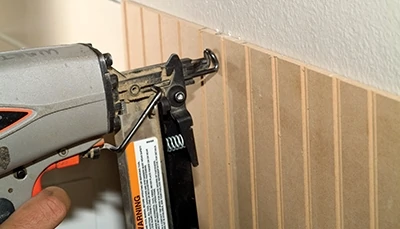
is a bead-board panel.
Plan the bead-board installation so full panels are most prevalent with cut panels located in a less conspicuous areas. When possible, use a single bead-board panel until the wainscoting meets a corner. Apply construction adhesive to the backs of the panels and fasten them into the wall studs with brad nails. Install the panels perfectly level. Any gaps at the floor can be concealed with base or shoe molding. Nail the trim profile of your choice on top of the paneling to serve as chair rail.
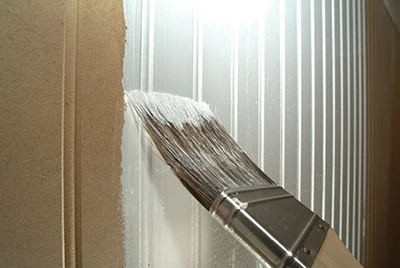
Preformed Raised Panels
Raised panel wainscoting gives a room a more formal appearance that is popular in dining rooms, foyers and hallways. Assembling the panels from scratch, however, requires careful measurement, shrewd carpentry skills, plus a lot of time and labor. You’ll need a powered saw, a router, a router table, as well as the specialized raised-panel router bits in order to fabricate each rail (horizontal piece), stile (vertical piece) and interior floating panel.
One way for a DIY’er to significantly reduce the labor for this style of wainscoting is to order customized prefab panels that are shipped to your home as large, single sections complete with the decorative pattern routed into the MDF material. Rather than piecing together every rail, stile and panel, the large prefab sections can be installed directly to the wall so the job progresses as much as 8 linear feet at a time. The single panels are also less prone to paint cracking, because there are no carpentry joints, which are prone to expansion and contraction.
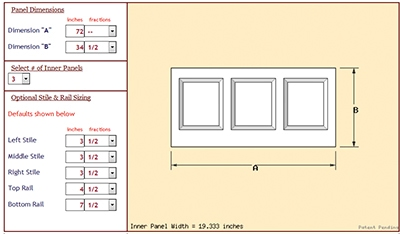
Wainscoting America is an online supplier that streamlines the selection process with an online design tool. First step is to select your preferred style and the height of your panels. Determine your Top Rail Wainscoting Height, and then determine your Bottom Rail Wainscoting Height. Next, determine your Left, Middle and Right Stile Widths. Based on your careful measurements of each wall, the web tool will produce a visual representation of your panel design. Make adjustments until you’re satisfied. The panels then ship to your home.
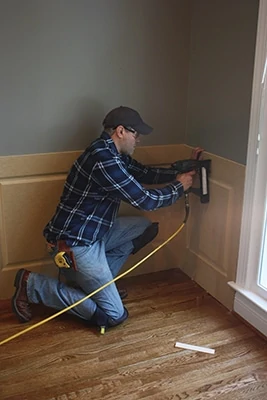
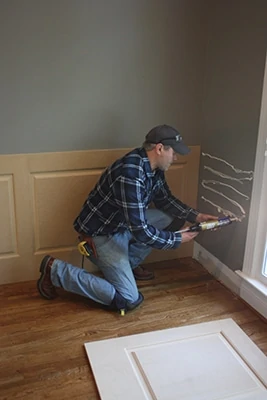
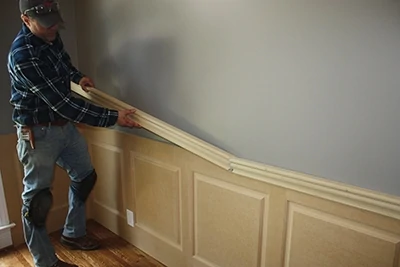
The panels install over the wallboard with a combination of construction adhesive and brad nails driven into the wall studs. The seams between panels are concealed with an overlapping rabbet joint. The chair rail is installed with glue and nails, and the entire project is finished with caulk, spackling, primer and paint. Remember that when installing any type of wainscoting, try to minimize the use of nails in favor of adhesive to limit the amount of spackling and touchup work required to fill the fastener holes.
Faux Paneling
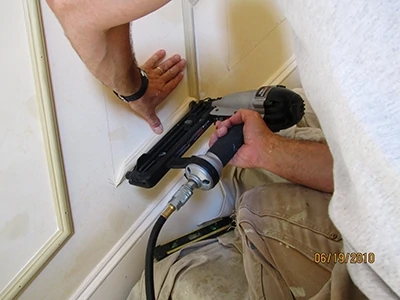
Faux wainscot paneling has made its way into today’s homes because it’s easy to install and saves time and material. Faux paneling basically entails attaching picture-frame moldings to the wall to create the look and effect of solid wainscoting panels. The moldings are mitered to create a square or rectangle, and the wall and moldings are painted one color to look like solid wainscot. Glue the molding to the walls, attaching the pieces with six-penny finish nails driven at opposing angles to hold them in place while the glue dries.
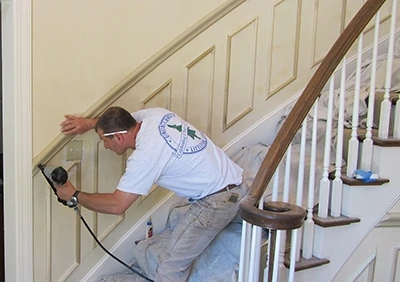
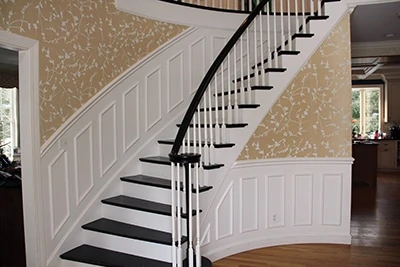
For curved walls, flexible molding can be applied to simulate curved panels.
Two Tone Wall with Chair Rail
aren’t the only
options for a unique
wainscot appearance.
The use of wallpaper on a portion of a wall can open
up all sorts of new design and pattern opportunities.
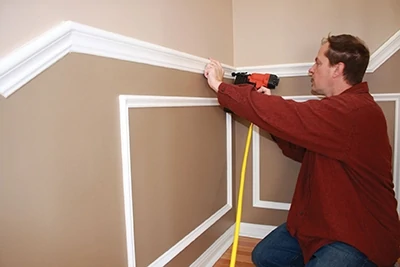
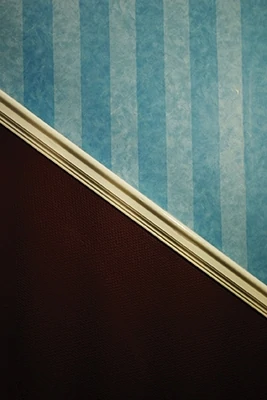
A chair rail is horizontal molding attached to the wall at a height that typically ranges from 32 to 48 inches above the floor. Traditionally it was used to help protect the wall from the scuff marks of chair backs, but today it often serves as a decorative element above wainscoting. You’ve probably never seen wainscoting installed without a chair rail, but you can easily install a chair rail without the wainscoting. Using the rail as a transitional piece, you can achieve a wainscot effect by separating two paint colors on the wall. Use a darker shade on the lower half of the wall to anchor the room and use a lighter shade on the top half, which makes the ceiling look higher. Paint the ceiling the same color as the upper walls to help the room feel light and airy.
A similar effect can achieve by covering half the wall with wallpaper and separating it from the paint with a chair rail. Take a cue from fashion when choosing a wallpaper pattern; it’s best to use vertical stripes instead of horizontal stripes to create the illusion of height.


