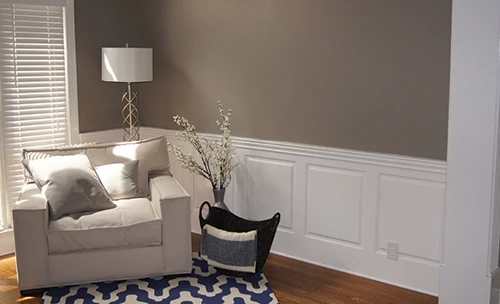
Customized single-pieced wainscoting makes installation easy.
By Matt Weber
Decorative raised-panel wainscoting gives a room an elegant, more formal appearance that is popular in dining rooms, foyers and hallways. Assembling the panels from scratch, however, requires careful measurement, shrewd carpentry skills, plus a lot of time and labor.
A great way for a DIY’er to cut the labor in half is to order customized wainscoting that is shipped to your home as large, single sections with the decorative pattern routed into the MDF panels. Rather than piecing together every rail and stile, the large panels can be installed directly to the wall so the job progresses as much as 8 linear feet at a time. The single panels are also less prone to paint cracking, because there are no rail or stile joints, which are prone to expansion and contraction.
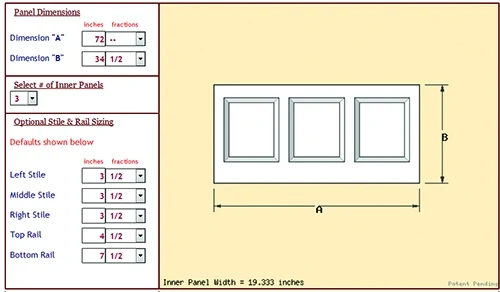
For this project the EHT staff ordered customized panels from Wainscoting America. The company streamlines the selection process with an online tool at Wainscotingamerica.com. First step is to select your style, including raised, shaker, recessed or V-groove panel. Next, determine the height of your panels. (The rule of thumb is that the wainscoting panels are usually 1/3 the height of the wall.) Determine your Top Rail Wainscoting Height, and then determine your Bottom Rail Wainscoting Height. These measurements are ultimately your decision, but the company offers some standard default measurements if you don’t want to get creative. Next, determine your Left, Middle and Right Stile Widths.
You’ll need to take careful measurements of each wall, and enter all this information into the fill-in-the-blank interface on the website. The instructions will guide you through every step of the process, accounting for overlapping panels at the corners and offering a selection of cap rails and base molding. Once you punch in the coordinates, the website will produce a visual representation of your panel design. Make adjustments until you’re happy with the look. It’s a very user-friendly method for designing your wainscoting.
The panels ship in five business days, and they arrived on our site in flat cardboard boxes. Two of the walls in our project were longer than 10 feet, so the wainscoting for those runs came as two separate pieces that join with an overlapping rabbet joint. The shorter runs required only one panel each.
Here’s how we completed the installation.
Step-by-Step
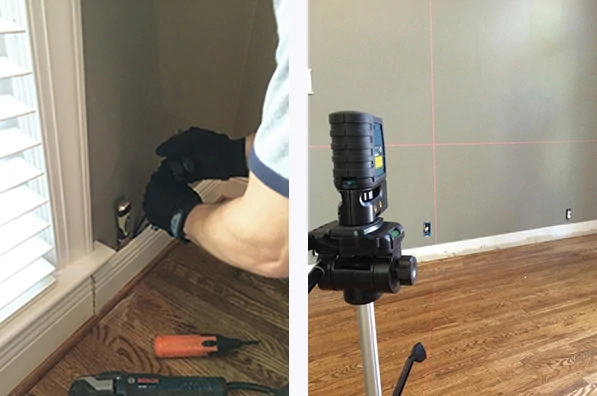
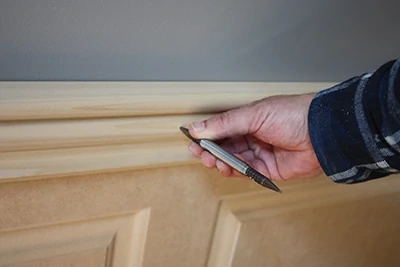
Our project house had existing base and shoe molding that had to be removed. I scored the top caulk line with a utility knife and used a paint scraper to open a gap at the top of the base just wide enough to slip in a flat bar. When prying with the flat bar, push the tip down far enough to pry against the floor plate (not against hollow drywall, or you may punch a hole through it).
I used a laser level to lay out the wainscoting. Snapping a chalk line as a guide will also work. This line represents the top of your wainscoting panels. Take several measurements in different places between the layout line and the floor. Floors are not always level, and these measurements will determine if you need to shim beneath the panels to keep them supported while you fasten them to the wall.
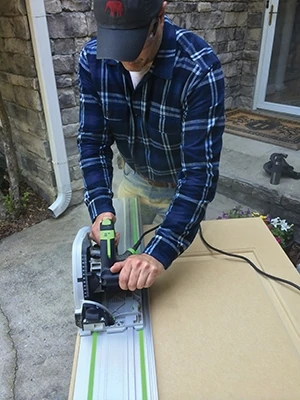
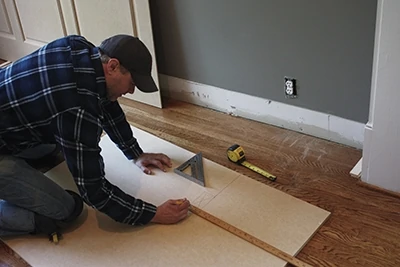
When I dry-fitted the panels I discovered that an out-of-plumb wall in one corner was slightly too tight for the panel. This was not an error by the panel’s manufacturer, but a problem with the wall framing. To solve this issue, I used a rip gauge and circ saw to trim the panel.
Take careful measurements when mapping out outlet box locations on the rear of the panels. If you cut the box in the wrong spot, it will be very difficult to disguise.
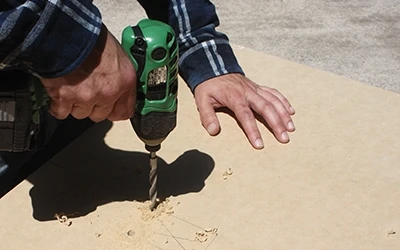
I suggest starting your cut-outs by drilling a hole at each corner, using a bit slightly larger than the width of your jigsaw blade.
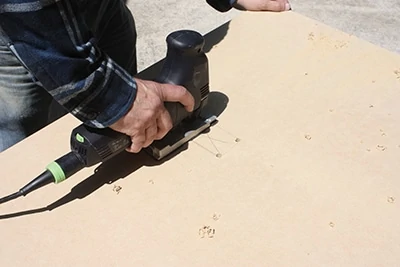
Use the jigsaw to connect the corners. The holes provide the clearance for the blade to make tight 90-deg. turns.
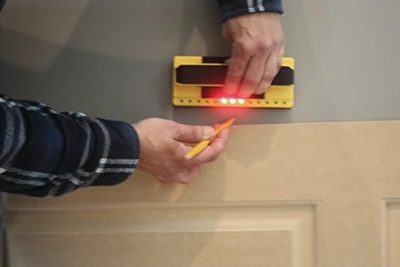
Prior to gluing the panels, mark the wall studs so you’ll know where to drive the brad nails through the panels.
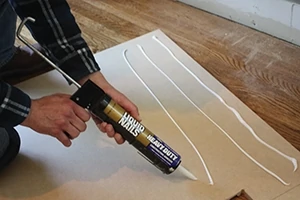
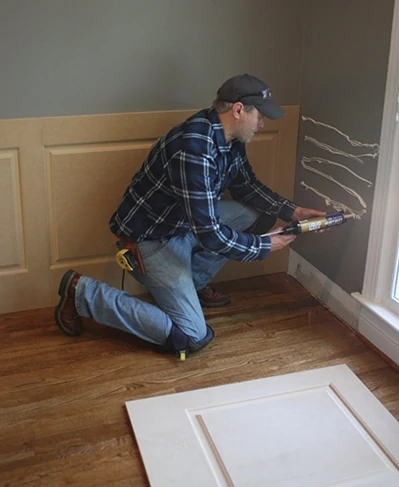
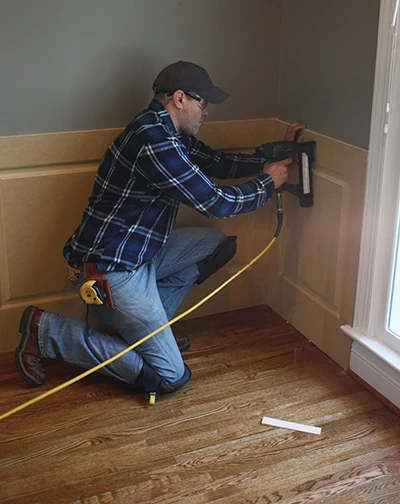
We used heavy-duty Liquid Nails to install the panels, combined with sparing use of brad nails. We drove a few nails into the studs to hang the panels while the construction adhesive set. Use as few nails as possible to reduce the need to spackle the nail holes.
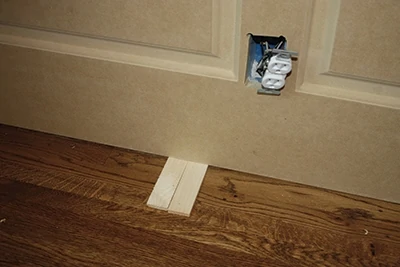
If the floor is out of level, shims can be placed beneath the panels to level them for installation.
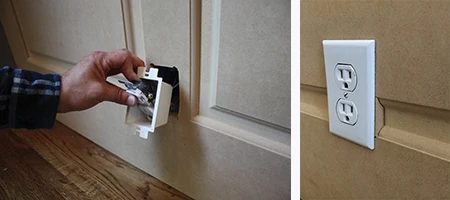
Electrical box extenders are necessary to install the outlets flush with the face of the panels.
If an outlet box falls along the groove of a raised panel, you have two options. One solution is to cut a new hole in the wall and relocate the box. The second option is to keep it in place and fill the voids in the groove with special filler blocks included in the Wainscoting America kit.
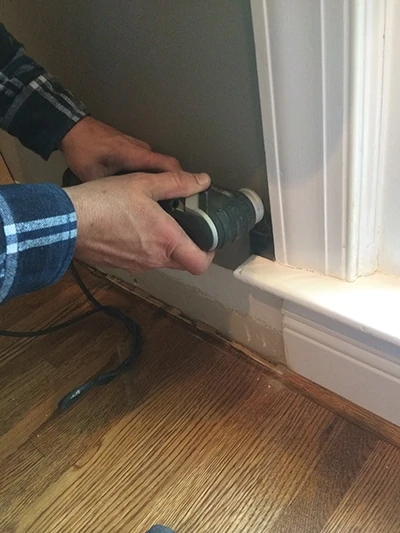
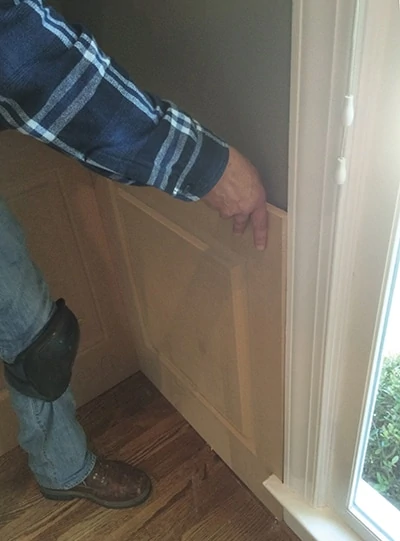
On this project, a window sill interfered with the installation of a panel. Rather than notch the panel to fit over the sill, I notched the back of the sill.
Next to the window I applied glue to the wall rather than to the panel.
In this case I had to press the panel high on the wall and slide it down behind the notched sill.
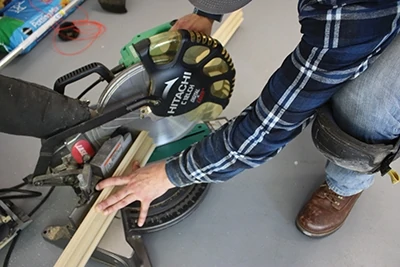
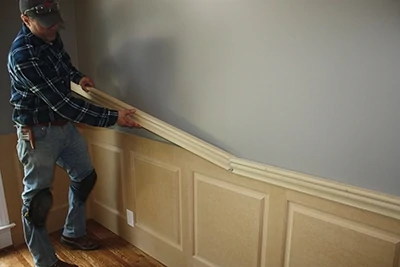
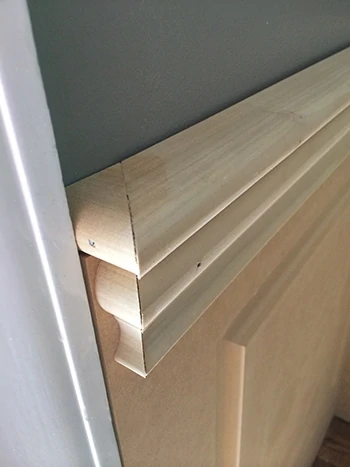
The kit included a decorative cap rail. Just like joining two runs of crown molding, I recommend cutting a scarf joint when joining two lengths of cap rail. A scarf joint consists of two 45-degree cuts made in opposite directions so they fit together flush.
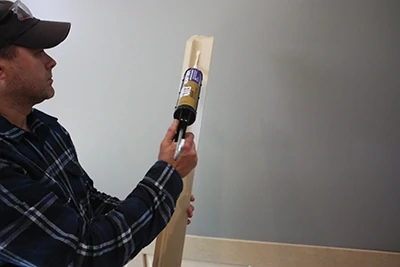
Use glue and a few brad nails to fasten the cap rail. Make sure to apply glue to the scarf joint.
To hide the seam, orient the scarf joint so it is angled away from the most common view of the room.
The wainscoting kit included mitered returns to provide a finished look to the ends of the cap rail.
Set the nail heads beneath the surface to be filled with spackle or wood putty. Caulk all the seams, apply primer and your final topcoat of paint.


