

A fast, efficient—and accurate as all get-out—way to frame your next deck.
By Mark Clement
Get ten deck-builders together, and you’ll end up with 15 ways to build a deck. Many contractors use strings and stakes driven into the grass for layout (Trip Fest 2019). Others pour lots of concrete for posts (looks like a lot of work). Others wait for footing inspections before framing (What? Wait?). Top-Down framing streamlines those variables.
It saves me days, work, and hundreds of dollars per deck.
Jargon Alert
In case we use different names for the same things or you’re new to deck building:
Ledger – The board affixed to the house.
Band Joist – The joists that form the deck’s perimeter: Left, Right, Front.
Beam – The double 2-by that runs under all joists.
Cleat – A piece of wood that temporarily supports other material.
Ledger Prep
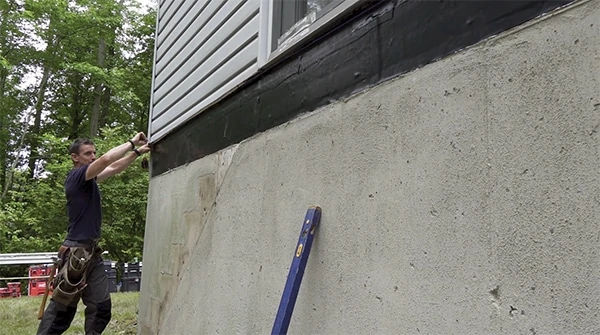
Whatever cladding is on the house must be removed in the ledger location, including stucco and brick veneer.
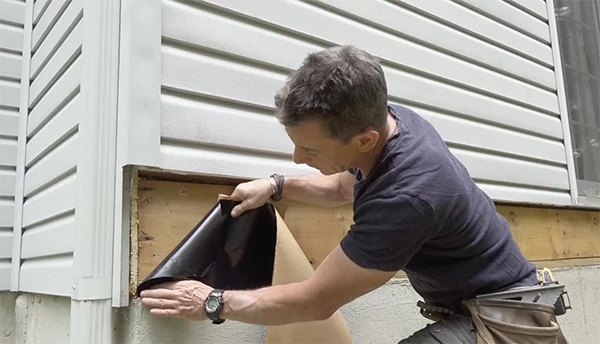
Next, the house’s band joist or structural sheathing—whatever you find in there—should be flashed with peel-and-stick membrane; it’s not intended for “wet service.”
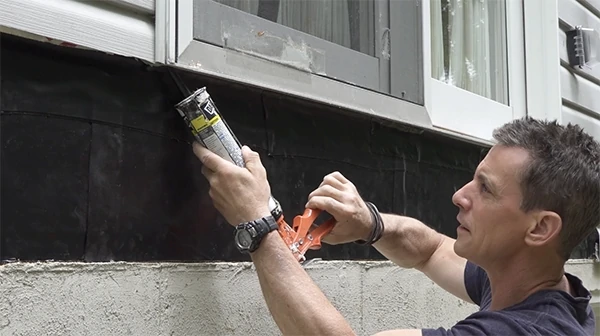
Rigid metal flashing bent in an “L” should be installed behind the house wrap and extend past the first deck board. Last, hurl a bo-hunker caulk bead under the door threshold.
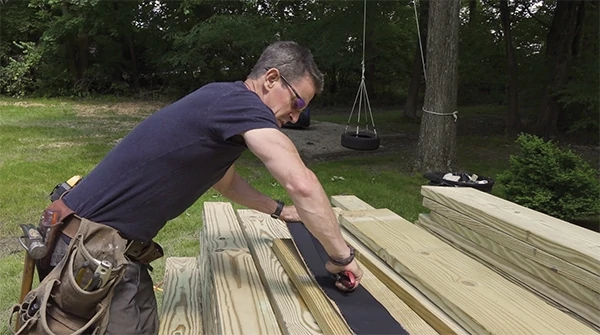
Tip: Isolate the framing from the aluminum flashing with 1-1/2-in. strips of membrane. When cutting the strips, it’s sometimes better to pull the material through the knife than run the knife through the material. The Hyde Tools 25mm Snap-Off Knife is awesomely sharp with an easy blade change.
Ledger & Beam
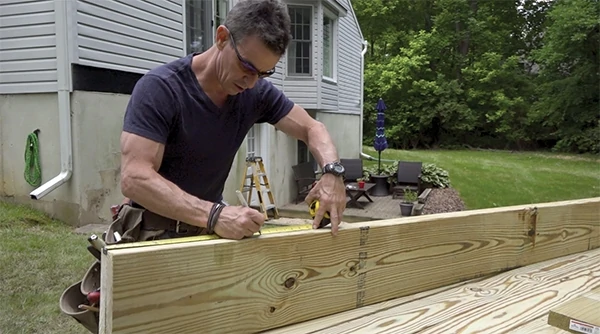
Gather those deck builders again, and it’s a fair bet most have gotten “off layout” somewhere between marking joist locations on the ledger one day and the beam another. As they install the joists—or worse, the decking—something looks out of skew. A preventive cure: Layout the ledger and beam simultaneously.
Cut your ledger and beam stock to the overall width of the deck. I use 2×10 treated Southern Pine for both (the material I get is so straight that checking it for crown is a waste of time). Mark joist locations on the top edges. Also, mark the Left or Right side of each.
Cut the Ledger. The ledger has the left and right band joists face-nailed to each end. So, to maintain the correct width of the deck, 3-inches needs to be cut off the ledger. Since the ledger is already laid out, 1-1/2-inches needs to be cut from each end (not off one side) to allow thickness of the 2-by.
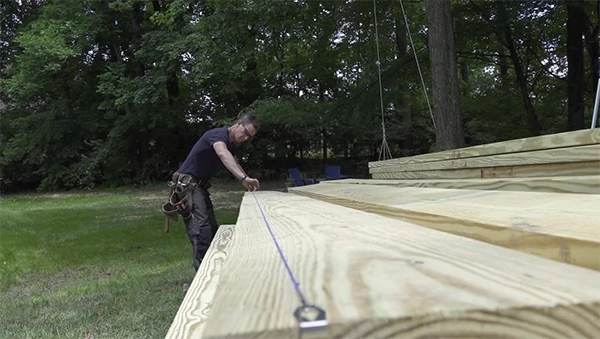
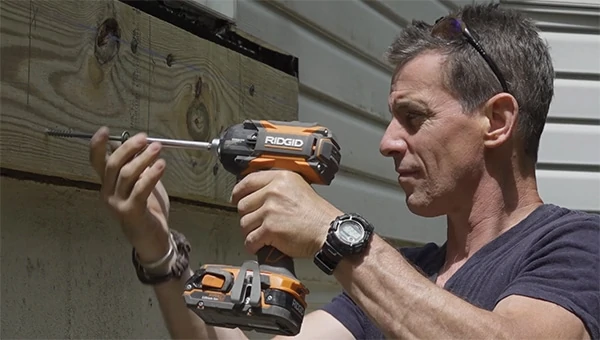
Snap Lines & Install. Code wants the ledger screws 2 inches in from the top/bottom of the ledger in a zig zag pattern, so instead of measuring a million times during install, I snap lines. At the house I snap a laser-leveled line 2 inches down from the bottom of the threshold for 2×6 pressure-treated decking. That marks the top of the ledger with a little room to spare.
Structural Screws. Code wants the ledger fasteners to penetrate the band joist inside the house. For framing with 1/2-inch sheathing (1-1/2 + 1/2 + 1-1/2 = 3-1/2 inches), I use a 5/16-in. x 4-in. washer-head screw. From the coating to holding power, I haven’t found a fastener I like better than Spax Power Lags.
Also, with the ledger laid out ahead of time, I’m sure my fastener placement doesn’t interfere with hangers or joists.
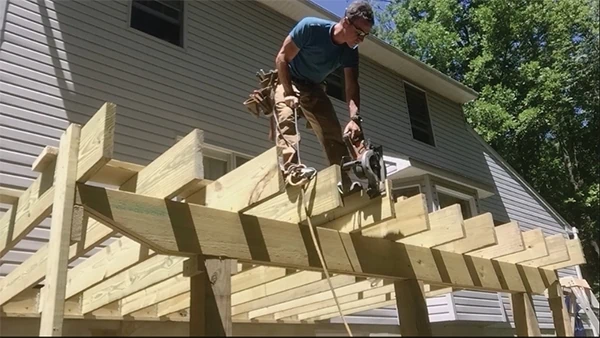
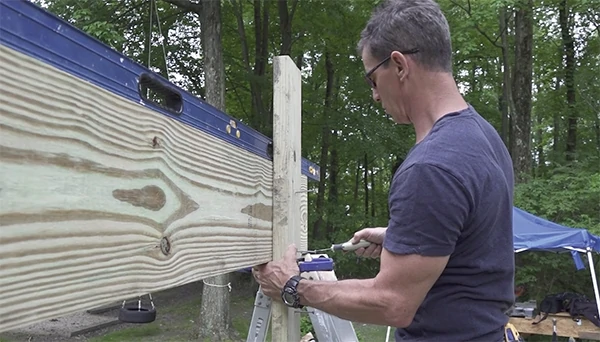
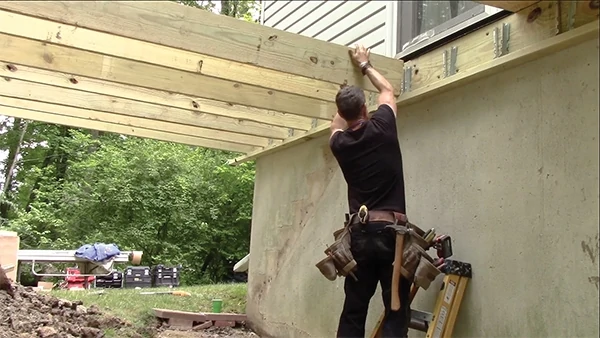
Framing
Screwing a 2×4 cleat to the bottom of the ledger is a time saver. A 2×6 is even better. I use the cleat for the framing to the guard posts.
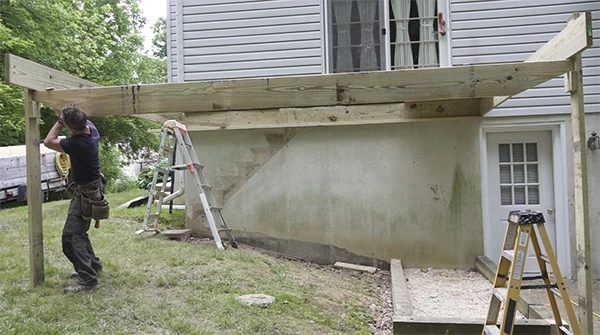
Band Joists. By running the cleat long, it supports the side band joists while I set them roughly level (on whatever works safely) at the far end of the deck. On this deck, I used a telescoping Little Giant stepladder.
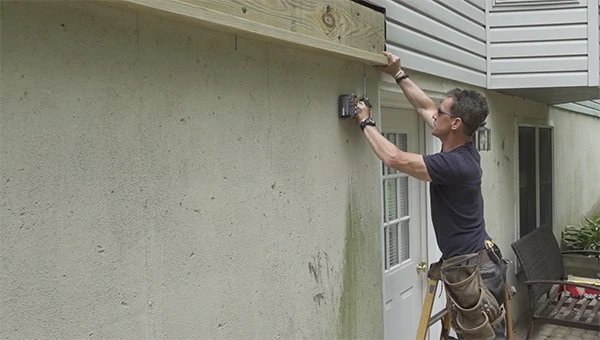
The Left and Right bands are the only joists cut to finished length prior to installation. So, if the deck is 12-feet deep, cut the left and right band 142-1/2 inches (144 inches minus 1-1/2 for the front band).
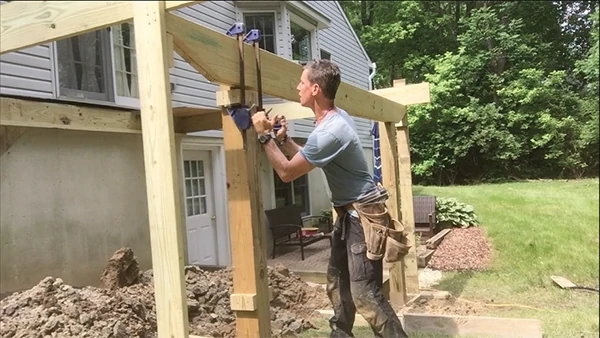
Temporary Posts. Once leveled on temps, I square the bands to the ledger with a 3-4-5 triangle. Held fast with an angle brace, I’ve got a square frame with nary a string to trip over.
Tip: The star of the photo below is my Hyde “Use It Every Day” Painters multi-tool. Just get one. Here, among its 10-million uses, I’m shimming the band joist level. I always ride the bubble to the high side of the line. All the forces on the deck from here on out are downward, so if the grass compresses or it rains a lot, I’ve got a little fudge for the band to settle level.
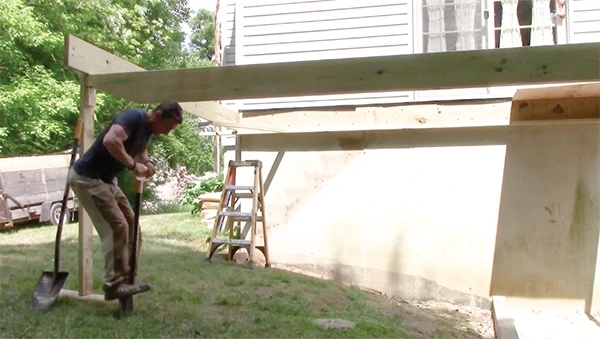
The temporary posts—2×6—are set 22-inches back from the end of the joist with #10 x 3-inch Spax HCRx coated screws. I also pre-set two screws on each end at the beam location.
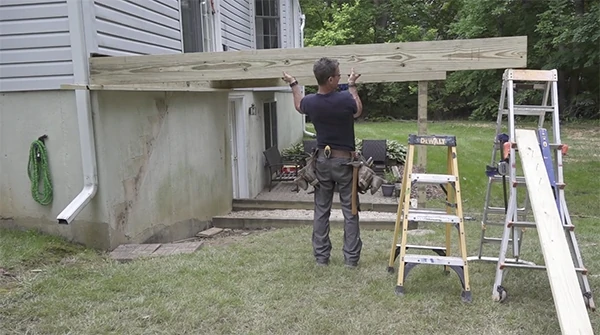
Beam. Most deck builders zing a 45 off each end of the beam. Meh.
I cut a “wing” instead. At the end of the wing’s taper, I cut a flat spot 2 inches long and 6 inches down from the top.
While I think it looks awesome-er, it serves a purpose. Before installing the double 2×10, I screw a block 6-1/2 inches down from the bottom of the joist on each temp post. This traps the beam while I install it. The payback: Instead of needing a helper to lift the beam—then annoy me for the rest of the day—I trap it in the blocks, lift it half an inch, and fasten with the screws pre-set in the temp above.
Dirt Work
More payback. Now, to mark the support posts, I plumb down from a known location in space instead of hoping my string layout worked. On a low deck, the beam is in the way. In that case, I run a string between the temp posts and plumb down. It’s also handy to have the deck frame wide open if you’re digging with a machine.
Tip: I like to over-dig square-ish holes, at least 16 x 16-inches. I start with an edger—Pop-Up Tool Review: Fiskars All-Steel edger and shovel are sublime digging tools—and then I use a long-handled shovel to shave down the sides of each hole.
Posts
Generally speaking, code likes 6×6 posts at 6-foot centers along the beam. Depending on the beam’s width, you may be able to stretch this. How far you can span them is related to the beam sizing. Posts can be placed further apart on a 2×12 beam versus a 2×8, for example.
Block. I “shoulder cut” (notch) the posts, which means there are marks and measurements on 3 sides. Using a block (I screwed two 9-inch long 2×6 scraps together) and tracing the notch is faster, more accurate.
Sleeve. I cannot describe how much I love using Post-Protector post sleeves and the time and money they save. But I’ll try. The big thing is that they enable me to set the post in the ground. The payback here is that no concrete tubes are required. This means you need only one bag of concrete per hole—not several—which means you don’t need to call a truck or buy, move, store, mix and clean up 640-pounds of concrete per hole. The sleeves are much less expensive that concrete, and no hardware is needed. Because the holes are visible to the inspector, you can keep framing. Plus, the dirt displaced by concrete can go back in the hole (I love this a lot).
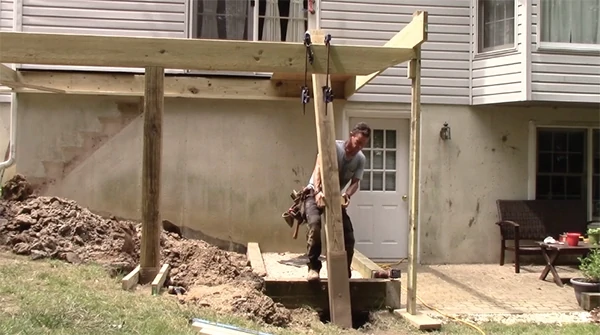
Tip: For managing long posts solo, I screw “carry blocks” to the middle-ish and “clamp blocks” below the shoulder cut. The carry blocks help me move the post, and the clamp blocks enable me to secure the post on layout easily. I fasten the post to the beam with four Power Lags.
Joists
With the ledger cleat still in place, I set my joist hangers using #10 x 1-1/2-inch Spax HCRx coated screws then roll the joists into place. For the angled hanger holes, a 2-1/2-inch #10 screw is required.
Once the joists are on layout that I know is parallel from ledger to beam, I fasten the joists to the beam, snap a line between the left and right band, square down and cut them flush with my Wormie-McSquirmy wormdrive saw.

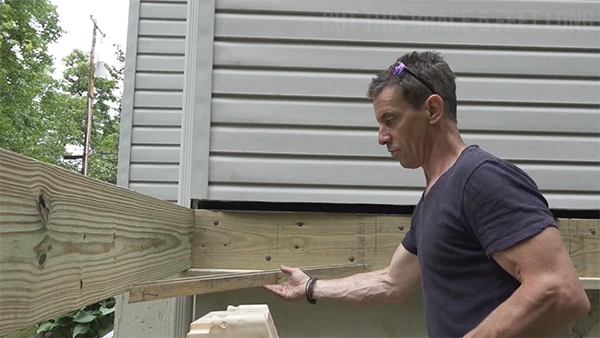
The last step for Top-Down deck framing is moving the ledger cleat out to the ends of the joists and installing it 1-1/2 inches proud. Here’s, it’s in a perfect spot to help trap the front band. And, later on in the next phase, it’s a perfect stop for setting 4×4 guard posts.
Editor’s Note: Mark Clement is a carpenter and presenter for The Remodeling Show and DeckExpo, specializing in wood decks. Check out his deck building videos on YouTube — https://youtu.be/MmWaCtdnZ40
