The Basics of Installing Crown Molding
By Larry Walton
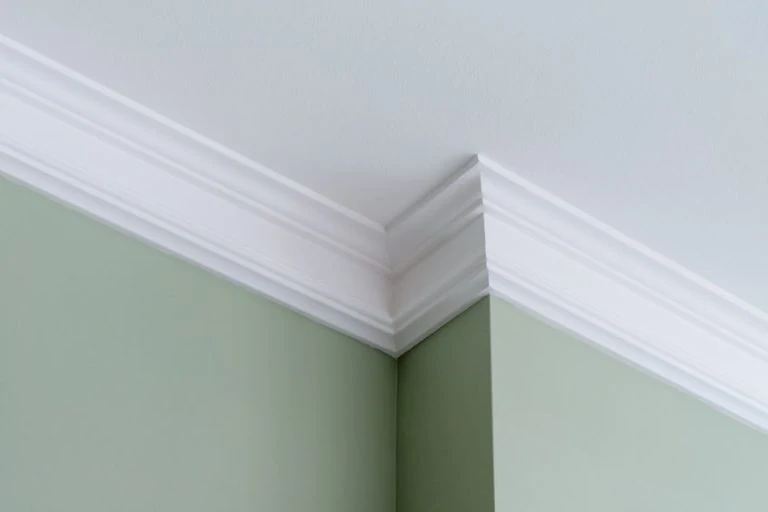
Crown molding can get type-cast in the role of decorative molding like butter-cream lattice work on a wedding cake. It’s necessary to achieve a certain look, but not necessarily functional.
However, start looking for the crown around you and you will begin to see its many functions. For one thing, that ubiquitous wall-to-ceiling crown creates a transition that softens the harsh angle and hides irregularities. It make the problems associated with that particular corner go away.
Crown also serves as a corbel to support cantilevers in many structures such as mantel tops and plant shelves. It functions much like a knee brace to provide vertical support for horizontal planes.
When it comes to interior finish carpentry jobs, the level of a project can almost be measured in terms of the amount of crown molding involved. Big projects often involve ceiling crown in every room and on every door and window header. Cabinets are topped with crown, open landings are girded with crown and mantel tops are supported by crown. Crown is often used as an apron for window stools.
Having said all that, one of the best ways to get started working with crown molding is topping a simple rectangular room.
Crown molding should be proportionate to the room. I recently installed crown in a house with only 7-1/2 ft. ceilings but it worked quite well because we used a very small 2-1/4-in. crown molding, which was just right for the application. Larger rooms with high ceilings can and should take a larger crown molding. For example, 4-1/2-in. crown is common for rooms with 9-ft. ceilings.
Crown is available in lots of different profiles. Some designers add extra trim details to the crown design by installing an extra piece of flat trim on the ceiling and/or the wall to add detail and strengthen the feel of the crown. Some crown designs have space to add dentil molding while others have a built-in dentil detail, but the most common profiles are one piece with a large cove in the face and an extra ogee detail, which belongs at the bottom. I teach my crew to remember “detail down,” which means the part with the most contour goes down or along the wall.
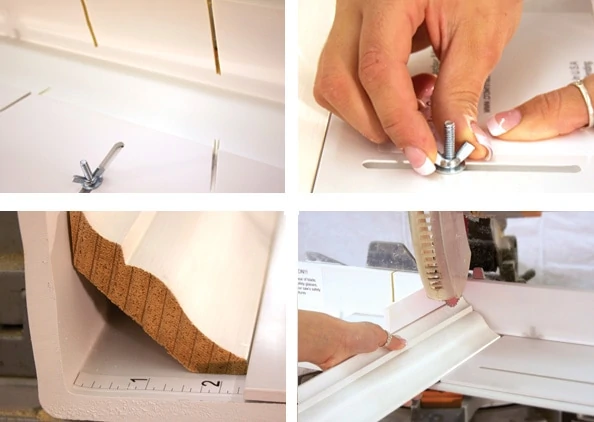
An important concept to understand when installing crown molding is that it must be oriented properly for the connections to work out. Crown molding is designed to transition between the wall and the ceiling at a specific angle. Because there is a void behind the molding, this angle is not always obvious and not always easily maintained during installation. To maintain the proper angle, which is essential for tight fits and proper joints, install the crown at a consistent distance from the ceiling at the point where it touches the wall.
Start by measuring the room to get the linear footage needed to go around the perimeter of the room. Preferably, you will get the crown in lengths that can be installed without splicing. Buy at least 1/2-ft. extra for each wall.
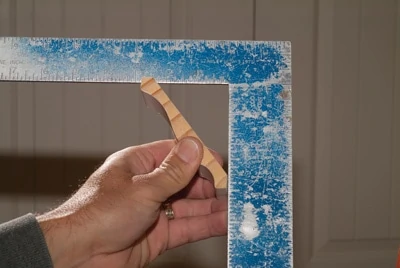
Measure the vertical and horizontal positioning of your crown molding. Using a framing square to mimic the ceiling and wall, position a short piece of crown so the ceiling and wall surface are flat on the tongue and the blade of the framing square. Read the scale on the framing square for the amount of wall and ceiling that is covered by the crown.
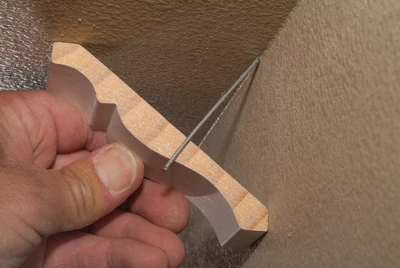
Determine your backing situation. If you are using small (2-1/4 to 3 in.) crown, then the double top plate is probably reachable with finish nails. However, larger sizes of crown molding bridge between the wall and ceiling leaving a gap that is too large to be spanned by a finish nail.
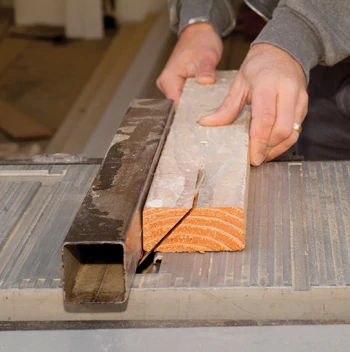
For larger crown, install backer blocks. Set the table saw at 45 degrees and rip triangular shaped strips out of 2×4. Chop the strips to 6-in. lengths and install at 2 ft. intervals around the room, staying about a foot away from the corners. Mark the wall with painter’s tape a few inches below the blocks to indicate their position when you cover them with crown.

Measure from wall to wall for the first piece of crown.
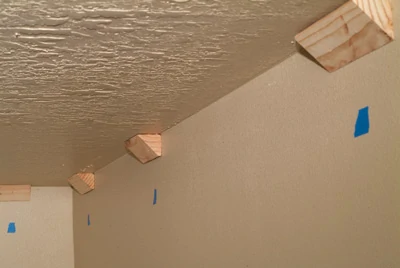
Cut the first piece of molding square on both ends. Position the first piece with the detail down and the bottom edge at the top of the masking tape marks. Nail at the tape marks, which indicate the backing locations.
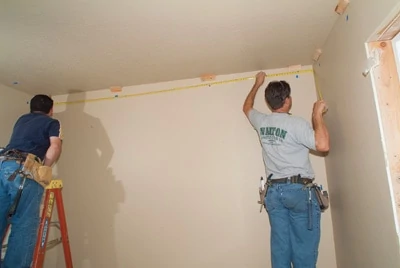
Masking tape on the miter saw table and fence marks the location of the crown molding edges so it is positioned at the correct angle to the saw blade. Since the crown goes in the saw upside-down, put the ceiling mark on the table and the wall mark on the fence.
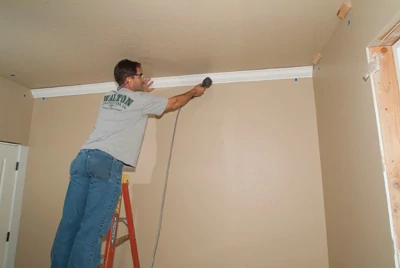
Begin a cope cut by setting the saw at 45-degrees back toward the length of the board. Position the crown molding in the saw upside-down with the edges at the tape marks made earlier. Make your miter cut.
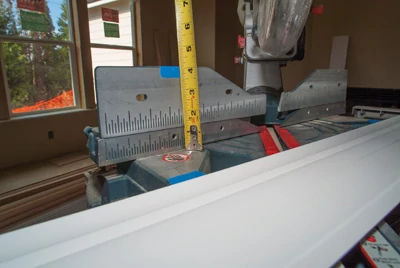
With the crown molding face down, hook the tape at the longest point of the 45-degree cut and mark the same edge of the molding at the wall-to-wall measurement.
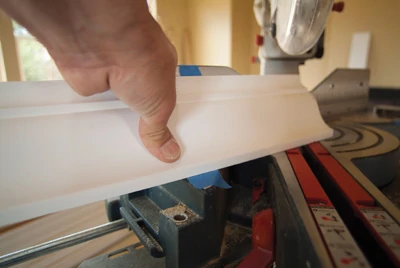
Turn the molding face up and use a coping saw to cut along the line determined by the intersection of the face and the cut area.
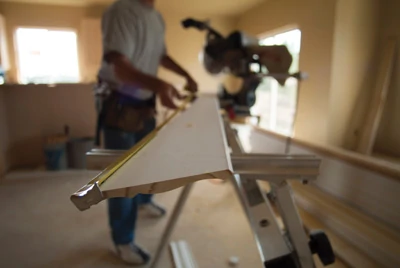
Back-cut the molding by angling the coping saw handle away from the molding so the blade is perpendicular to the plane of the miter saw cut.
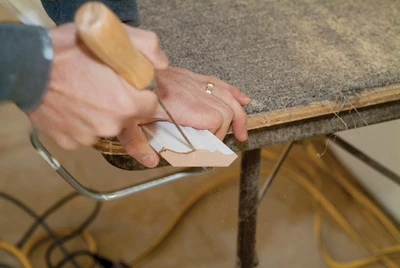
Fit the cope cut end into place against the adjacent piece then position the remainder of the piece and nail it into place.
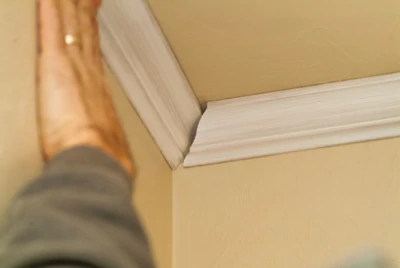
Make a cope cut at both ends of the final piece of crown.
As you gain experience with crown, you’ll get comfortable with different cuts. Crown can follow around the perimeter of room just like the base boards. You can go around columns, into alcoves and along walls that meet at 45 degrees. Measure and mark the part of the crown that touches the wall just as you would with base boards. Bisect angles with the miter saw (e.g. 45 degree corners require 22-1/2 degree cuts).
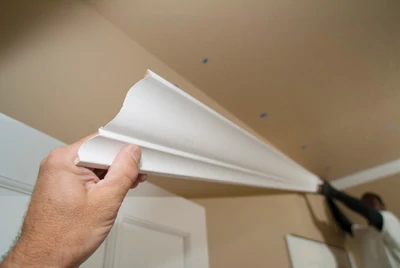
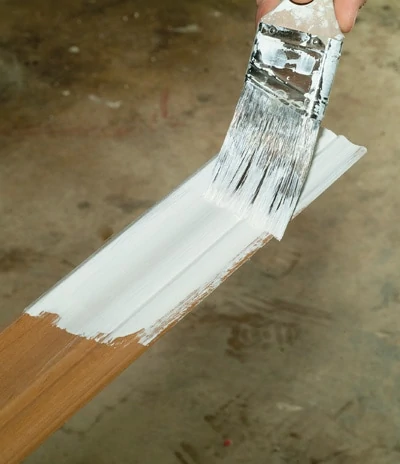
Finish your installation by filling nail holes, caulking the joints and applying a little touch-up paint.
Side Note 1
When crown molding slips out of position on a miter saw, the misaligned cut will not properly fit the joint, resulting in extra labor and wasted materials. The Crown Master Mitre Box (CMMB) is a miter saw jig that easily adjusts to securely hold any size crown molding up to 4-1/2-in. wide. It also easily adjusts to any angle of tilt for any particular molding. The CMMB easily provides the ability to cut mitered joints from 1 to 45 degrees in crown and other other types of moldings that sit at an angular tilt. It has integrated stops on the bottom allowing you to align the saw blade exactly every time. The CMMB also requires no mechanical means of attachment to the saw you’re using, making it easy to use the same saw for other purposes, without changing any of the angles set up for your crown. Three kits are available. The Basic Kit contains one CMMB, allowing you to easily and confidently cut crown molding for most standard angles. The Pro Kit contains one CMMB as well as an Auxiliary Kit that allows you to cut angles steeper than 45 degrees—perfect for vaulted ceilings or coffered ceilings. The Pro Plus Kit contains two CMMB’s and one Auxiliary Kit.


