A Natural Look for your Backyard Retreat
By Mark Clement
The look of stone is just as natural as grass and trees, making stone building materials a favorite choice for outdoor construction projects. Stone is durable, weatherproof and complements the outside environment when converting your backyard to an entertainment area. Companies such as Keystone Hardscapes, Pavestone and Oldcastle offer stones and pavers in a broad array of colors, sizes and styles, enabling creative DIY’ers to custom-build virtually any project they can conceive.
But creativity is not a prerequisite for building with stone. Recognizing that designing with stone can be intimidating for first-timers, manufacturers now offer detailed instructions that walk builders through practically every phase of a project, from site preparation to laying the last stone.
Favorite Features
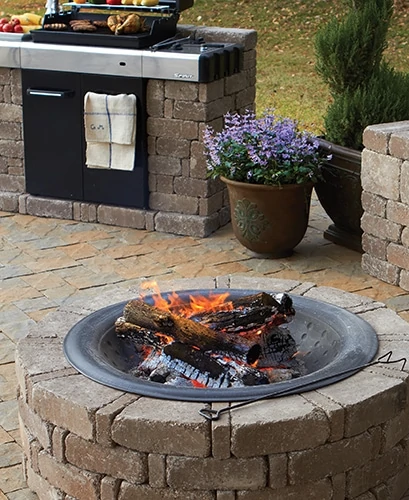
For homeowners who enjoy the outdoors at night or during a winter, a fire pit is one of the most popular amenities to include in the design. You can always purchase a portable pit at any home center, but a permanent stone pit provides a substantial improvement to the landscape and gives the exterior design a focal point.
Stone fire pits make an ideal first project for a DIY’er who is new to masonry work. They’re relatively simple in design and can be easily customized to varying sizes and with different trim details.
If you don’t want to customize your pit, that’s okay too. Customizing a stone project can be challenging to a novice, requiring careful planning and usually the need to cut stone with a wet saw, which many homeowners don’t own or have never used.
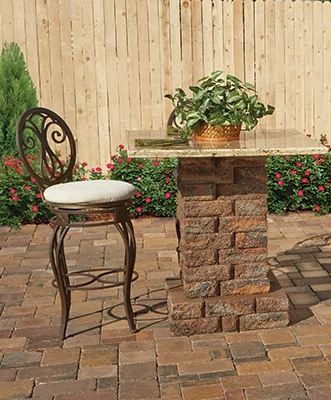
Addressing this concern, some companies provide kits with almost everything you need for the project, including every stone of specific size, cap stones for a finishing touch, and detailed step-by-step instructions that tell the installer exactly where to lay every stone. This makes many of these stone projects as easy to assemble as Legos, requiring no mortar between the stones—only application of construction adhesive between the courses.
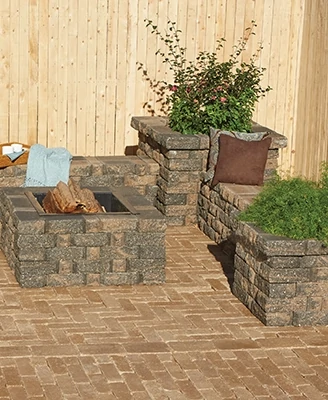
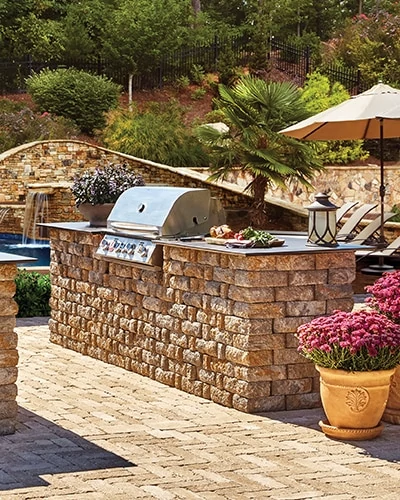
Sound easy? It is. And a fire pit is only a taste of the available projects. More ambitious homeowners might opt for something bigger and badder, like a full-size outdoor fireplace. If you really want to dazzle the neighbors, build an outdoor kitchen complete with a stone-enclosed barbecue grilling station. Other stone-built ideas include benches, columns, planter boxes, water features, small retaining walls (up to 3 ft. high), and even mailbox enclosures. Connect everything with a paver patio and sidewalks, and you’ll soon have an outside oasis right out your back door.
Easy Construction
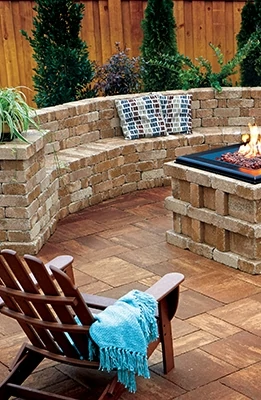
A prime example of these DIY stone-building kits comes from the Rumblestone product line from Pavestone. Available at the Home Depot, the kits come with detailed course-by-course instructions that explain every move you need to make—and they’re designed for easy construction. For example, the Rumblestone projects require no concrete base. Although most of these projects would wonderfully complement a paver patio, even that’s not a requirement. You can basically just level and compact the site to begin construction (although EHT suggests using a compacted granular base beneath any stone project).
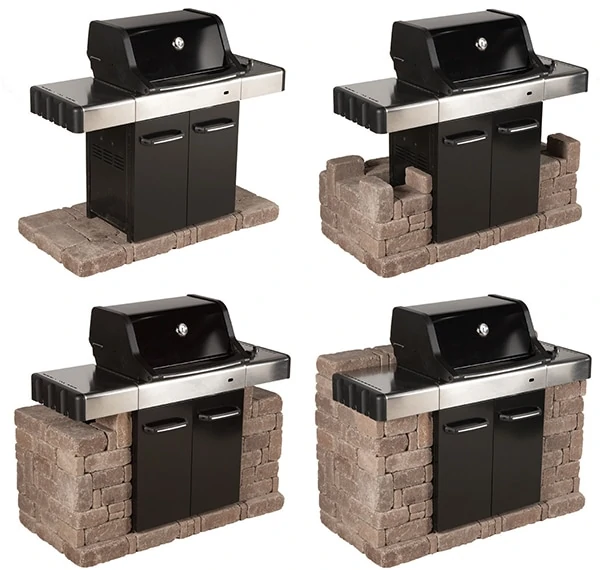
With the DIY kits, you can purchase construction adhesive as needed, and virtually everything else is included for the project. You can pick up the kits at the store, and in some cases they’re even available for delivery (check your local store for details). Special financing is also available.
For more information on the wide range of stone landscape ideas, check out the detailed instructions and tutorial videos available at www.pavestone.com and www.keystonehardscapes.com.
Constructing a Paver Patio
With many shapes, sizes and textures, pavers offer durable and stylish design options for exterior walkways. Paver patios with a flexible base have long been a popular project for DIY’ers. A patio with a flexible base is built with sub-layers of compacted gravel and sand. This method of construction requires no concrete or mortar, plus homeowners love the classic brick-like look of the walking surface.
Carefully plan the patio’s size and shape according to your lifestyle needs and the design of your yard. Outline the patio perimeter with spray paint or stakes and string. Also, keep in mind how many bricks you want to cut. Although a curved patio has a less formal appearance than a square one, the rectangular pavers will need to be cut to follow the curve of the border. (Tip: Add 10 percent to your total paver order to account for cutting.) The choice of brick pattern can also minimize cutting. A basket weave pattern is ideal because full pavers can be used throughout a square or rectangular shaped patio.
Establish the patio’s finished height, which should be about an inch above the ground. The patio surface should be built to slope away from the house or surrounding buildings by about 1/4 inch per foot. EHT recommends digging deep enough for the thickness of the pavers plus a minimum of 4 inches for crushed rock and an inch of sand to use a leveling bed.
Note: Before breaking ground on your patio, call 811, the national “Call Before You Dig” number, designated by the FCC to help prevent American homeowners from damaging underground utilities.
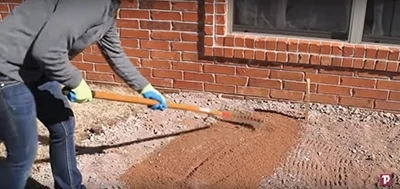
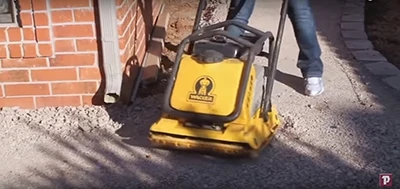
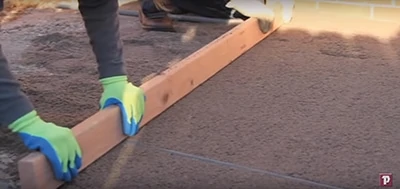
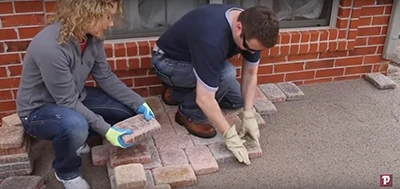
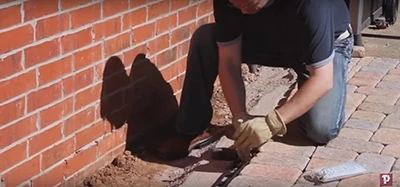
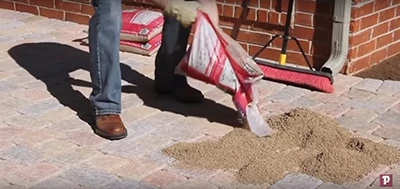
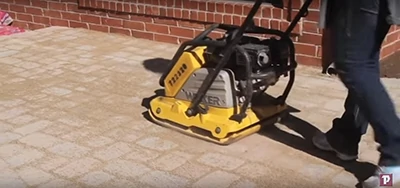
The accompanying photos show installation of patio built with Pavestone pavers, available from the Home Depot.
As a general rule, patio pavers require about 4 inches of compacted crushed stone as a base for pedestrian use (up to 8 inches for climates where ice heaving is a problem).
The subsoil and the gravel bed should be thoroughly compacted prior to installing the pavers. Plate compactors are available at almost any rental outlet.
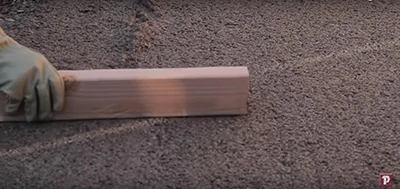
Add a layer of sand to the patio site and screed it level. This can be accomplished by using 1-inch pipe buried in the sand to serve as a depth gauge. Installers can sweep the screed-board over the top of the pipes to level the surrounding sand.
After the sand is level, remove the pipes and fill the indentations with more sand.
Screed the repaired pipe trenches level with the surrounding sound.
Next step is to begin installation of the paver surface, butting the edges against each other.
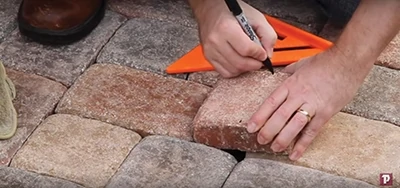
Carefully measure and mark and pavers that need to be cut.
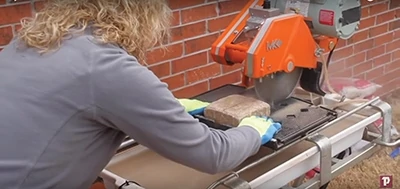
A wet saw is the easiest and most accurate way to cut pavers. If you don’t own one, you can always rent one from your local rental outlet (when you rent your plate compactor).
Install some sort of edging or border along the edges of the patio to prevent the pavers from shifting around.
Apply joint sand to the paver surface and sweep it into the all the joints. Concrete sand that has coarse and angular particles is recommended over masonry sand, which has rounder, finer particles. Completely fill the joints with sand to help them interlock.
After installing the pavers, tamp the finished surface. Comprehensive compaction during all phases of construction will help ensure a strong, sturdy foundation for your walking surface.
Cordless Equipment for Landscape Maintenance
When it comes to landscaping and garden equipment, advancements in battery technology now provide more freedom than ever. Every year, more homeowners are making the switch from traditional gas equipment to cordless options. Aside from reducing carbon emissions, the cordless switch comes with plenty of other advantages.
Quiet Operation
Compared to their gasoline counterparts, cordless outdoor tools are quiet enough to use any time of day. Lawn maintenance in the early morning or evening hours is no problem for your family or neighbors.
Instant Starting
The eternal struggle of man vs. rope ends with cordless technology. Most kinds of cordless outdoor equipment start with the push of a button.
Low Maintenance
Gas-powered equipment usually requires specific steps to be taken between uses, and even more steps for long-term storage. In the world of cordless power, maintenance requires little more than keeping the tool tidy, and keeping the battery charged.
Gas-like Performance
True, there was a time when cordless tools simply didn’t have the power to compete with gas-powered tools. Even now, some homeowners are hesitant to make the switch because the battery technology of yesteryear almost always meant sacrificing power. Recent advancements, however, end the struggle between cordless convenience and efficient performance. Larger voltage battery-powered options, such as the RYOBI 40V line, provide options that give gas counterparts a run for their money.
What to Look For
When you’re ready to ditch the gas can, look for tools that will make the transition seamless. Many cordless options offer features similar to gas tools. For example…
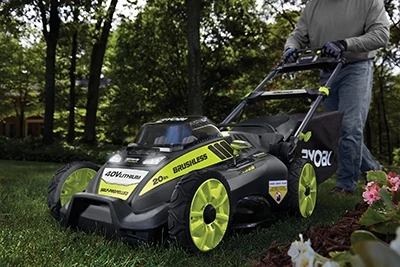
RYOBI’s 40V Self-Propelled Brushless Mower is designed with a 20-inch cutting deck, adjustable height lever, mulching and bagging options, and a user-friendly self-propelled feature that makes the job a breeze. It’s got everything you’d expect from a gas mower, with the cordless benefits listed above.
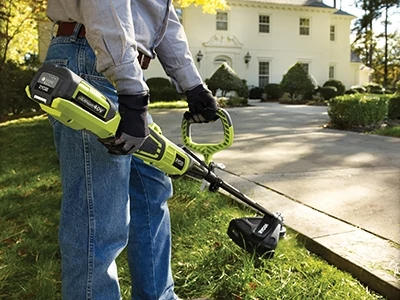
RYOBI’s 40V X String Trimmer accepts universal-fit gas attachments, a capability that was unheard of 5 years ago. The 40V battery delivers runtime that rivals a gas engine, and the ReelEasy bump-feed trimmer head can handle the same heavy-duty trimming tasks.
Visit Ryobitools.com to see all 25 tools in the RYOBI 40V Outdoor Power family. Each of these cordless options is designed with features to make the cordless switch one of the easiest decisions you’ll make this season.
Side Note
Col-Met Steel Hardscape Edging
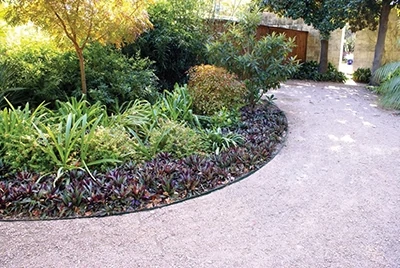
Col-Met Steel Edging helps create clean, crisp lines in various landscape designs. Col-Met’s steel edging keeps grass from spreading and also retains mulch, rocks and stones in gardens and walkways. Col-Met Edging is easy to shape and install and stays in place for years.
Col-Met is the largest manufacturer of commercial grade steel landscape edging. The steel landscape edging products are available in green (standard), brown and black powder-coat finish. New for 2018 Col-Met is including a textured black edging finish to its product lineup. Learn more at www.colmet.com.


