By Matt Weber
Installing Aluminum Weather-Stripping Around a Leaky Door.
Even the most energy-efficient HVAC systems boasting all the latest technology can still cost you plenty if that conditioned air is wasted through leaky doors, windows or walls.
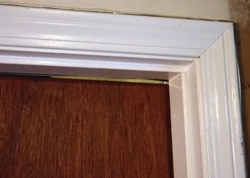
One of our project houses had a door with a poor weather seal, leaving a substantial gap around its perimeter. Unlike an interior partition, this door separated the conditioned living space from an unfinished basement. A general rule of thumb: If you can see light between the closed door and the jamb, then you have a problem. In this case, the gap between the jamb and the edges of the door measured up to 1/2 in. at its widest point. Calculate the total area of that long, leaky opening, and it equates to leaving a window cracked. Conditioned air could be felt drafting out of the house at a notable rate.
The solution to a problem like this is to install a simple weather-stripping kit. This is an entry-level project that is well within the skill set of even the greenest DIY’er. All that’s required is the kit, a drill/driver, measuring tape and a hacksaw, and you can stop the energy loss.
Installation
Hardware stores sell several varieties of weather-stripping, but the best type for doors has a rigid aluminum bar along with a soft rubber gasket, called a bulb. When attached to the door frame, the bulb compresses against the closed door to prevent the passage of air and moisture. The kits are usually sold with three pieces, one for the top and two for the sides of the door. The side pieces often come in standard door heights, but any of the three components can be trimmed to size.
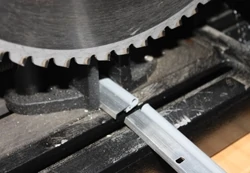
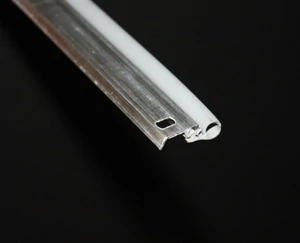
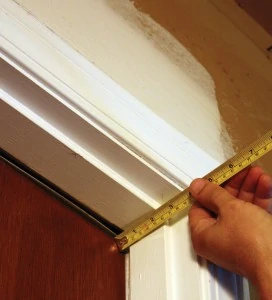
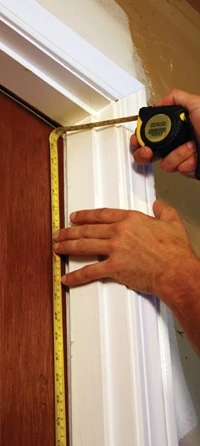
Use a tape measure to determine the length from the bottom of the door frame to the top of the jamb. If it’s necessary to cut the material, use a hacksaw to cut the aluminum and a utility knife to cut the rubber gasket. I had misplaced my hacksaw and trimmed the stripping with a powered cut-off saw, but a hacksaw actually works better because there’s no risk of kickback.

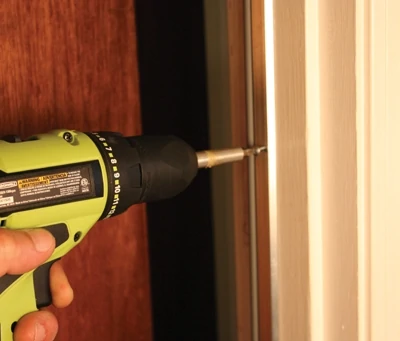
Close the door and press the weather-stripping firmly against it. If installing in a metal door frame, then mark the screw holes in the weather-stripping with a pencil. Metal door frames will require pilot holes to be predrilled with a 1/16-in. spiral tip bit. If predrilling is not required, you can usually drive the screws (included with the kit) directly into the door frame.
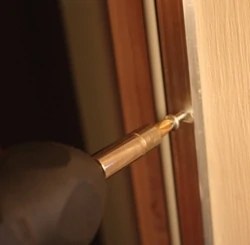
When driving the screws, leave them proud without securing them tightly. The weather-stripping should be left loose until all the screws have been started.
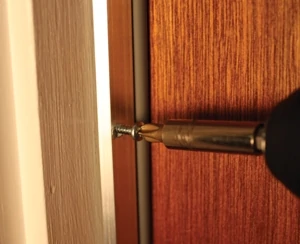
Once they’re all in place, make sure the door is tightly closed. The screw slots are oblong, allowing room for final adjustment. Press the weather-stripping firmly against the door, compressing the rubber bulb. (Don’t compress it more than 50 percent or you could damage the gasket). When you’re satisfied with placement, drive down the screws tightly.
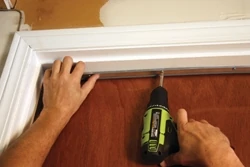
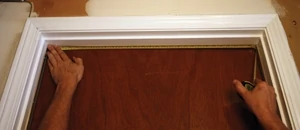
Repeat the procedure for the other side of the doorway. With both sides installed, measure between the two strips to determine the length of the top strip.
When cutting, err on the side of too long and adjust as necessary. Install with screws just like the first two strips. Close the door a few times to check the seal and make minor adjustments. The oblong screw slots enable you to back out the fasteners, move the strip as necessary and then retighten until you’ve completely closed off the gap.

Other Improvement Related Articles


