

Prevent Weather Damage and Squirrel Infestation
By Stuart Hanson
Nearly every DIY’er seems to share two common traits; they take extreme pride in their home and always enjoy saving money when it comes to home improvement, maintenance or repair. And it’s no surprise that preventive roof maintenance is required, regardless of the season, to keep the roof in tip-top shape and more money in the wallet. Even seasoned pros know that a cold winter, a wet spring and a sweltering summer can aggravate a roof and quickly turn minor defects into costly repair bills; in fact, the most recent “Cost vs. Value” report from Remodeling Magazine estimates the average roofing replacement cost at over $20,000.
Special attention to one seemingly small aspect of the roof that many homeowners (and roofing contractors, for that matter) often overlook is actually one of the most likely places for roof damage to occur: roof venting pipes. It’s amazing how many astute homeowners simply leave a white plastic pipe sticking out of their roof with no protection from weather and animals (besides being an unsightly display of contrast to most black or brown rooftops).
Plastic or neoprene rooftop venting covers are a cheap alternative but easily and quickly deteriorate a few years after installation due to weather and sun causing them to become brittle and crack. Other low-quality pipe covers contain lead and/or lead tops that corrode over time, which leaves a rust trail on the roof and—to make matters worse—attract squirrels and other critters to relentlessly chew holes and pry their way into your home.
Varmints entering a home via roof pipe jacks and boot covers that have shoddy lead tops can lead to costly roof damage from rain, frost and snow. “Squirrel infestation is a very big problem throughout many areas of the United States, especially older homes,” explains Amanda Williams, marketing manager at Quarrix. “Installing a high-quality venting pipe cover protects a vulnerable spot on the roof from leaks that occur due to cracking, corroding and even squirrels.”
One increasingly-popular and cost-effective venting pipe cover option is called Pipe Boot, made by Quarrix, manufacturer of high-quality roofing solutions. Compatible with PVC and other vent pipe materials, Pipe Boot offers roofing, plumbing and remodeling contractors a durable yet easy-to-install way to elegantly camouflage, cover and protect plumbing vent pipes while also withstanding freezing temperatures and pesky varmints.
Pipe Boot is made of all-steel construction and engineered to withstand frigid temperatures and frost damage via a patented design that allows air space to circulate properly, while still resisting freezing. Quarrix has passed vigorous 110-mph, wind-driven rain testing as further evidence to the durability of the Pipe Boot.
Additionally, installation is easy as Pipe Boot simply slides over the existing venting pipe, nails into place, and then twist the top to form a weather-tight seal. No specialty tools are needed … just place it, twist it and done. The telescoping sleeve allows for varying pipe heights, pipe widths and roof pitches, and it comes in four color options (and is paintable to coordinate with any roof color).
Normally, enlisting a certified roofing professional to repair any roofing-related issues is a sound decision, but replacing and installing Pipe Boot is actually quite easy, inexpensive and obtainable for capable DiYer’s.
STEP BY STEP
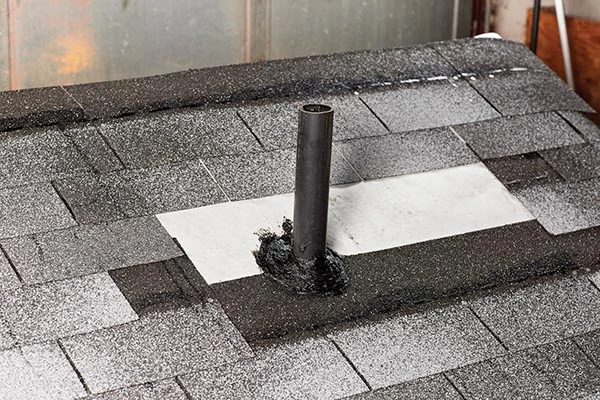
Prepare the roof vent pipe by removing up to three courses of shingles above the existing pipe flashing to ensure that the back flange is covered by the shingles. Also, remove and discard the existing pipe flashing and any old roof cement. Apply roofing cement around the pipe and underlayment, as it penetrates the roof to create a weather-tight seal.
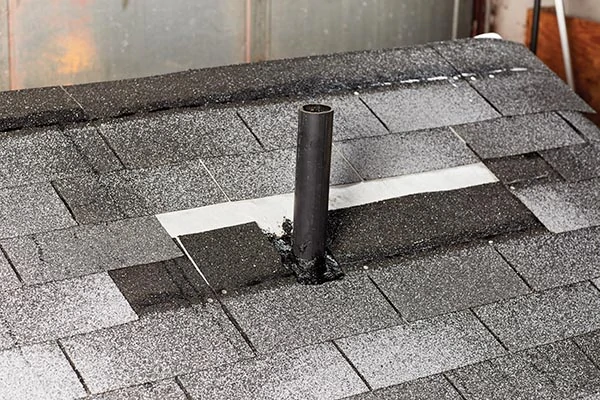
If necessary, install new shingles up to the pipe penetration and notch shingles around the plumbing pipe.
Remove the protective plastic layer (if painted Pipe Boot), then place Pipe Boot next to the plumbing pipe and visually check pitch alignment. If pitch adjustment is needed, pinch the front corners to increase the pitch or push down on the front of the Pipe Boot to decrease the pitch until plumb. Note: The plumbing pipe should extend 2 to 3 inches above the base sleeve to allow for proper roof expansion and contraction. Pipe Boot base sizes are available in both standard and high-pitch sizes (3/12 – 14/12) should a custom fit be needed.
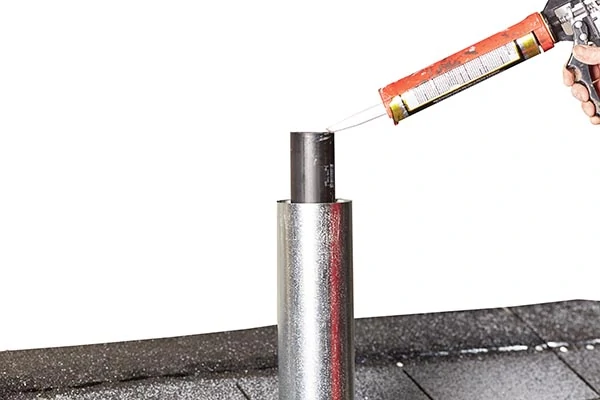
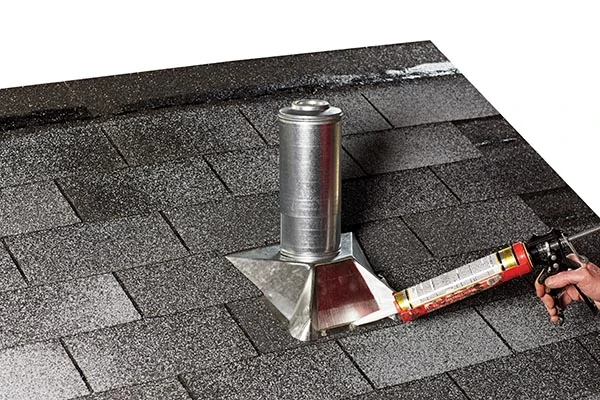
Next, apply a bead of a polyurethane sealant on the rim of the plumbing pipe.
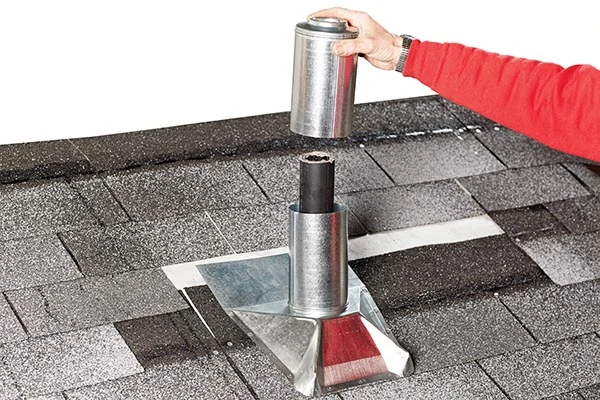
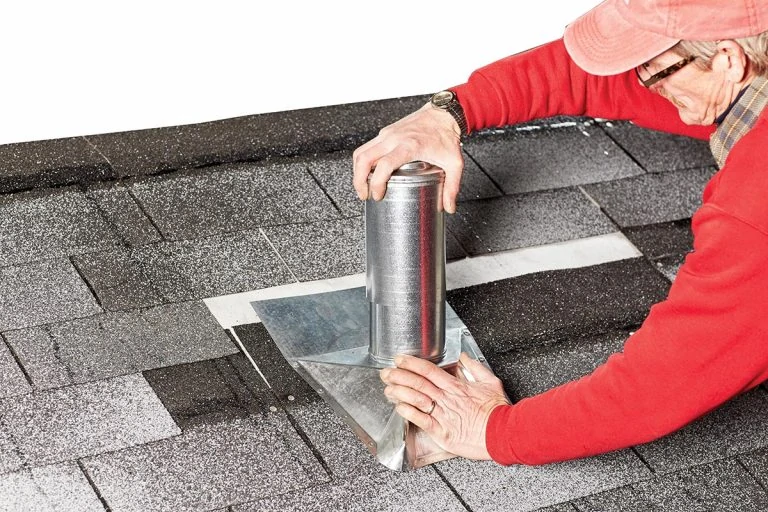
Place Pipe Boot over the plumbing pipe, seating the patented TightLOCK top on to the pipe. Turn the TightLOCK Top clockwise 1/8 inch to ensure that it is secure.
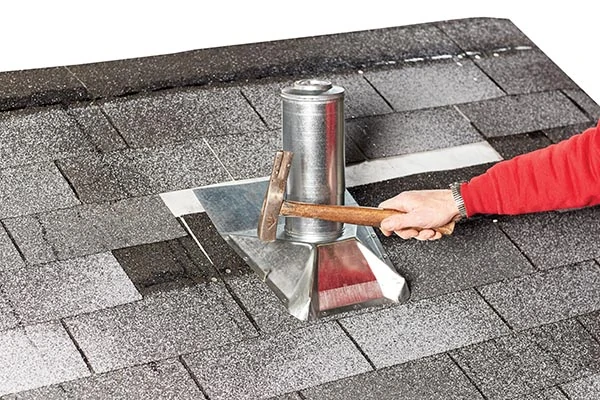
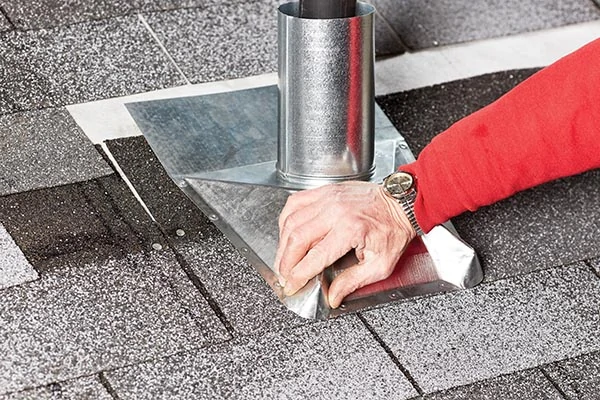
Nail the base to the roof using the embossed guides and install two nails into flange on the back of the base.
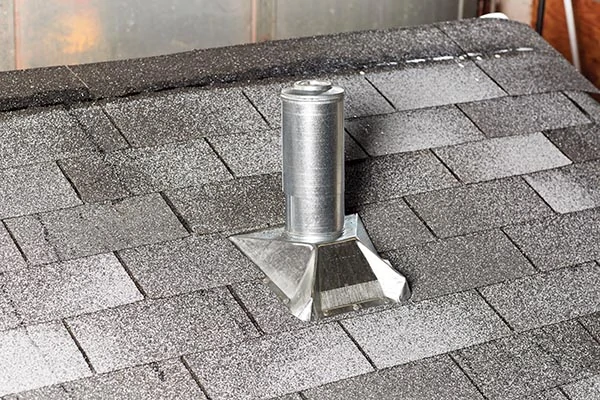
Continue installing the shingles, lapping them over the side and back flanges (notching the shingles as required).
Apply a bead of sealant to the exposed nail heads on the base.
For venting pipes that are 15 to 24 inches tall, an optional extender sleeve is available to adapt the Pipe Boot. Simply slide the expanded end of the extender on to the Pipe Boot inner sleeve. The plumbing pipe should extend enough (2 to 3 inches) above the extender to allow for roof expansion and contraction, and the extender sleeve may be field-cut to size. The TightLOCK is then seated over the extender.
As you can see, no major tools nor in-depth roofing experience is required to install Pipe Boot. However, should you need more information or simply want to review a thorough seasonal roof maintenance checklist, visit Quarrix.com/Checklist.
