


By Matt Weber
From crown molding and baseboards to elaborate door and window casing, trim work can add character to any room and makes for a popular DIY project. To achieve a successful installation, however, requires carpentry skills, the right tools, careful planning and attention to detail. If you want a professional looking job, then you should work like the pros do. Here are some pro-grade tips we’ve collected over the years.
USE THE RIGHT BLADE
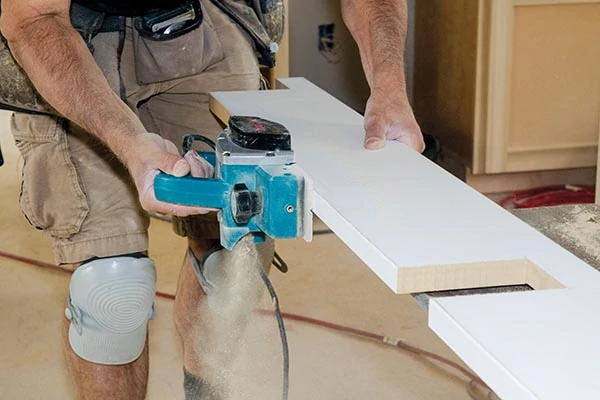
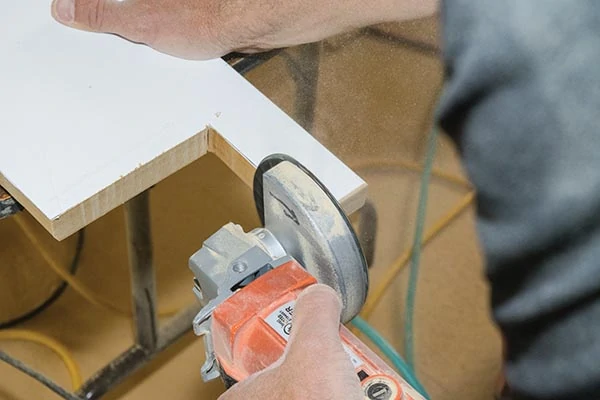
One aspect of trim work that DIY installers sometimes overlook is the type of saw blade they’re using on their circular saws. The quantity of teeth plays a significant role in the blade’s performance. For example, blades best suited for ripping stock along the grain typically have fewer teeth with large gullets for easy chip removal. Blades meant for crosscutting across the grain have more teeth, usually 48 or more, with a smaller gullet for a smoother cut.
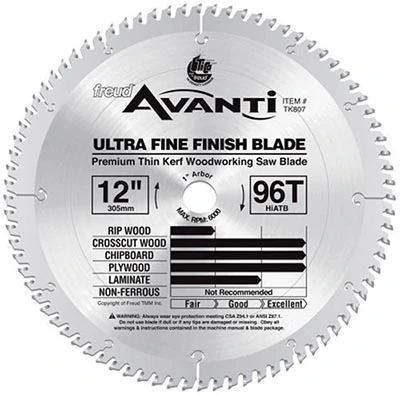
The higher number of teeth generally translates into smoother cuts, ideal for trim and finish applications. A blade designed specifically for the application can increase the accuracy of your trim cuts, which helps when mating the joints. For example, a rough cut might require you to sand the cut smooth, but the act of sanding can alter the shape of the cut you just made, so it may no longer fit perfectly during assembly. Spare yourself the frustration on trim projects and equip your circular saw with fine-toothed blade.
CHOICES IN FASTENERS
A brad nail and finish nail might appear to be used for the same jobs, but each type of nail serves a different purpose. A brad nailer is designed to run 18-gauge, fine wire brad nails. These small nails are very hard to drive manually without bending the nails. Once they’ve been driven into wood, brad nails are nearly invisible to the naked eye, reducing (or eliminating) the need for wood putty to conceal the head. The disadvantage to using brad nails is that they don’t have much holding strength for heavier carpentry projects, such as large crown molding or baseboards.
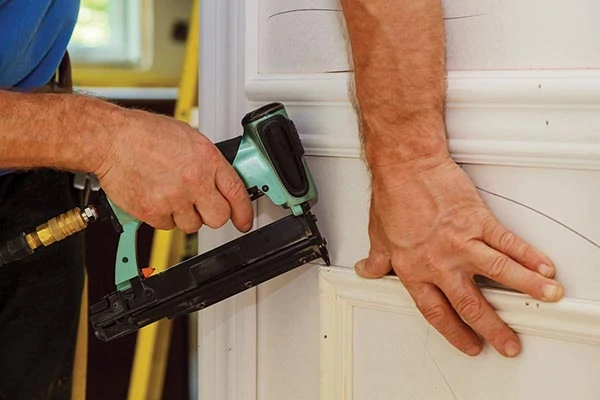
For larger, more bulky wood trim, you will need to use a finish nailer, which drives 15- or 16-gauge finish nails that are slightly larger than a brad nail, giving them better holding power. However, because of the fastener’s larger diameter, you will need to conceal the nail heads with putty. Plus, the thicker finish nail is more likely to split the wood than a brad.
For the advanced woodworker who is fastening very small moldings for intricate detail, a pneumatic pin nailer can drive 23-gauge headless pins that measure between 3/8 and 1-1/38 in. long. The pins don’t have much holding power, but they can hold a small workpiece in position while adhesive sets.
Speaking of adhesive, it brings some big advantages to trim installation. Did you know that a joint made with high-quality wood glue is stronger that solid wood? You should always use wood glue when joining miters and other critical joints that you don’t want to separate. Furthermore, if you use a high-quality adhesive to fasten trim to a wall, then you won’t need to use as many nails. And the fewer nails you use, the fewer nail holes you’ll have to spackle and paint.
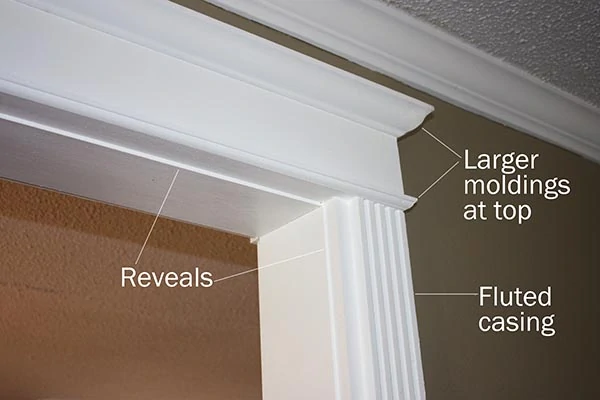
DESIGNING WITH REVEALS AND SHADOW LINES
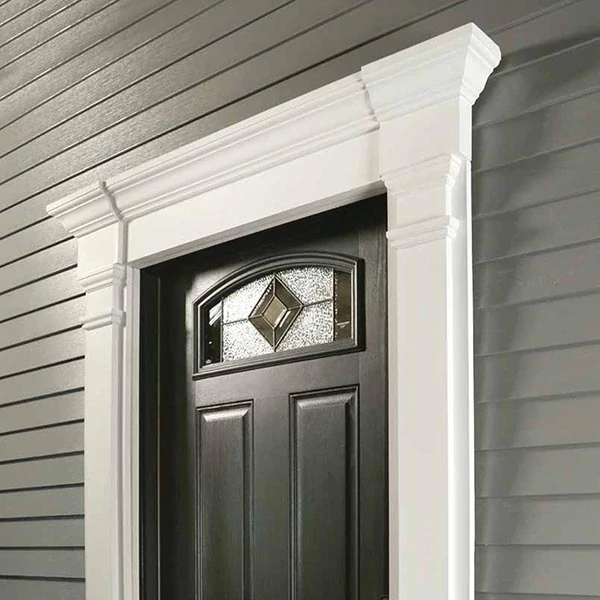
When designing a trim project, you can get very creative, but it’s usually a good idea to stick within certain general guidelines that have become common practice for good reason. For example: Have you ever noticed that trim installations generally flare outward the higher they go? Think about fireplace mantels, door cross-heads and even crown molding; the uppermost board in the trim package is always the widest. Since the upper boards are wider or deeper than the lower components, they create a reveal where the trim pieces meet, and this reveal results in visible shadow-lines. These shadow-lines give the trim its depth and detail—in other words, its character.
And reveals do more than simply create shadow-lines. The movement of wood in response to temperature changes or due to the house settling makes it very difficult for flush, even joints to remain flush. By stepping back layers of trim to create reveals, the resulting shadow-lines help conceal minor discrepancies in joints that can develop over time. A 1/16-in. variation along an otherwise flush joint can be very noticeable, but if the casing or fascia is stepped back 1/4 in. or 3/8 in., the discrepancy won’t be nearly as a noticeable. So, when designing a custom trim package, build wider as you go higher, and use reveals and shadow-lines to your advantage.
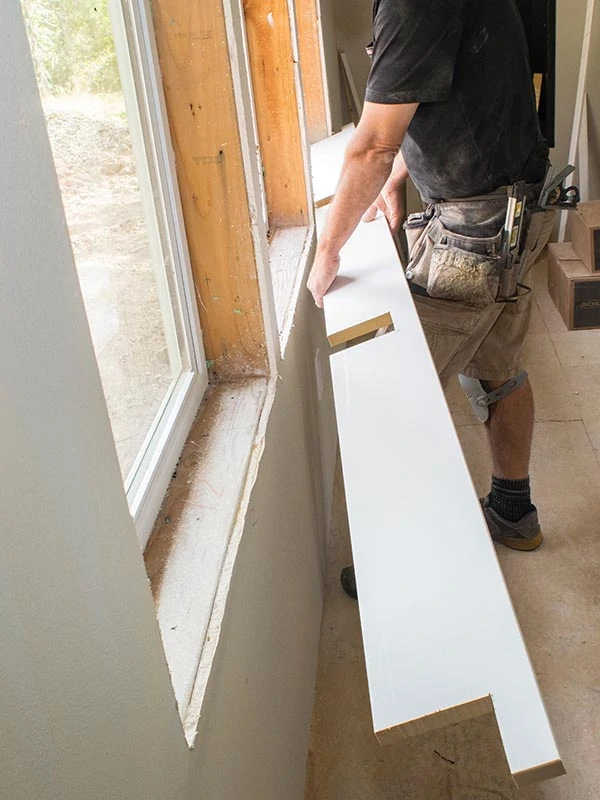
SCRIBE TRIM TO FIT
Learning how to scribe trim to fit tightly to uneven surfaces is an advanced carpentry skill, but once you get the hang of it, you’ll see why professionals consider it a vital skill for accurate installations. You can apply this skill to fit door casing against an out-of plumb wall, or use it to scribe a countertop for a tight fit.
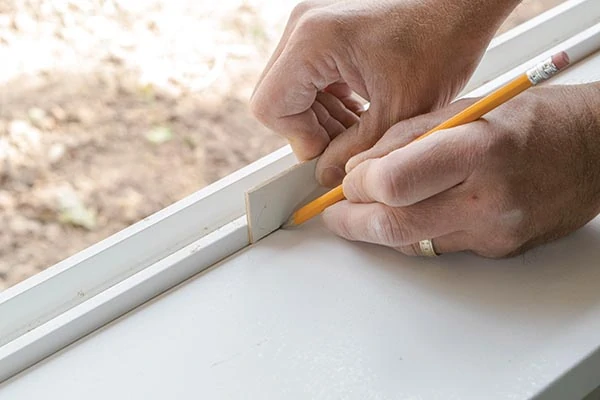
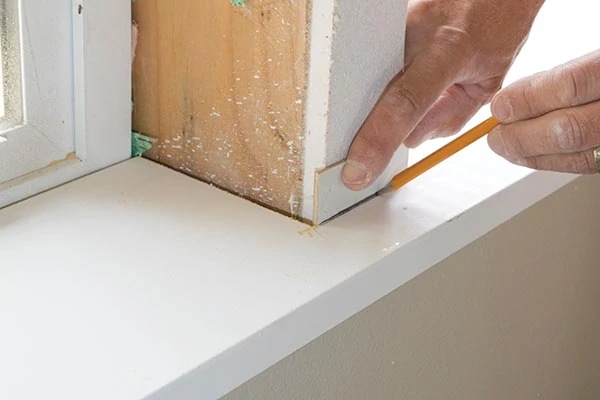
The basic idea is to draw a new cut line along the edge of a workpiece called a “scribe” line that indicates the amount of material that must be removed to achieve a tight fit. A simple lockable compass works well as a scribe tool, but a compass isn’t necessary, as long as you scribe a line with a consistent measurement.
HOW TO FASTEN CROWN MOLDING
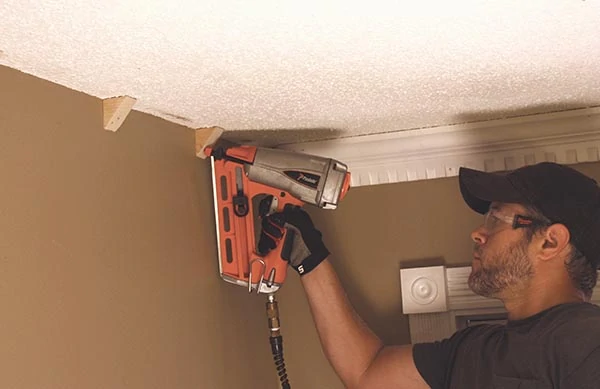
Crown molding is a favorite trim application that provides a transition between walls and ceilings, but how to fasten it correctly can be confusing for first-timers. Drywall and plaster don’t have the holding power to keep the molding attached to the ceiling, so nails should be driven through the molding and into the framing members.
Use brads or finish nails to fasten the molding into the top plates (double 2x) or the wall studs. A good rule of thumb: If the molding has a profile of 3 inches or less, then nail it to the top plate. It the crown molding is larger than 3 inches, nail it to the studs. Then, cross-nail the top of the molding into the ceiling joists. Driving two nails at different directions into each joist will hold the top tight to most ceilings. You can also caulk the top and bottom of the molding joints for an even more secure installation.
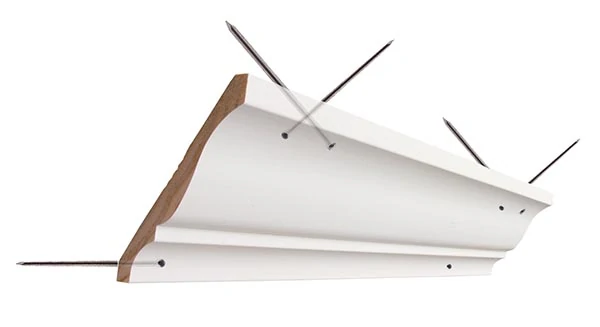
Due to the direction of the ceiling joists, two walls in the room won’t have the same solid framing for secure fastening. One trick is to predrill and drive a 16D nail at an angle to hit the framing at the top of the wall.
Another option is to cut and install triangular wood filler blocks that fit flush behind the crown molding. Nail the filler blocks into the wall studs, and then nail the crown molding over the blocks. The filler blocks also provide a secure means of installing molding with a large profile that has a large void behind it.
LARGE ANGLE JIG
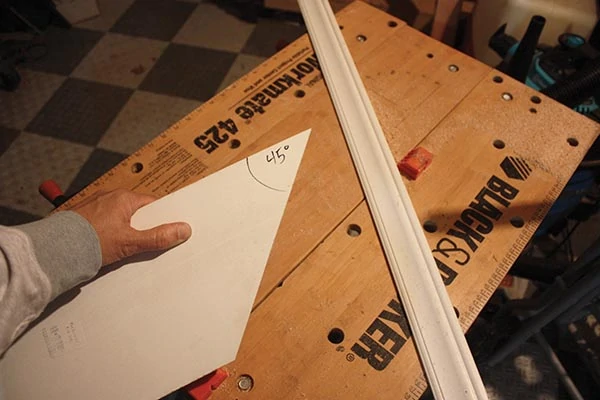
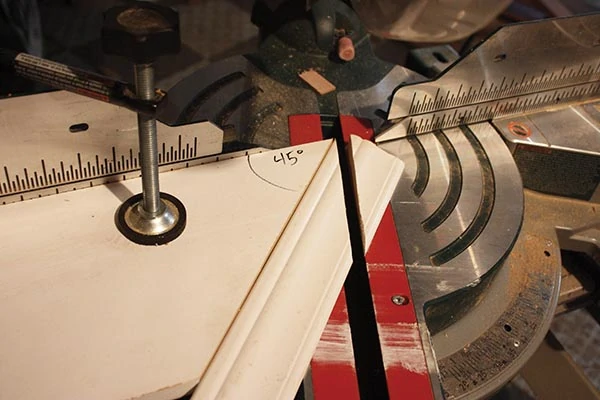
Every once in a while, you’ll run into a situation when you need to cut a miter greater than the capacity of your miter saw. Some miter saws only cut to 45- or 50-degree angles, but you can make a simple jig that enables you to cut any angle you need. The trick is to create a 45-deg. fence to rest the work piece against. The jig in the photos was simply made of a 1×6 trim board cut on the miter saw at 45 degrees. Rest the long edge of the jig against the fence of your saw and position your workpiece along the angle. Then, simply adjust the saw head to cut the required miter. It might help to clamp the workpiece securely when making the cut.
SELECTING TRIM MATERIALS
Paint-grade trim pieces made from finger-jointed wood are widely used in remodeling applications because they’re don’t have knots and imperfections like solid pieces can have. Available as pre-primed molding and trim boards, these wood moldings can easily be cut, painted and caulked by a DIY’er. MDF is another economical trim material of choice for paint-grade projects.
For stain-grade projects with exposed wood-grain, an experienced carpenter can fashion unique looks from solid woods such as mahogany, maple and poplar. However, installation requires great skill and the cost can grow rapidly.
No matter what material you choose, the more intricate your trim design, the higher the cost of materials. And, if you’re hiring someone to install it, the cost of installation rises with the extra time spent creating intricate moldings.
Alternatives to wood products such as polyurethane, composites and other synthetic materials are growing popular because they offer the look of wood when painted and don’t have the same maintenance problems associated with wood. Unlike wood trim, synthetics and composites resist insects, cracking, peeling, chipping, swelling, splitting and rotting, making them ideal for exterior use. These low-maintenance characteristics aren’t as critical for interior applications. However, for areas exposed to moisture, such as base molding in a bathroom or crown above a shower, synthetics might be a smart choice.
When selecting trim, also consider the overall price and time spent on the fully installed project. For simple, one-piece interior installations with a basic profile, wood will likely be less expensive than synthetics. However, for complex moldings like crown dentil, synthetics are competitively priced. This is because intricate wood moldings can require a multiple-application process for the various components, adding to the installation time and increasing material cost. On the other hand, synthetic crown dentil comes premolded as a single piece, simplifying the installation procedure. Synthetics are also lighter than wood, which is handy during transport and installation.
