By Clint C. Thomas, Esq., Photographs By Zoe Thomas
From material selection to installation techniques, here’s how to finish the job with success, when working with Crown Moulding Primer.
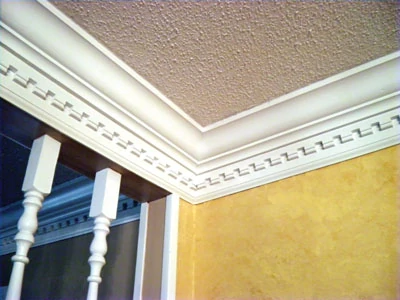
Crown moulding adds a definite touch of elegance to any room and can be installed without too much effort, once the mystery surrounding its installation is solved. Crown moulding itself comes in many different shapes and sizes, and can be found in a variety of compositions. It can be combined with other pieces of moulding and trim to produce elaborate displays of architectural finery.
Material Makeup
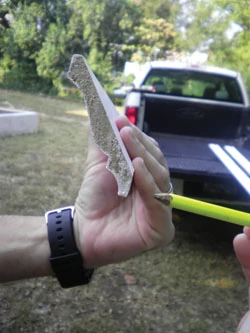
Modern manufacturing techniques now permit common and ornate moulding to be made from several different products. Traditionally, wood moulding reigned supreme due to the labor intensive process involved in working with plaster by the stuccotori in the days of old. Wood moulding comes in two types, stain-grade and paint-grade. Stain-grade has a continuous grain while the paint-grade is assembled from different pieces of wood joined together by finger joints.
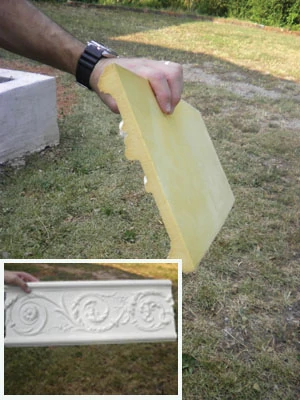
Two other options that are readily available are urethane and hard plastic. Urethane is lightweight, very easy to work with, and can be wrought into oversized sections that exhibit magnificent detail. However, urethane can expand and contract more than wood, so all joints should be bonded with polyurethane construction adhesive to prevent separation.
Hard plastic does not expand and contract by any noticeable amount and has many of the same positive characteristics as urethane. However, it does come at a premium price.
The final option available outside of plaster is medium-density fiberboard, known in the industry as MDF. This is a substitute for wood and is a little easier to cut, nail and drill. Its primary downfall is that it is easy to break off a corner or dent an edge.
Installation Issues
The installation of crown moulding involves assembling two angled pieces of material in a corner. The combination of the slant of the moulding and the angle of the corner create what is called a compound miter.
For my project I chose wood moulding that I purchased in a contractor pro-pack at a discounted price. I had wanted to install compound or “built-up” moulding, but one corner of the room had been previously turned into a small coat closet. The upper-most edge of this closet would not allow for the installation of compound moulding because it would have interfered with the closet door.
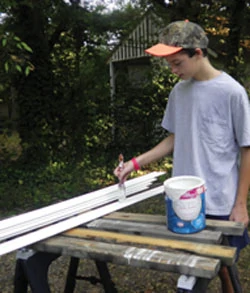
The first step is to prime the moulding if you are not using moulding that is pre-primed by the manufacturer. I prefer the pre-primed moulding because it saves a lot of time. I like to go ahead and also apply one or two coats of the finish paint, too.
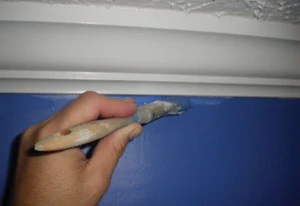
Even though it will get scuffed up and dirty during the installation process, it is easier to run a quick touch up coat of paint over the installed moulding than to have to paint it from square one without getting paint on the wall color.
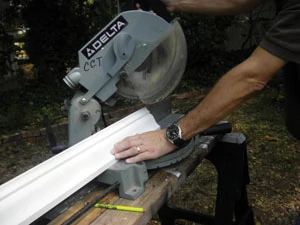

Before beginning the installation process, it is necessary to decide which method will be used to cut the angles for the corners of the crown moulding. There are two ways to cut the angles. Let’s assume you are working with a right angle, that is, one that measures 90 degrees.
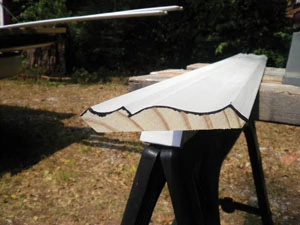
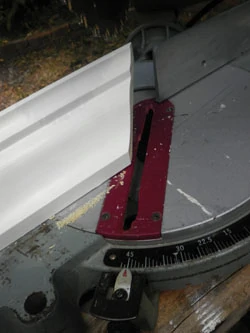
One option is to cut both of the pieces of crown moulding at 45 degrees and try to assemble the joints so that they align correctly. This is much harder than it seems because many corners don’t measure exactly 90 degrees.
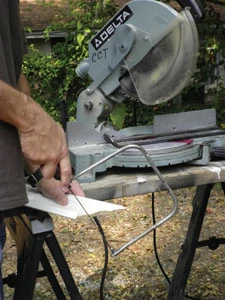
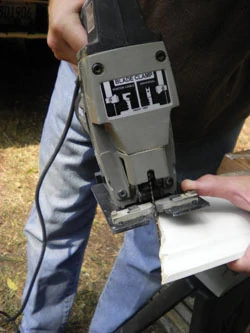
The other alternative, and the one that I use almost exclusively, is to cope one of the angles. To do this, the moulding for one wall, preferably the longest wall, should be installed with the ends cut straight at 90 ninety degrees. The adjoining piece of moulding is cut at 45 degrees on a miter saw and then the back edge of that cut is removed with a coping saw. It is faster to begin removing this material with a jigsaw and then finish it by cutting along the surface of the angle with a coping saw.
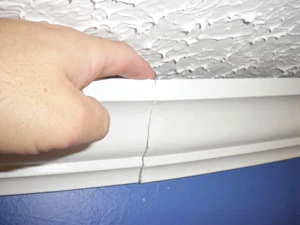
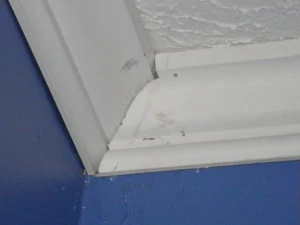
This technique allows for the most exact method of joining the two pieces of moulding, and it also works the best with corners that are not square. Even with this technique, it is still sometimes necessary to tap the bottom edges of both pieces of moulding at the joint with the butt end of a hammer to help align them. This is why it is important to hang wood moulding from the middle while leaving the ends loose in case the joints have to undergo any persuasion in the alignment process.
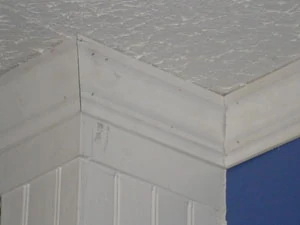
In the unlikely event that you are working in an octagonal shaped room, those corners are at an angle of 45 degrees. This means that the miter cuts will each be 22.5 degrees, and I have never found it necessary to cope these joints. Just cut both pieces with opposite 22.5 degree angles and they should match right up without any difficulty.
Cutting Technique
This brings us to revealing the secret of how crown moulding is installed. When it is measured and cut, both of these are done while the moulding is laying upside-down on the miter saw. Make sure that the piece of moulding is firmly bedded on the base of the miter saw and on the saw’s fence. All crown moulding has a flat surface along the bottom edge and along the top edge. These are engineered to lay smoothly against the wall and ceiling, respectively.
Corners come in two types—inside and outside. When cutting corners, it is necessary to make the cuts to correspond with the corner’s alignment. With the moulding upside down on the miter saw, an outside, right-hand corner is cut with the blade turned to the right. Whereas, an inside, right-hand corner is cut with the blade turned to the left.
Most rooms are built in a closed geometric pattern, however, some rooms are in an open pattern. This usually occurs when one or more of the corners are occupied by a staircase, or the like. When this happens, it is necessary to wrap the crown moulding around a wall and then cap it off after a short distance by turning it back into the wall. When this technique is used at the foot of a staircase where the top is visible, fill in the top of the moulding with a thin piece of wood. Lauan works best for this purpose.
Fastening the Moulding
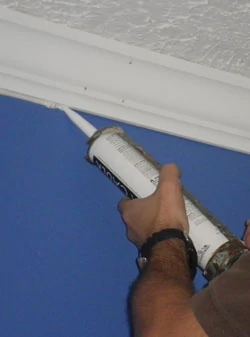
Crown moulding is normally installed with nails, and a finish nail gun is worth its weight in gold when doing this type of work. Polystyrene can be installed with 16-gauge finish nails or 2-in. drywall screws if oversized moulding is being used. After installation, nail and screw holes should be filled with lightweight wall spackling, and the top and bottom edges of the moulding should be caulked with paintable latex caulk.
Regardless of the type of fasteners that are used, it is vital to make sure that they go into the studs inside the walls. Otherwise, the nails or screws will only be mounted in the drywall and will not provide any support for the moulding. The same rule applies for securing the top of the moulding. Since it touches the ceiling it is necessary to locate the rafters and embed the nails or screws into them. The remaining alternative is to cut triangular blocks to go behind the moulding and secure them to the walls studs. This allows the moulding to be fastened to the blocks without having to locate ceiling rafters.
Compound Crown
For a more ornate look, compound moulding can be installed by assembling several pieces of trim work together, usually a piece of casing along the ceiling with another against the wall—with both of these being connected in the middle by the crown moulding. Compound moulding can simply be a piece of crown moulding sitting over a single piece of casing, or it can involve an elaborate combination of multiple pieces of moulding.
The simplest way to install compound crown moulding is to build a prototype that is easy to maneuver, say 12 to 24 in. long. This prototype is placed against the wall and ceiling and lines are drawn along the two. By sliding the prototype around the entire room while marking the upper- and lower-most points, you are ensured to achieve a consistent layout.
To save time, hold the prototype in each corner, mark the top and bottom lines. Do the same in the middle of the wall, and then use a laser level to connect the corners. The laser level will make sure that the line is level along the entire wall and will save a lot of time by not having to slide the prototype around all four walls.
With the lines marked on both the wall and ceiling, the two pieces of casing can be installed so that each of the outer edges touch its respective line of demarcation. The final step is to fill in the gap in between these two pieces with the crown moulding. By pre-marking the position of the two pieces of casing you are ensured an exact fit for the crown moulding.
A down and dirty way to simulate compound crown moulding is to install a piece of crown moulding as it is normally installed. Then, drop down from the bottom edge 4 to 6 in. and use a laser level to draw a line all the way around the room at this same elevation. Tape off the bottom of this line with blue painter’s tape and then paint the section of the wall over the line and below the crown moulding the same color, such as a high gloss white. To the casual observer it will look like the room is adorned with compound moulding when it is really just a single piece of crown and some paint. Add accent moulding at the bottom of the paint for a more elaborate look.
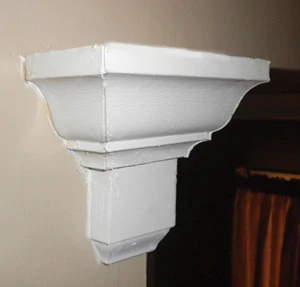
Crown moulding is an inexpensive way to add style to a room, and when compared to the time and labor involved in taping and mudding new ceiling and wall joints, it also saves a lot of work. The benefits are many. The costs are low, and the outcome is magnificent. The end result is only as limited as the imagination, as a simple compound moulding project can easily turn into a complex assembly of multiple pieces to produce a true work of art.


