By Matt Weber
Accent Wall by Timberchic
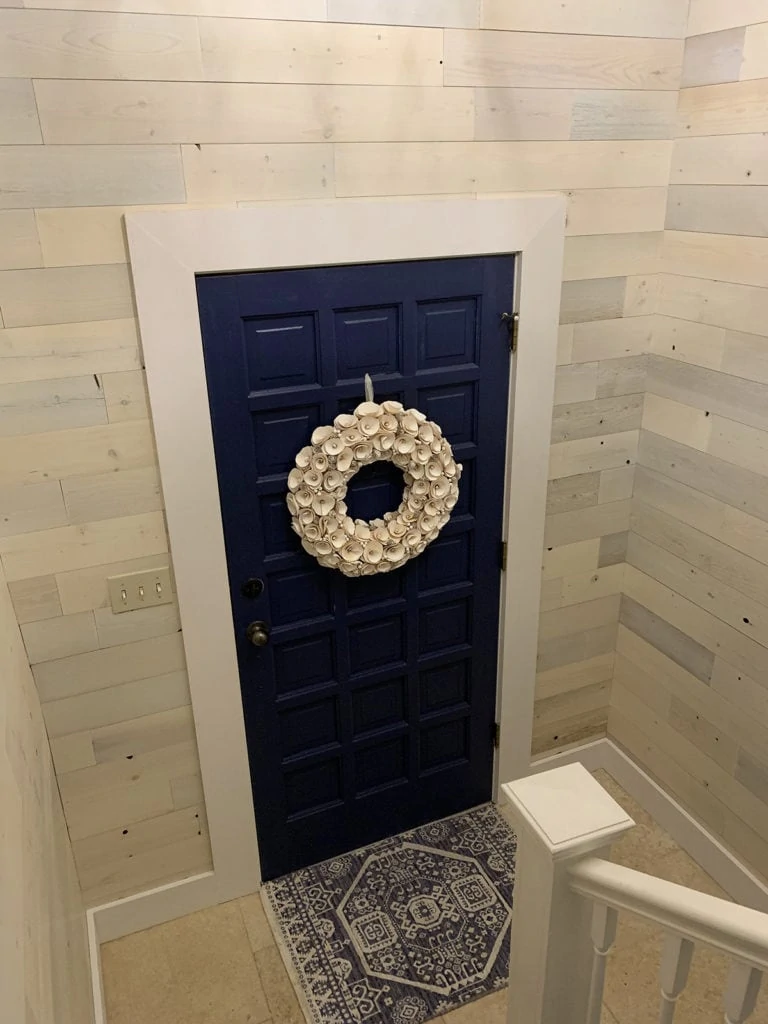
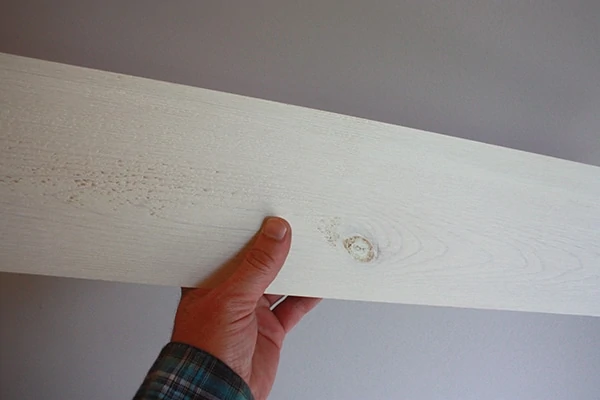
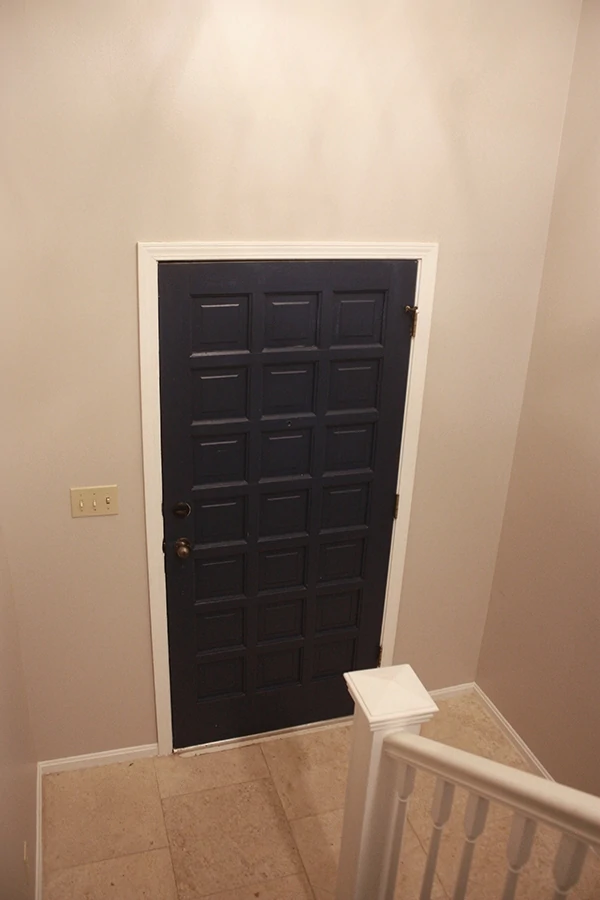
As part of an ongoing remodeling project, the EHT staff had our first opportunity to install Timberchic, a peel-and-stick plank made of genuine reclaimed wood. Thin, lightweight, and easy to cut and apply, these DIY-friendly planks are made 100-percent from reclaimed river logs and are available in a range of board widths and wood tones (we chose Coastal White). They’re ideal for creating accent walls but can also be used on ceilings, backsplashes, doors, columns and more. We used them to accent the surrounding foyer walls of a home’s front entry.
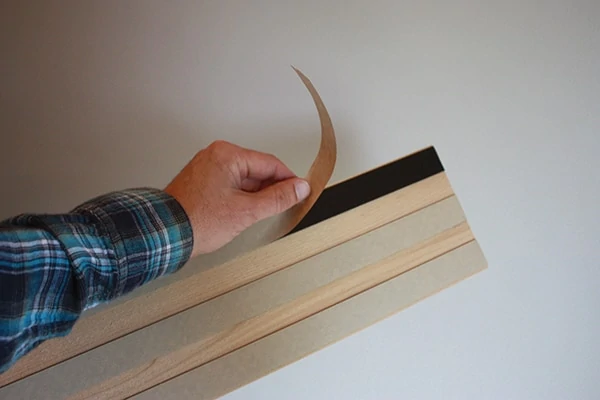
The smooth, wipe-able surface exhibits all the distinct characteristics of real wood, but requires no glue, nails or screws to install. To apply the planks, you simply peel the backing off the adhesive strips, butt the edges to the adjoining planks, press into place and secure with a roller.
Tools Required:
- Pencil
- Chalk Line
- Level
- Rubber J-Roller
- Miter saw (either hand saw or electric)
- Jigsaw
- Utility Knife
- Black Dot Stickers (provided)
Ordering & Preparation
To order the Timberchic product, you’ll need to calculate the amount of square footage of your project, then add 5 percent to account for waste. Also, determine whether you need any outside corners or end caps—or if you’ll be customizing any of the surrounding trimwork using a different material.
The wall surface needs to be clean (free and debris and loose drywall), smooth (so sand down any bumps) and flat (within 1/4 inch over 4 feet). Any wall repairs requiring joint compound need to be primed or painted.
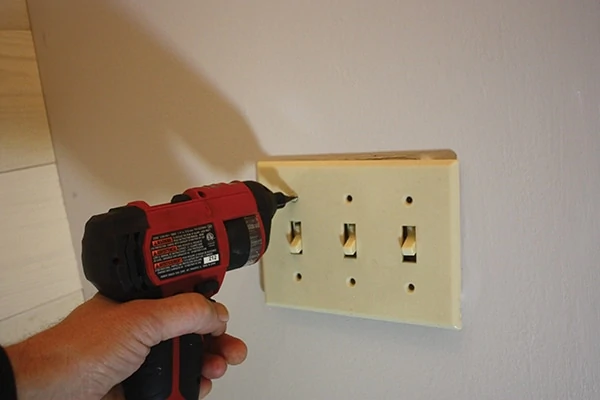
Remove any fixtures attached to the wall (outlet covers, switch covers, wall sconces, etc.). Also, remove any existing trim that will interfere with installation.
Layout
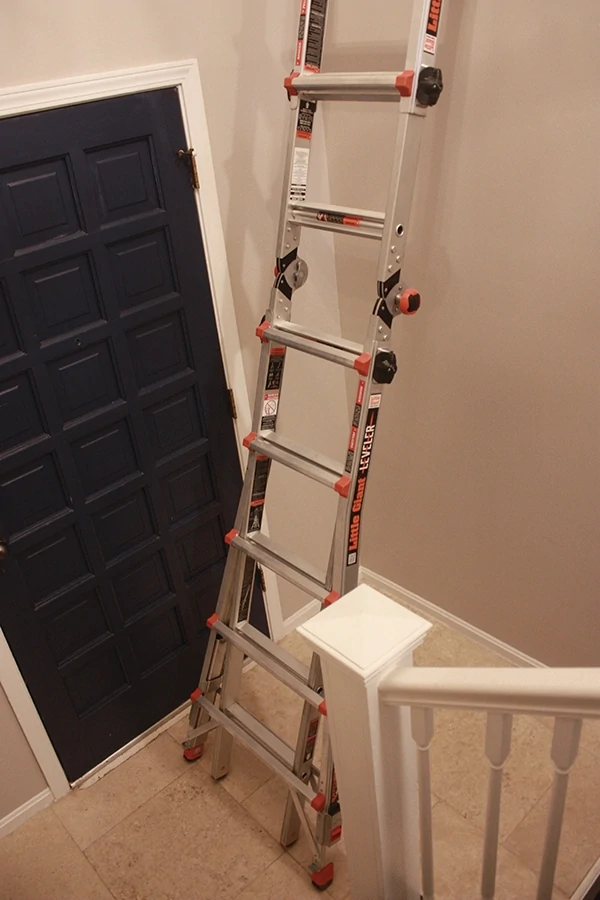
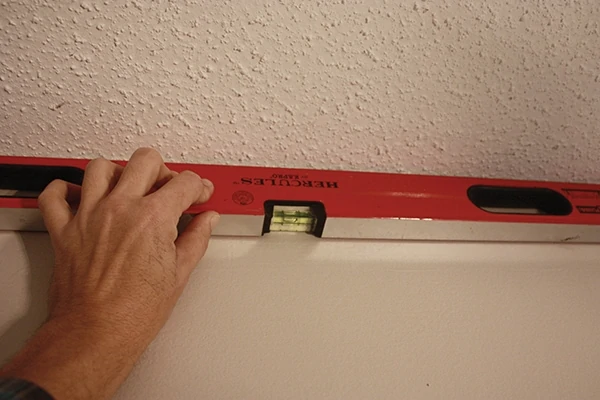
Aside from the peel-and-stick simplicity of applying the boards to the wall, the installation procedure is similar to laying a board-pattern floor. This means you need to establish a level and square layout pattern. We ran a 4-foot level along the ceiling and floor of our work area, and were lucky enough to find that our wall and ceiling were level.
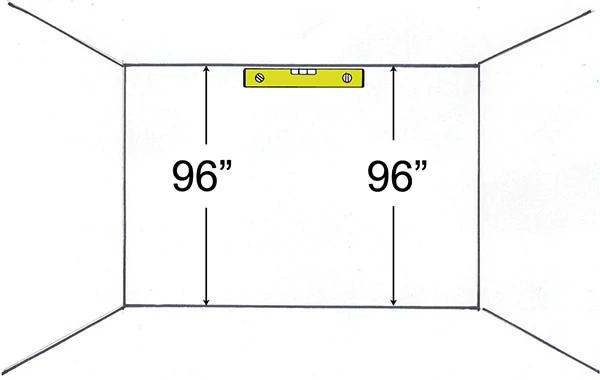
However, builders make mistakes and houses settle, so not every situation will be so neatly square. If you find the floor and ceiling aren’t level, measure the distance between your floor and ceiling at both ends of the wall. If these are within 1/4 inch, then your floor and ceiling are adequately parallel.
If you determine that your ceiling is fairly level, you can use your ceiling as the reference point for laying out your starting row. Base molding can be used along the floor to disguise an out-of-square gap along the bottom row.
If both the ceiling and floor are out of level, you can begin a level starting row in the middle of the wall, then work upward and downward until your rows reach the floor and
ceiling, where you can conceal those out-of-square gaps with trim. However, if you take this approach, first measure from the anticipated height of your center row to both the ceiling and the floor. Divide these measurements by the width of your Timberchic planks. If you end up with a small remainder (i.e. a very thin “sliver” board) at the top or bottom, then adjust the height of your starting row to ensure a larger final row at the top and bottom. For example, a 1-in. row is too narrow and not optimal for finishing a room. Ideally, you want to have a row no less than 1/2 the width of a normal row.
Installation
I realize that some people cringe at the thought of a “peel-and-stick” product because inferior products in the past have been known to come “unstuck” and move around (I’m looking at you, cheapo peel-and-stick flooring). Take my word from experience that the Timberchich strips utilize a very strong adhesive, and once a board is pressed firmly to a wall, you’re more likely to tear the wood plank off the strips than you are to pull the strips off the wall. We’re talking about a very strong glue. For this reason, all measuring, cutting and test fitting of planks must be done prior to removing the tape film. After the tape film has been removed, avoid touching the adhesive strips and protect them from dust and debris.
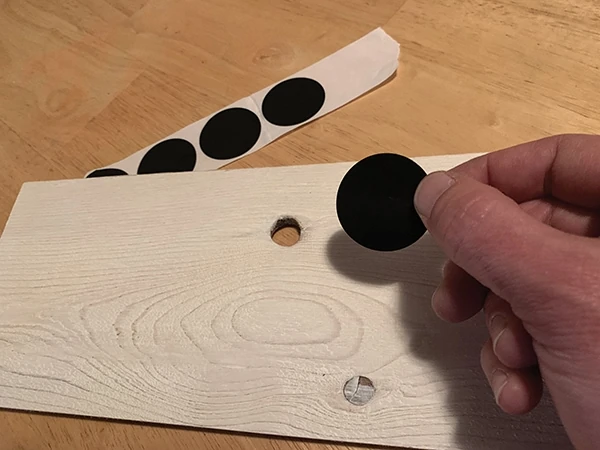
If any of the planks have an open knot, simply use the “black dot stickers” (included with each box of planks) behind the knot to hide the wall. To do this, place the plank in its desired location before removing tape liner. Mark any open knots on the wall with a pencil. Remove the plank and place a black dot sticker over the pencil mark.
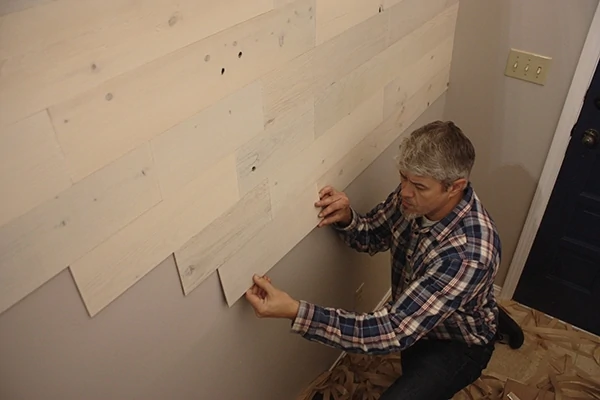
To place a plank in its final position, remove the tape liner, align the plank along the reference line or adjacent plank with a slight angle so only the edge is touching. Make any necessary adjustments and lightly press the plank into place.
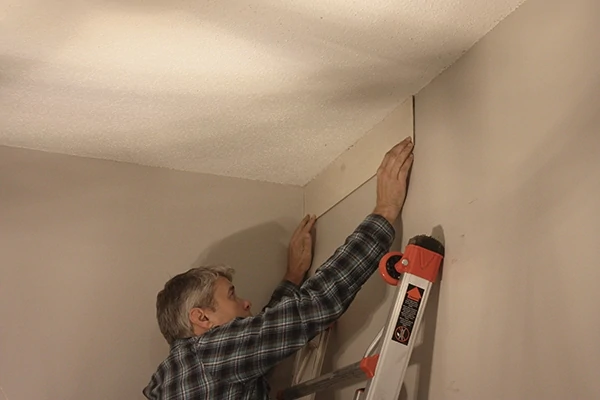
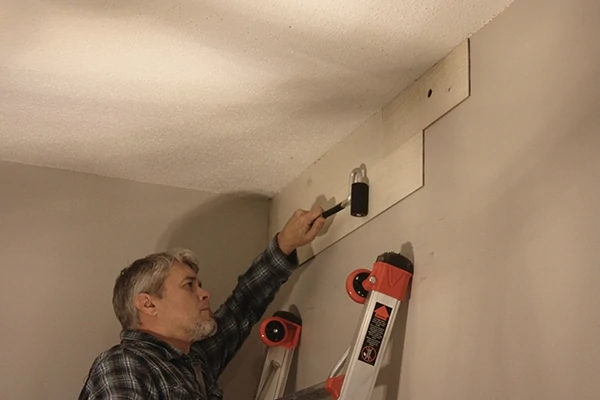
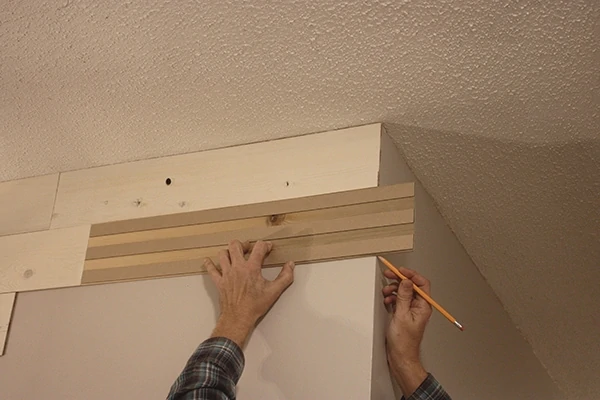
Double-check the fit before applying pressure to the plank with a rubber J-roller. The pressure-sensitive adhesive achieves a better bond the more pressure that you apply. Pay extra attention to pressing down the edges and ends of the plank.
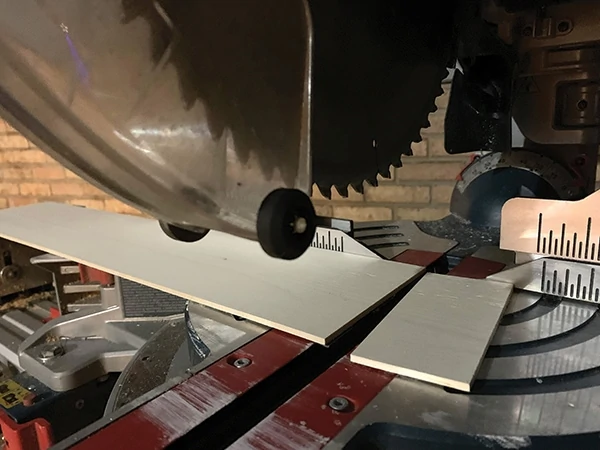
The planks are designed to simply butt against each other at the joints. Similar to floor-board application, the butt joints in adjacent rows should be staggered the width of the plank, at a minimum.
A miter saw makes the best tool for cutting the planks to size.
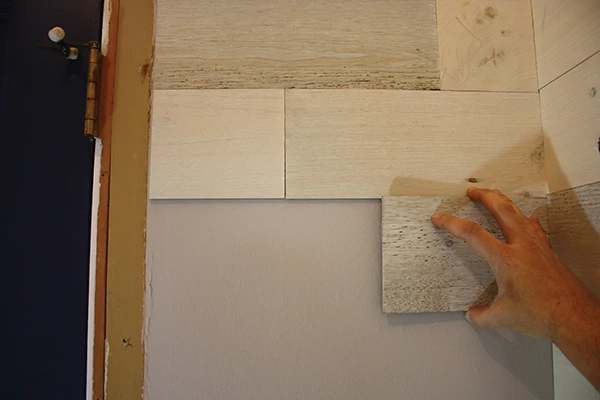
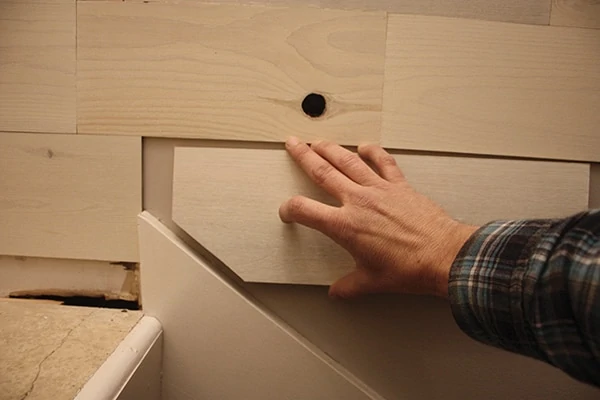
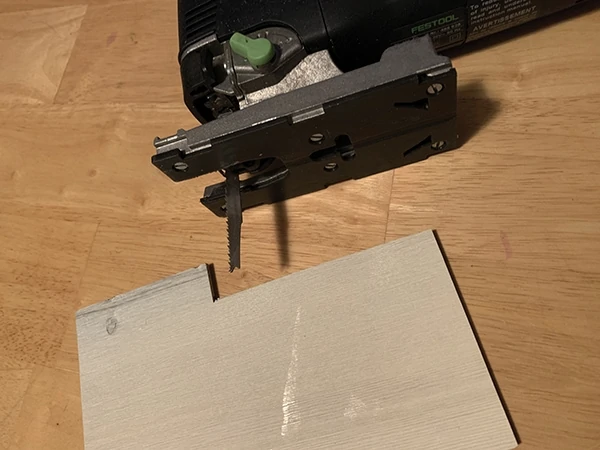
Also, keep a jigsaw handy to cut notches around light switches or any other odd shapes or angles.
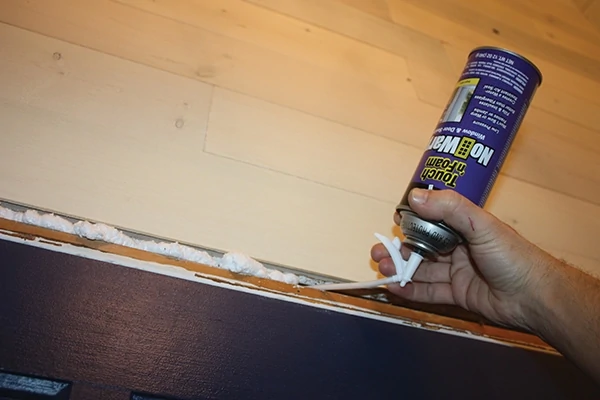
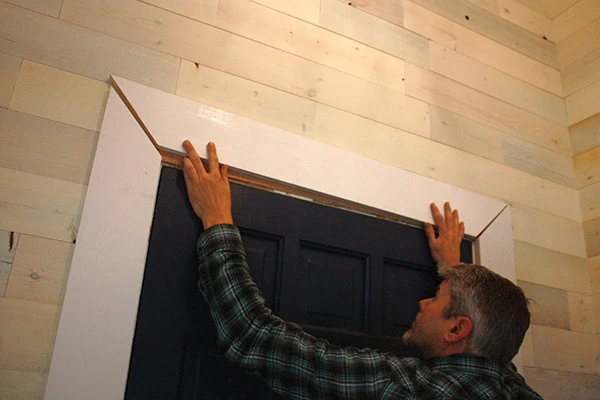
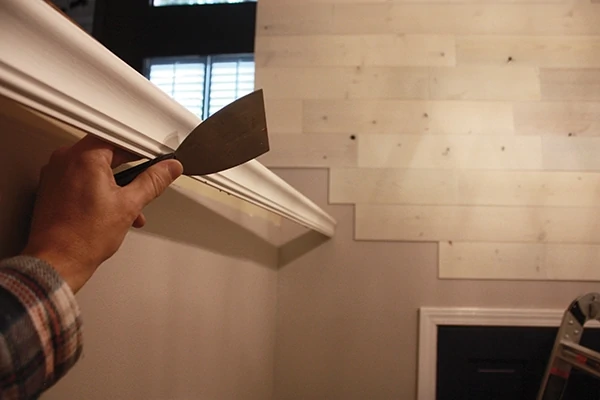
Once the field is completely finished, finish up with the trim package of your choice. On this job, we went with a simple picture-frame door surround and matching baseboard package, which we felt complemented the rustic “driftwood” look of the new accent wall without distracting from it with ornate trimwork. In the end, we felt the new Timberchic wall planks added a great deal of character to what was otherwise a fairly uninteresting living space. Mission accomplished.
Learn more about these adhesive wood wall planks at www.timberchic.com.
Side Note
Template Trick
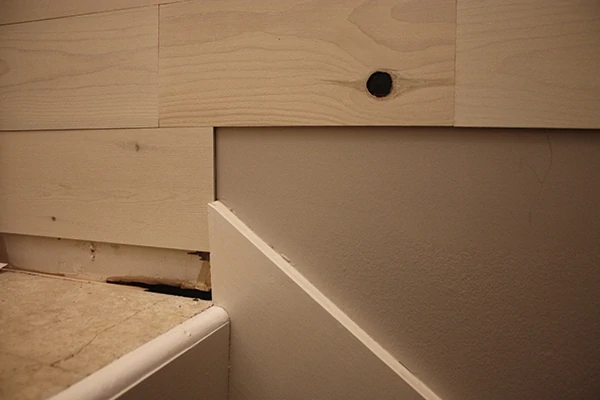
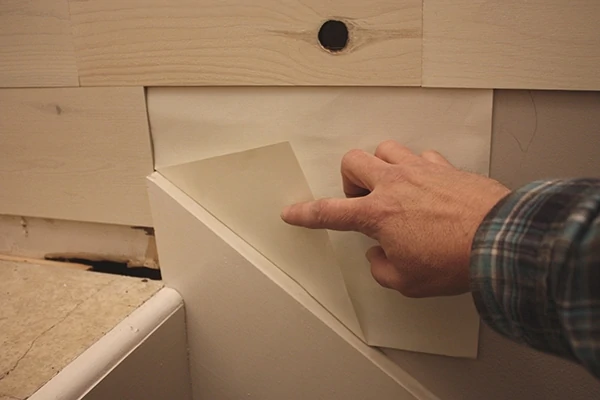
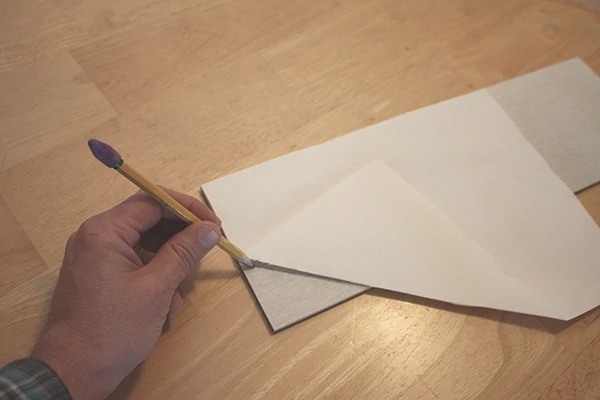
If you find careful measurement to be a challenge, you can easily make a paper template to copy odd shapes, and then transfer them to your planks. Simply crease the papers edges to match the shape in question, then align the paper template over the board and trace the cutline.


