Resizing a Window Opening In a Historic Home
By Clint Thomas
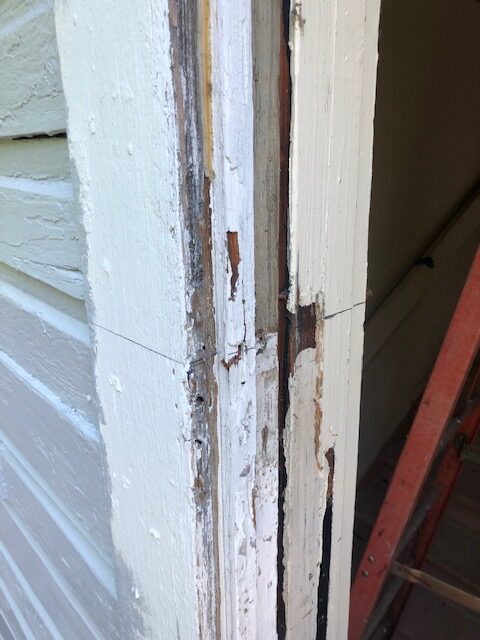
As we all know, one home improvement project often leads to another home improvement project simply because we opened Pandora’s proverbial box. This recently happened to me. The house in question is a fixer-up in progress, and I had recently constructed a screened-in porch on the backside of this house. The apex of the porch roof ended up less than twelve inches from the bottom of an old window that had long ago outlived its life expectancy. The window measured less than twenty-four inches wide and close to eighty inches tall. Therefore, replacing the window with a duplicate that same size would have been a problem because of the unusual dimensions.
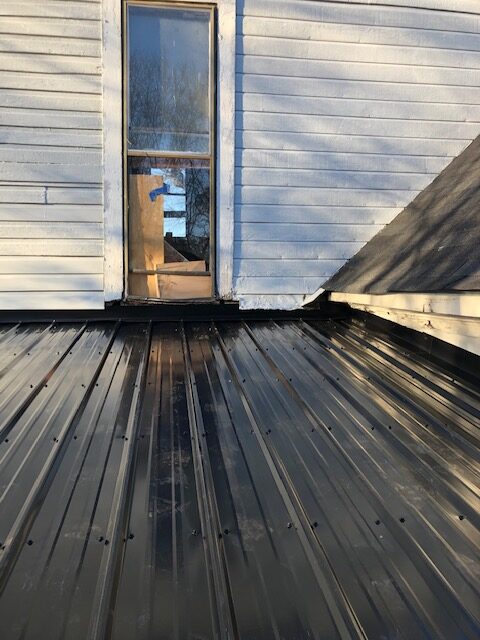
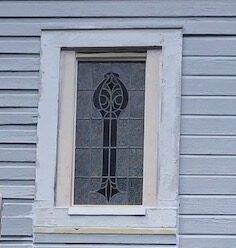
Therefore, I decided to install a shorter window in the existing opening which would also serve the dual purpose of increasing the distance between the bottom of the window and the apex of the porch roof. In keeping with the theme of a historic home, my wife searched out and found an oversized stained glass window in our area on one of the online yard sale sites that was almost the correct width that we purchased it for $100.
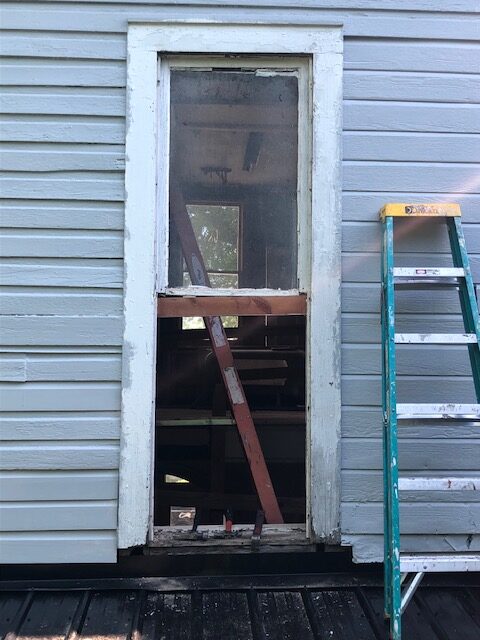
This project began with the demolition of the old window. This was actually a two step process because someone had added an aluminum storm window at some point in the past. The storm window had to be removed before the original wooden window could be removed. The challenge when working on any window is to remove the old one without breaking the glass with both dangerous and messy. Thankfully, the upper and lower sections of the storm window easily popped out of the exterior frame with just the loosening of the screws on one side of the frame.
To remove the original wooden window I cut the runners on the interior of the window at the intersection of the top and bottom sections and then pried the bottom portion of the runners off of the window frame with a pry bar that is commonly referred to as a wonder bar. This allowed me to pull the bottom section of the window straight out toward me from the inside. Remember, windows have two sides and can be worked on from one or both sides. Sometimes you want to push and sometimes you want to pull.
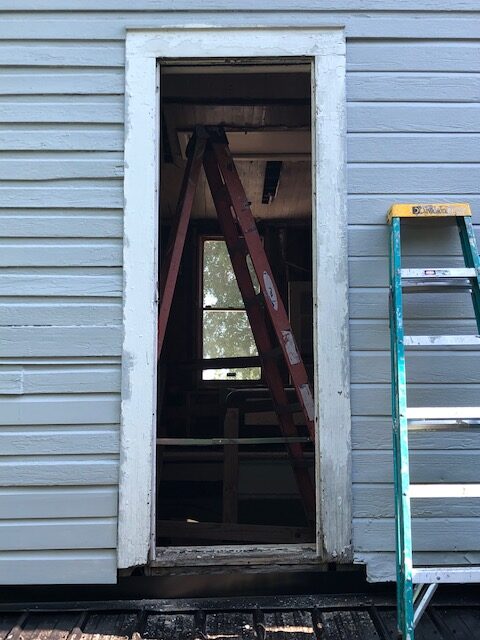
I discovered that it was easier to pull down the upper section of the original window along the portion of the runners that remained since it had already slipped down a few inches. Once it was free, I then removed the remaining portion of the runners so I would have a smooth work surface on each side of the frame.
The next part was probably the hardest, or at least, the most critical part of the entire process and that was taking the necessary measurements for my new frame. I knew that my stained glass window was three and a quarter inches narrower than the existing window hole so it would not have to be adjusted once I factored in the thickness of a 2×4 stud on each side of it that would comprise the new frame. The length of the stained glass window measured forty-seven inches top to bottom. This would cause my new frame that I would build to have a cross-block at the forty-seven inch mark. With this number in mind, I measured from the top of the window down forty-seven inches and then added one and a half inches to this number to compensate for the thickness of a 2×4 cross-block. I then placed a pencil mark on each side of the existing window opening as a reference point.
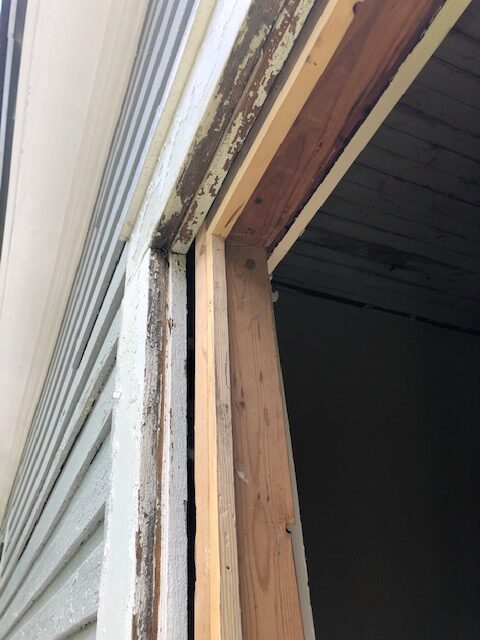
The next step involved removing the window trim on the outside wall of the house. To do this, I raised the blade on my circular saw so only one and a quarter inch remained and made a horizontal cut on the pencil mark on each trim piece. Once cut free, the right and left trim pieces were easily pried off with a wonder bar and a framing hammer.
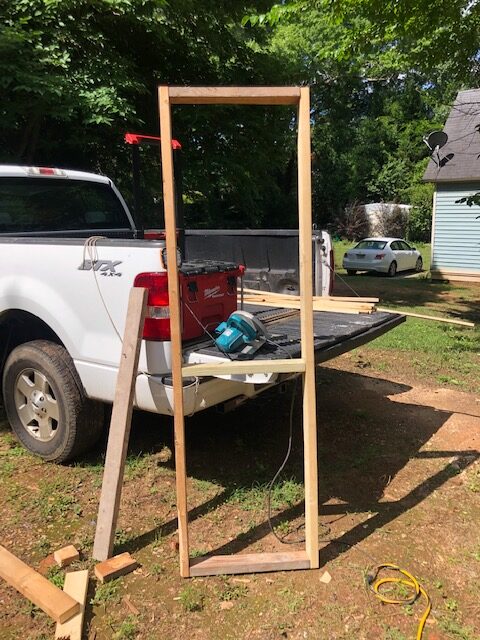
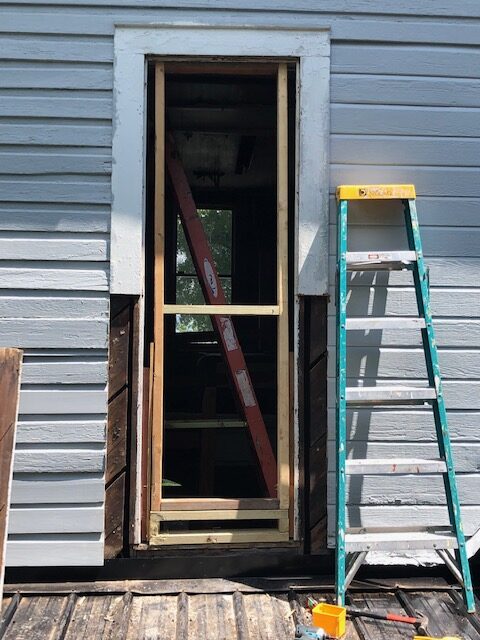
I next measured the rough opening of the window and built a frame out of 2×4 material that would fit inside of the rough opening. A 2×4 was installed horizontally inside the new frame at the forty-seven inch mark that would serve as the base for the stained glass window. It was easier to install this cross-block with the new frame on the ground than after it was installed in the rough opening.
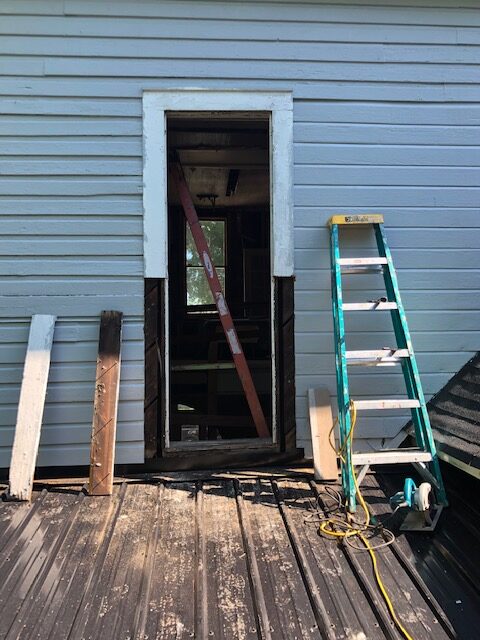
With the frame constructed, the next step was to slide it into place and then make sure that it was square, level and plumb. A few minor adjustments were necessary here because I discovered that my original rough opening was not square. Since I intended to utilize the upper portions of the existing window opening and original trim work, I chose the top of the frame as the starting point, in addition to the fact, that a quick check with a level revealed that the top of the frame was not the problem. Therefore, I ended up reworking my new frame to reduce the overall height by eight inches. This allowed me to easily slide the frame into the rough opening and screw the top of the frame into the top of the existing rough opening. With the new window frame hanging from the top of the rough opening, I could easily make the necessary adjustments required by the out of square original opening and then secure the frame in place on each side.
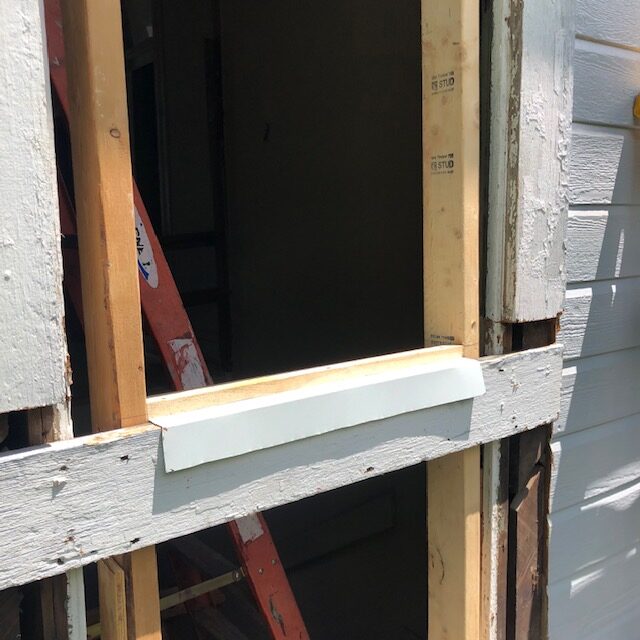
With the frame immobile and after a few quick measurements, a smaller section of 2×4 frame was constructed that would side into the bottom of the existing window hole between the new frame and the base of the rough opening to support the base of the new window frame.
With the frame securely attached, the next step in the process was to install a piece of metal flashing on top of the cross-block to help prevent water damage in later years. I followed this step by measuring, cut and nailing a wooden lip around the inside of the new frame with my 16 gauge finish nailer. This lip would serve to hold the stained glass window in place and not allow it to fall out of the window to the outside. Another similar lip would be installed on the inside after the window was placed into the new opening. The stained glass window would be sandwiched between these two lips and these lips, one on the outside and one on the inside , would secure the stained glass window in position. I also went ahead and cut the lumber that I would need for the lip on the inside and had it at the ready when I put in the stained glass window.
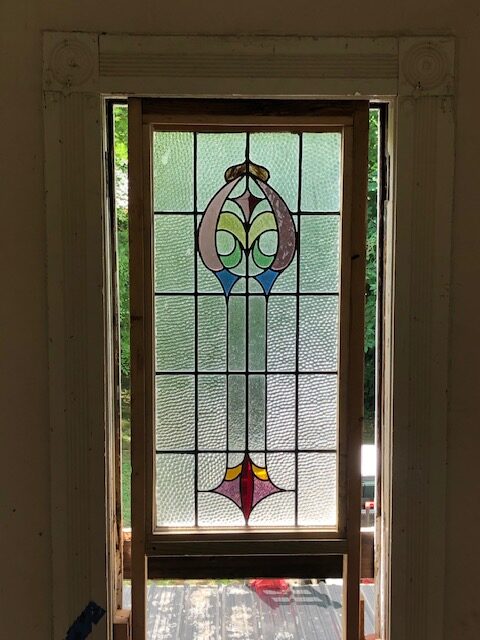
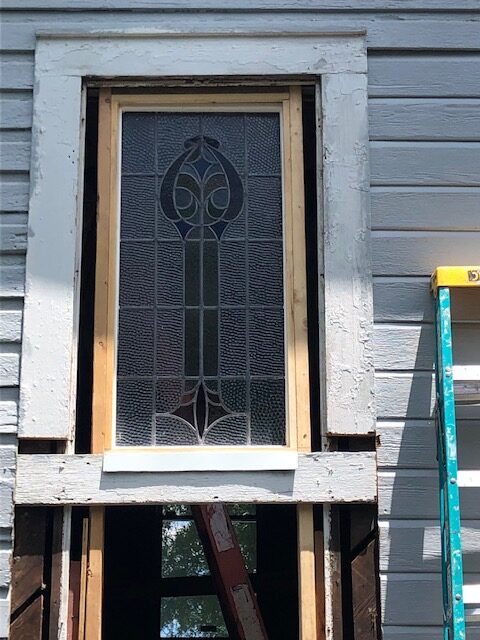
In order to install the stained glass window, set the bottom of the window into position against the lower lip that you installed and then carefully slide it into place. All four outside edges of the window should ended up flush against the new lip that you installed around the inside of the four edges of the new frame. Once you are satisfied that it is flush, hold the window in place with one hand while you position the top piece of the inside lip in place and nail it tight with a nail gun making sure that the nail does not come anywhere near the stained glass. After I had nailed the top section of the inside lip I then nailed the bottom section in place followed by the two sides.

With the window secured in position, one-by trim material had to be cut down to close up the sides of the reduced opening followed by the installation of weatherboard siding under the window to eliminate the hole left by the older, larger window. The final step in the process was to caulk everything up for a watertight seal and get it ready for paint.
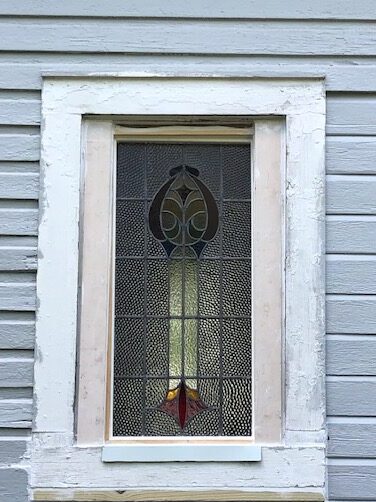
Other than the hours spent online looking for a stained glass window that would fit in the original window hole, the entire project took about half a day to complete. A half a day of work and $100 for a second hand window improved the looks of the house and saved several thousand dollars in professional labor costs.