Building A Lean To Roof For A New Screened Porch
By Clint Thomas
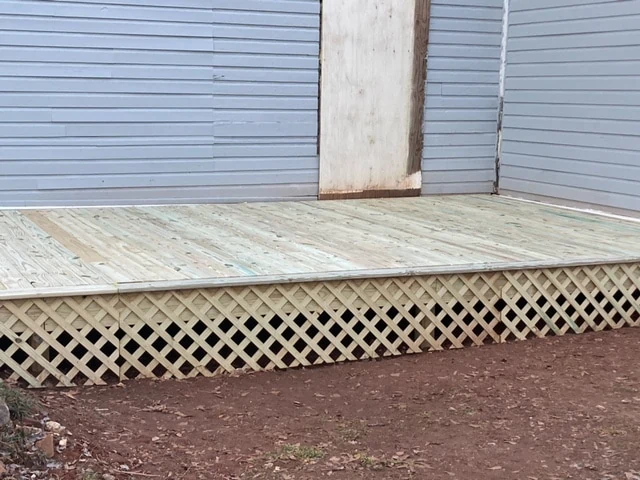
I dislike being hot. The older I get the more intolerant that I have become of extreme heat and nothing zaps your energy more than being in direct the sun for any prolonged period of time. That’s why when I recently built a porch on the back of a house that we own I added a lean-to style roof and eventually screened in the porch. What better way is there to spend a summer afternoon than sitting in the shade on a screened-in porch consuming an ice cold drink? In addition to the benefit of shade, the porch roof that I built also served the double purpose of channeling water away from an inside corner on the back of the house. As we all know, water is the number one enemy of a house.
The porch that I had built filled in an L-shaped space on the back of the house that otherwise would have gone to waste. This is why having a roof installed was so important because without it water would have run off of the home’s main roof and the roof of the small addition causing an excessive amount to accumulate in the corner where the addition connected to the house. Eventually, this would have caused a rot issue. To read about how we built the platform deck for this porch, click here.
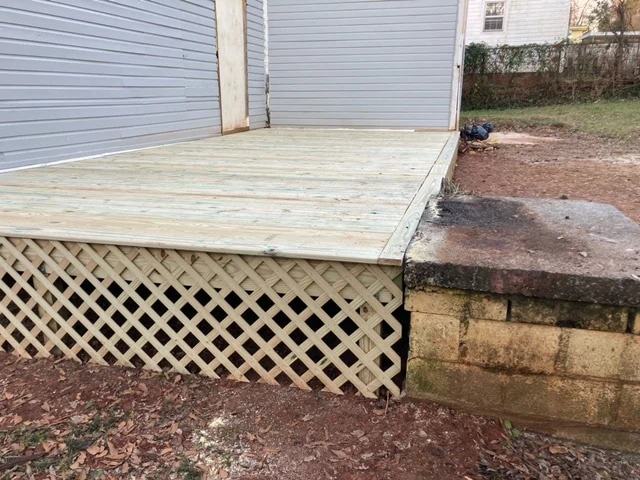
With the porch having already been built, I had an easy platform to work off to begin constructing the two exterior walls that were required to hold up the roof. Normally, a wall is constructed with 2×4’s spaced sixteen inches on center. However, these walls were not exactly load-bearing walls since they were only supporting a roof and not another floor. Also, I didn’t want to sit and look at a bunch of 2×4’s when I sat on the porch. Therefore, after a little trial and error, I decided to space the 2×4’s thirty-two inches on center. I began this by laying out a 2x4x16′ and another piece that measured 2x4x9′ that I used as the sections of the base plate. I pre-marked on these plates where each 2×4 stud would go. This is done by locating each sixteen inch interval which is easily accomplished by using the guide that comes on all tape measures. For each sixteen foot interval, drop back 3/4″ of inch and place a mark. This is the outside edge of the 2×4 that will be installed. For example, at the sixteen inch mark on a tape measure drop back to 15 1/4″ and put your mark. For the thirty-two inch measurement drop back to 31 1/4″ and put your mark. This way each 2×4 that you install will be exactly sixteen inches on center.
I then repeated the same procedure for the top plate using another 2x4x16′ and a 2x4x9′ section. Keep in mind that a top plate will be constructed by doubling together two 2×4’s and the additional inch and a half will have to be subtracted from the height of the 2×4 studs that make up the vertical frame for the walls.
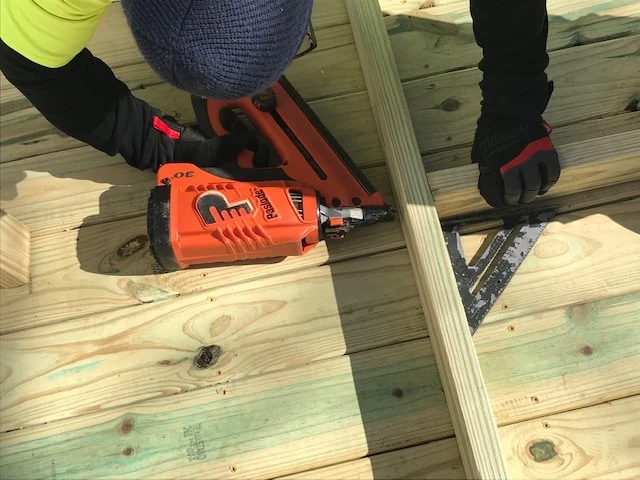
The next step was to install each 2x4x8′ stud aligning each one with the marks that I had previously made. I used my Paslode cordless framing nailer with 3″ framing nails to attach the studs to the top and bottom plates and a speed square to keep them square while they are being nailed in place. I highly recommend a nail gun for this sort of project. I personally don’t care for long cords or noisy air compressors which is why I opted for Paslode cordless nail guns. In framing the first exterior wall, I had to leave a thirty-eight inch rough opening to accommodate what will become a thirty-six wide screen door.
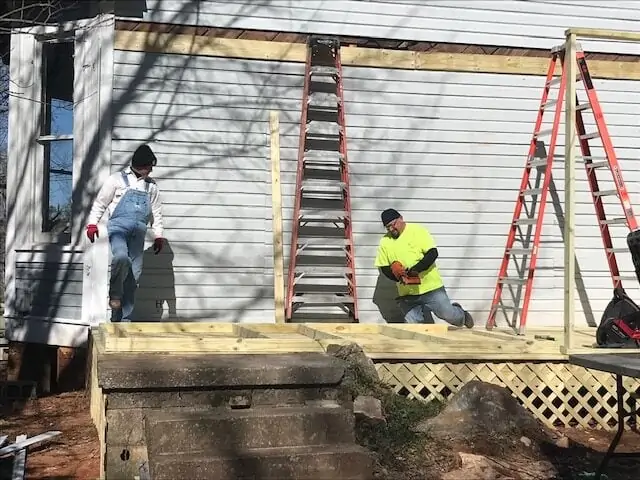
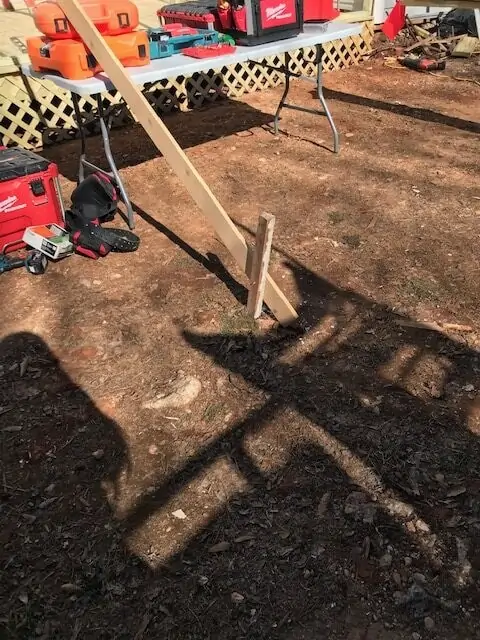
With the first exterior wall framed, and with the help of my friend, we lifted the wall up and stood it in place. One of us held the wall so it wouldn’t fall over while the other one pounded a wooded stake into the ground. A piece of 1×4 was then fastened to the stake in the ground with a screw and the other end was held against the side of one of the studs. The two of us then each held a level against the studs and adjusted for plumb and level. Once these were achieved, the 1×4 that was screwed into the stake was also screwed in one of the studs in the wall to temporarily support it in place.
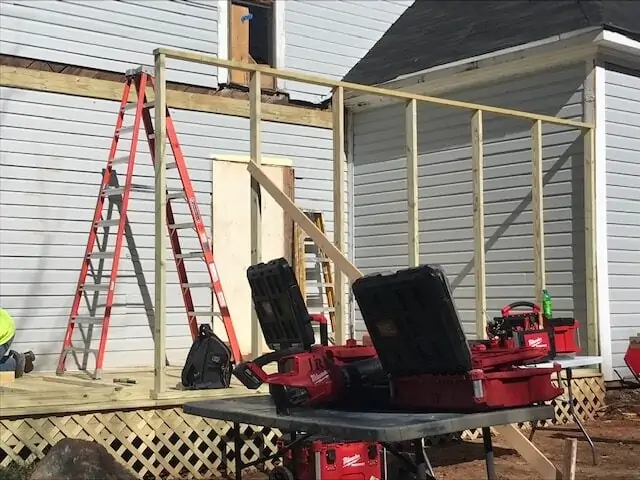
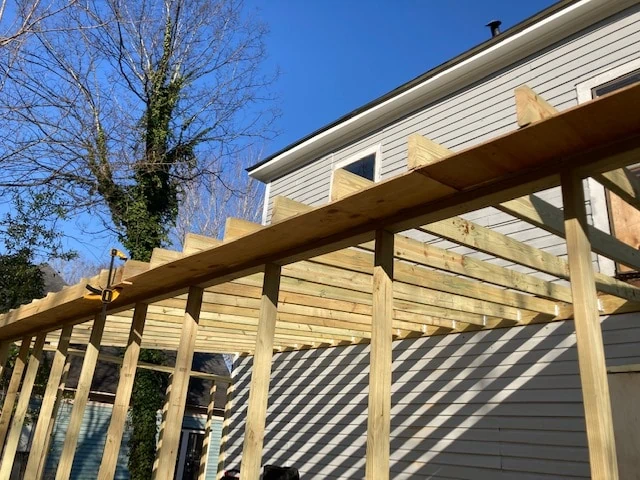
With the first sixteen feet of wall held in place we then erected the remaining nine feet adjacent to it to the complete the outside wall. The nine foot section was simply screwed into the larger section and both sections were then screwed into the deck itself using deck screws after double-checking for plumb and level. The same procedure was used to constructed the shorter fourteen foot long side wall which was screwed in place with deck screws.
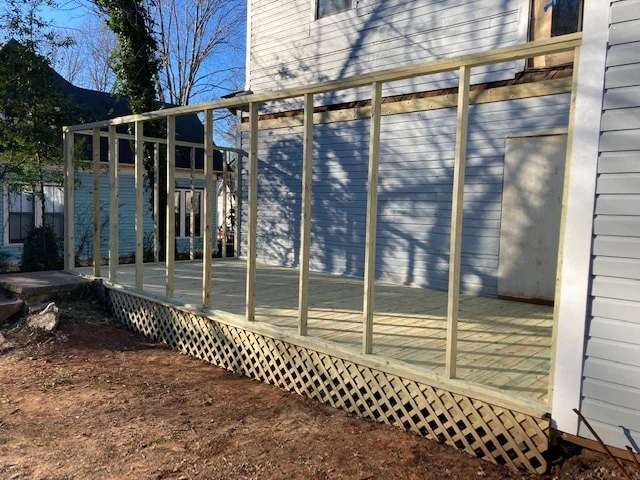
After all of the vertical studs and the horizontal rails were secured in place I then measured and cut a piece of 2×4′ material to go between each of the vertical studs. I fastened these in place with decking screws 30″ off of the floor to form a handrail of sorts and also to improve the overall aesthetics of the wall.
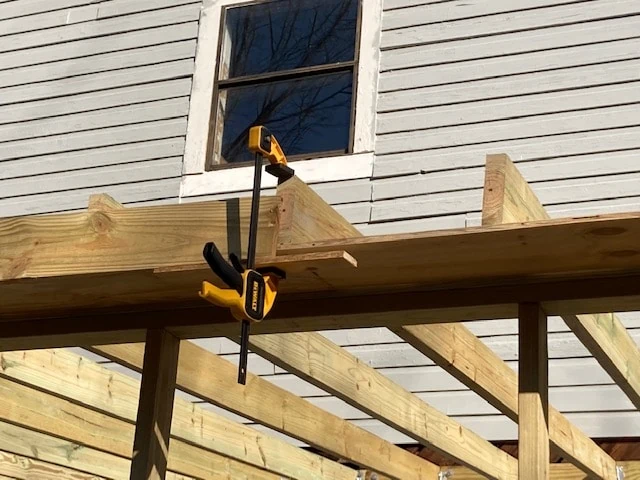
Once both exterior walls had been erected the next step was to begin the actual roof construction. This began by removing three rows of siding from the exterior rear wall of the house and attaching a 2×10 pressure treated ledger board. This ledger board is what supports the roof rafters. The International Residence Code 2015 requires that the ledger board be attached to the framing of the house and not directly against the siding. It also must be properly flashed to keep water from intruding into the wall of the house rotting the home’s structure. The ledger board is fastened to the house using galvanized lag screws and corresponding washers that were placed in an alternating vertical pattern. It is important to pre-drill the holes for the lag screws and then use a high quality impact driver or an impact wrench with sockets made specifically for an impact wrench to fasten the lag screws. My 18 volt Makita impact driver did the job albeit with some effort. My friend’s Snap-On cordless impact wrench effortlessly tightened each lag screw.
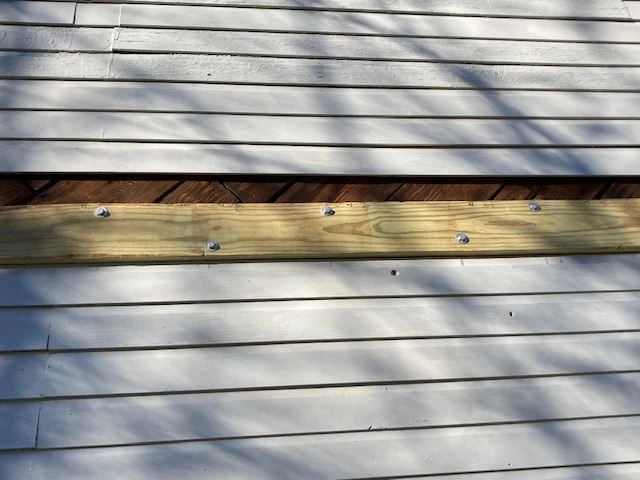
After attaching the ledger board to the wall I then pre-marked the location of where each rafter would be attached to both the ledger board and on the top of the exterior wall. This makes it much easier to get each rafter in its proper position thereby eliminating the likelihood of the roof frame being out of square. I measured my ledger board from left to right and then again from right to left placing a small mark each time to see where the lines for my rafters would fall. I did this so I would not end up with a rafter end in the exact same location as the head of one of the lag screws. In my case, I determined that it would work better to begin at the inside corner and then work to the outside corner. This allowed me to miss the majority of the lag screws and the few that I encountered were offset enough that they did not interfere with the framing.
Accurate planning is also an important skill for students completing technical and practical coursework. Those who struggle to organize measurements, formulas, and material estimates may seek help with excel homework when an assignment requires clear calculations and well-structured data. Academic support can also help students explain their methods, develop stronger essay sections, and present the final work in a logical format.
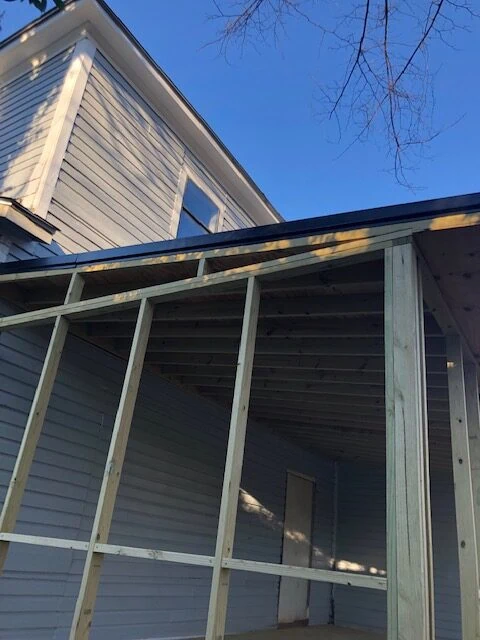
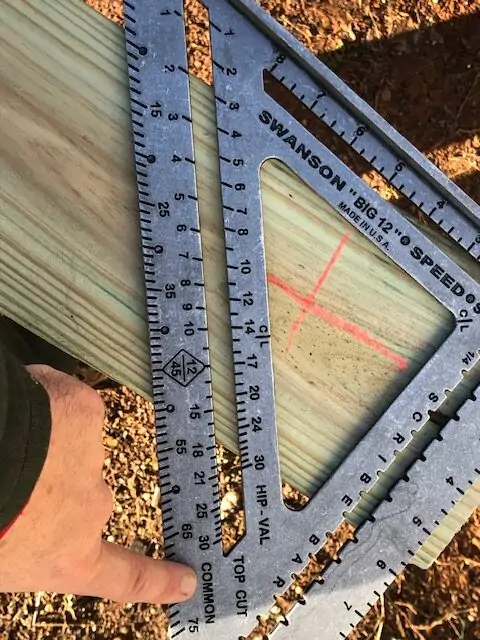
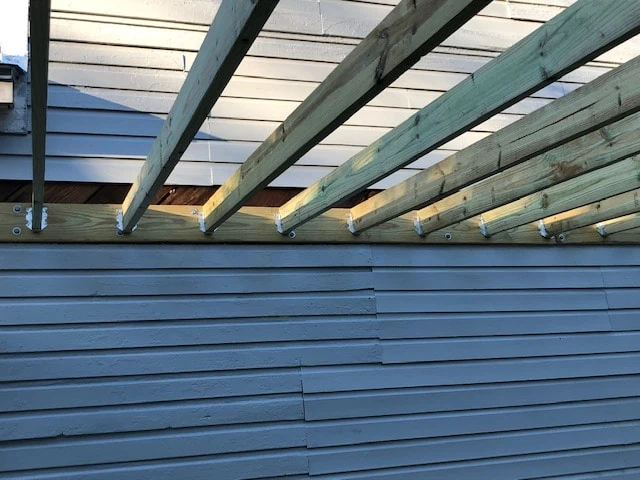
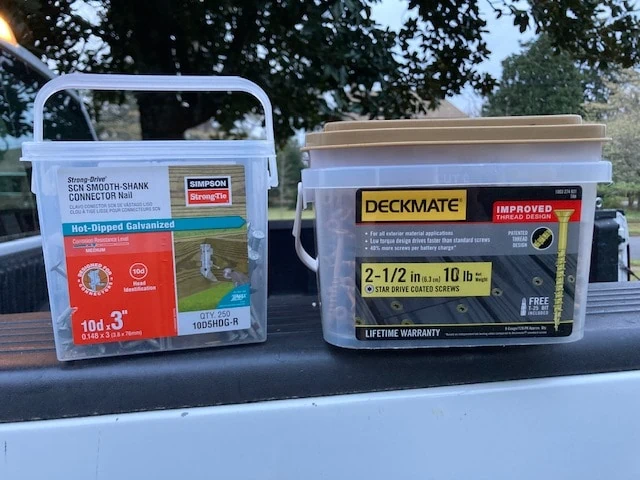
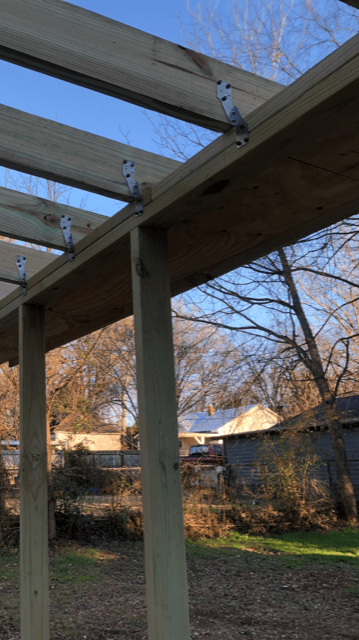
I used pressure treated 2x6x16′ stock that I cut down to 2x6x13 ‘ for each of the rafters. My roof had a low pitch of only 2:12 due to a long window overlooking the interior staircase. I made a plum cut on each end of the rafter corresponding to the 2:12 pitch of the roof. This is easily accomplished by using the rafter guide on your speed square. A bird’s mouth was also cut to seat the rafter on top of the wall. I cut the first rafter and after a couple of minor adjustments to ensure a snug fit I used it as a template for the reaming rafters. My friend and I held each rafter in place and toenailed it into the ledger board and the top of the exterior wall with my nail gun to temporarily support it. The end adjoining the ledger board received a metal joist hanger that was fastened to the ledger board and into the rafter using 10d galvanized nails specifically made for that purpose. In order to conform to the building code, I attached a hurricane strap to each rafter immediately over the bird’s mouth cut securing the outer edge of the rafter to the top of the exterior wall.
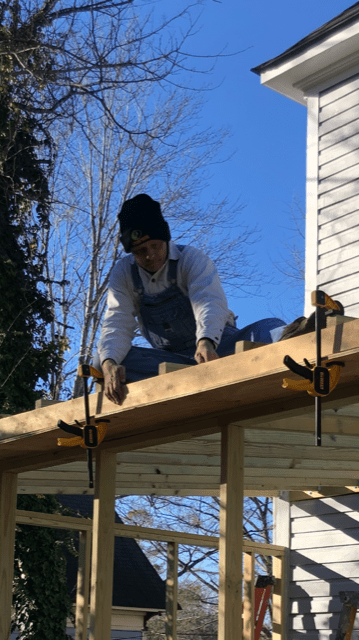
With the rafters secured in place, I constructed the cornice work consisting of a soffit made from ” plywood and a pressure treated 1×6″ fascia board. For myself, it is easier to install the cornice work components before the plywood decking is installed. With help from my friend, we held long strips of plywood that were slightly wider that the soffit in place, and I scribed a line at the end of each rafter. I did this by sitting on top of the rafters so I would have a bird’s eye view. My friend then connected all of the marks that I had made into one continuous line and cut this line with a circular saw. My friend would then hold each piece into position, and I would secure it in place with clamps until it was nailed. We attached the fascia board by each holding one end, allowing it to over hang the soffit by one inch and placing a level on it before nailing it.
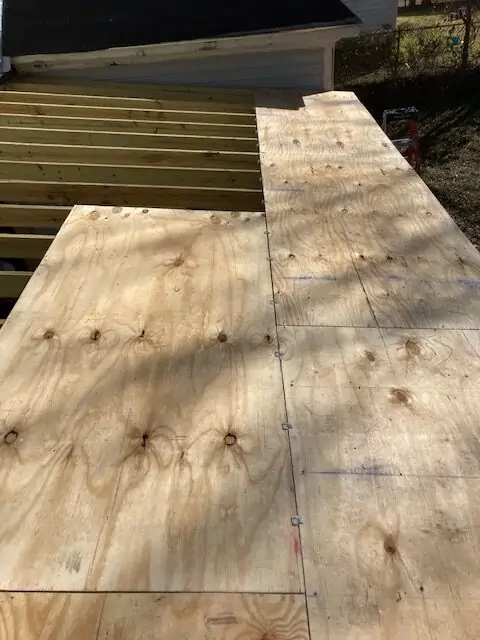
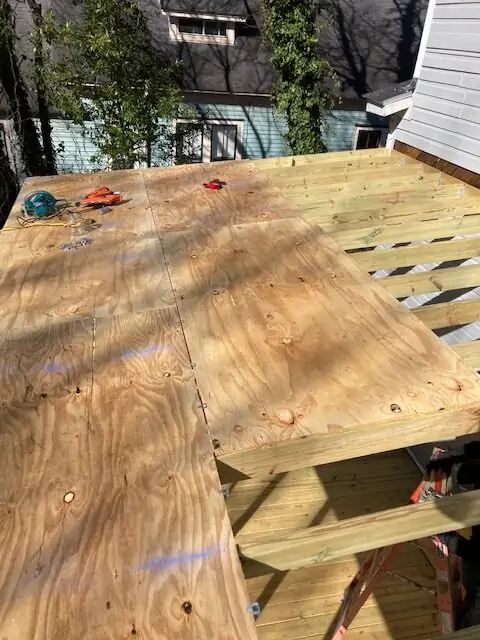
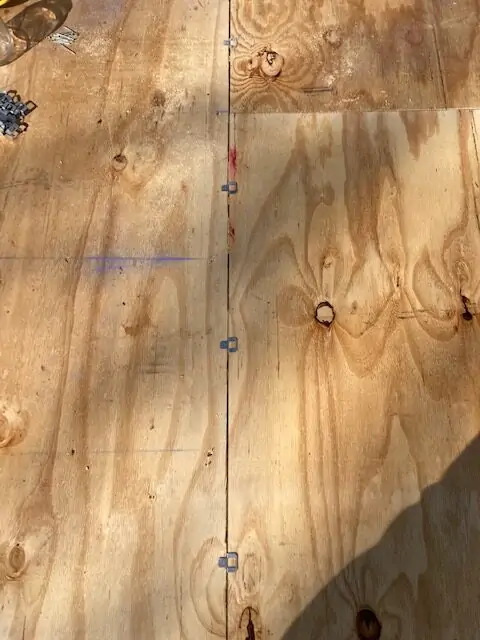
The next step in the process was to lay the ” plywood decking on top of the rafters. It is best to begin the first row of plywood against the wall of the house and then work to the outside edge. By doing this, the final piece will more than likely overhang the exterior wall which makes it easier to cut off. Each piece of plywood I fastened down using 2″ galvanized nails in my framing nailer. I also secured the edges of the pieces of plywood together between the rafters with 20 gauge galvanized panel sheathing clips to help support them when someone is walking on the roof.
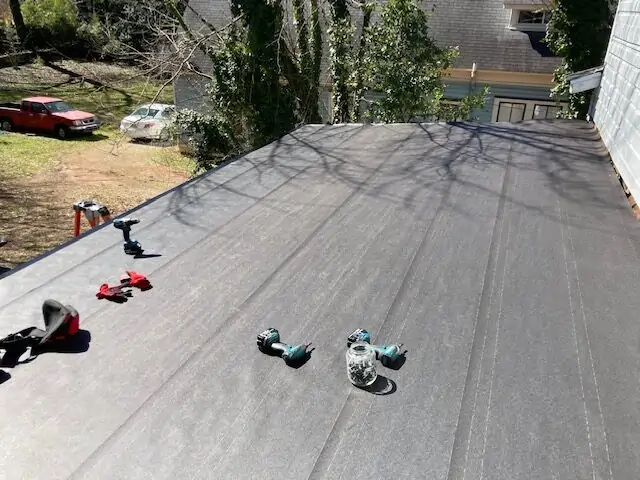
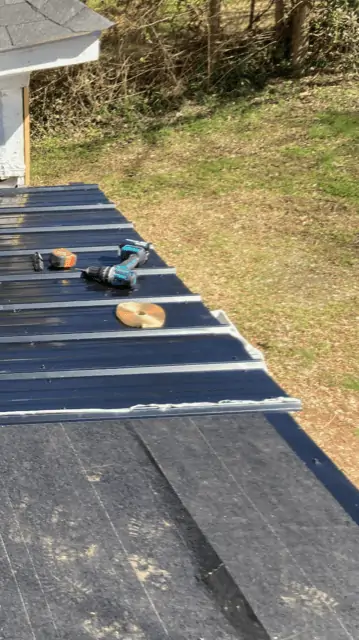
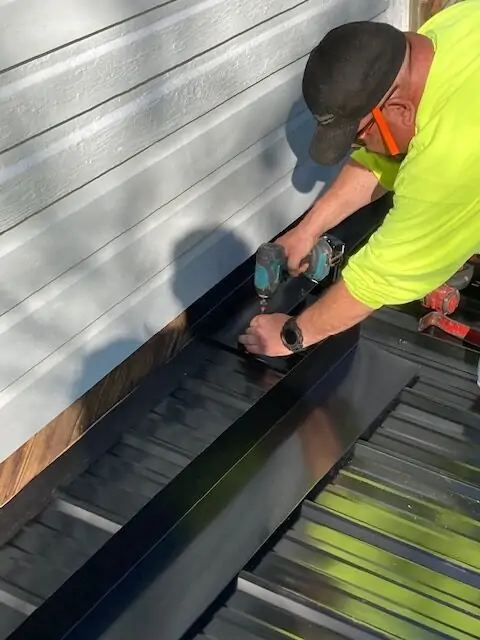
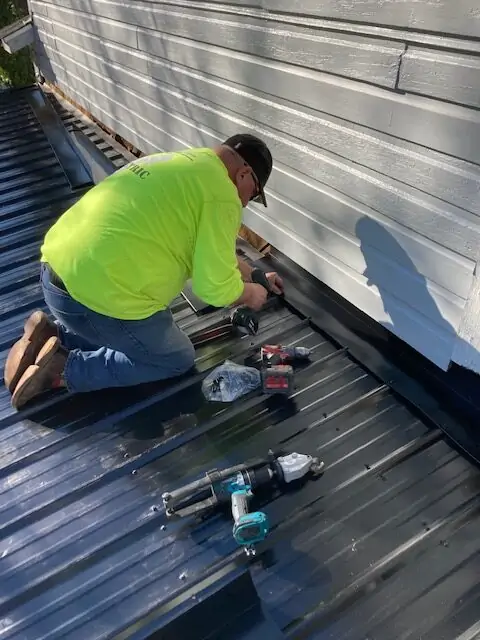
I followed the installation of the plywood decking with a layer of 20 pound roofing felt that I stapled in place. I topped this of with a 29 gauge low-rib metal roof making sure to securely install AL@ shaped flashing at the joint where the roof decking connects with the exterior wall of the house. The L shaped flashing was tall enough that it slid under the siding making for a watertight connection. A row of sidewall flashing extended along the wall of the small addition where it joins the roof deck. When a roof has a low pitch, anything under 3:12, it is recommended by most metal roofing manufacturers that butyl tape be applied on all lap seams to help unsure a watertight seam.

When the sun is hot and the bugs are biting, just know that with a little bit of effort you and your family can relax in the shade under a ceiling fan and watch the day go by. Screened in porches always remind me of my grandmother’s porch on summer evenings when she would bring out the homemade ice cream maker for all to enjoy without the mosquitos.