By Larry Walton, Photos by Tim Walton
Rapid deployment is an important characteristic of most of the professional building trades these days. Even if your trade requires that you stay on the same house for several weeks, tools have a way of running off so you have to unload and set them up every morning and roll up and load at the end of the work day.
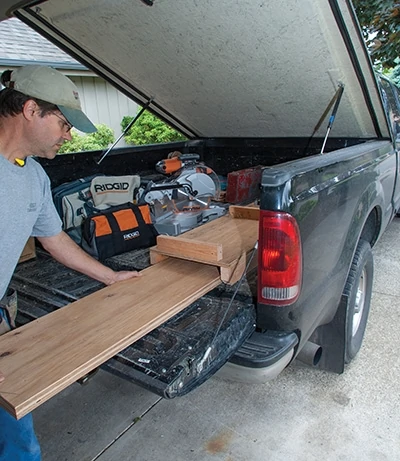
This was always true for our interior finish carpentry business, in part because of the amazing consistency of thieves in our area and in part because after a day or two it was time to move on to the next house.
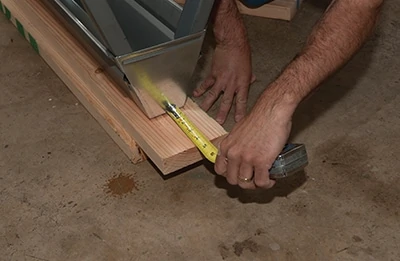
This mobile nature of home construction is why we have portable shops on our trucks and trailers and what we have learned about really good, portable tool setups can be very helpful to homeowners without a dedicated shop. In fact, because I have been so accustomed to setting up my tools daily, I prefer to use my driveway as a shop when the weather permits and my garage as a shop when I need to keep things under cover.
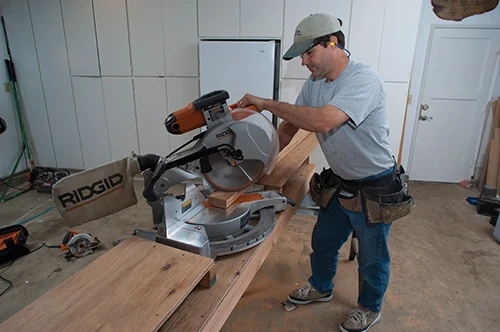
One of the most important portable tools for a finish carpenter is the miter saw. We usually have two or three in operation on each jobsite, and they are all on the same saw table design we have been using for decades. It’s light, stable and stackable. It can be hauled on the bottom of the pickup bed with tools on top or it can be strapped to a lumber rack.
Tables with adjustable supports never really caught on with our crew because they require constant adjustment to keep boards from falling through the table. But our plywood table easily handles very small screen molding right up through 1×12 and dimensional lumber from 2×2 to 4×8.
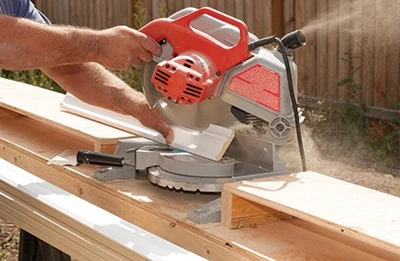
This table really shines when it comes to handling a variety of board lengths. When we are cutting base, for example, consecutive pieces can be 12 ft., 3 in.; 2 ft.; 6 ft.; 2 ft.; 12 ft. These cuts can all be made without adjusting support positions. The wing boards along with the saw surface can handle trim boards from one inch to 20 feet.
The table wing boards eliminate the “teeter-totter” effect when you are cutting long boards like the common 16-footer. When you cut a board like this in half, the two halves simply stay put, one on each wing board. If you’ve ever juggled long boards on an open-frame saw table, you’ll get why this is important.
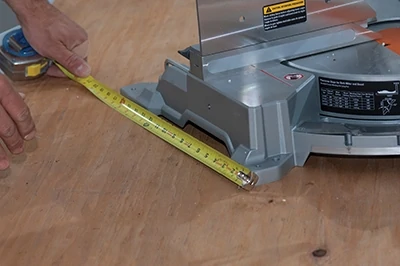
One of these tables can accommodate several different miter saws. When you build it, simply make the main table the depth of you largest saw base and make the combination of support blocks and wing boards the height of your tallest saw surface, when measured from table surface to the working surface of the saw. Smaller saws can be mounted toward the front of the table and simple shim blocks bring the shorter saws up to level with the wing boards.
Our favorite saw table is made of a two 2x4s, one 2×6 and a sheet of 3/4-in. CDX plywood. That’s it. The 2x4s support a plywood deck. The 2×6 is cut into blocks to support the wing boards, which are made of the remainder of the plywood.
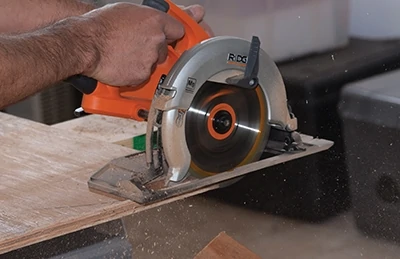
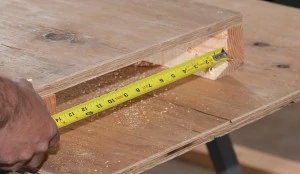
We start by ripping the sheet of plywood length-wise to match the width of the saw base. We then cut the saw table surface to length. For us, the length of the table is determined by the length of the pickup bed, which will be hauling the saw table. Make sure you take the measurement with the tailgate closed.
We then cut two of the 2x4s to the length of the table surface and chamfer off the bottom corner at each end. These chamfers make the table easier to slide in and out of truck beds and tool trailers.
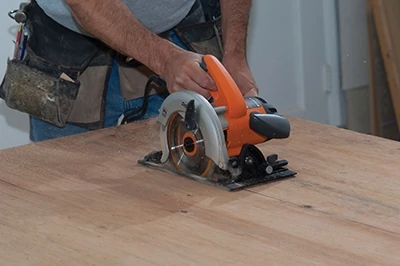
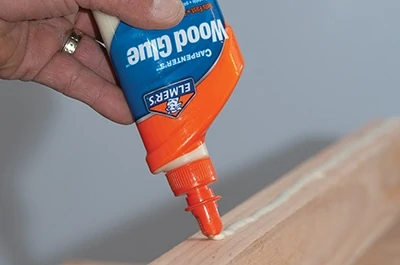
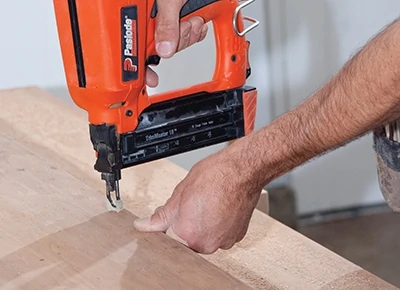
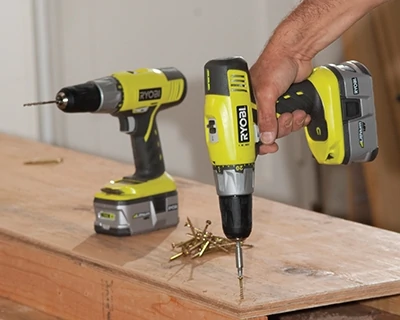
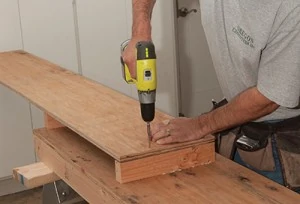
We apply wood glue on the non-chamfered edge of the 2x4s, put the plywood on top and tack it down with a few finish nails to keep it lined with the edge. We use a handful of drywall screws and a cordless drill to fasten the plywood to the 2x4s.
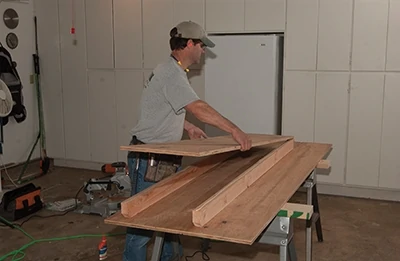
Then, we measure between the 2x4s and ripped some wing boards to fit between the 2x4s. After ripping, we cut the wing boards to the same the length as the new table. This is so the wing boards can fit under the saw table and in the truck bed.
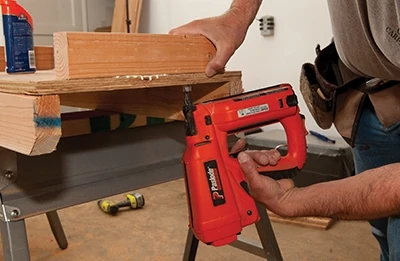
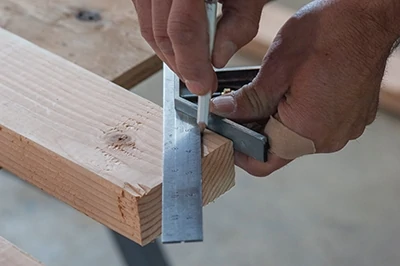
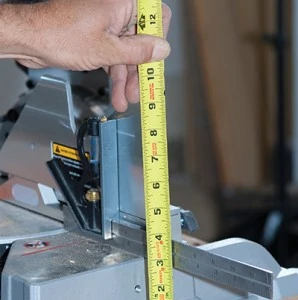
We then place the new saw on the table and put one of the wing boards next to it so we can measure from the top of the wing board to the saw surface. This determines the height of the wing-board support blocks. We then rip the 2×6 to make the wing-board support blocks.
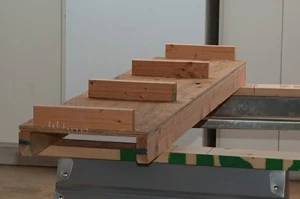
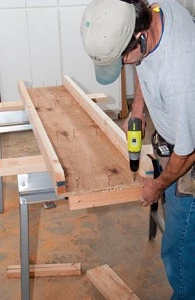
We cut the support blocks to the width of the wing boards and fasten them in place at each end and near the saw in the middle. The wing boards are attached to the support blocks with screws for each use and removed for transport and storage.
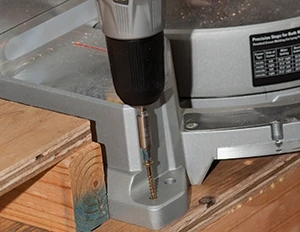
When disassembled, the saw table, portable horses and saw all fit in a pickup with plenty of room for other tools.
We’ve had a couple of these tables last for over 10 years with every-work-day use. One would last a lifetime with occasional use in your driveway or garage.
Side Note 1
Don’t Bench Your Miter Saw
I don’t recommend that you mount a saw like this in a fixed-location work bench because it’s designed to cut long stock such as 16 ft. base and crown molding, which means you need about 35 feet of clear space to operate it.
Build to the Bigger Saw
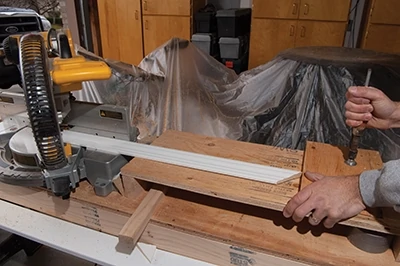
You can use your saw table for multiple miter saws by making the width to your widest saw and making the wing board support blocks for the tallest saw. A little shim under the saw base will make the saw on the right flush with the wing boards.
Steel Horse
This type of folding saw horse provides a solid support for a miter saw table. Drive short (1-1/4 in.) drywall screws through the bottom of the saw horses into 2x6s to provide a good wood working and stock holding surface.


![[21_TW_Rigid_Ryobi 142]](https://extremehowto.com/wp-content/uploads/2015/01/21_TW_Rigid_Ryobi-142.webp)
![[22_TW_Rigid_Ryobi 006]](https://extremehowto.com/wp-content/uploads/2015/01/22_TW_Rigid_Ryobi-006.webp)
