A Comprehensive DIY Guide to Building an Indoor Golf Simulator
By John Byczek
Summertime is a season of endless possibilities, especially for DIY enthusiasts. As the days grow longer and warmer, many of us are inspired to tackle new projects. For those of us that like to golf, summer is all about squeezing in as many tee times as possible while balancing time for projects at home. So, why not combine the two?
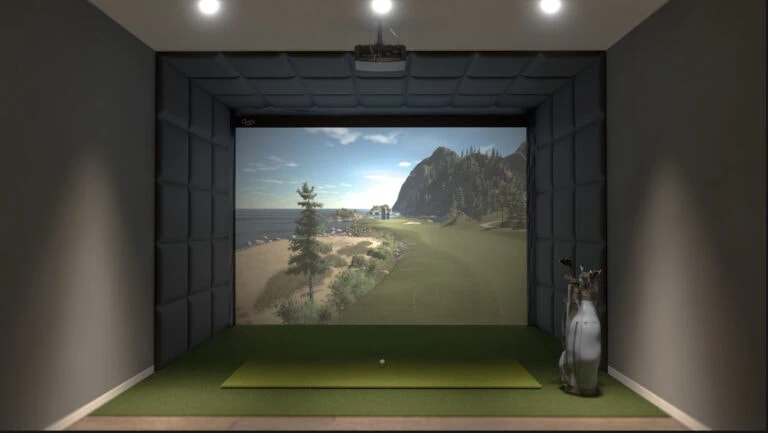
Even though summer is the peak of the outdoor golf season, it’s actually the perfect time to start planning or even building an indoor golf and entertainment oasis. Summer’s intense heat, unpredictable showers and pesky allergies can ruin a round of golf. Playing in an indoor simulator – from the comfort of your own, air-conditioned home – can alleviate those pains and provide a fun project for the whole family. But the idea of building one can seem daunting, and figuring out where to start can be the hardest part.
In this comprehensive guide, we’ll walk you through the entire process – from planning to measuring and even assembling the perfect setup for your space. Thanks to the folks at Carl’s Place, who specialize in attainable and budget-friendly DIY golf simulators, it’s easier than you think!
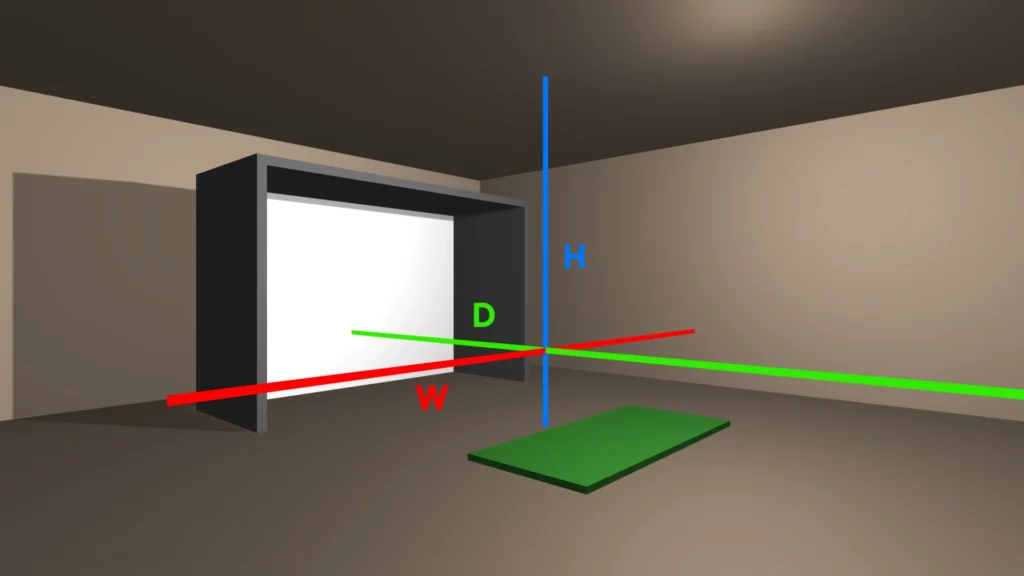
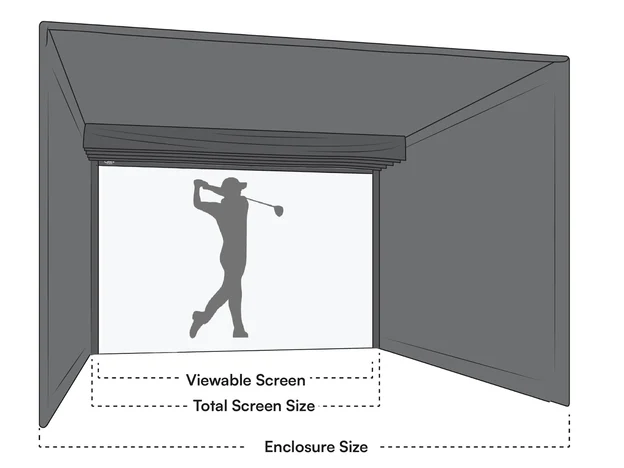
Like any build, an indoor simulator starts with measurements. Whether it’s a garage, basement, attic, spare room, barn or shed, once you’ve picked out (and cleaned out) the space, getting proper measurements are crucial for an optimal experience. Here’s what you’ll need:
Know the minimum room size requirements
Requirements vary, but in general, indoor golfers are most comfortable in a room at least 14′ wide, 18′ deep, with 10′ ceilings. If you don’t have that, there are still options. Carl’s Place can make down-to-the-inch, custom accommodations for smaller spaces.
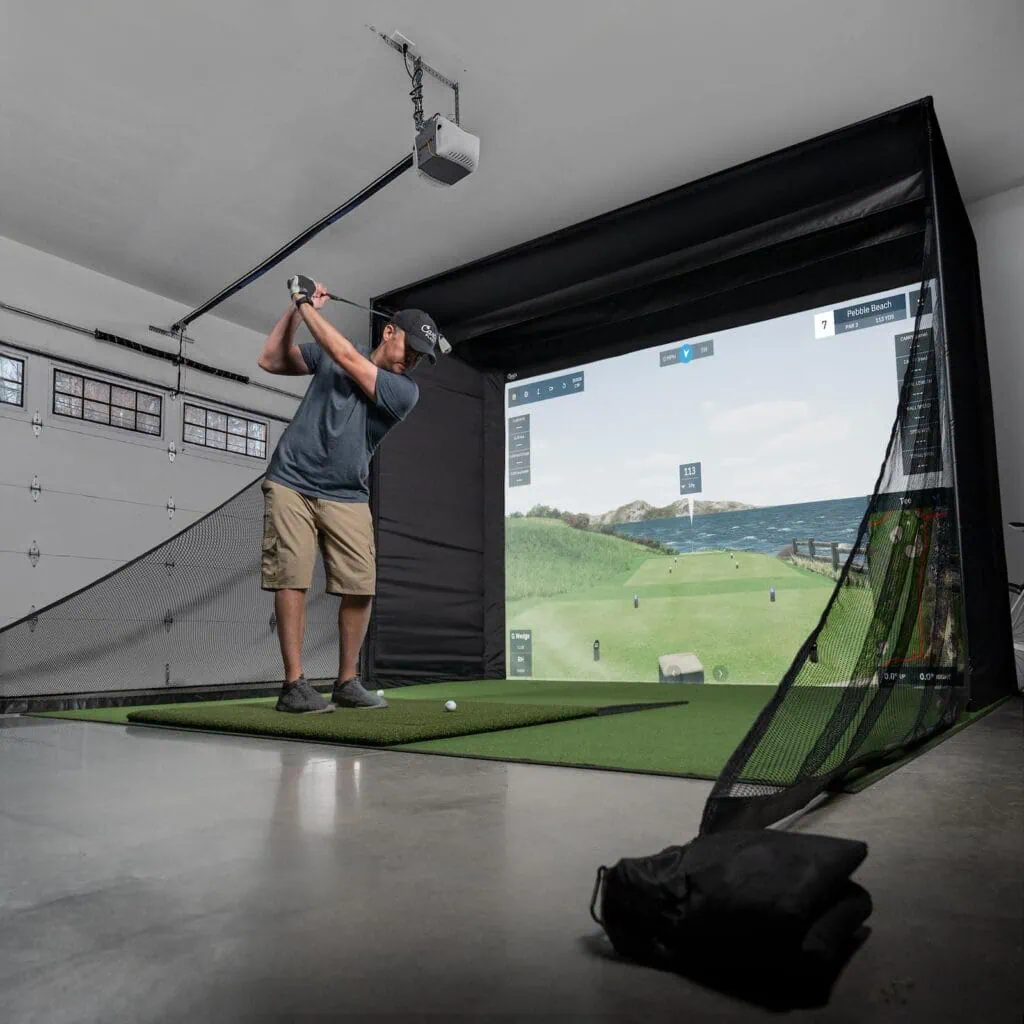
Test your swing in the space
This is a simple but necessary step. Safely swing your clubs, one-by-one, in the room. If you can comfortably swing, then you have enough space for a simulator.

Measure the ceiling
Measure the height from the floor to the ceiling. The average golfer needs a 9-10’ ceiling to play golf inside. Ceilings any lower will likely still allow for irons and wedges, but drivers and woods may not be playable.
Measure the room’s width
The swing area to the left and right of the tee is also important, so get an accurate measurement. To golf indoors, you need a room at least 9′-10’ wide, but if you want your tee centered in the golf simulator (to accommodate both right- and left-handed golfers) you’ll need a space at least 14′ wide.
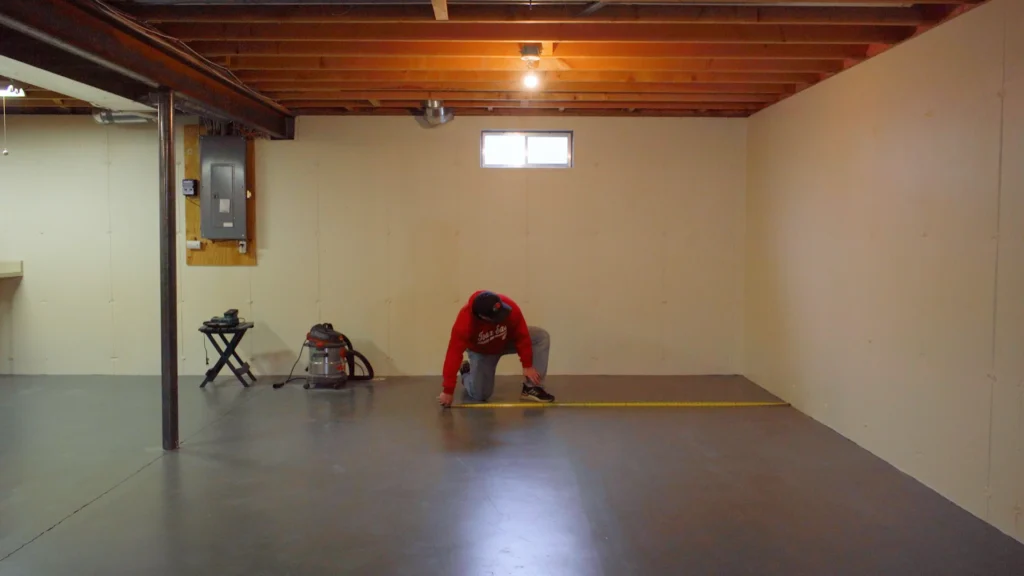
Measure the room’s depth
The depth of the room will likely dictate which launch monitor and projector you’ll use, so don’t buy either before you have this number. The ideal depth is 18′ and ensures enough space from the tee to the impact screen, buffer space between the wall and impact screen, and space for a full swing. Carl’s Place can make custom setups in 15’ or even shallower.
Once you’ve got your measurements, it’s time to get the gear, which is made simple by using Carl’s Place’s Build Your Own Golf Simulator Tool. All you have to do is input your simulator preferences, room dimensions and any add-ons you like, and it will calculate a setup specifically for your space.
Using the measurements for your enclosure and impact screen provided by the tool, you’ll need to get strong pipes to hold everything together – 1” EMT to be specific. You can either purchase them directly from Carl’s Place or from your local hardware store and cut them yourself.
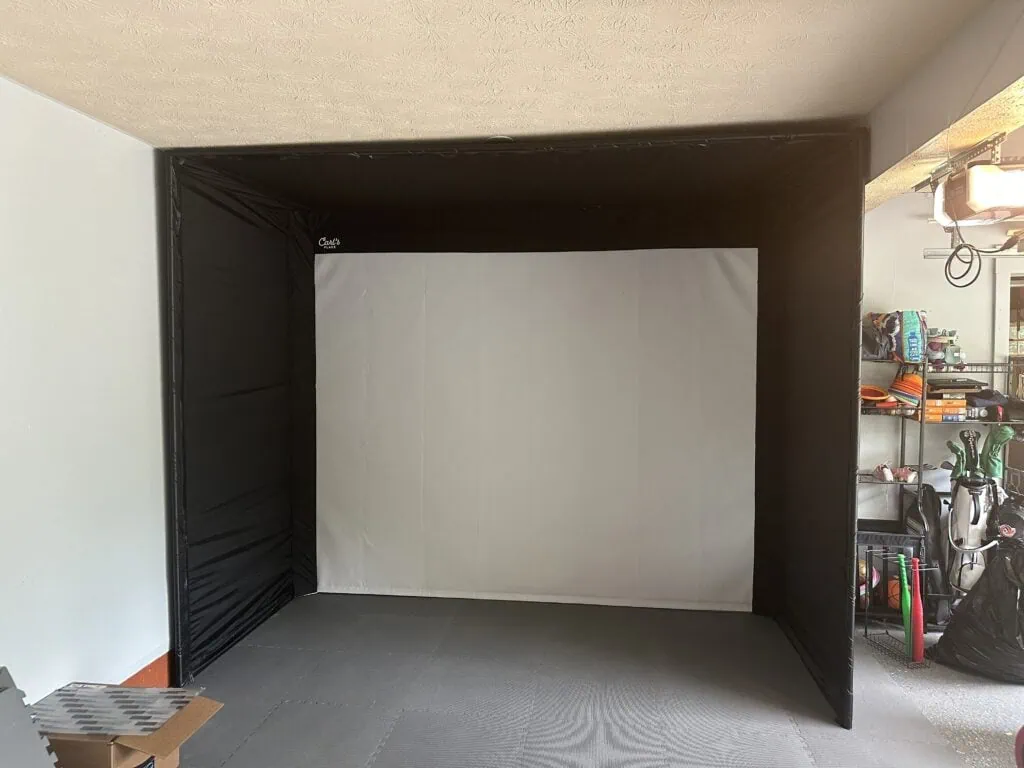
After securing the pipes and the enclosure kit, which includes the impact screen, enclosure cover, 1-inch steel fittings, cable receivers, ball bungees and zip ties, it’s time to assemble it all. Here’s how to do it:
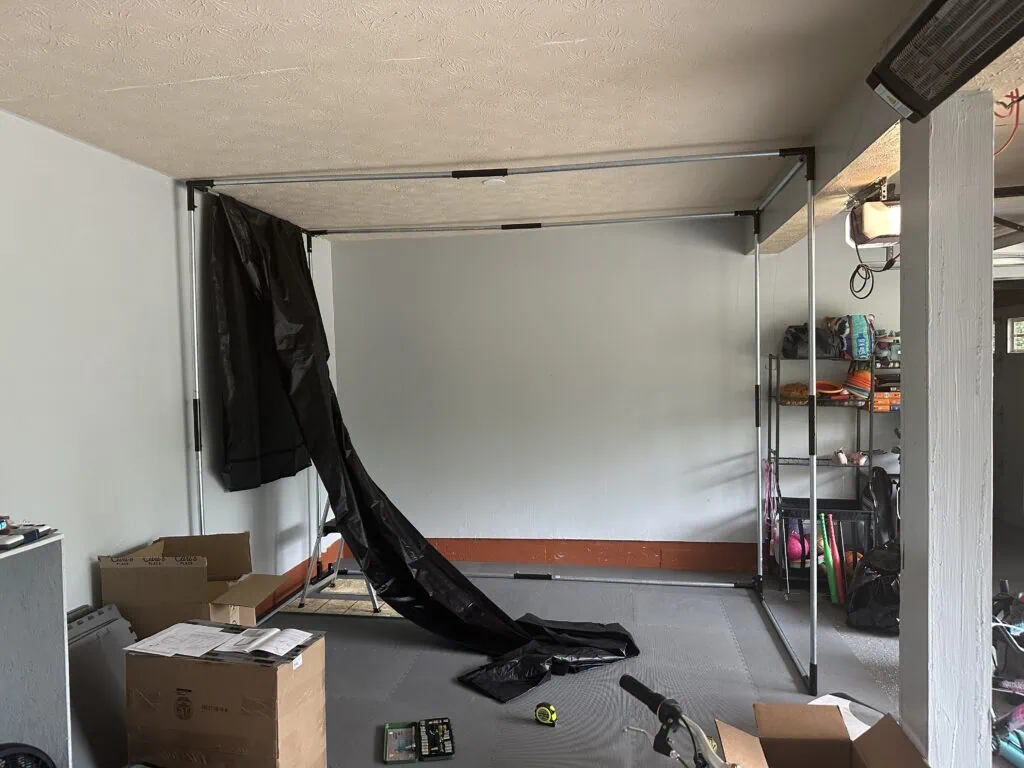
Assemble the Frame
Using the Frame Assembly Sheet provided by Carl’s Place, start by loosening the fitting screws to easily insert the EMT pipes. Then, connect the “C” or straight fittings to the corresponding EMT pipes as per your cut sheet. Begin building the frame from the floor up by laying out a U-shape with one width pipe and two depth pipes, using “L” fittings at the front and “cable fittings” at the rear. Insert the EMT pipes for height and attach the “three-way connection fittings with the nub” on top of the rear height pipes, with the nub facing the rear. Assemble the top-half of the frame from back to front. Finally, tighten all fitting screws and verify the frame dimensions match your diagram.
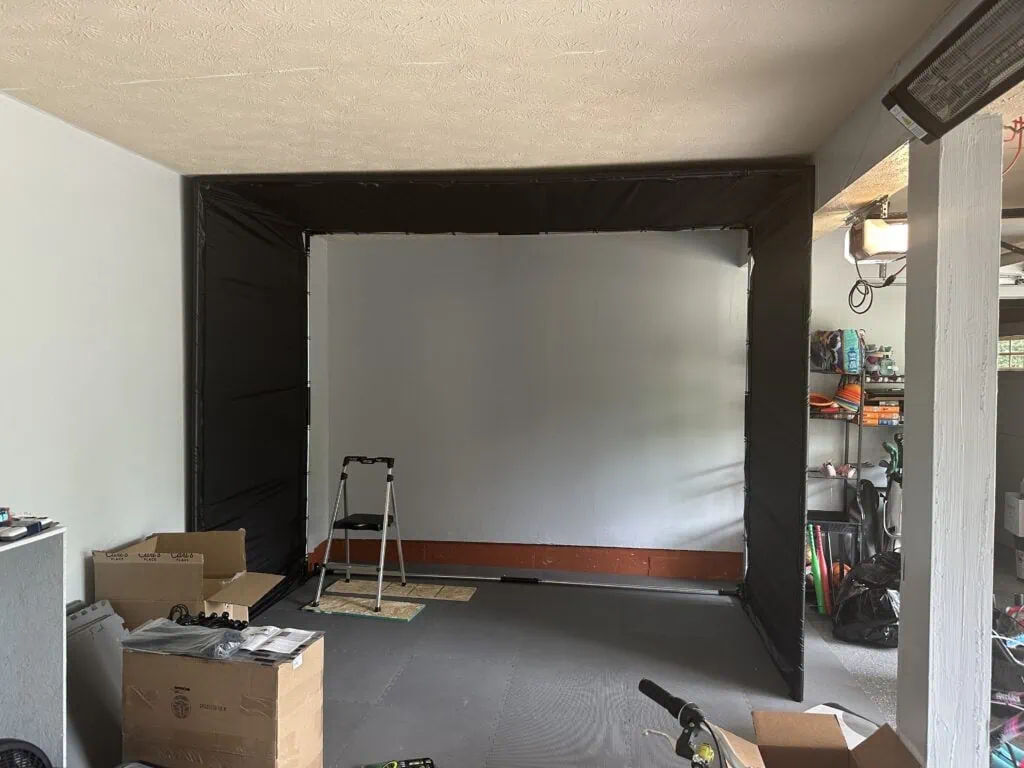
Hang the Enclosure Cover
Position the cover by aligning the grommeted edge with the back of the frame, ensuring the hook-and-loop flaps face inside. Attach the flaps in this order: first the inside corner flaps, then the bottom flaps, followed by the side flaps, making sure the hook fasteners align with the nearest loop strip, and finally the top flaps. Secure the cover with ball bungees by inserting the loop end into each grommet, wrapping it around the frame tubing, and ensuring the bungees face the back of the enclosure.
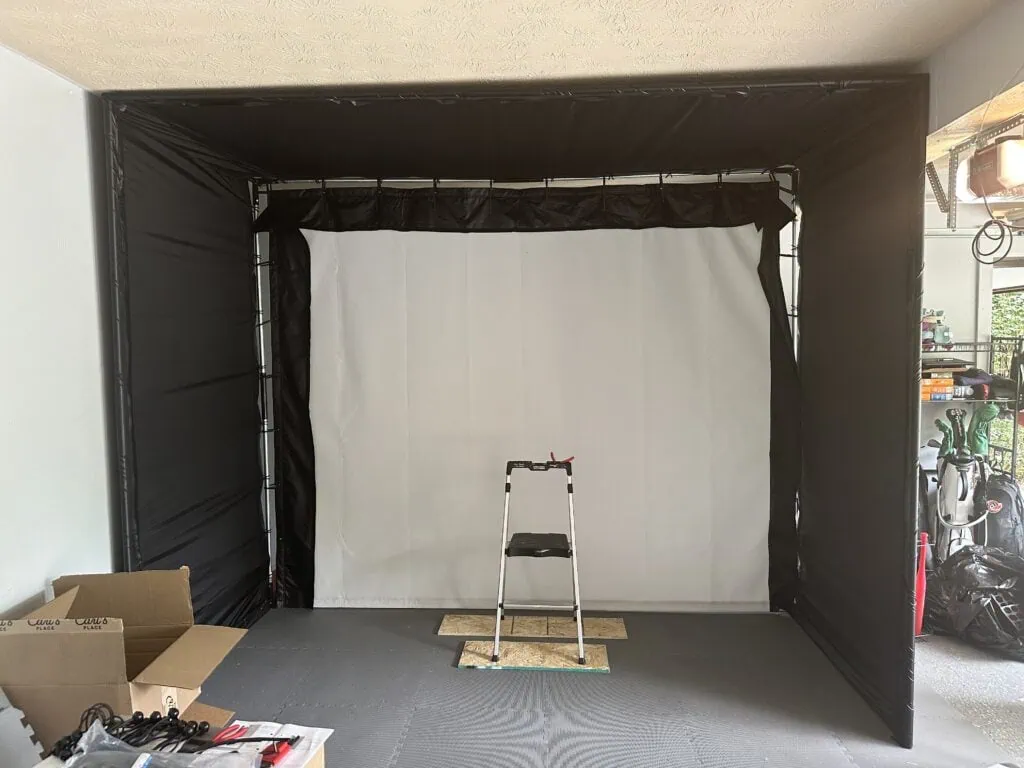
Attach the Impact Screen
Carefully unfold the screen to prevent it from touching the floor and getting dirty. Secure each top corner with two zip ties to attach the screen to the frame. For the bottom, insert the cable through the rear corner fittings and tighten it with the cable receivers to keep it taut. Adjust the zip ties, starting at the corners, to ensure the screen hangs level and without any pulling. Fine-tune the tension to ensure the bottom of the screen touches the floor properly without stretching, ensuring a smooth and stable installation.
Install Foam Inserts
Install the foam inserts by placing the longest pieces at each bottom corner and shorter pieces at the top, extending to the ceiling. Position the foam with the narrow edge against the frame and secure it by wrapping the flap around and using hook-and-loop strips. Ensure the foam does not disrupt the hook-and-loop connection. Use any remaining foam to fill gaps along the top edge of the screen flaps. Review your installation and adjust the hook-and-loop attachments to ensure a smooth and tidy finish where needed.
Now is the time to add any additional features to your enclosure setup. Consider installing turf on the floor to reduce bounce, ensuring it fits neatly inside or outside the frame for a level setup. Enhance your experience with a Carl’s Place hitting mat or add net walls to prevent stray shots. If your installation area has windows or ambient light behind the screen, Carl’s Place offers a back cover kit to maintain a clear, bright display. If you need more customization or additional assistance, Carl’s Place has a team of engineers on standby to help you along the way.
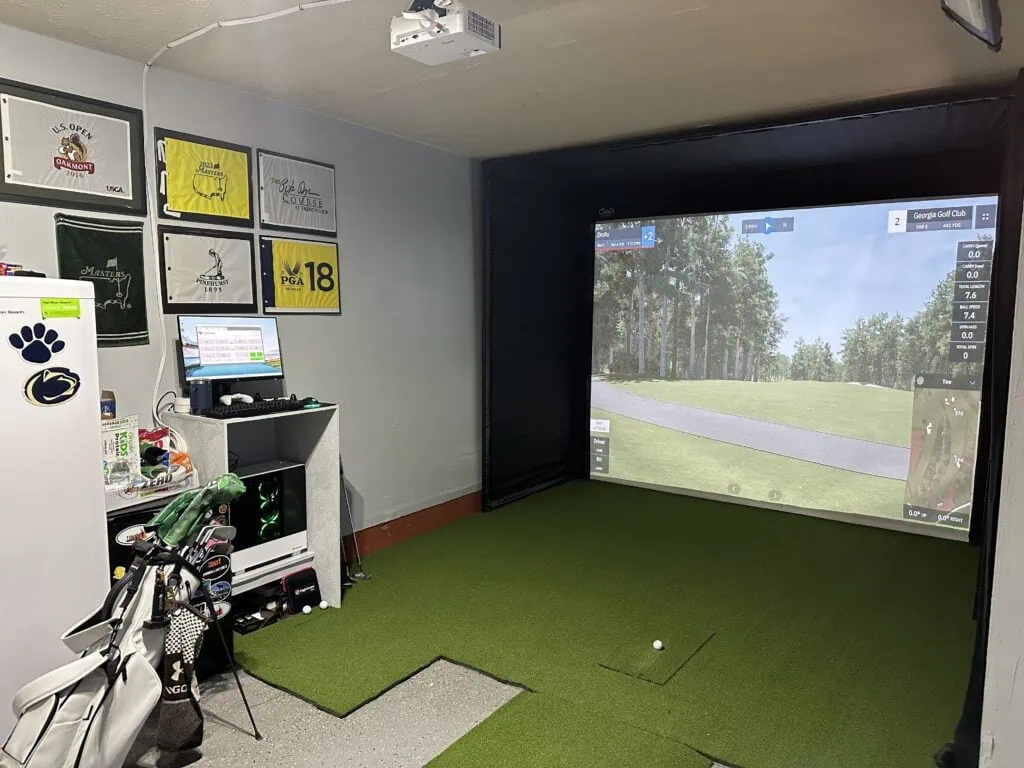
Whether it’s 100-degrees outside this summer or 25-degrees outside in the winter, having an indoor golf simulator and entertainment system provides year-round fun. You’ll have a space that the whole family can enjoy and (beware) might make you the most popular house on the block.
To see an example of a Carl’s Place golf simulator being installed, check out this video or visit their website at www.carlofet.com.