How to Replace a Power Window Regulator
By Matt Weber
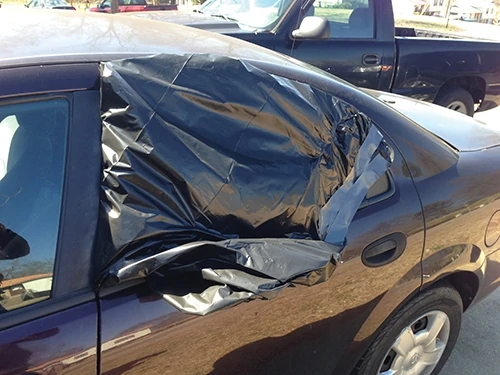
My son was complaining about all the rain and hail slapping him in the face during his backseat commute to daycare. I suggested that he roll up his window. He said, “But Dad, it won’t work.” I tried it myself. He was right; the window was stuck halfway down. After dropping him off, I haphazardly duct-taped a trash bag over the opening, and as fond as I was of this stylish look, I decided I’d better fix the window because nobody else thought it was as cool as I did.
The nice thing about power windows is that there’s no need to crank on a handle. The downside is that the motorized devices that raise and lower them (called regulators) tend to fail over time.
The older the car you drive, the less likely you’ll be to find a matching replacement regulator in stock at your local parts dealer. Regulators vary greatly in design among different vehicles, and the easiest way to locate a suitable replacement might be to visit your local junkyard. I’ve replaced four or five regulators throughout my life, all from junkyard parts, and it’s a job that can easily be done by a DIY’er who wants to save a little money rather than pay a mechanic.
When purchasing a part from a salvage yard, always call ahead and provide the salesperson the make and model of your car to see if they have a part in stock. If they do, make sure that the part is in good working order once you arrive to pick it up. For a window regulator, have the salvage dealer hook it up to a power source to verify that it works.
Another tip for salvage dealers: Take advantage of any free instruction you can get. For example, the salvage dealer where I got the replacement regulator wouldn’t pull the part until I showed up to the junkyard, so I spent my time on site watching the mechanic remove the regulator from an old car. Since car doors and windows differ in construction and fastener location, I was able to see how to take the door of a Dodge sedan apart without wasting my time searching for hidden fasteners.
Although the methods of replacement will vary somewhat from vehicle to vehicle, the following article shows the basics steps for window regulator replacement. I suggest you also invest in a repair manual that is specific to the make and model of your car to determine fastener details and any other particular requirements related to your vehicle.
Step by Step
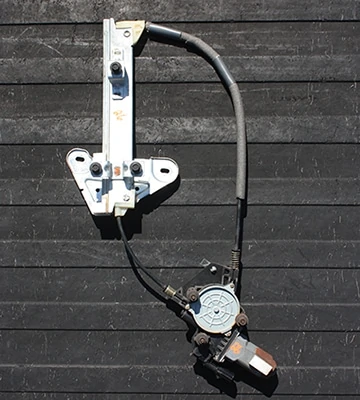
Here’s the replacement window regulator that I purchased from a local salvage yard. The aim of this project is simply remove the existing regulator and swap it with this one.
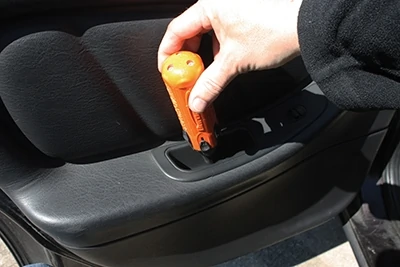
First step is to remove surface fasteners from the finished door panel.
This Dodge Stratus had screws hidden beneath plastic caps that were colored to blend with the car’s interior.
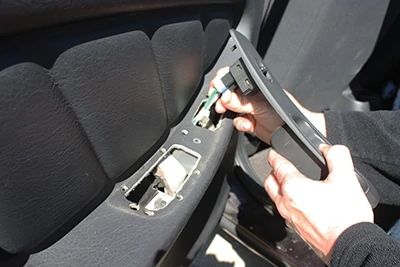
After removing the screw(s) that hold the window switch to the door, lift out the switch and unplug the electrical connection in the back.
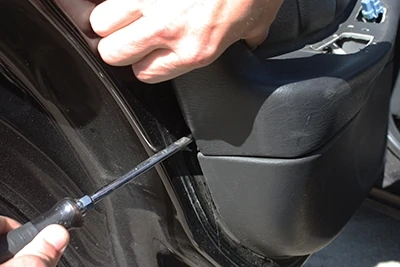
In addition to surface screws, the door panel is probably held in place by a series of push tabs located around its perimeter. Use a long screwdriver to pry out the edge of the panel and pull the tabs loose.
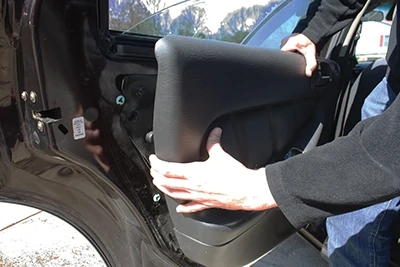
One the tabs are out, the panel should pull freely away from the door.
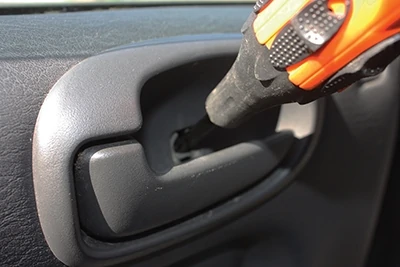
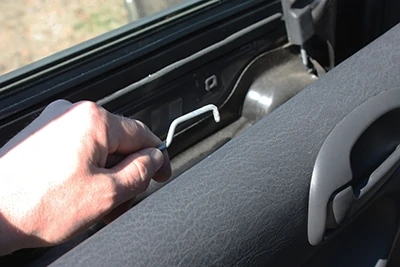
As you pull the panel free, reach behind the interior door handle and unhook the control arm from the handle. This is the necessary final step to completely free the panel so you can set it aside.
Next, pull away the door liner and discard.
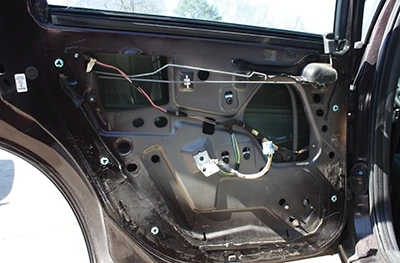
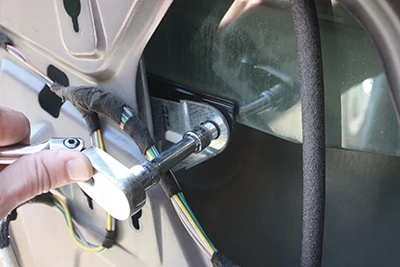
Shown here is the fully exposed interior of the door. The old window regulator is inside the door and bolted in place. The window glass sits on a bracket that is bolted to the regulator. In some cases it may be easiest to remove the interior weather-stripping, unbolt the window glass and set it aside while your work on the regulator. However, this window decided to stop working while halfway down, which misaligned the access holes in the door over the bracket bolts on the regulator. This meant I couldn’t remove the glass without first unbolting regulator.
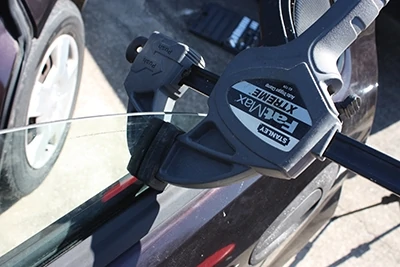
If you’re faced with the same challenge, I suggest clamping the glass in place so the window and regulator don’t crash down into the door as you disassemble them. Use a clamp with soft, rubber feet or otherwise pad the feet to avoid cracking the glass.
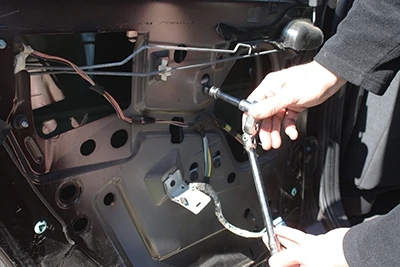
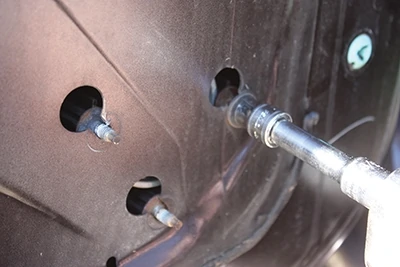
Use a socket wrench to remove all the bolts that hold the regulator onto the door.
Next, remove the fasteners that hold the regulator motor to the door. This motor was held by three closely located nuts.
With the regulator unfastened, both it and the window were loose inside the door. I grabbed the glass from above and lifted the entire assembly until the window-bracket bolts were aligned with the access holes (circled in red), and then I clamped it in place to finish taking it apart.
Remove both bolts that hold the regulator bracket onto the window glass.
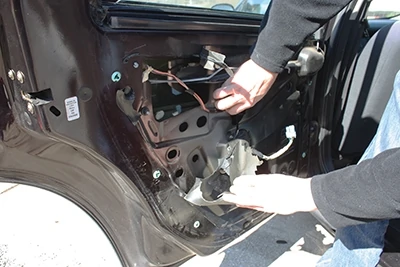
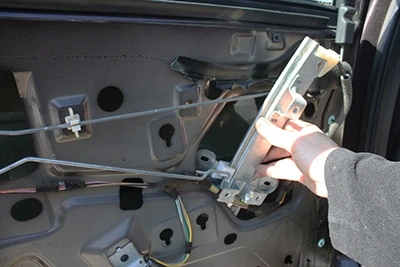
Fish the old regulator out of the large access hole in the door.
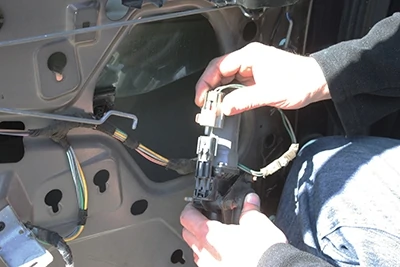
Disconnect the electrical connection from the old regulator and then plug it into the new regulator. Reinsert the new regulator inside the door, and then bolt the window glass onto the new regulator.
The installation procedure for the new regulator is the reverse of removing the old one. Simply screw on the bolts and nuts that mount the regulator to the door, reconnect the window switch, and reassemble the interior panel. Roll up the window, then mash your nose against the glass and make a bulldog face.


