

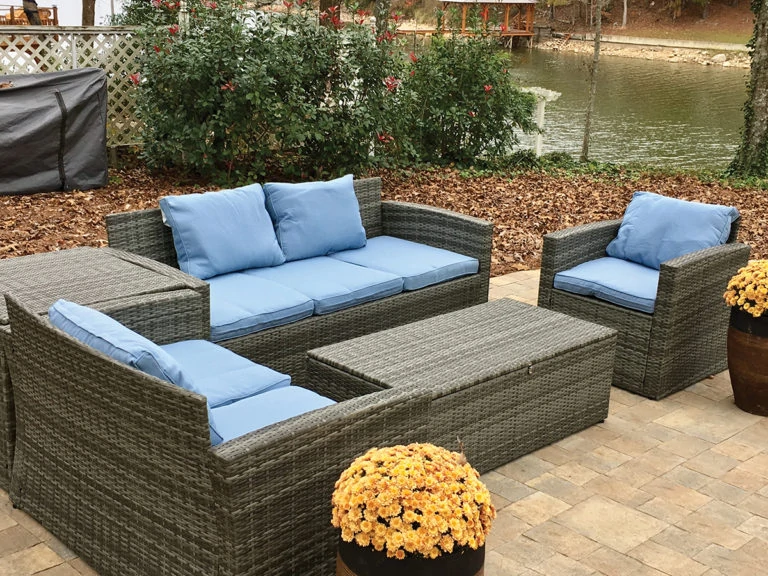
When the size of a patio project is too large to DIY, it’s time to call the pros.
There are big patio projects and small patio projects. This was a big one.
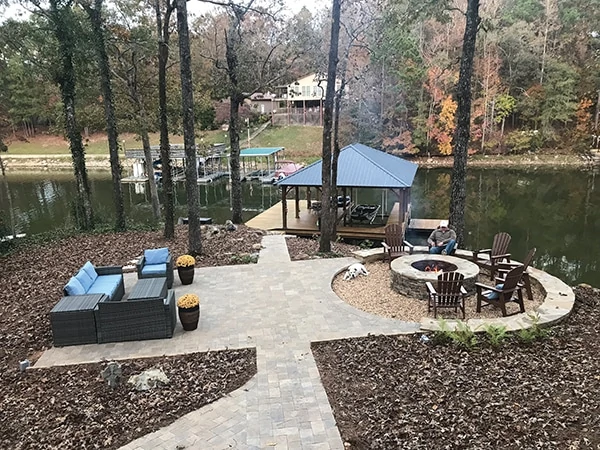
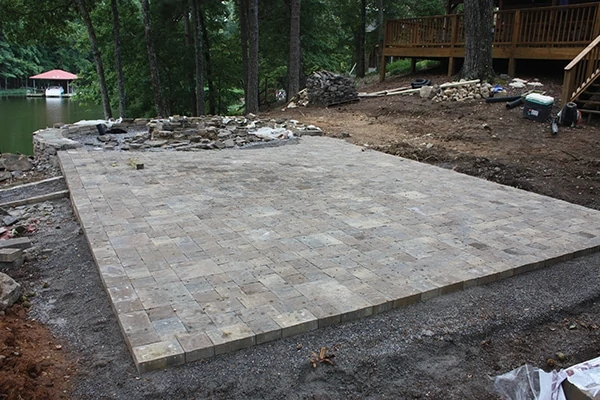
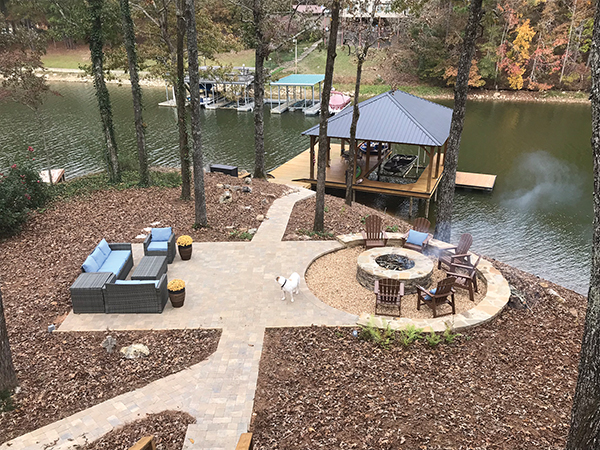
The plan for the lakeshore property in Talladega, Alabama involved more than 500 sq. ft. of paver patio and sidewalk, plus a large fire pit added to one end, all topped off with significant landscaping improvements. This installation was built on a sloped lot that emptied into Logan Martin Lake. This meant the site required grading for the patio floor. It also required a lot of earthmoving and trench-digging to handle the water that was draining downhill toward the patio, as well as the water that was draining off the patio toward the shoreline.
And that’s what makes this flexible-base patio installation a pro-level project rather than a DIY job—its sheer scope. Thousands of pounds of dirt and material were moved around the jobsite by a crew of workers with gas-driven construction machinery, and it still took them a few weeks to finish the patio. But you’ll see in the photos that the building procedures used on this project are largely the same as what a DIY’er can use to build their own flex-base patio—only applied on a much larger scale.
Site Prep
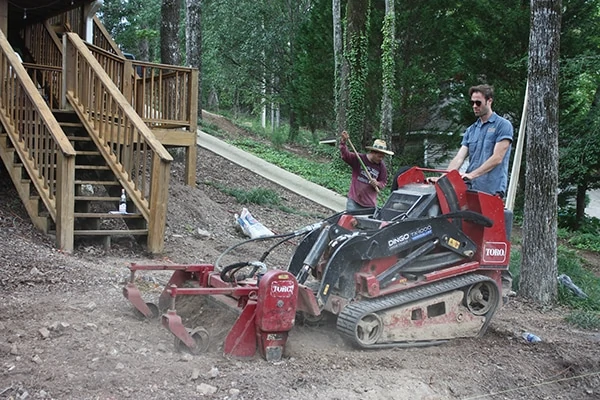
A patio should be flat (with a slight pitch for drainage), which means the ground beneath it should be flat. That’s easier said than done when digging in rocky soil that’s riddled with roots. Project manager Hamilton Trimm brought in a skid steer with a number of attachments to help on the project. To grade through the tough soil conditions, he equipped a skid steer with a Power Rake attachment, which tears through the ground with spinning spikes.
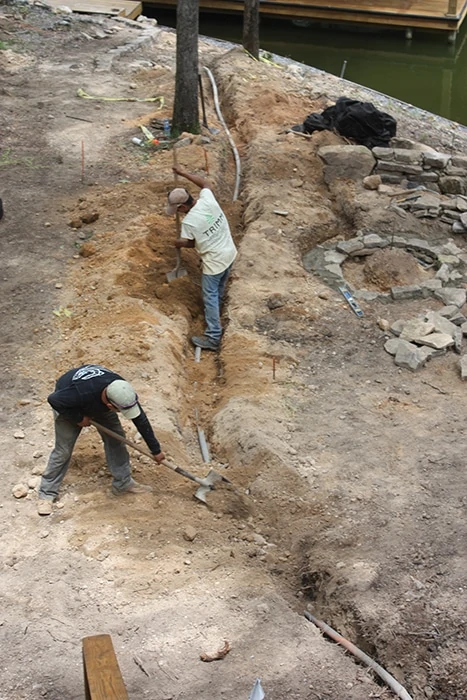
A Trencher attachment for the skid steer also came into play. An underground electrical line had to be relocated during construction. The electrical inspector required it to be buried 12 inches deep. The trencher was used to dig the ditch, which stretched 60-70 feet.
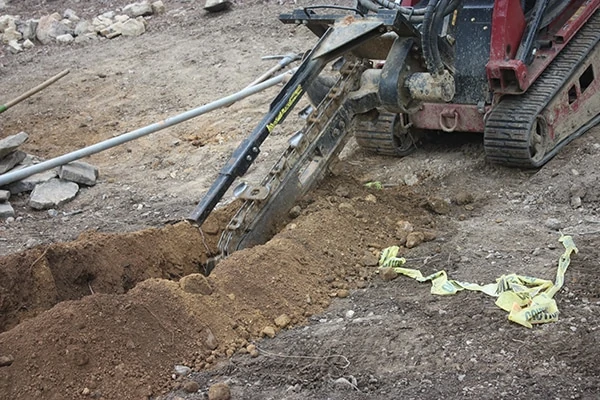
The trencher was also used to help dig a drainage ditch that extended from the fire pit of the patio downhill toward the lake.
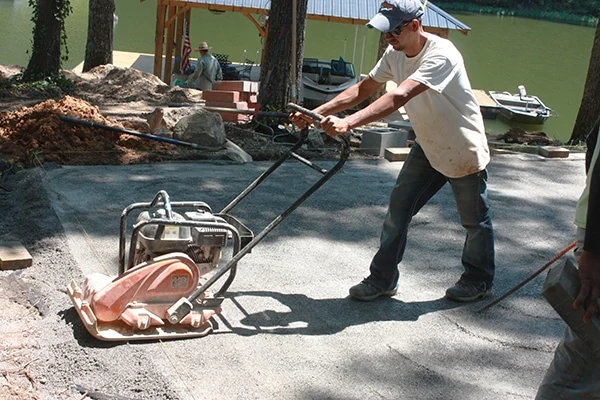
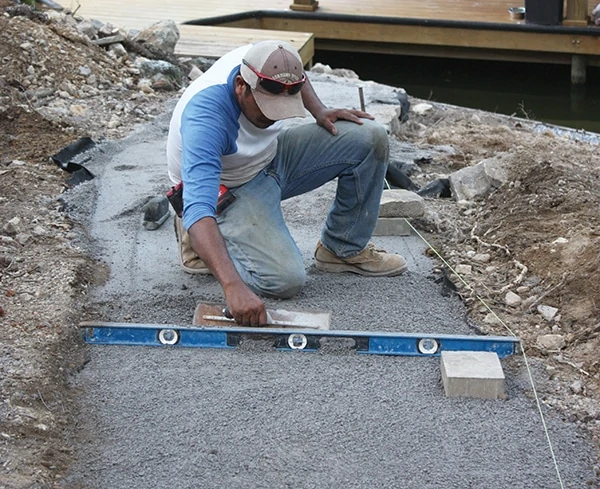
After the patio site is graded flat, a vibrating plate compactor is used to tamp down the soil thoroughly. Proper compaction is absolutely critical to a patio project, and a compactor is used at various phases throughout construction—to compact the soil, to compact the gravel base, and finally on top of the patio surface to ensure the pavers are firmly set in the base.
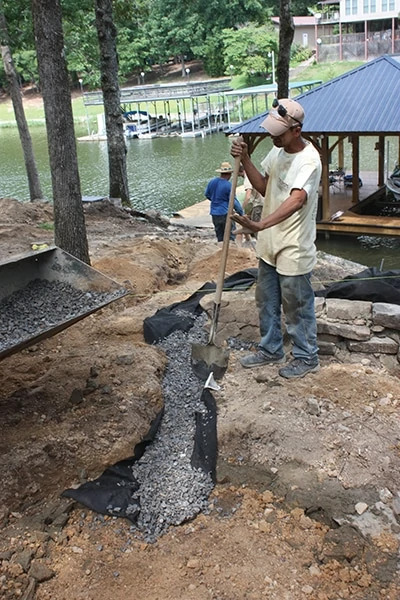
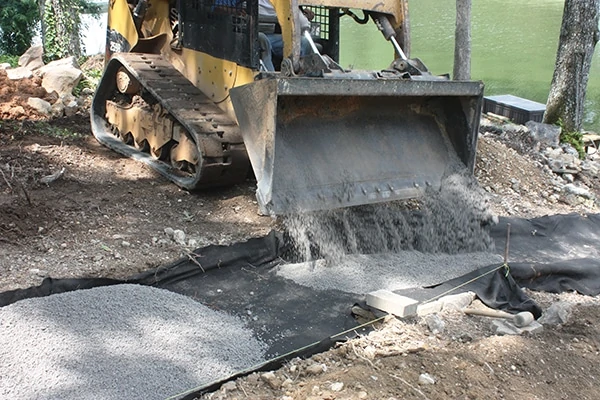
Base Layer
The compacted earth is covered with a base layer of crushed rock. The rock is spread on the site and then firmly compacted. As a general rule, patio pavers require at least 4 inches of compacted crushed stone as a base (for pedestrian use) and up to 8 inches for climates where ice-heaving is a problem. The patio site must be excavated enough to include the depth of the crusher-run gravel and the paver itself on top. When installed and compacted, the paver should be just above the top of the ground. On this site, a lot of gravel was used and compacted down to about 5-6 inches deep.

Note: For some patios, a sand bed is recommended over the crushed rock, but we don’t see this method employed much on pro jobs in the South. However, a sand bed may help a DIY’er achieve an even patio floor installation, because the sand can be screeded perfectly smooth before applying the pavers.
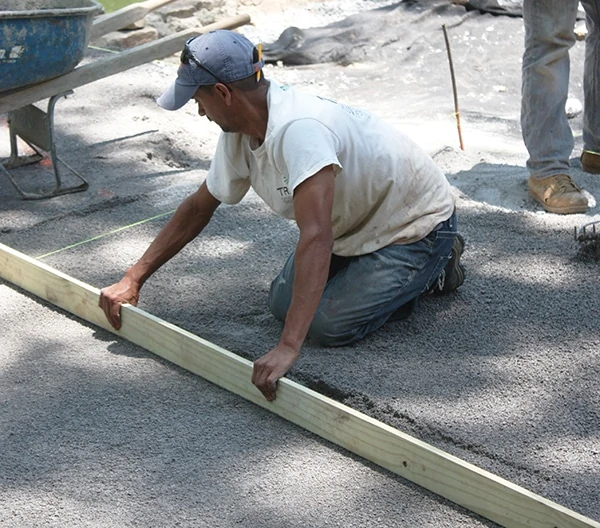
In the case of the patio shown, the crushed rock was thoroughly compacted, screeded flat, compacted again, and then re-screeded. This ensures a firm, flat base to lay the pavers.
Paver Installation
Although paver patios are often touted as DIY-friendly projects, people often overlook some of the logistical challenges involved with moving materials. Concrete pavers are very heavy, and if they aren’t delivered right to the spot where you need them, then you’ll have to transport them. And a pallet full of pavers doesn’t move easily. The construction crew used a skid steer with a Forklift blade.
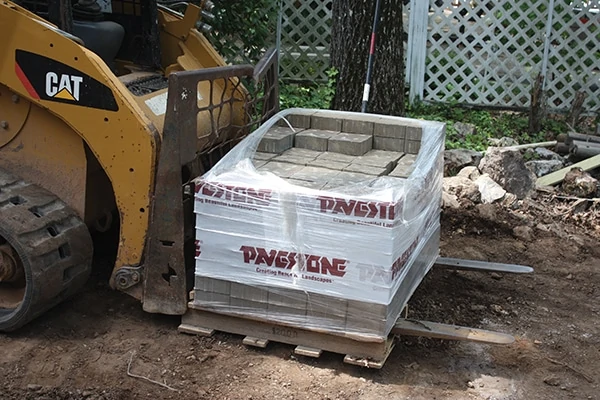
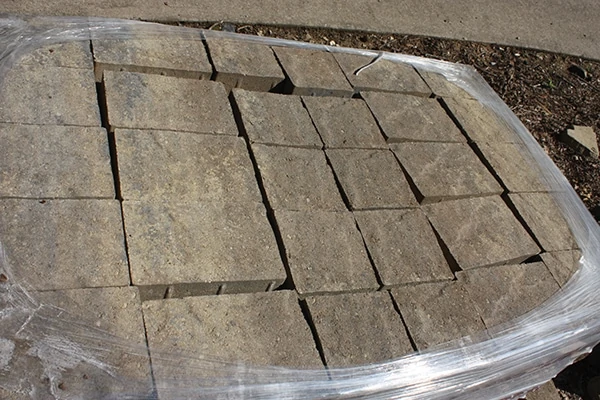
The pavers were manufactured by Pavestone, a Quikrete company. The Gillikins chose the company’s Venetian series in the River Blend color tone. As described by Pavestone, “The Venetian series creates dramatic and dynamic interaction with sunlight through its cleft and chamferless surfaces, which evoke the timeless appeal of cut flagstone.” These handsome pavers are made of durable concrete with iron oxide pigments that won’t fade with extended UV exposure. The joints and surfaces are designed to create a natural look and minimize furniture wobble.
Keep in mind that the brick pattern and patio shape will impact how many bricks will need to be cut. Although a curved patio has a less formal appearance than a square one, the rectangular pavers will need to be cut to follow the curve of the border. The choice of brick pattern can also minimize cutting. A basket weave pattern is ideal because full pavers can be used throughout a square or rectangular shaped patio. Using a running bond or 90-degree herringbone in rectangular areas will only require half-cuts. A wet saw (or a brick set) can be used to cut the pavers.
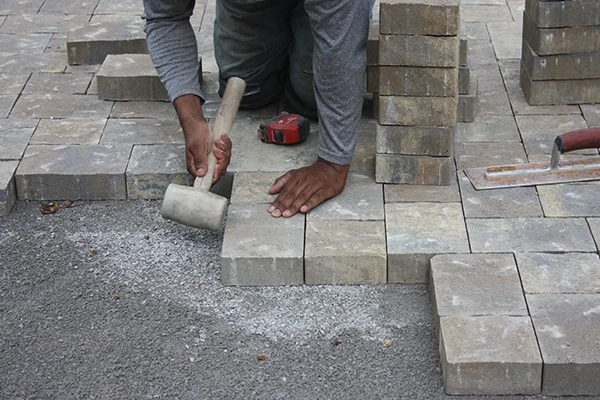
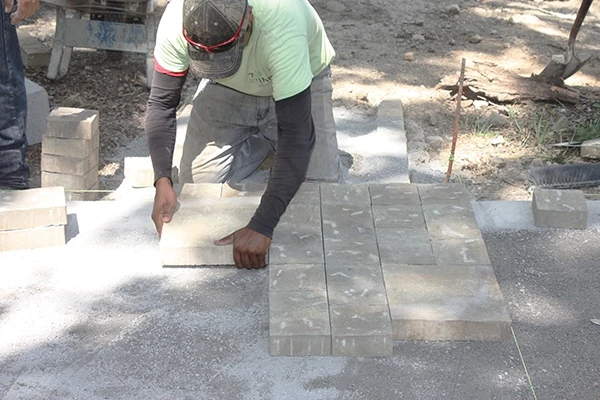
This project used pavers of three different sizes. The pattern incorporated a seemingly random recurrence of large accent stones. The installers carefully level the pavers as they proceed, checking them left-to-right and front-to-back in order to keep the patio in the same plane, but maintain the consistent drainage slope. A rubber mallet can be used to set the pavers firmly in the base.
The paver surface should be compacted when complete.
Edging
The edges of a patio should be anchored in place to resist movement and retain the field pavers. The pavers should be recessed below grade with the surface just above ground level. In some cases, it may be necessary to build up the earth around them and compact it into a substantial berm that frames the edge pavers and gradually tapers into the surrounding ground.

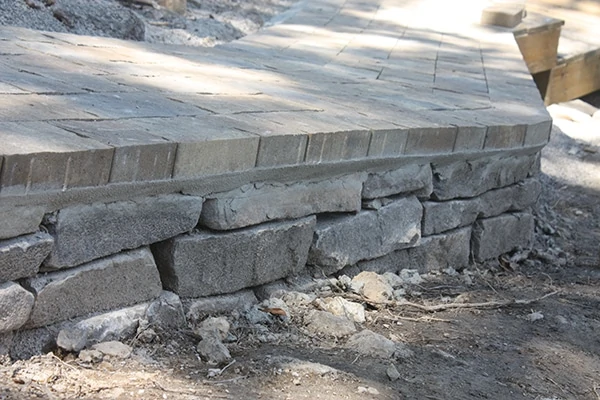
Patio edges that remain above ground (to overcome sloped grades) are constructed over a short, mortared wall (built of block or stone with its first course recessed below grade). In this case, the edge pavers can be mortared onto the wall as a final course.
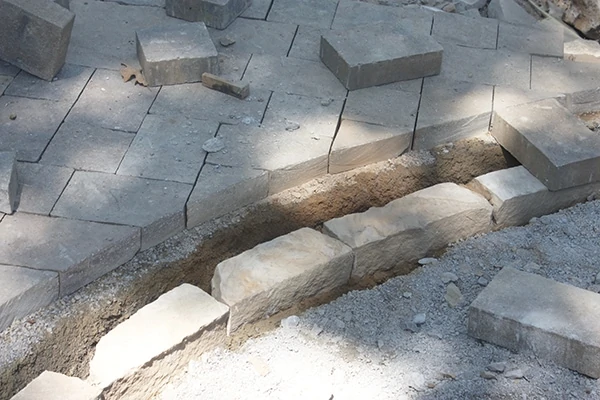
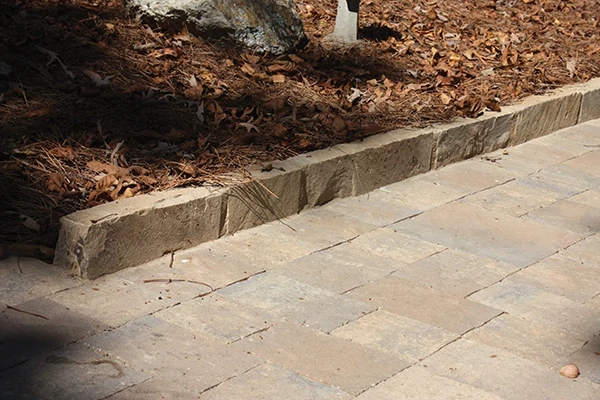
The edging can simply be comprised of the outer row of field pavers, a contrasting pattern of field pavers, or made of a different block or stone altogether. Three edges of this patio were made of field pavers, but the side facing the uphill slope was finished with a row of taller edge pavers, installed to help divert runoff from the new patio surface.
Joint sand is the key to providing interlock between pavers and providing cushion between them that prevents paver-to-paver contact and chipping. The sand joint between pavers should be between 1/16 and 3/16 inch. Concrete sand that has coarse and angular particles is recommended over masonry sand, which has rounder, finer particles. The joints need to be completely full of sand to function properly and promote interlock in the system.
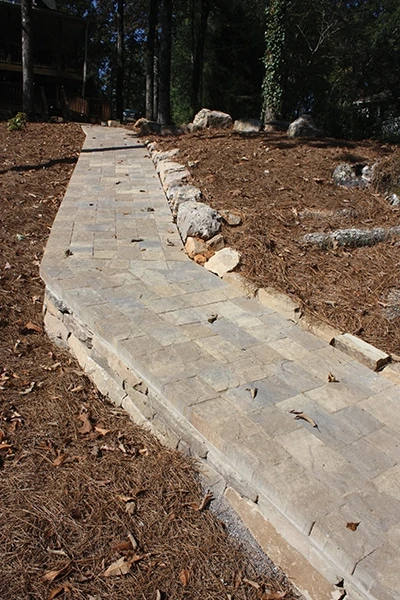
Walkways
The paver walking paths were constructed in the same manner as the patios, but the ground beneath pitched away in different directions, which first required construction of a small drystack stone wall to retain the gravel base. The outer courses of the sidewalk pavers were mortared in place atop the drystack walls.
Embellishments
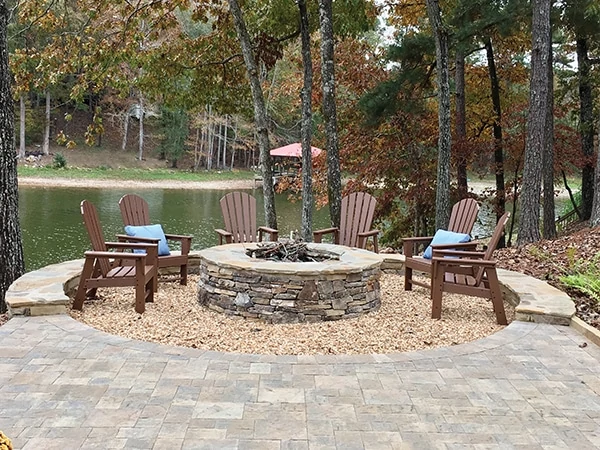
The standout feature of the Gillikin patio is a huge, stone fire pit, which deserves its own story of construction. Landscaping was another major aspect of the design, with the goal to blend the new installation with the scenic outdoor environment. To make this connection, Trimm incorporated natural stone unearthed on site as well as hand-picked stones selected locally to maintain the natural theme throughout. By surrounding the pavers with boulders, ferns and shrubs that decorate a ground-cover of thick pine straw, the new patio looked like it “grew there.” And that was the goal.
For more information on Pavestone patio and landscape products, visit www.pavestone.com.
