You can’t overstate the importance of reliable fasteners, and that’s why industry leaders routinely upgrade their product lines to make them stronger, easier to use, and more rust-resistant than ever. Here’s a look at some new and improved products that help hold the world together.
Innovations from U2 Fasteners
When it comes to construction and decking screws, the EHT team has virtually abandoned the old Phillip’s head type of fastener because of their tendency to slip, strip or “cam out” while driving them. When we go to work, we prefer the star-drive heads, because the driver bit sinks snugly into the recess of the screw head and holds tight when you pull the trigger.
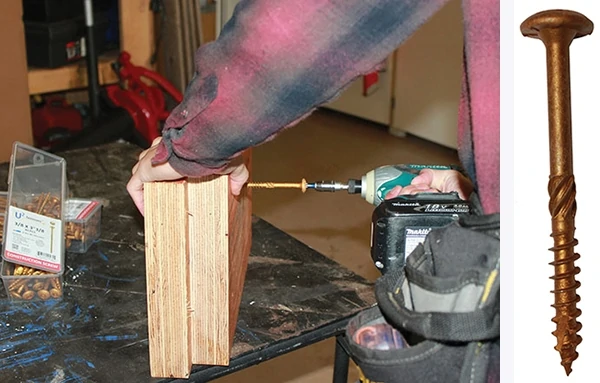
Leading the pack of these star-drive screws is U2 Fasteners, which feature a Tight Star Recess system designed to grasp the star-drive U-Bits so tightly that they can be installed with one hand. U2 Fastener’s Universal Screw is like a “deck screw on steroids”—a countersink fastener that allows the head to sit flush or below the surface of the surrounding materials for applications including decking, framing, subfloors, fencing, lattice, shelving and more.
New to the U2 Fastener lineup are the code-compliant Construction Structural Screws designed for joining multi-ply LVL, LSL and PSL. The new sizes range from 3-3/8 to 6-3/4 inches. The U2 Construction Screw is the next generation of fasteners that are replacing lag screws (structural and ACQ-treated lumber code-compliant in IAPMO report ER-454). The screw’s Dome Head enhances its structural capability. The Tapper Point consists of the Cork Screw Start and Blade Cutting Thread for easy piercing to alleviate strain on the material. Underneath the screwhead, the Talon Grip holds the screw tight to prevent loosening and uses its nibs to dig into the material when countersunk. Below the smooth shank is the Reamer Thread, which enlarges the hole in the material to create a larger passage when drawing materials together and reduces tension on the screw head.
The U2 Construction Screw is available in lengths from 1-1/2 to 20 in. made of hardened steel, and in lengths from 2-1/2 to 6 in. made of 316 Grade Stainless Steel. To see the full lineup, visit www.u2fasteners.com.
Pocket Master Face Frame Screw
Pocket-screws can make strong woodworking joints, preferred by many pro carpenters for their reliability and by DIY’ers for their ease of use. Pocket-hole joinery relies on a two-step process. First, use a special “stepped” drill bit to drill the pocket hole. The bit has a 1/2-in. diameter shank to countersink the screw head, but also features a narrower tip that drills a pilot for the shaft of the screw. This initial pocket hole is drilled at an offset angle with the help of a special jig. The user clamps the jig onto the edge of a board and drills through the jig’s guide holes, which hold the bit at a precise angle and depth. Drill the holes, add wood glue along the mating edges of the boards, reassemble, and then drive in the pocket screws to secure the joint. Pocket screws provide a handy way to assemble furniture, build shelves, make face frames and more.
Traditionally, pocket-screw manufacturers offer a fine-thread screw for hardwoods and a coarse-thread screw for soft woods. Some even had a Hi-Lo thread in stock for medium-density woods like cherry and poplar. New from Pan American Screw, the Pocket Master Face Frame Screw is a single pocket screw for any type of material. It is a patent-pending product that incorporates the patented Lo-Root thread design with an extra-long Type-17 cutting point that practically eliminates splitting and cracking in hardwood frames. The coarse thread style works equally well in softer materials. It has a fillister style head to offer the best clamping strength on the market and has a genuine #2 Robertson square recess to eliminate driver bit slippage. Several large cabinet manufacturers in the United States have already switched to the new Pocket Master fastener because it greatly reduces splitting and cracking of their hardwood frames, while increasing holding power and speeding up their assembly times. Visit www.panamericanscrew.com.
Sure Hold Fascia Board Screw
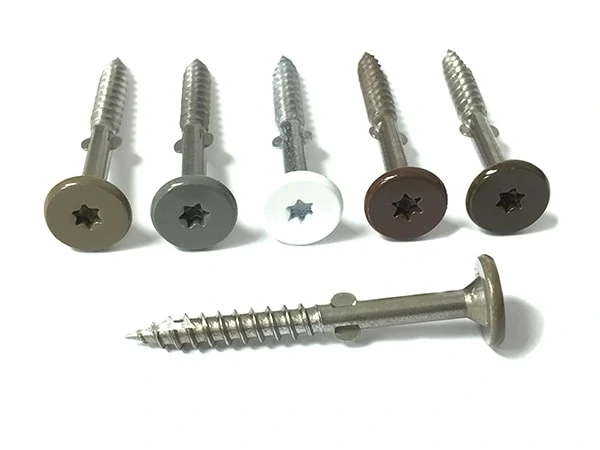
Sure Drive USA has launched a new composite fascia board screw that installs without the need for an expensive countersink bit. The Sure Hold fascia board screw has wings that auger through the fascia and trim board, creating an oversized hole. The oversized pilot hole allows for the expansion and contraction movement and keeps fascia board panels straight. No pre-drilling is required. The Sure Hold screw has a self-starting Type-17 auger tip that eliminates splitting and starts faster.
The oversized flat top head covers the oversized pilot hole and comes in a variety of colors. Mahogany, Earthtone, Graystone, Ipe and White painted heads are available to match your composite fascia board project. Made from strong 410 grade coated stainless steel, these screws will hold up to a variety of extreme weather conditions. The recommended installation spacing is to install a minimum of two screws vertically at the end of the board then alternate in a zigzag pattern and install a screw every 12 inches, then finish with two screws at the end of the board. Visit www.suredrive.com.
LignoLoc Wooden Nails
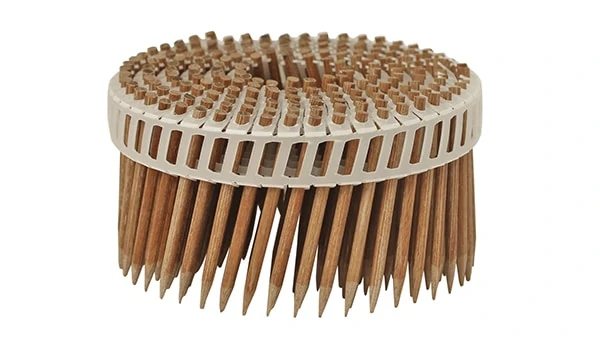
LignoLoc nails from Beck Fastener Group are the first collated nails made of wood.
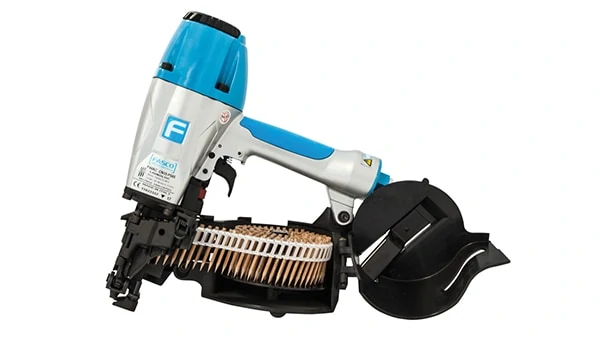
The wooden nails are made from beech wood and boast a tensile strength similar to aluminum nails. Their mechanical properties allow the nails to be driven into solid structural timber with the FASCO LignoLoc pneumatic nailer, without any pre-drilling, to form an inseparable bond with the timber. The special design of the LignoLoc nail tip and the large amount of heat generated by friction when the nail is driven cause the lignin of the wooden nail to weld with the surrounding wood to form a substance-to-substance bond. The process allows hardly any water absorption, so there’s no expansion, they’re resistant to fungal infestation, leave no streaking or bleeding on the wood, and the wooden nails are more environmentally friendly than metal fasteners. They also eliminate thermal bridges for better insulation values. Suitable applications include interior timber cladding, timber façades, wooden fences, wooden furniture, sauna building, boat building and more. Visit www.beck-lignoloc.com.
Deck-Drive DCU Screw Plug Solution
Simpson Strong-Tie has introduced the Deck-Drive DCU screw plug solution, a complete hidden deck-fastening system comprised of the Simpson Strong-Tie premium DCU Composite screw, the DCU screw plug and an Auto-Set Driver bit (each sold separately). Ideal for decking and trim applications using composite or PVC lumber, the DCU screw plug solution offers a simple way to cover exposed fastener heads that’s as easy as drive it, plug it, and tap it flush. With the deck plug solution, screw heads are invisible, creating a smooth, professional finish.
Made from major composite and PVC board manufacturers’ materials in a variety of colors and finishes to match deck and trim boards, DCU screw plugs work well with hand-drive applications, as well as with the Quik Drive PRO300S auto-feed screw driving system. The Auto-Set Driver bit features a non-abrasive depth stop to automatically countersink screws for inserting the plugs, which are easily secured in place with the gentle tap of a hammer.
Simpson Strong-Tie is packaging the screws and plugs separately from the 39 different composite and PVC lumber colors and finishes currently available. Visit strongtie.com.
Side Note One
Working with Sleeve Anchors
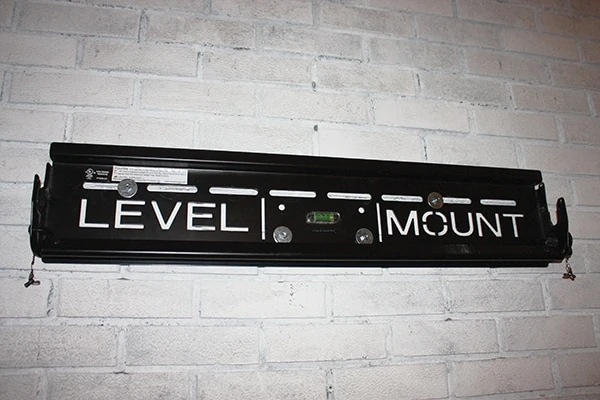
A brick wall requires different fasteners than a stud wall. Although concrete screws work well for many masonry applications, when it came to mounting a wall bracket for a large television on a recent job, we went with the strength of Sleeve Anchors. These threaded steel fasteners basically consist of a round-head bolt covered with a zinc-coated sleeve that expands inside the wall for a secure hold. Use them for fastening into concrete, hollow block, grout-filled block and brick. They’re ideal for fastening hand rails, window frames, partitions and more.
To use a sleeve anchor in a brick wall:
First, mark the fastener location in a mortar joint.
Next, select a masonry drill bit with the same diameter as the sleeve anchor (often included with the anchor).
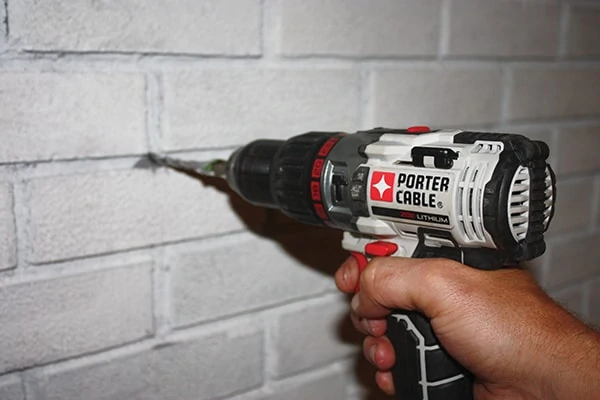
Use the masonry bit and a hammer-dill to drill the pilot hole. If using multiple anchors for the application, drill all the pilot holes.
Thread the nut (supplied) on the end of the sleeve anchor so it sits flush with the end of the bolt.
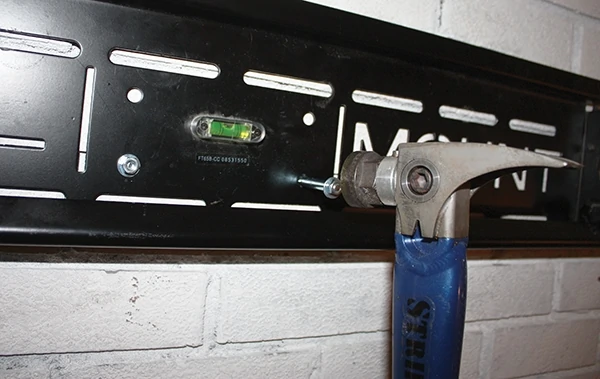
Position the item to be mounted (TV bracket, in this case), and use a hammer to drive the sleeve-covered anchor into the pilot hole up to the nut collar.
Use a wrench to tighten the nut, which draws the bolt through the sleeve and causes it to expand and tighten against the surrounding mortar, brick or concrete for a very tight hold.
Side Note Two
Mounting with Cleats
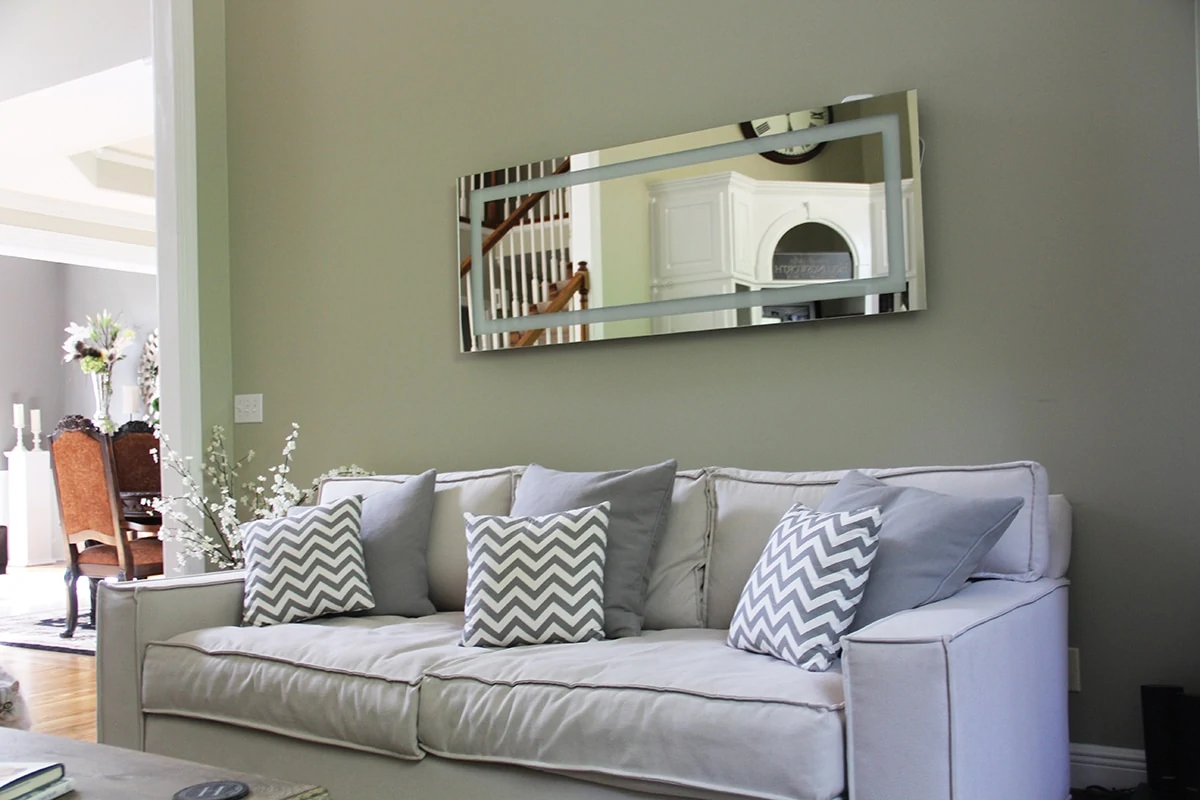
A French cleat is way of fastening a mirror, cabinet or artwork to a wall. A traditional French cleat is a wood molding with a 30- to 45-degree slope that hooks onto a supplementary piece of molding on the wall to hang cabinets or other objects.
These days, similar cleats are available in metal versions. The cleats can be used in pairs, and the wall side of a cleat can be mounted securely without having to hold the full weight of the item you’re securing. Once the cleat is secured to the wall, the cabinet can be simply lifted onto it. Because no fine maneuvering is required, even a relatively heavy item can be hung easily this way. The mirror, cabinet or artwork can then be shifted left and right slightly after it is hung, for perfect positioning. The bottom of the cabinet can be secured to the wall to be sure that it will not get pushed off the cleat while in use.
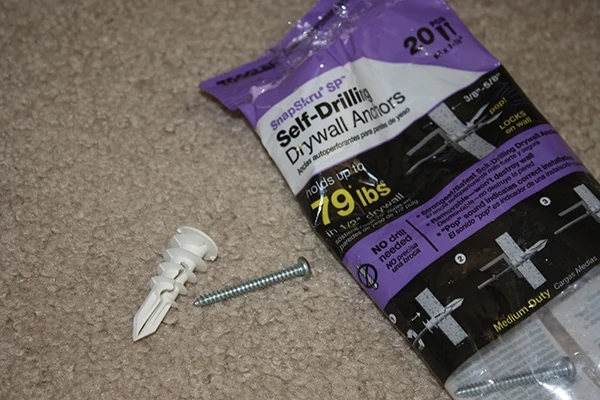
We recommend that at least one of the two fasteners you use for each mounting cleat be securely driven into a wall stud. When fastening into drywall alone, we recommend using plastic self-drilling wall anchors (rated for 79 lbs. each), because when a screw is driven into it, the rear of the anchor spreads on the back of the drywall to lock the screw against the wall.
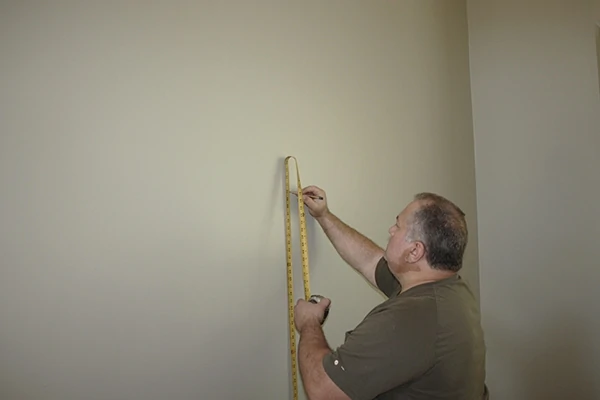
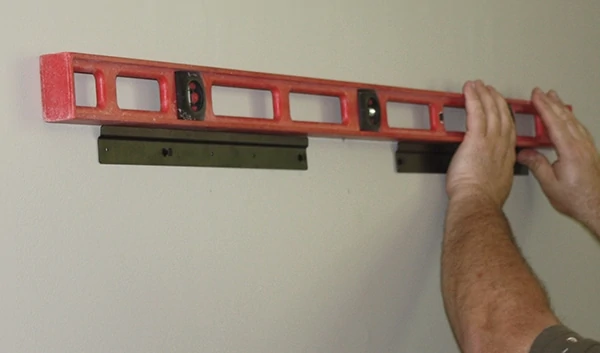
Determine your mounting height and mark the fastener holes. Carefully level the series of fastener holes that will hold the cleat(s) to the wall. Make sure at least one fastener for each cleat will be mounted into solid framing.
When fastening into drywall with no stud, we recommend using drywall anchors rated for 79 lbs. each.
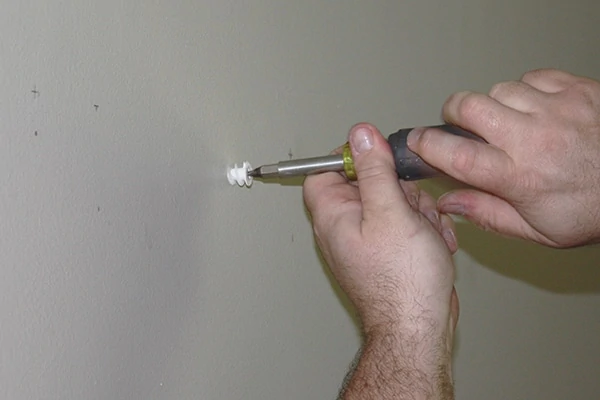
The plastic drywall anchors are self-drilling, so there is no need for a pilot hole.
Drive screws though the cleat and into the wall studs and drywall anchors.
If using two cleats, double-check that they’re aligned even and level, and make sure they’re spaced correctly to hook the cleats on the back of the mirror.
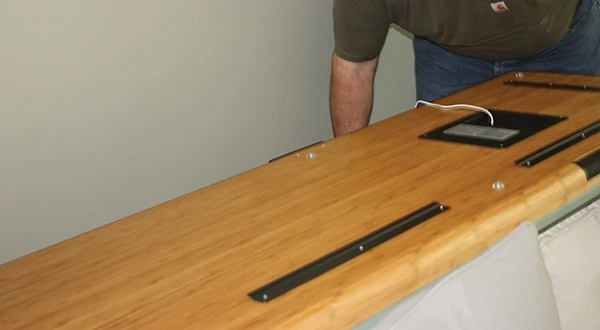
Shown here are the mirror cleats that will hook onto the wall cleats.
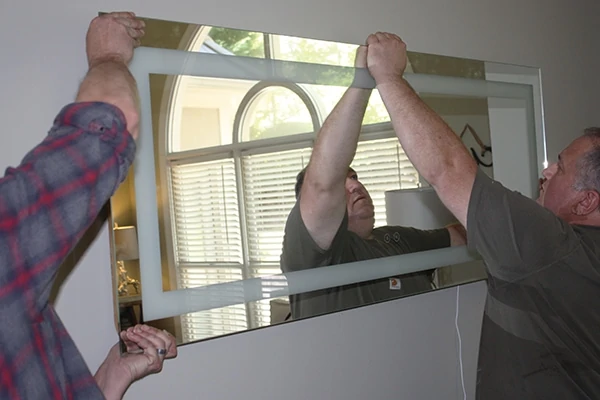
Recruit a helper when lifting the mirror into place. Make final adjustments to the left and right for the perfect position.


