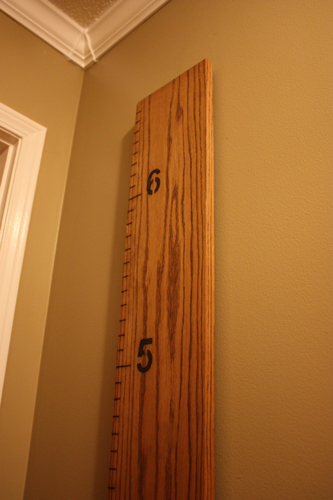
As a Christmas gift to my wife, I made a growth chart for our son. It’s basically an oak board that looks like a giant yardstick and is used to decorate a wall. This is a neat little project if you have young kids, but I admit it isn’t a very “extreme”. In fact it’s really easy—but not quick. If you make it the way I did, by burning the markings into the wood, then prepare to invest a few hours in the engraving process.
I custom-sized the growth chart based on the height of the wall I planned to hang it on, accounting for the size of the baseboards and crown molding. Keep in mind, the marked measurements of the board must correspond to the actual height measurements from floor to ceiling. You don’t want to design your chart to start 2″ from the floor if you have 5″ tall baseboard trim.
I decided the lowest point of my chart would be 9 inches from the floor. I terminated it at 6′ 9″, assuming my son won’t grow that tall (or that he’d lose interest in marking his progress if he did).
I used oak for the wood, expecting the hardwood to withstand the bumps and bruises it’s destined to suffer over the years.
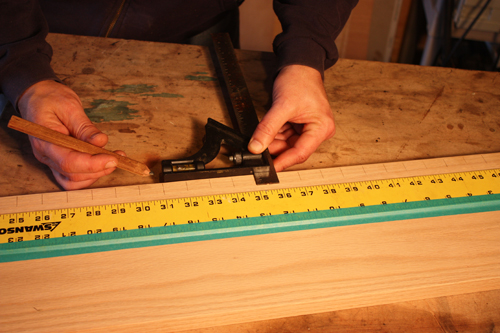
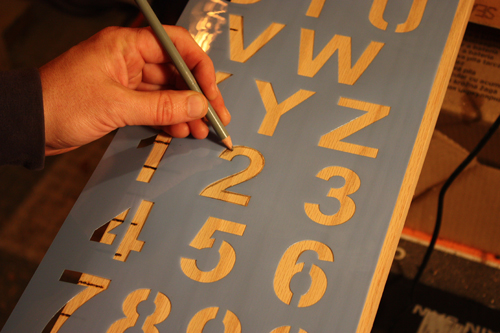
I taped down a straight-edge ruler to the board and pencil-marked each inch with a 1-1/4″ line, using a combination square to keep the lines square to the board’s edge.
An art stencil I bought at the Hobby Lobby helped me to outline the numbers marking every foot.
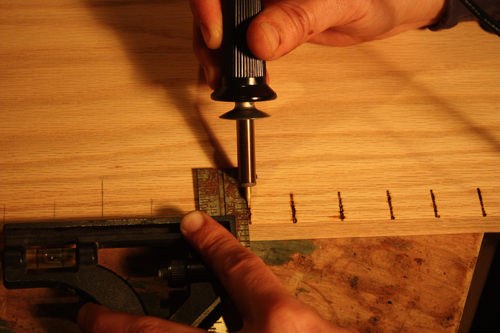
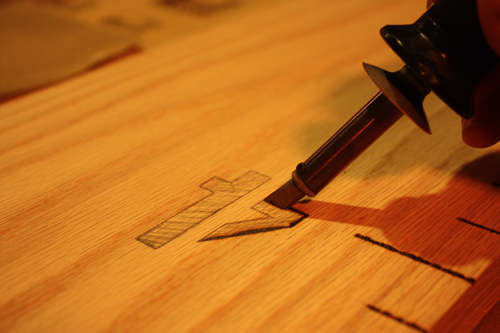
I then used an electric wood-burning kit to darken the lines and fill in the numbers. The stylus of the kit plugs in a wall outlet and heats up like a soldering iron. It comes with a few different tips for fine lines, thick lines, etc. The wood-burner cost only about $15 from Hobby Lobby.
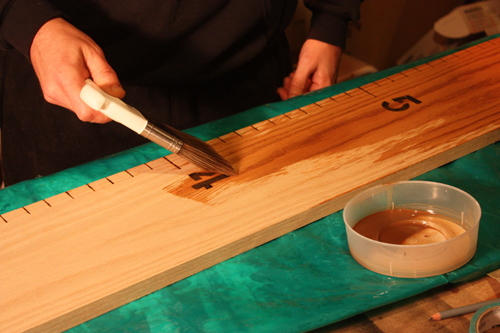
Lay on your stain/sealer of choice. I used a combination of ipswitch pine tone, followed by dark walnut. If you coat with polyurethane, I’d suggest using a matte finish so you can easily mark the board as the kids grow up.
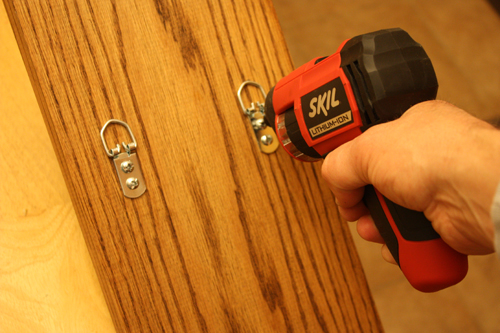
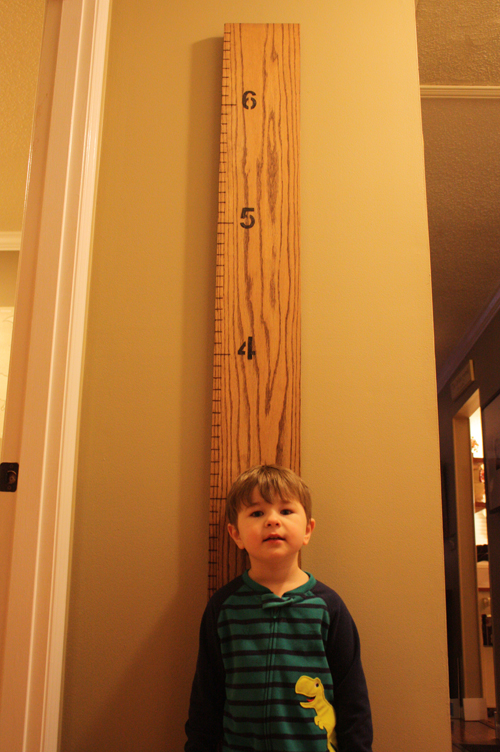
I screwed on 2 D-hook picture hangers on the back of the board to keep it hanging straight on the wall. Hang the board so its measurements align exactly with the actual height measurements from floor to ceiling.
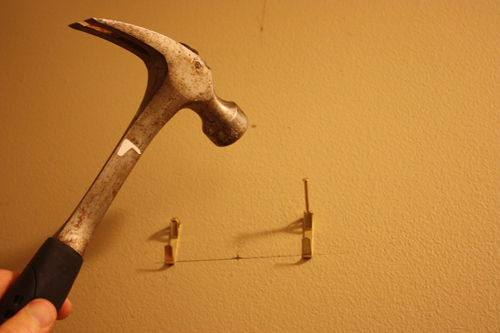
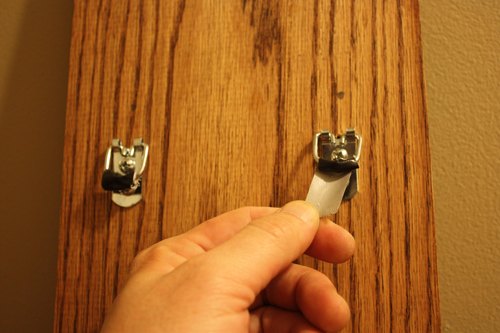
With such a long, narrow wall hanging, the slightest discrepancy in the placement of the picture hooks makes it easy to see how out-of-plumb the board hangs on the wall. To fine-tune the hanging, I cheated. I wrapped thin strips of duct tape around the D-hooks to serve as “shims”, adjusting the way they the hooks were seated into the picture hangers until the board was perfectly plumb.
And that’s all it took to complete a simple project that we plan to use for many years to come.
— M. Weber