Anyone can paint, but not everyone can paint well. Avoid these common mistakes on your next painting project.
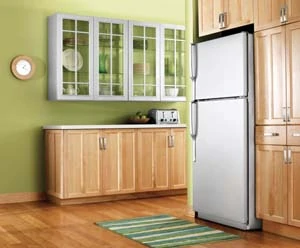
1. Tone it down. If you’re considering a bold, vivid color for a big project, think about going a couple of shades lighter. Viewing colors on a small paint swatch can give a different visual impact than seeing them on a large wall. Large surfaces tend to intensify color, and you might end up with a louder color than you intended.
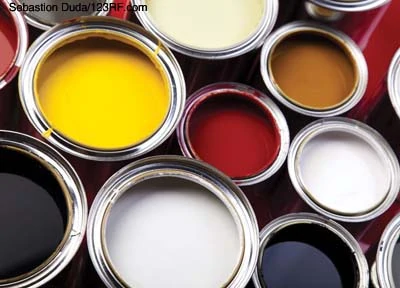
2. Don’t paint out of a can. As you paint, the brush picks up pieces of debris that inevitably make their way back into the source can. These little doo-dads cause specks and lumps in the paint. Also, the air interacting with the paint in the can will dry it prematurely. A better method is to paint from a separate container, working with a 1/2-in. pour of paint at a time, which will encourage you to refresh the paint often, keeping it in a workable fluid state. Plus, carrying a smaller, lighter container is more manageable than a paint can, which should be used only for storage.
3. Store it correctly. Since air is the drying agent of paint, its exposure should be limited if you want to keep it performing like new. Exposure to air thickens the paint, which causes brush marks during application. Keep the can capped immediately after pouring the paint you need. When capping, blow into the container before sealing to increase its shelf life. The carbon dioxide in your breath reduces the oxygen level that causes paint to skin over.
4. For long-term storage. If a can is less than half full, transfer the excess paint to a smaller container to ensure less air exposure. Filter the paint through a paint strainer or nylon stocking when transferring. Use a plastic bag to cut a gasket 1-in. larger than the mouth of the container to help seal the paint inside. Spray cooking spray on the bottom side of the gasket and seat it between the container and lid. Gently tap the lid closed with a rubber mallet, sealing all the way around the rim. To keep full cans for long periods, store them upside down for a month, then right side up the next month, then upside down, etc. This will move the paint’s pigment back and forth and keep it from settling out.
5. Don’t rush the prep work. Prior to priming or painting, check all surfaces for defects with a strong flashlight held from the side. Rough spots and imperfections will be made clearly visible by the angled light so you can sand or patch them before applying a new coat. You’ll be glad you took the time, because otherwise those perfections will show up distinctly once the new paint is on.
6. Avoid painting with a worn roller. When the roller cover deteriorates, roller material will tear free and become embedded in the new paint. This will cost you lost productivity as you clean the debris from the paint and re-coat the area. Or worse, you could miss the debris and it could dry into the new coat of paint. Make sure to have replacement covers handy and keep the roller saturated with paint while you work.
7. Roll it the right way. When used correctly, a roller is a great tool for laying on a lot of paint in a little time. Hold the roller with the open end pointing toward the direction you’re painting. This will keep the cover from slipping off the frame. Paint with three strokes. Starting at the bottom, the first stroke is a long, continuous upward motion to unload the paint. The second stroke is downward to set the paint on the wall surface. The third stroke is upward to smooth the paint. As you begin the third stroke, twist the roller slightly in the direction you are painting. The twist puts extra pressure on the leading end of the roller to deliver maximum paint where it’s most needed while simultaneously alleviating pressure on the back end, which helps eliminate ridges in the finish from excess paint. Work across the wall in sections of three or four roller widths at a time.

8. Keep in mind that sometimes painting is a one-way street. For example, one of the EHT project houses had an acoustic “popcorn” ceiling that was coated in oil paint. Since the oil coating was water-resistant, the popcorn texture could no longer be easily melted and removed with water when the homeowners wanted to change the look of the ceiling.
9. Painting over new galvanized metal is a common a problem. If possible, allow the metal weather for a year or treat it with a metal primer/prepping agent. Avoid using solvent-borne paints (such as oil-based paints, varnishes or urethanes), which will turn into soap on a galvanized surface and lose adhesion. Use an acrylic or vinyl acrylic paint instead.
10. Be careful with your masking tape. When applying the tape, use a putty knife or 5-in-1 tool to burnish it to the surface you are masking for the best seal. And always remove the tape immediately after you’ve finished painting. This helps prevent paint from bridging over the tape and peeling when you remove it. When latex paint begins to dry, it becomes rubbery and has a tendency to pull, which could mess up the crisp lines of the masking and defeat the purpose of the tape.
11. Use the right sheen in the right room. Flat paints conceal imperfections in walls and other surfaces, making them a good choice for ceilings and rooms that aren’t exposed to moisture or heavy soiling (bedrooms, home offices, living rooms). High-gloss paints tend to highlight imperfections in walls and woodwork, but they are durable and stain-resistant—and much easier to clean than paints with less gloss. High-gloss sheen is ideal for windows, baseboards, mouldings and playrooms. Paints with semi-gloss sheen are a smart compromise between the two sheen extremes, providing some of the benefits of each. They can be used on the walls and cabinets of kitchens and baths. Additional sheens include eggshell and satin, which are less shiny than semi-gloss paints so they won’t highlight nicks and imperfections quite as much, but since they have a little gloss, they’ll be easier to clean than flat paints.
12. Solvent cleaners can be tough on sensitive surfaces. To clean solvent-borne paints off your hands, try ordinary salad oil. Salad oil will take off the paint without irritating your skin like other solvents. It also can help you remove solvent-borne paint spilled on wood finishes that are sensitive to other solvents.

Other Related Painting Articles


