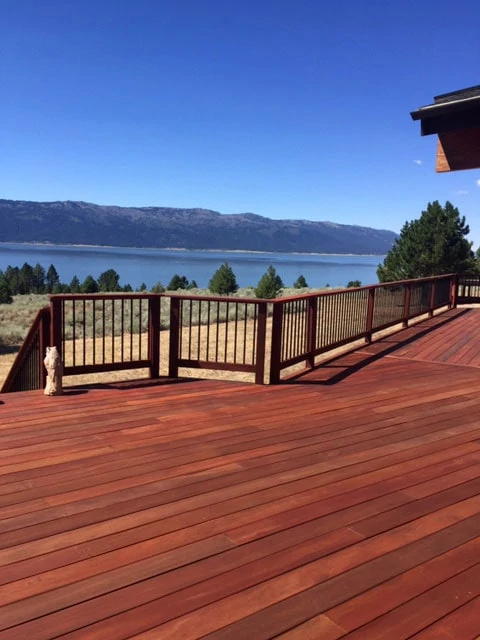
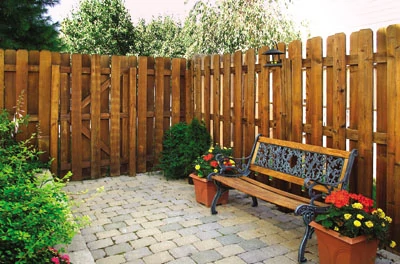
Long, hot summers and cold, rainy winters can give exterior wood a heavy dose of weather damage. This includes your wood deck, as well as any fences, gates, trellises, sunshades or other structures made of wood. Moisture intrusion, hot and cold cycles, and even the ultraviolet rays of the sun can contribute to an ugly wood surface that can be repaired and maintained with a little work and the right products. Not only will a wood-finish overhaul eliminate much of the damage already done, it will protect against further damage down the road. For more information on wood stain applications, visit Armstrong Clark.
Deep Outdoor Cleaning
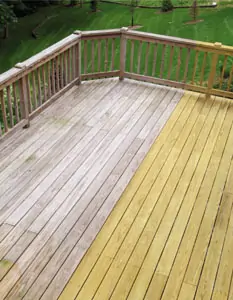
First step is to clean the surface of the wood. Accumulated dirt, icky green fungus and old, grayed wood surface can be removed with a long-handled brush and a formulated deck cleaner. There are many brands available on the market, and some popular choices include deck cleaners from Wolman and Thompson’s. It’s a good idea to give your deck a good cleaning once a year, because accumulated stains from rust, mildew, moss and algae can lay waste to the look of your deck. If the deck is not maintained, these elements can really sink their teeth into the wood grain. In some cases, only pressure-washing will be able to remove heavily stained decks, but then the surface of the deck will be left rough and splintery by the high-powered water. When it comes to maintaining exterior wood, an ounce of prevention is indeed worth a pound of cure. Formulated deck-cleaning agents can remove ground-in dirt, gray wood and tough stains without bleaching or yellowing the natural beauty of the wood, as chlorine bleach can. Newly constructed decks may also require treating with a cleaning agent to remove invisible surface barriers that prevent adhesion of stains and sealers.

Strip it Away
Next step is to remove any deteriorating or unwanted wood finish. If the colored stain on the wood has faded into a pale excuse for what it once was, it’s time to strip away the old and bring on the new. Products such as Wolman’s DeckStrip Stain and Finish Remover remove both oil- and latex-based solid or tinted stains and clear finishes. Deck-stripping agents also ready the wood for application of new stains and protective finishes. For really stubborn, hard-to-strip acrylic or latex paints or stains, Wolman makes a powerful product called DeckStrip A&L that can remove multiple layers in as little as 15 minutes.
All caustic stripping chemicals must be neutralized thoroughly. Rinse the surface thoroughly. Before staining, the wood must dry completely for 48 hours or more, depending on weather conditions.
Seal it Up
With all the old finish removed, it’s time to seal the wood from water intrusion — the bane of exterior wood. You may opt to apply a semi-transparent stain to enhance the wood’s appeal, or a transparent finish can preserve the natural color and texture of the wood. But regardless of stain or color choice, it’s important to protect the wood from water. Water-repelling finishes prevent rain, sleet, ice and snow from penetrating the surface of the wood. This puts a stop to moisture damage, which can cause swelling, warping and cracking. So make sure your stain or clear coat offers water-resistant properties.
On the Inside
Inside the home, you’ve got your hands full as well. Tabletops and cabinets, staircases and hardwood floors … How many of these items could use a wood-stain makeover?
Semi-transparent wood stains enhance the natural beauty of wood furniture by allowing the pattern of the wood grain to show. Most stains are limited to shades of brown or gray. But recently the options have broadened considerably, offering a full spectrum of colors such as “Wild Berry,” “Baltic Green” and the bluish “Island Water” from Minwax. And many of these new stains are water-based, making cleanup less of a challenge.
When using water-based stains, prepare the wood surface by removing any dirt or oil, and then sand with 180- or 220-grit sandpaper. Remove any dust with a cloth or vacuum. Water-based products have a tendency to raise the grain of raw wood. To minimize this, spray the surface with water or wipe it with a damp sponge before staining. Test the stain on an inconspicuous area.
For large surfaces, use a pad applicator to apply the stain.
If you’re incorporating a variety of stains or colors on furniture, it may be wise to first take the piece apart (if possible). Use painter’s masking tape to block areas from unwanted stain.
Once the stain has dried, seal it with a water-based finish, which will intensify the stain’s color. Buff the surface with a very fine abrasive pad or 20-grit sandpaper. Then apply a clear topcoat. Sand between coats for a smooth finish.
With a little research and the right application, today’s staining options can preserve the look of wood and protect it from the elements, both inside and outside the home.
Sources
Armstrong-Clark www.armclark.com


