By Clint C. Thomas, Esq., Photography by Shellye Thomas
Save money and resources with a little DIY carpentry.
I recently completed the renovation of a small bedroom whose final embellishments had been put off for many years. The last two steps in the completion process were the installation of crown moulding on the ceiling and quarter-round moulding along the floor. I originally went to my local box store with the intention of purchasing both the crown and quarter-round at the same time, but quickly abandoned this idea when I saw the price of the crown. Thanks to my beautiful wife’s encouragement we shopped around at another box store and got a really good deal on a contractor’s pro-pack of crown moulding for about half of what the first box store was charging for the same product.
While we were comparing prices on the crown, I also priced pieces of quarter-round. I discovered that quarter-round, sometimes confused with “shoe-moulding,” which is not as thick in depth as quarter-round, was running about fifty cents per linear foot. For my project I needed a minimum of 30 linear feet of quarter-round. This would have cost me $15 plus $1.50 in tax. So, after finding the crown moulding that we needed for half price, my wife and I stood in the aisle looking at all of the trim work on display and tried to concoct more ways to save money. It did not take long for me to decide to mill my own quarter-round and avoid that expense completely. Yes, I know, I sound like Ebenezer Scrooge telling Cratchet to stoke the fire instead of adding coal to it. However, my money does me more good that it does the store.
In my case, I already had close to a dozen 2-by-4 studs left over from a previous project, and I love to use what I already have on hand. By having the 2-by-4’s left-over it allowed me to mill my moulding at no cost at all, unless you count the electricity that was used to run the tools.
If, however, it is necessary to purchase an 8-ft. 2-by-4 stud to make the moulding, the current cost in my area for this size piece of lumber is about $2.36.
I used a large diameter 3/4-in. round-over bit to make my quarter-round, which allowed me to produce three, 8-ft. long pieces out of each stud. Those three pieces total twenty-four linear feet. When the $2.36 cost of a stud is divided by 24 linear feet, this works out to less than 10 cents per linear foot compared to $0.50 per linear foot for professionally milled moulding. If I had used a smaller round-over bit, then I probably could have pulled four pieces of quarter-round out of each stud, thereby decreasing the cost per linear foot that much more.
DIY Milling
The first step in the milling process is to set up your router table if you have one, and if not, you can free-hand the round-over edge and achieve the same result albeit with a little bit more work. I already had a Freud round-over bit that I had purchased for another project.
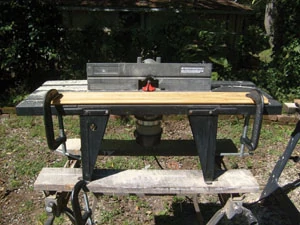
Once you have your router set up, it’s smart to run a test piece through it to see how the edge looks. This will help you decide whether or not you need to adjust the height of the router bit up or down.
After the router table is set up, run one side of a 2×4 through the table. In fact, I usually make a couple of passes to ensure a smooth finish on the millwork. This is especially necessary if you are using a large bit like I did. The bigger the bit, the more wood that it takes off, and this usually requires several passes to achieve a smooth finish. With the first side of the stud rounded, rotate the stud 180 degrees and round-over the other side.

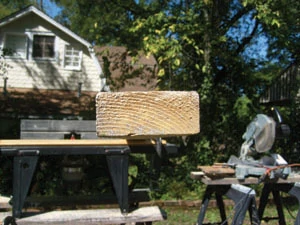
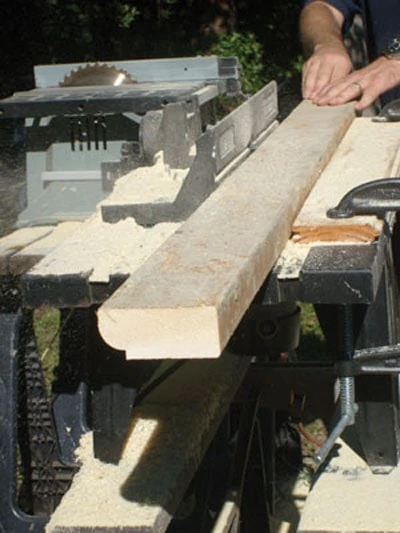
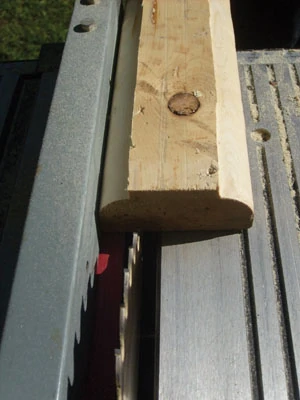
The next step in the process is to run the 2×4 through a table saw to cut off the pieces that will be the quarter-round. This should be repeated for both sides of the stud so you end up with two pieces of moulding and a square piece of stock left over that you will use for the third piece.
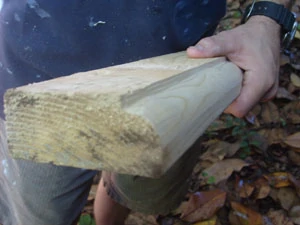
This sounds very simple; however, it took me about half an hour of experimenting to perfect my technique. The first problem I encountered was that the blade on a table saw usually eats up nearly 1/4 in. of whatever it’s cutting into. Trying to align the blade at the exact edge of the top of the curve of the quarter-round without the blade eating into the curve or leaving too much waste on the backside, took a lot of trial and error. I finally determined that if I set my fence so it was 24mm from the blade (the measuring strip on my bench saw is in 1/4-in. intervals and, in this case, the metric measurements were more exact), that it would take off just what was needed and leave a very thin strip of waste along the top edge of the quarter-round.
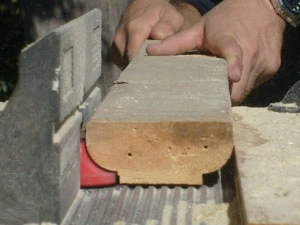
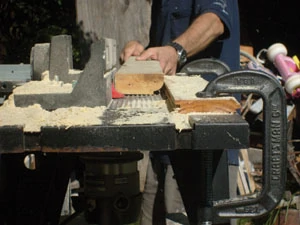
The second problem was the difficulty in holding an 8-ft. long piece of lumber straight and steady while pushing it through a saw. It helps tremendously to have a feather board or some other type of guide to help hold the stock secure.
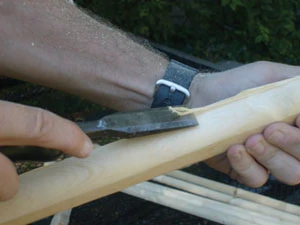
I was able to easily remove the piece of waste with a wood chisel by simply sliding my chisel down the length of the new moulding. Any reasonably sharp chisel will do this job, and if a stubborn spot is encountered then it can be broken off by hand by pressing it toward the back of the piece moulding and then cleaning it up with a chisel.
At this point, the two pieces of quarter-round should be the proper dimensions on the back, top and curve of each piece. The final part of this process is to make one last cut on the table saw to reduce the height of the new moulding. I did this by leaving my fence set at 24mm and placing the newly milled stock on its back on top of the table saw so that the curved portion of the trim work was pointing toward the fence. This remaining cut eliminated some of the height of the piece of moulding and ensured that the base of the moulding measured the same 24mm as the height. In other words, the new quarter-round was formed by a right angle that was 24mm along both of its axes.
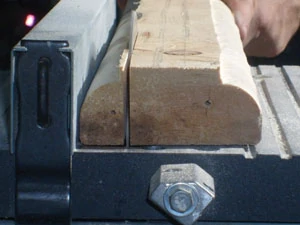
I repeated these same steps for the third piece of moulding that I took out of that 2×4, and then milled a couple of other pieces from a second 2×4, all at no cost to me! I completed the process by sanding each section of moulding with a piece of 150-grit sandpaper that I too had left over from a previous job.

Many different types of moulding can be replicated at home by anyone with only the minimum amount of tools. As I said earlier, a router table came in handy on this project but it was not an absolute necessity like the router itself. I have always viewed tools and tool accessories as capital investments. Yes, there are costs to purchasing power tools and the many different accessories that one may need, but these purchases will pay years and years of dividends over the long term. For example, if you spend $1,000 this year on purchasing power tools you could easily save $10,000 the following year by using those same tools to do work that you would have normally paid someone else to do.
Our Revolutionary forefathers were a self-sufficient lot that did, made and fixed anything and everything themselves. Our society has fallen away from that mentality and now leans towards calling someone else to do things for them. However, thanks to our anemic economy, many people no longer have the extra cash to call that “someone” and are now getting back to our roots of doing it ourselves. So, my motto is, why buy it when I can make it!


