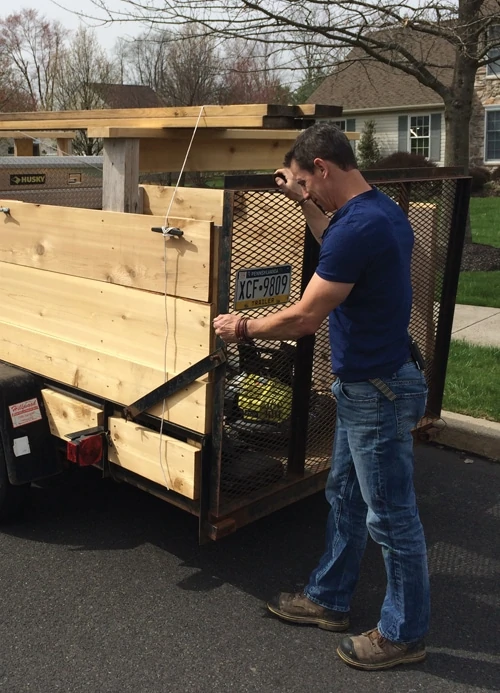
Upgrading a stripped-down utility trailer to move mulch and tow your tools.
By Mark Clement
I’m a trailer guy. Yes, a dump truck would rock for heavy haul-outs, and a big box truck would be great for storing tools and serving as a mobile workshop. But, depending on the day, the work we do may range from residential bathroom improvements to our Food Network bakery make-overs. We may also tackle a weekend DIY project like hauling mulch and a mower to a friend’s house. This variety of jobs requires the flexibility a trailer offers.
We can also leave a trailer at the jobsite and just drive the truck by itself, which isn’t possible with the aforementioned vehicles. Part FedEx, part dumpster, all workhorse, our trailer sees no end to its work … or play, for that matter. A utility trailer is a king vacation machine, too. Forget about jamming everything you own into the SUV. Put the bikes, beach blankets and Beanie Babies in the trailer and ride in style.
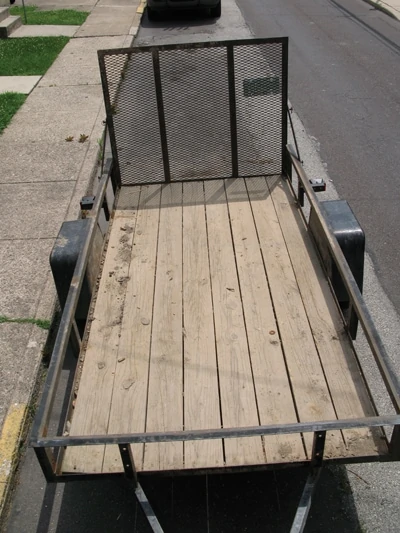
If all you have is the common 16-in. tall angle-iron trailer body, you’re limited to how much you can get in and out of a simple utility trailer. That is, unless you add to it.
Tools and Materials
Obviously, you’ll need a trailer. Mine is a 5-by-10-ft. two-wheel utility trailer. Nothing fancy, yet.
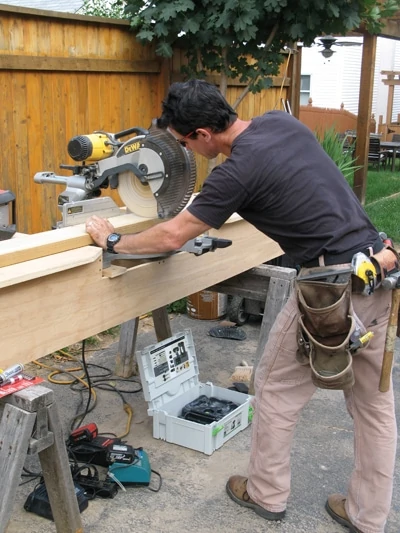
The upgrade shown in this article requires 2x material for the posts and materials racks, 1/2-by-3-in. galvanized through bolts, 3-in. deck screws, and 1x or 2x material for the walls. You’ll also need a drill and bits to drill out steel and a saw to cut stuff.
The Build
First, cut the posts or staves. My trailer walls are about 40-1/2 inches tall. It’s a great height for everything I carry. I fill in the trailer framer around the wheel wells, then stack four 2x8s for the walls. I’ve made the staves from 2×4 in the past, but I beefed them up in this build to 2×6 pressure treated pine because I knew I’d be lashing loads to the top of them. (More on that later.) Also, install the vertical staves ‘wild’ and cut them to final length later.
You’ll need to drill bolt holes through the trailer frame to mount the staves. Here’s a tip for drilling steel that makes the job easier. First, locate the hole. Next drill a pilot hole with a small (1/8-inch), very sharp bit that is designed to drill steel. Once the pilot hole is drilled, follow up with the right diameter bit, in this case 5/8-in. to accommodate a 1/2-in. bolt.
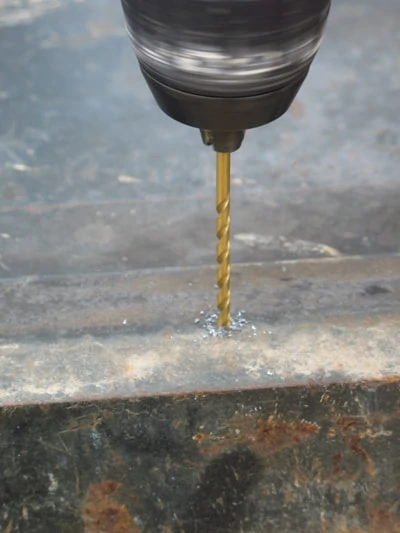
Use a drill to drill the holes, not an impact driver. Steel likes to be drilled more slowly than wood, so an impact driver might not perform well. Some people drip oil on the bit to keep it lubricated and cutting well.
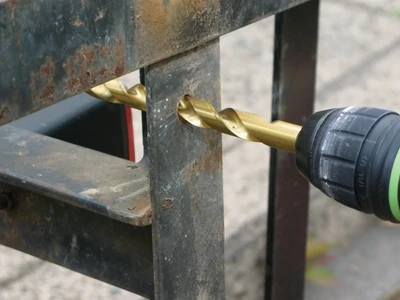
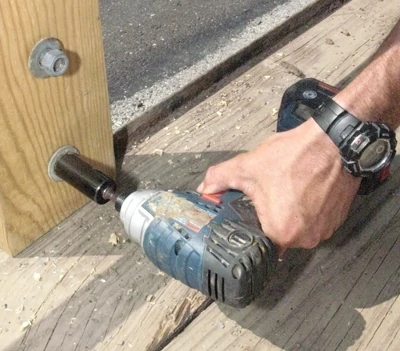
Once the holes are drilled, square up the staves to the trailer body, then hold them fast with a couple of bar clamps. Drill through the steel and through the wood. Pop in the through-bolts and hand-tighten the nuts before socking them tight with a socket set or impact wrench.
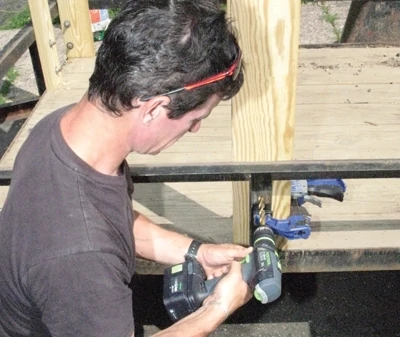
I center all but the end and corner staves on the trailer’s steel posts to make fastening the planking to the staves easier later on. It also gives the through-bolts the maximum meat to hold onto for heavy loads.
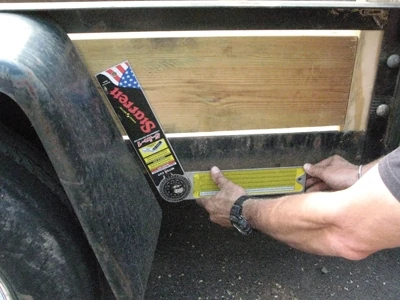
Next, install the planking. To make life easier I span the trailer’s wheel well with blocking on the inside of the trailer, installing the boards flush with the staves. To make the butt-joint connections between the boards set edge-to-edge, I make what I call “no-jig pocket holes”. I drill angled pilot holes large enough and deep enough to countersink the screws. This makes driving toe-screws much easier than any other method I’ve tried. For the oddball angles by the wheel well, I used the Starrett ProSite Protractor—love that thing—to lay out the angles.
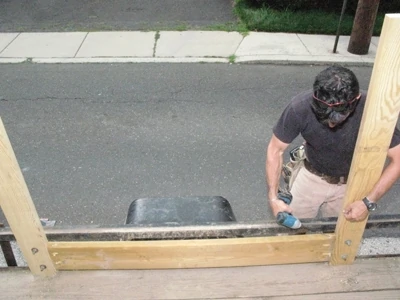
Next, I start at the back and work my way around, piecing in all the small pieces and ripped blocking to create a solid wall on the trailer frame. It gives me peace of mind hauling, well, everything.
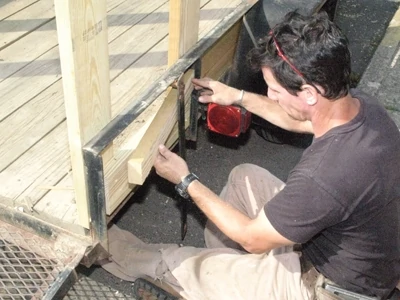
I used 2x pressure-treated pine for the planking on this trailer upgrade, and it is virtually bomb-proof. But 2x is heavy making the trailer hard to move around by hand. If I had a tractor or ATV, that wouldn’t be a big deal, but I don’t. Another option would be to use 1×12 #2 pine. I formerly had a trailer built with 1×12 and not only was it much lighter; it lasted for nearly a decade of professional use. Bottom line: your call.
To get the first course of planking started on my trailer where there are interruptions from the wheel wells and corners, I used a couple of bar clamps to hold the pieces where I wanted them before bombing in the screws.
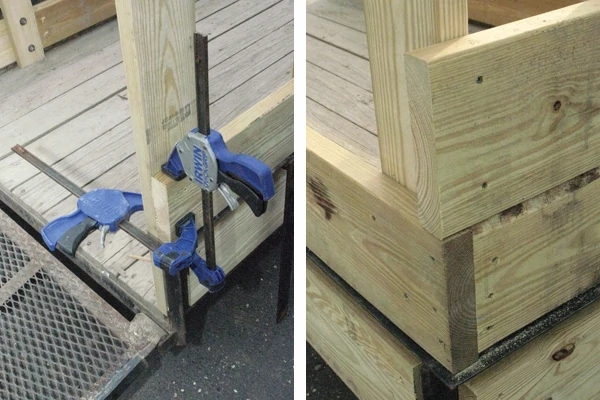
To make the look interesting, I like to alternate the corners. I think it makes the corner stronger but I also really like the box-joint, custom look.
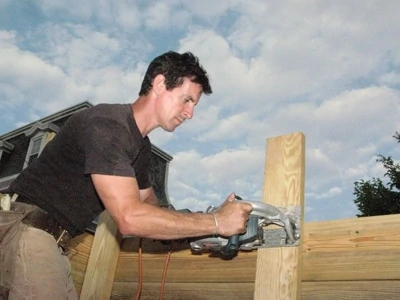
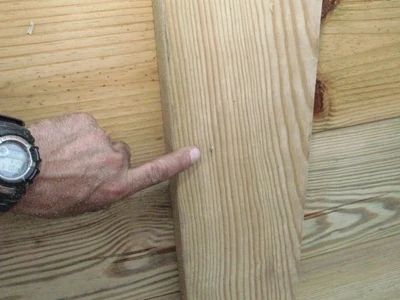
Every now and again a 3-in. deck screw tip makes it through the laminated 2-bys (which is 3 inches thick). It’s hardly a hazard unless you’re just crushing the heads into the wood and the points are really showing, but I blunt them with a hammer whack anyway. I’ve been cut, scraped and scratched by everything else. What would make these screw tips any different?
Material Handlers
While the hero function of most trailers, including mine, is to hold stuff inside the walls, there’s no reason you can’t rack ‘em up to carry the long stuff like ladders, lumber or molding.
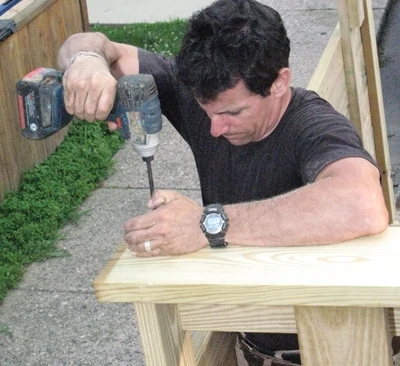
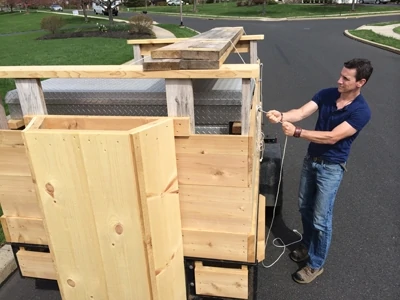
The material rack on my trailer is fixed to the staves (which I didn’t cut flush with the trailer walls) but kept at 53-inches above the trailer deck so it would clear the trailer’s tailgate. It’s a T-bracket of 2×8 that bridges the staves.
The end of the rack is also a T, but I fabricated a pocket for it to sit in so the
T is removable. The reason for this is that a horizontal rack gets in the way when hauling tools, mulch, or plaster debris. In other words, if I made it a fixed-feature I’d literally have to duck under it every time I walked into the trailer with a sheet of drywall.
So whether I’m hauling for work or hauling out of town for vacation (who am I kidding—vacation?), my stuff is safe and secure for the long haul.
Editor’s Note: Mark Clement is co-host of the MyFixitUpLife show, General Contractor on Food Network’s Save My Bakery and spokesman for Wood Naturally.
Side Note
Extra Features
As much use as I get out of this trailer trick-out, I added some details (and would like to add more) that max it out even further.
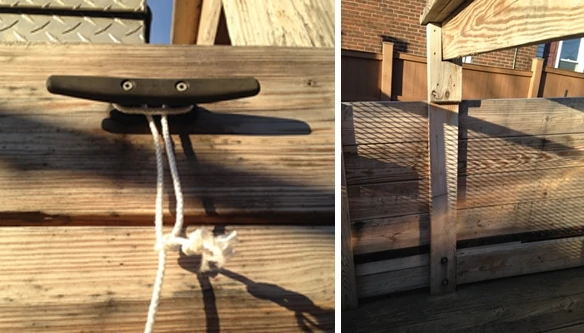
Cleats. I added six cleats like you’d find on a dock or ski boat as anchor points for quickly cinching and un-cinching loads using rope. From tarps to lumber, these are essential (and cheap) additions for me. I use bowline knots and trucker’s hitches to secure the material.
Truck Box. I also added a few blocks inside the trailer walls to set my old truck box on. When I roll to a jobsite, I can store any number of tools in there. For vacation, it’s awesome for anything from beach toys to beer and ice or grocery store stuff you want to bring.


