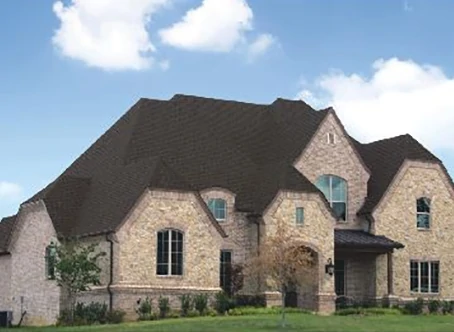
One of our recent EHT projects was a “roof-over” in which we covered an existing single layer of three-tab asphalt roof shingles with architectural shingles.
In roofing, the term “architectural” generally means the shingle has a three-dimensional design and construction. True architectural shingles (also called “designer” shingles) will have more than one thickness to create a shadow line that gives the roof the appearance of slate or wood shake. Not only does the three-dimensional design enhance the look of the roof, but the extra thickness of the shingles provides additional weather protection.
“Asphalt shingles are aesthetically diverse and come in a wide range of styles and colors that will enhance the look of your home,” says Reed Hitchcock, executive vice president for the Asphalt Roofing Manufacturers Association (ARMA). “Designer shingles can display a more natural appearance, and can also match metal, cedar and slate materials that are more expensive. Meanwhile, you’re still getting the durability and easy maintenance that comes with asphalt shingles.”
For our roof-over project the EHT staff chose StormMaster Shake shingles from Atlas Roofing. These designer roof shingles resist high winds, harsh impact and extreme weather conditions. StormMaster Shake also features Scotchgard Protector to defend against those dark, dingy streaks that appear on roofs due to algae. With the algae threat removed, your home’s roof keeps the original color. The shingles are designed to resist cracking, splitting, warping and shrinking in both hot and cold weather climates for many years.
As always, check with the manufacturer and your local building inspector about code requirements for roof work in your area. Some manufacturers don’t warranty their product if installed over existing shingles, and a new layer should never be installed over any more than a single layer of old three-tab shingles. For this job to meet local code and the manufacturer’s warranty, we had to first cover the old shingles in 30-lb. felt paper before roofing installation. It’s also important to follow the manufacturer’s instructions to the letter regarding shingle layout and fastener placement.
Preparation
For a roof-over project, first replace all missing shingles. Split and securely nail any buckles, raised tabs or curled shingles.
To ensure performance and qualify for the warranty, make sure the attic ventilation complies with FHA Minimum Property Standards.
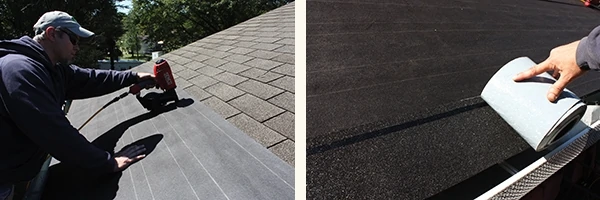
To maintain a Class A fire rating, I applied a layer of 30-lb. felt underlayment over the old shingles, beginning at the rake and overlapping each succeeding course by roughly 4 inches, tacking it down with roofing nails.
Fastening
The StormMaster Shake shingles require 11- or 12-gauge corrosion-resistant roofing nails with 3/8-in. minimum head. The nails must be long enough to penetrate the roof deck 3/4 inch. If the deck is less than 3/4-in. thick, the nails should be long enough to penetrate fully and extend at least 1/8 inch through the roof deck. Keep in mind that a roof-over project requires nails that are long enough to pass through the extra layer of shingles. For this project I recommend a minimum nail length of 1-3/4 inch.
A minimum of four nails are required per shingle, located in the sealant line about 6 inches up from the bottom edge of the shingle. One nail should be placed approximately 1 inch from each side of the shingle, and the remaining nails equally spaced between the two outer nails.
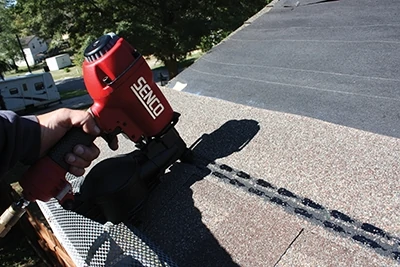
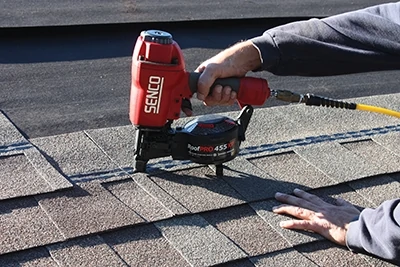
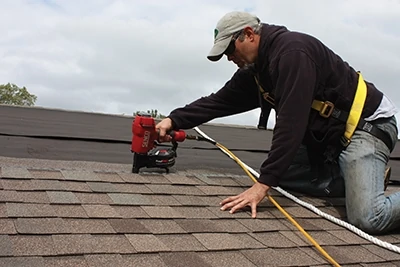
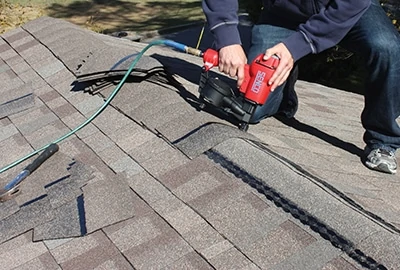
For the do-it-yourselfer, a pneumatic roofing nailer can greatly speed up the project. For this project I used the Senco RoofPro 455XP. It’s durable, lightweight and easy to handle, plus it comes with “sequential actuation” for rapid bump-firing.
Safety
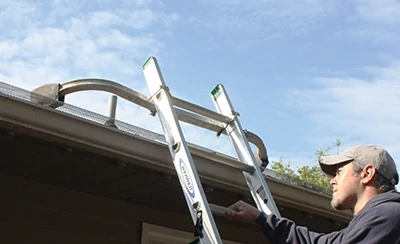
Working on the roof line can be dangerous, and a properly rated ladder preferably with a stabilizing attachment will be necessary to climb and carry materials.
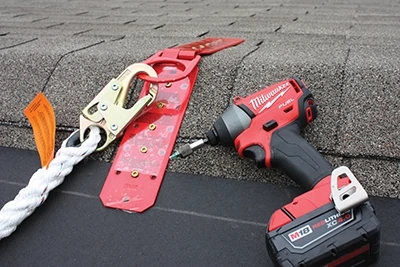
Any time you’re working on the roof and not on the ladder, you should be roped to a fall-restraint harness. I used a 3M harness that includes a hinged mounting plate which attaches to the roof ridge with a minimum of 10 wood screws.
Our project house had a standard 4/12 pitch roof, but that was still worrisome for me (because
I hate heights). The steeper the roof, the more difficult—and dangerous—it is to maneuver on. Consider this when deciding whether to contract the work or do it yourself.
(And don’t forget your safety glasses when using a nail gun.)
Installation
With the felt paper in place,
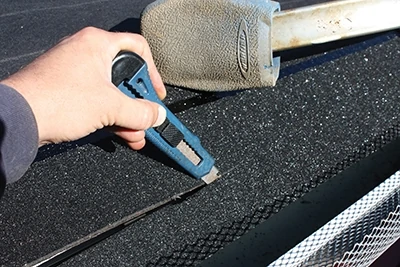
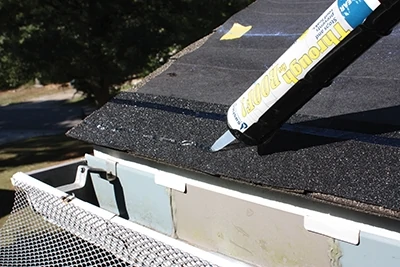
I applied an asphalt shingle starter strip along the eaves. The starter strip at my local Lowe’s was actually too wide for the StormMaster shingles, so I had to cut it to fit with a razor. I then added extra roof sealant along the top and bottom of the strip to ensure a good connection.
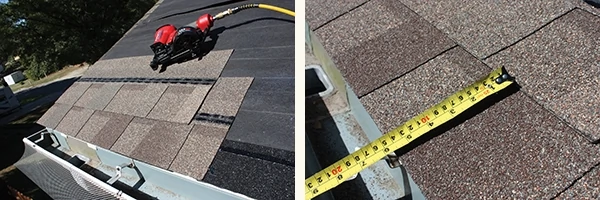
It’s also a good idea to apply the starter strip along the rake.
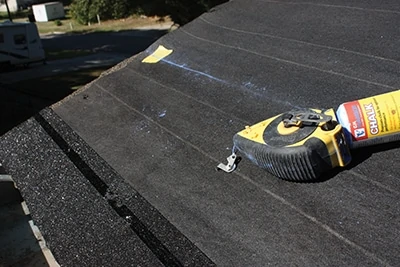
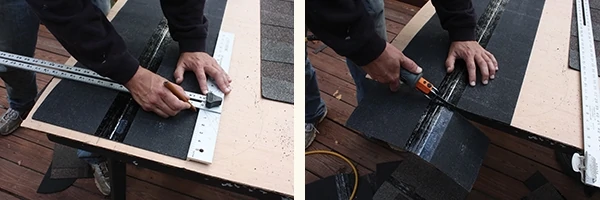
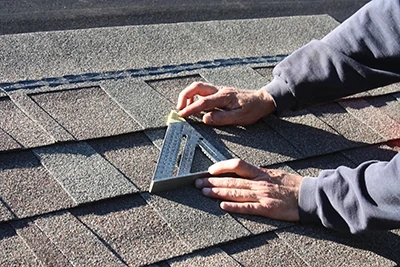
You might find it helpful to strike horizontal chalk lines over the felt to ensure proper shingle alignment. The StormMaster Shake shingles have an architectural guideline that also helps with alignment. Plus, I taped up a Speed Square as quick measuring jig to spot-check my alignment as I laid the shingles.
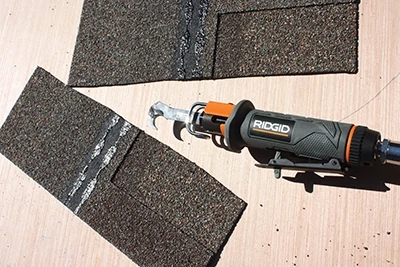
Roofing Cutter is an air tool that slices asphalt shingles quickly.
The trick to laying asphalt shingles is to stagger the seams between courses. Begin shingle application at the lower left rake of roof. Continue the first course across roof with full shingles laid flush with the starter strip and fastened with four nails, placed as specified. I added a bead of roofing sealant between the starter strip and first course.
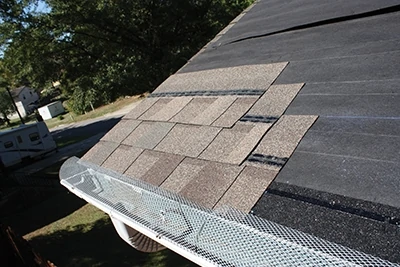
To begin the second course, cut 5 inches off the left end of a shingle and apply the remaining larger piece over the first course shingle, flush with the left edge and exposing the first course 5-5/8 inches. Proceed with full shingles across roof, maintaining the same exposure throughout the course.
For the third course, cut 10 inches off the left edge of a shingle and apply the remaining larger piece over the first shingle of second course, flush with the left edge and exposing the second course 5-5/8 inches. Proceed with full shingles across the roof, maintaining the same exposure.
The fourth course begins with a full shingle on the left, proceeding across the roof just like the first course.
By offsetting the seams between shingles in this manner, the roof will continually shed water without allowing a point of entry to the building envelope.
At the ends of the courses, excess shingle material can be cut flush with the rake.
Cuts to the asphalt shingles can be made with a sharp utility knife or a hook-shaped roofing knife. On this project I used the new Ridgid Roofing Cutter, which is an air-driven tool that power-cuts quickly through the tough material. A T-square is a useful guide for marking cutlines on the shingles.
Roof Penetrations
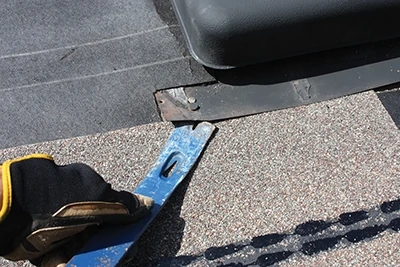
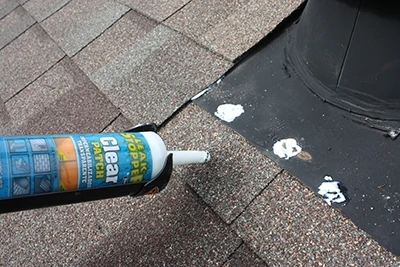
If the existing flashing of roof vents, pipes, etc. is in good shape then it can be reused. Make sure all flashing diverts runoff over the lower shingles, shedding water continuously. Seal all seams and any exposed fasteners with quality roofing cement. The shingles can be individually cut to wrap penetrations. After some trial and error, I decided it was easiest to cut those shingles on the spot. An L-shaped framing square can help you transfer measurements from the pipe boots to the shingles, so you can trim them to shape with your knife.
I covered two vent pipes with black Perma-Boots, which seal the rubber pipe gaskets from leaking.
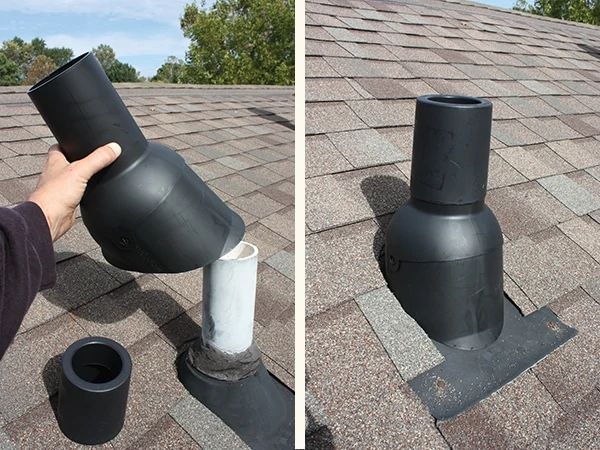
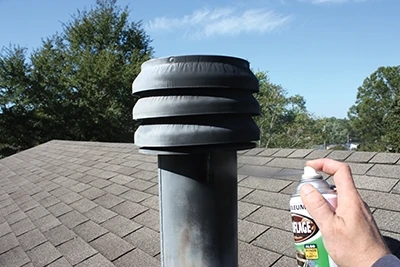
I then spray-painted the metal HVAC stack and range vent a charcoal black so the accessories would all match.
Ridge
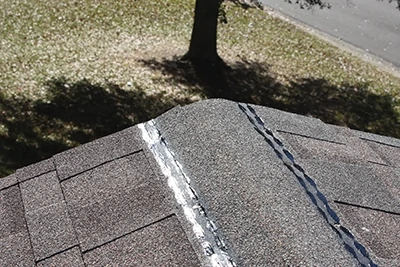
The shingles courses were installed all the way up the roof. The ridge was then capped with Atlas ProCut Hip & Ridge Shingles. However, to ensure the ridge cap concealed the sealant line of the top course of shingles, I had to overlap the ridge with the uppermost shingles and trim the excess to fit.
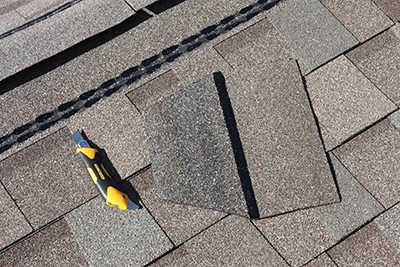
The Hip & Ridge shingles can be separated into three equal pieces (perforated lines are provided). Each piece bends lengthwise to provide equal exposure on both sides of the ridge. The ridge shingles are nailed 6 inches apart from the exposed butt edge. Every ridge shingle gets two nails, one on each side. The final shingle is trimmed to fit and set in roofing cement. The exposed end of the ridge shingles should be directed away from the prevailing wind.
DIY or Not?
The technique of installing asphalt shingles is not especially difficult. Assuming you’re working on a sound roof foundation, then careful shingle alignment and proper fastener location are the keys to success.
However, roofing can be grueling work. Stacks of shingles are very heavy. The blazing sun can be merciless. And stabilizing yourself for ours at a time on a sloped surface can tax muscles that you forgot you had.
I learned the hard way that roofing contractors show up to the jobsite with multi-man crews for a reason. Think twice—no, three times—before attempting your own DIY roof project. With no one to help tote the roofing material, you’ll have a long slog ahead of you, to say the least. Take a week off work. Estimate the number of trips you’ll make up and down a ladder then multiply that by ten to arrive at a realistic figure.
Me? I ran out of time. Over the course of a few days I installed the rear half of the roof (the difficult part with all the penetrations) by myself. It took much longer than
I anticipated, however, and I was due back at the EHT office. I hired my contractor friend Carlos Munoz to help me complete the front half. He and his two workers completed the job in a day.
In hindsight, I would recommend a DIY roof-over only to the most die-hard of handy homeowners, and even then for only small roofs with simple designs. I’m glad to say I did the work and learned from the experience, but I don’t want to do it again. It’s a large-scale job that requires more hands and strong backs than I was born with.
Final Thoughts
The end result of the upgraded roof not only looks amazing but adds significant value to the home. Asphalt roofing shingles provide excellent curb appeal and top performance, which is why four out of five homes in the U.S. have them installed.
“Property owners want their home to look beautiful and unique from the curb, and that all starts with the roof. Designer asphalt shingles give homeowners the option to choose whichever texture, color or style matches their design vision,” says Hitchcock of ARMA. “Beyond aesthetics, their superior performance and long life expectancy make asphalt shingles an excellent investment for homeowners.”
For more information on asphalt roofing, visit the Asphalt Roofing Manufacturers Association at www.asphaltroofing.org.


