

Most of us have experienced the frustration of repeatedly jerking on a lawnmower’s pull cord while the machine just sits there stubbornly refusing to start. This same problem can show up with practically any small gas engine, from trimmers and chainsaws to blowers and pressure washers. This article explains how to troubleshoot common small-engine problems and how to prevent future problems with better maintenance.
First Steps
If your outdoor equipment won’t start, make sure the engine is filled with fresh gas. Old gas can cause problems starting. If you have last season’s gas in your mower, drain your fuel tank and fill with fresh gas.
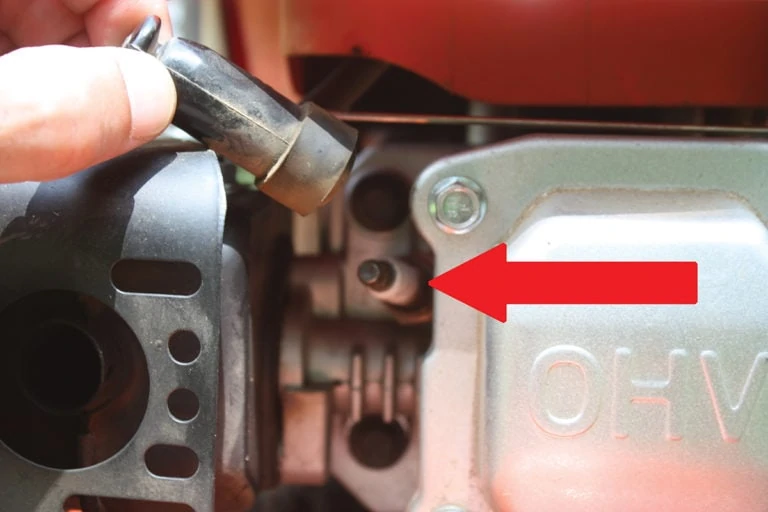
As spark plugs age, built-up deposits and an expanding gap can decrease their performance.
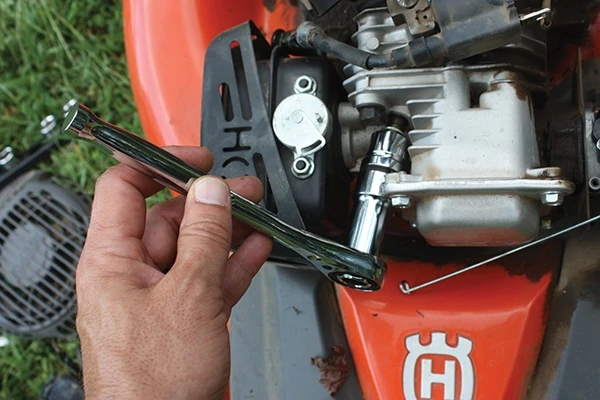
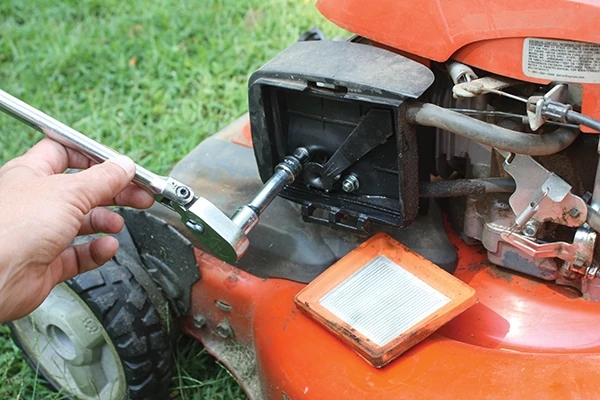
Removal and replacement of the plug might require a wrench extension and a special socket.
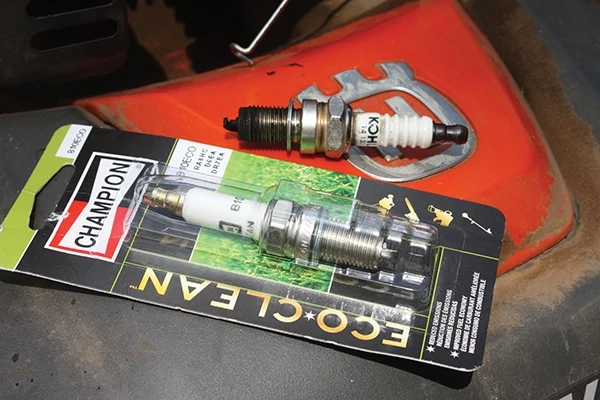
Other possible causes include a loose, dirty or disconnected spark plug in your lawnmower. Check it out, clean off debris, re-connect and tighten the plug. In some cases, you might need to replace it completely. Weak or bad spark plugs lead to problems with cold-starting or misfires during acceleration. Without healthy plugs, your engine can’t sustain maximum power and will suffer a drop in fuel economy. Over time, deposits can form on spark plugs from interaction with the air-fuel mixture, which can lead to pre-ignition of the fuel and a jerky, inconsistent supply of energy to the engine. Also, extreme temperatures, debris, and normal wear and tear can cause the spark plug’s gap to expand, which lessens the plug’s effectiveness. Spark-plug removal is a simple procedure, but some mower designs require a socket extension to reach it with a special spark-plug socket.
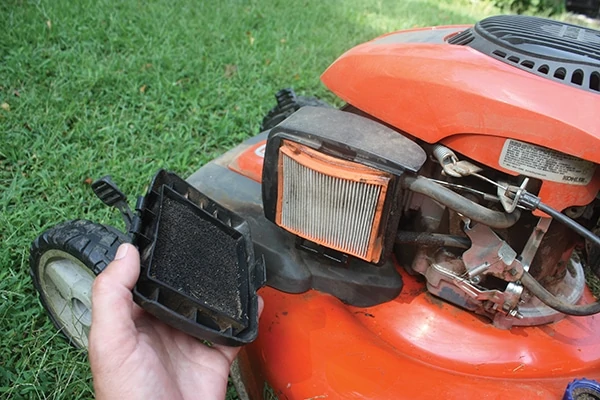
A dirty air filter should be cleaned or replaced.
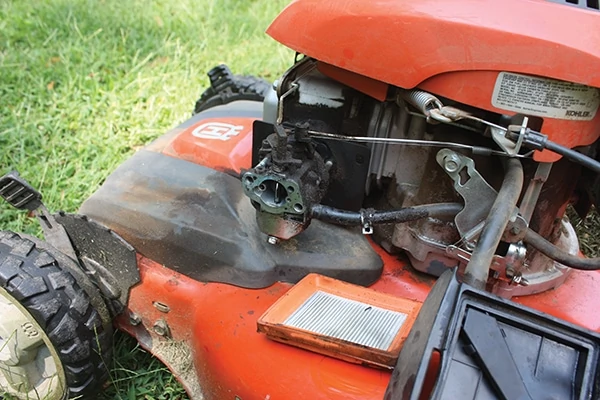
On the mower shown, the air filter housing had to be removed to access the carburetor. Unscrew the two bolts that mount the carburetor to the engine.
If the air filter is dirty, clean or replace it. If you suspect fuel isn’t reaching the engine, tap the side of the carburetor to see if it improves the flow of gas. If this doesn’t work, you might need a new fuel filter, or need to give the carburetor a cleaning.
Cleaning the Carburetor
Cleaning a carburetor can greatly improve engine performance and often solve other fuel/air related problems. If an engine sits for any certain period of time without having the fuel drained, the carburetor can suffer damage, cause poor fuel economy, or even keep the engine from running at all.
Here’s the intact carburetor covered with gunk and debris.
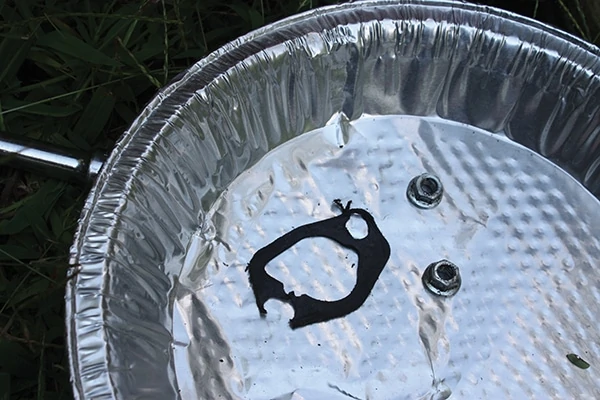
The carburetor will be sealed to the other parts of the mower with gaskets, so look for damage to the gaskets as your remove it.
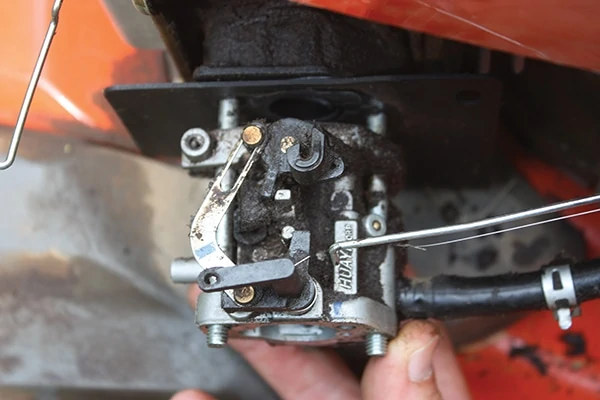
You’ll find the carburetor attached to the side of the engine, and you can identify it by the fuel line that connects to it. On the Husqvarna mower shown, I first removed the air filter to access the carburetor.
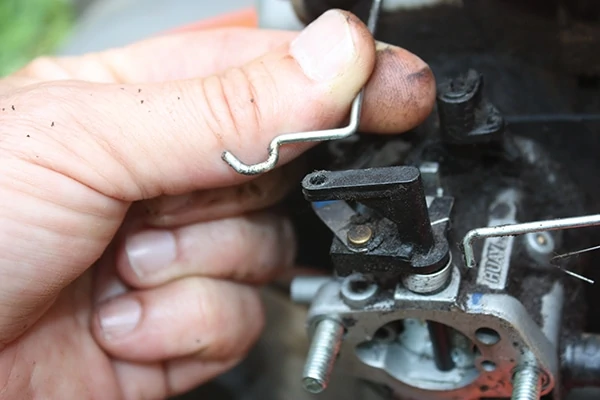
Remove the throttle cable and any other connections from the carburetor.
Take digital photos to guide replacement of the various components.
Clamp or plug the fuel line to avoid leakage. Use pliers to compress the spring clamp and slide it backward onto the fuel line, so you can pull the end of the line off the carburetor nipple. Expect some residual fuel to leak out the end of the tube.
Use a socket wrench to remove the two bolts that mount the carburetor to the engine.
If the gasket is damaged, replace with a new one when you reinstall the carburetor.
Unhook the throttle cable from the carburetor, along with any other associated connections.
DIY Tip: Make reassembly easier by taking photos of the carburetor before removing and disassembling it. Take photos from several angles to provide a visual reference to help guide reinstallation of the various parts.
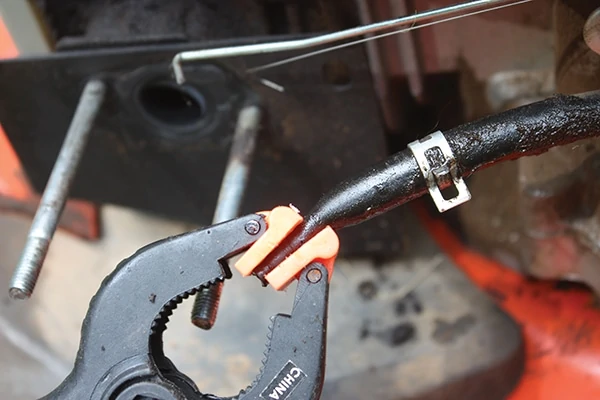
To remove the fuel line, use pliers to slide back the clip, pull the tube’s end off the carburetor nipple, and clamp it so fuel doesn’t leak out.
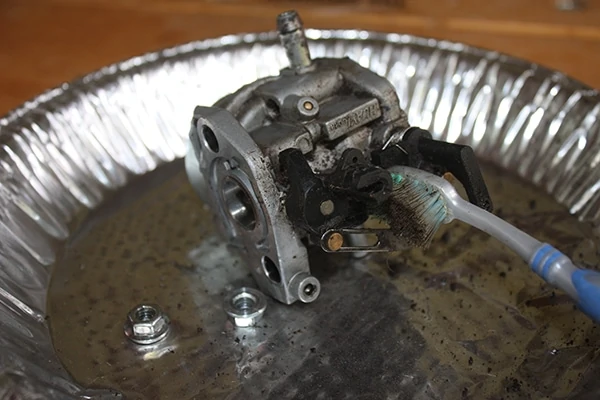
Slide the carburetor off its mounting pins, then scrub off all exterior dirt and grime.
To clean the outside of the carburetor, an old toothbrush makes a good tool for scrubbing off dirt and surface grime.
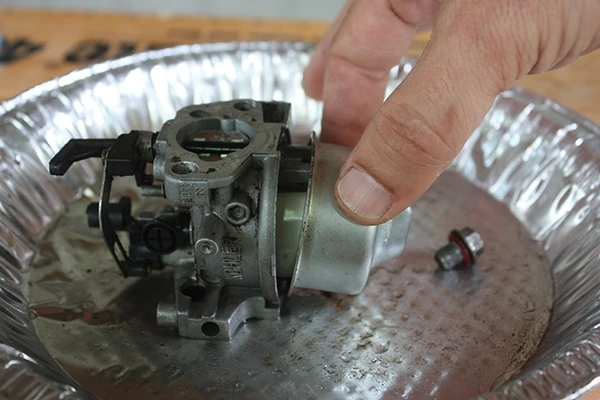
Disassemble the carburetor in a pan. First, remove the screw that holds on the bowl, then take out the interior parts, taking photos as you work.
Next, use a screwdriver or wrench to remove any screws or bolts that hold the bowl onto the carburtor. A carburetor will have several small parts, so you should collect them all in a bowl or pan. Although carburetors vary somewhat in design, they usually consist of a bowl, float, needle, seat, rubber O-rings, etc. Pay attention to the fitment of these parts when dissecting the carburetor. Note: You might be able to find a carburetor rebuild kit that matches your model, and the kits will have replacement rings and gaskets.
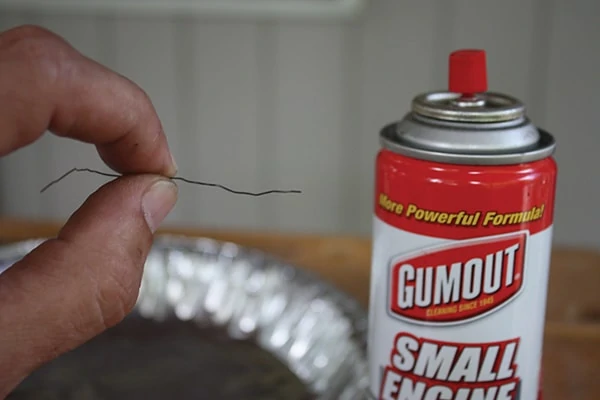
Use a can of Small Engine Carb Cleaner to wash all the parts. A thin-gauge wire (such as a bread tie) can be used to auger out the holes and passages of the carburetor.
Once the carburetor is completely disassembled, thoroughly spray all the holes or openings with Small Engine Carb Cleaner, which should be available at your local hardware store. The carburetor needs to blend air and gas in precise amounts, and any small amount of blockage can impede its performance.
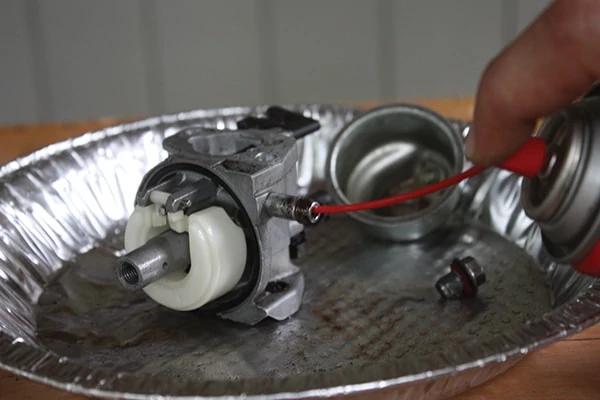
Spray the cleaner into every opening. Soak the components thoroughly.
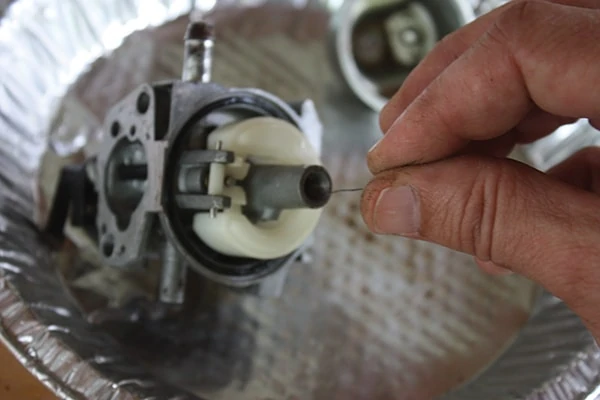
Use the wire in every opening and passage to force out any unseen blockage.
In addition to using the chemical cleaner, I recommend also threading a thin-gauge wire through all the little holes and passages of the carburetor. For the wire, a common bread tie works well (after using a lighter to burn off its paper wrapping). After the wire, spray all parts again with the cleaner to force out any grime or debris you’ve dislodged. Allow the cleaner to remain on the carburetor so it has time to dissolve any residual blockage. Do the same for the smaller components. Soaking the parts for an hour is not unreasonable, and I recommend respraying all surfaces several times for good measure.

The carburetor will have lots of holes and openings to mix the air and fuel.
After cleaning is complete, rinse off all parts with water and dry them completely with compressed air. Reassemble the carburetor with fresh gaskets, referring to the photos you took, and reinstall it onto the mower.
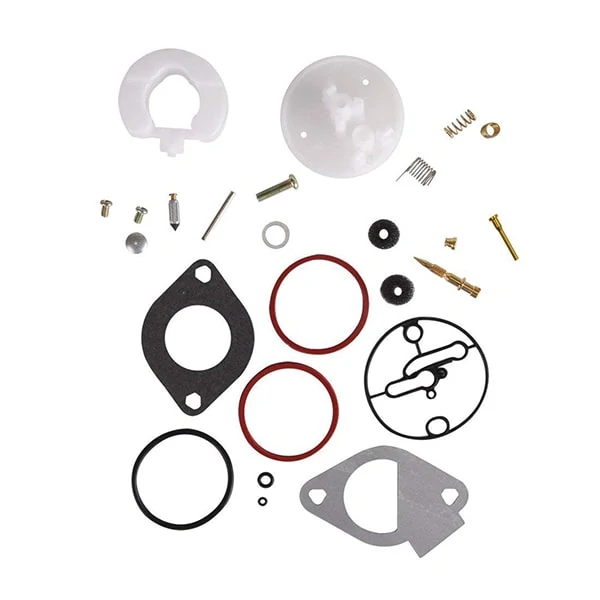
Reassembling the carburetor is the reverse of removal, but you should replace any deteriorated gaskets or other components. Carburetor-rebuild kits usually include parts for several models, so you won’t use all of them.
Preventive Maintenance
The reason the carburetor was all gunked up is due to the leftover fuel in the engine during storage. To protect gas-fired equipment, you should prep the fuel systems of the engines. Although some manufacturers recommend draining the fuel tank and carburetor prior to storage, doing so might make it more difficult to start when you take it out of storage. The fuel system must be addressed, how-ever, because alcohol-blended fuels can attract moisture that leads to separation and formation of acids during storage. Acidic gas can damage the fuel system while in storage. Moisture can trigger corrosion in the tank, fuel lines, carburetor and cylinders.
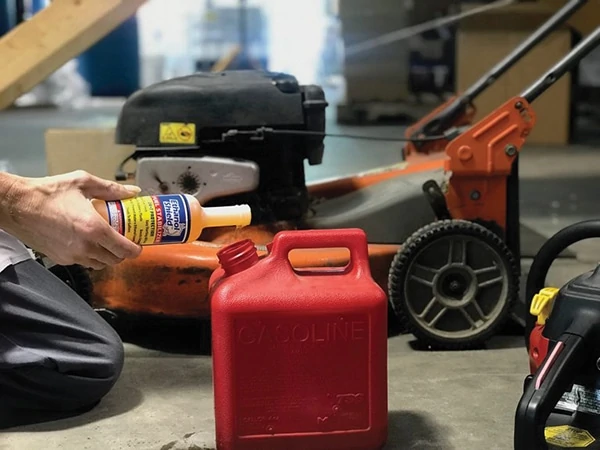
Store your equipment using a fuel stabilizer to avoid carburetor problems in the future.
This true for lawnmowers, blowers, chainsaws and other gas-powered equipment. The problems arise in part because it’s nearly impossible to get every drop of fuel out of the system, and when oxygen attacks, the remaining fuel droplets can create a gummy residue that clogs parts of the carburetor, which prevents the engine from starting and requires cleaning the carburetor. Fuel system plastics and rubbers are designed to live in fuel, and these components can become brittle and crack when exposed to air.
To avoid damage to the system, use a quality fuel stabilizer and fresh fuel any time the equipment will be sitting idle for an extended time. This is not only true for winter storage, but for any gas-driven equipment that sits up without frequent use, no matter what 81season it is.
Adding fuel stabilizer to old fuel will stop it from degrading further, but the fuel may already have broken down (gas lasts only a few months before going bad). For long-term storage, fill your tank 95 percent full with fresh, stabilized fuel. This leaves a little room to prevent the fuel from expanding and spilling in warm weather, but reduces the risk of water vapor that can condense and contaminate the fuel.
After adding the fuel stabilizer, run the engine for a couple of minutes to circulate the stabilized fuel into the carburetor and fuel lines. That’s all it takes to prep your power equipment’s fuel system and avoid having to clean the carburetor in the future.
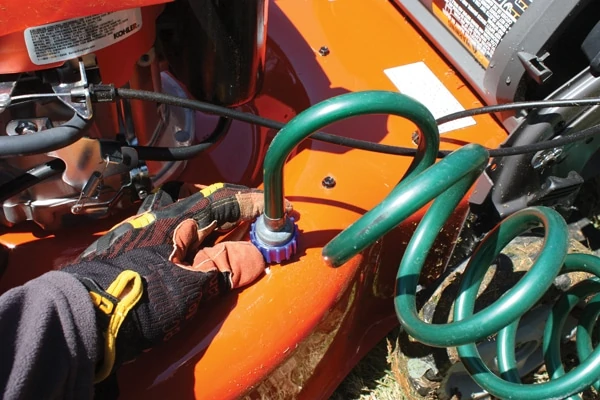
Clean and lubricate your equipment on a routine basis to keep it running in top condition. The Husqvarna mower shown has a garden hose inlet that makes it easy to wash out the deck.
Replace the Oil
Replace old oil seasonally. Run the engine for a few minutes to warm up existing oil so it will drain more easily. Stop the engine, remove the drain plug and empty the old oil (tilt the equipment back to get it all out, if necessary). Replace the plug and refill the engine with oil recommended by the product manufacturer. Properly dispose of the drained oil.
Outside the Engine
In addition to prepping the fuel system for your outdoor power equipment, routinely clean the housing and outside of the engine. An engine clogged from accumulated trash runs hotter and shortens engine life. However, avoid using a garden hose to clean equipment unless the electrical system, muffler, air filter and carburetor are covered to keep water out. Water in the engine can result in shortened engine life.
Remove all dirt, grease, leaves, etc. that can contribute to rust. Lubricate all moving parts. Inspect moving parts for damage, breakage and wear. Replace if necessary.
Check for loose belts and missing or damaged parts. Examine all cables, brakes and wheels for signs of wear and damage. Make sure no safety features or guards have been disabled or removed.
If you find anything concerning, replace the parts.
Replace the air filter every season, servicing it more often under dusty conditions. To clean an air filter, remove its cover, carefully remove the cartridge, and gently tap it on a hard, flat surface.
For lawnmowers, clean the underside of your mower deck by scraping off built-up grass and trash. This chore should be done after each mowing, but most definitely before winter storage. Keep finished surfaces/wheels free of gasoline, oil, etc.
