When Three Equals One: Trimming Three Windows with a Single Window Stool
By Larry Walton
Photos by Tim Walton
When James and Michelle were designing their custom house on a great piece of property southwest of Eugene, Oregon, we talked about window designs, and how to incorporate active windows that can be opened for maximum airflow. I suggested grouping windows together that we could trim to look as though they were a single unit. As finish carpenters, my brother and I have trimmed lots of these window groupings, some with as many as 15 windows arranged in a grid.
For these applications, each window must have the proper framing around it so it is supported and sealed just as it would be for a single window installation. Take care in the framing process to get the rough openings aligned and spaced evenly. Install the windows in the rough openings, ensuring they stay straight and aligned. Pay particular attention to keeping the sides of the windows parallel.
Buy horizontal trim boards of sufficient length by taking into account the width of the vertical casing boards, reveals and return cuts. In our case the parting bead had to extend past the far left and far right vertical casings. The bed mold at the top of the header needed enough length to make return miters for a proper crown molding look.
An overview of the trim process will be helpful in completing the job. Measure and cut both verticals and the top horizontal surround boards for each window. Use the horizontals to lay out the notches in the window stool. Test and adjust the window stool before nailing it to the rest of the window surround boards. Place the assembled stool and surrounds in position and use straight edges, measurements and shims to get all of the components properly positioned and parallel before nailing into place. Install the vertical casings and mullions.
Finally, measure, cut and install the apron and header trim.
Step by Step
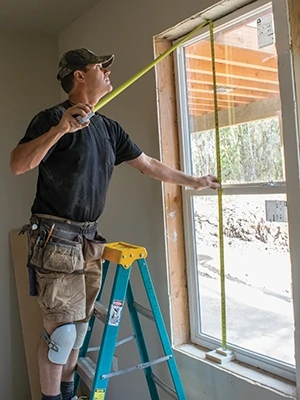
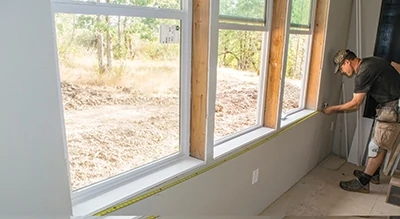
Measure to the outside of the vinyl to get the length of the top horizontal surround boards.
To get the length of the vertical surround boards, I stacked a scrap from the stool material and surround material and measured from the stack to the outside of the vinyl, because the verticals fit between the horizontals.
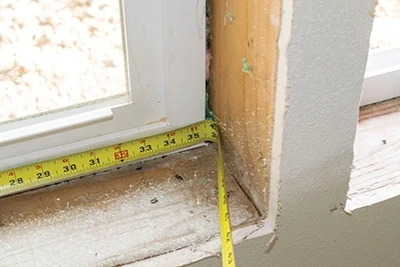
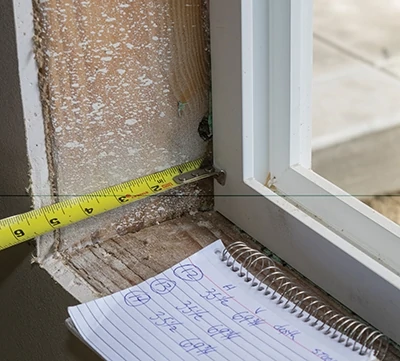
Measure from the inside face of the window frame to the painted face of the drywall to deter-mine the width of the window surrounds.
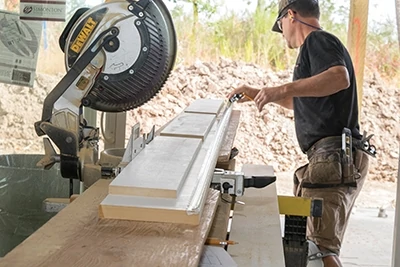
Cut all of the surround boards to size and mark the backs with a number for the window, “V” or “H” for vertical or horizontal and an arrow indicating the outside or finished edge.
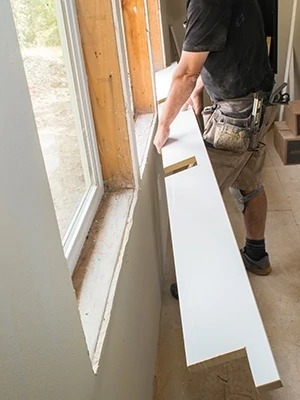
After placing the window surround top pieces on the sills and aligning them with the window frames, determine the length of the window stool by taking into account the casing width and desired reveals. Also note the locations of all three window surrounds in relation to the ends of the stool.
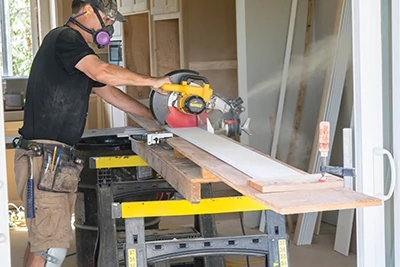
On the saw table, I cut the stool to length and positioned the horizontal top surround boards on the stool to lay out the horns and notches.
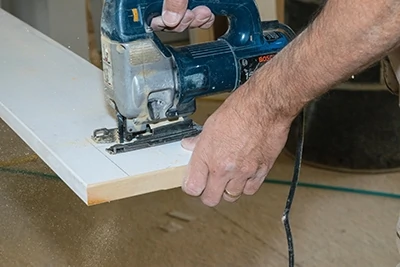
Use a jigsaw to cut out the horns and the notches on the window stool.
Place the window stool in position on the sills to check for fit and make any needed adjustments.
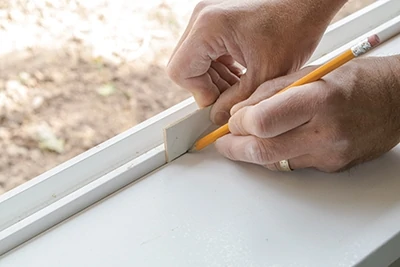
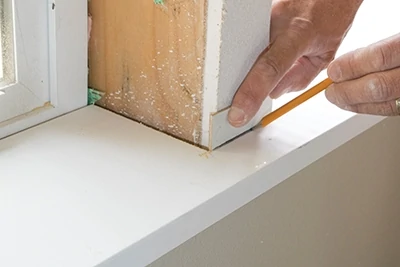
Use a flat shim equal to the thickness of the largest gap to make scribe marks to adjust the stool for a tighter fit to the window frame.
The same shim can be used to scribe the stool at any wall sections that may keep the stool from going back to close the gap.
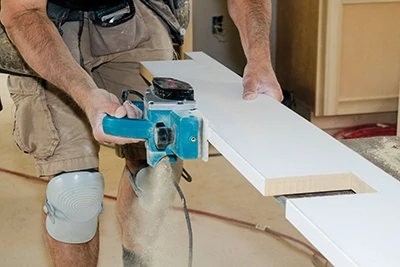
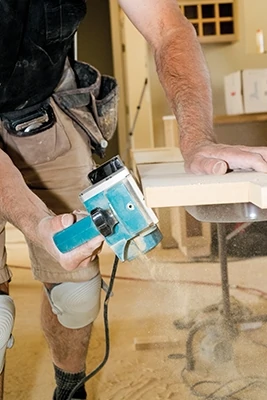
I use a power planer to remove material to my scribe lines on the longer sections of the stool.
Make a chamfer along the back of the stool where the window frame meets the sill to avoid interference with adhesives and residual vapor barrier.
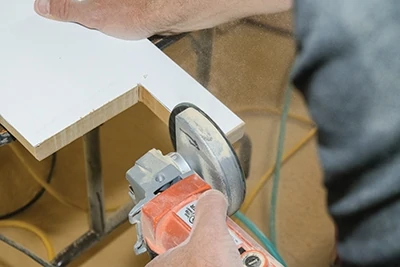
I used an angle grinder with a coarse sandpaper to remove material to the scribe line on the horn of the stool.
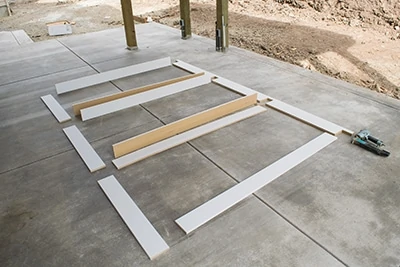
We lay out all of the window surround parts and the stool to nail them together. I often repeat the phrase “numbers out, arrows up, horizontals run by” to keep from orienting boards in the wrong direction during assembly.
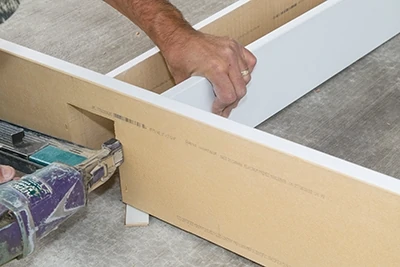
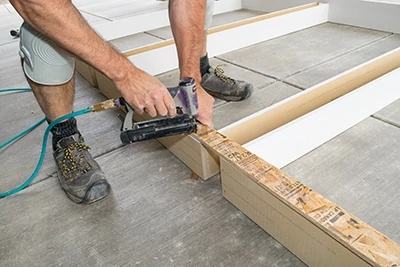
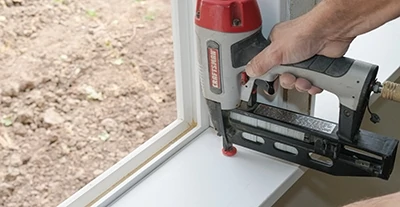
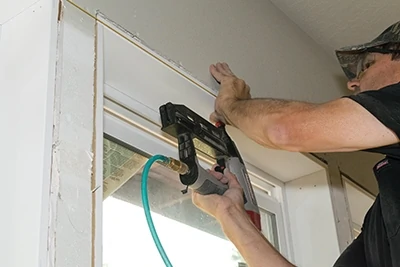
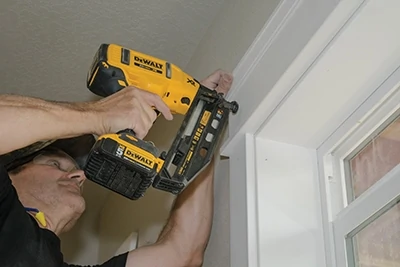
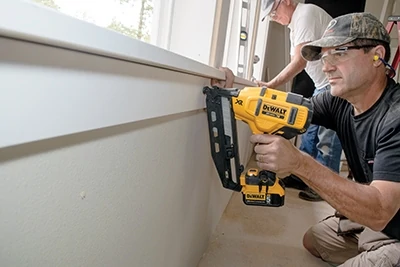
Shoot a pair of 7/16-in. crown staples through the horizontal board into the vertical board at each joint. Both boards are supported by the same flat shim to compensate for irregularities on the work surface.
I micro-pinned a wood strip across the face of the surrounds for stability as we moved the assembly.
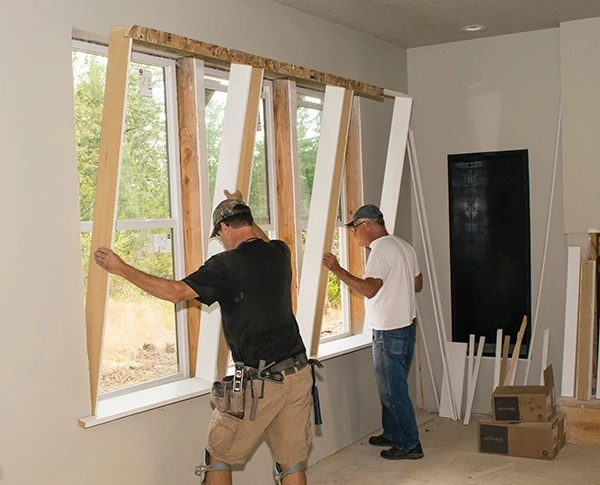
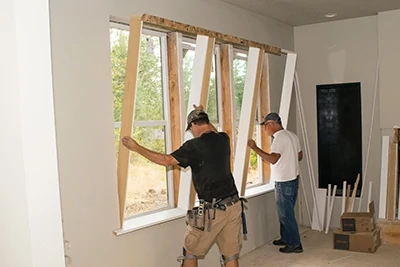
It’s a two-man job to move the surround assembly into the window openings.
After a shifting the stool left and right for reveal (the same amount of window frame showing on each window) and shimming for both reveal and flatness, nail through the stool and the shims into the framing sill.
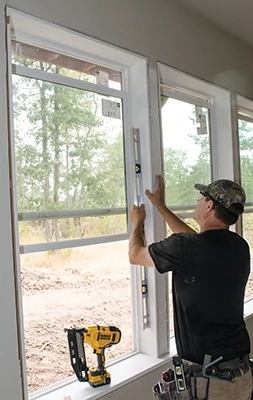
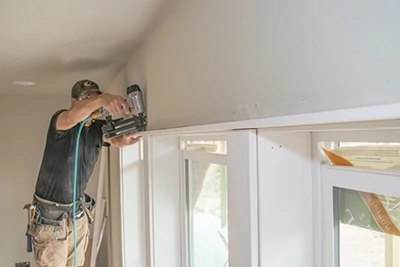
After shimming and nailing the top corners of each window surround, use a straightedge and shims to keep the vertical boards straight.
A string line across the upper horizontal surround boards provides a good reference for shimming and nailing them into place.
After cutting and installing the vertical casing and mullion boards, I installed a 1-1/4×3/4-in. parting bead on top of the casing and mullions.
On top of the parting bead, I installed a header board preassembled with bed mold crown.
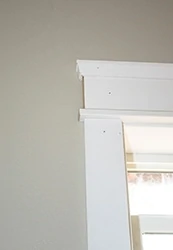
Here is a closeup of a completed top corner. Note the overlaps and reveals (exposed edges) of the casing, parting bead, header and bed mold.
A simple a 1×4 apron covers the gaps and shims at the bottom of the assembly and helps support the stool.
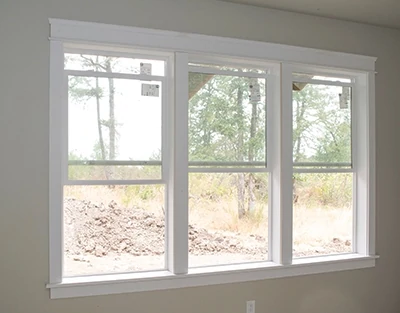
Here is our completed triple window assembly ready for spackle, caulk and paint.
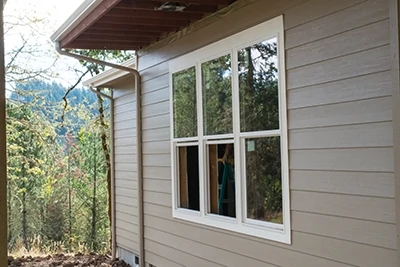
We also trimmed the exterior of our set of three windows as one unit.


