

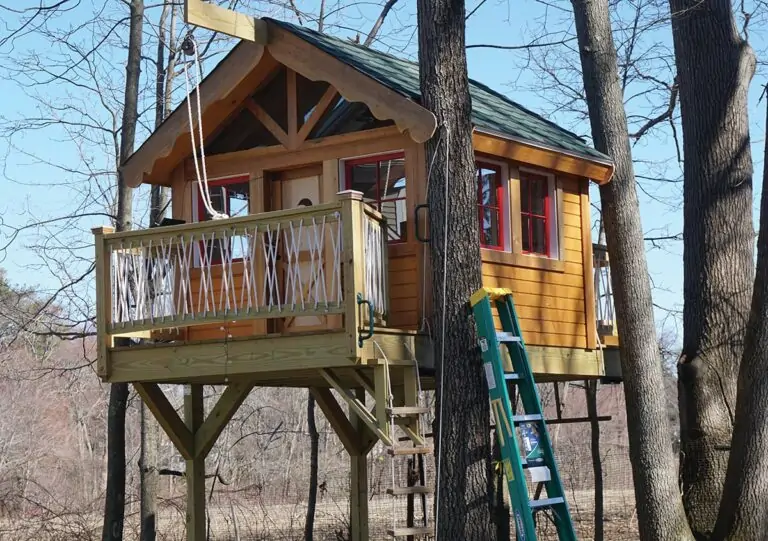
The right way to attach a structure to a tree.
Okay, so your kids are begging you to build a treehouse. If you are ready to finally start the big project, here are a few things for you to consider in order to build a strong, lasting and safe treehouse.
Before you even begin to plan the treehouse, it’s important to contact your insurance agency to see if it’ll be covered as a part of your home insurance policy. Many factors come into play with this, like potential injuries, and the coverage depends on your insurance company.
Also, plan to build low to the ground. Most injuries result from falling out of the tree house. For this reason, a tree house that is more than 10 feet off the ground is probably too high.
CHOOSE THE RIGHT TREES
Find a mature and healthy tree that is structurally sound. The tree needs to be a hardwood species, such as maple, oak, hemlock or beech. Make sure that the tree has been pruned of dead leaders, branches and any falling hazards.
If you are unsure of a tree’s structural strength or health (infestation and disease are not always immediately noticeable), you may want to consult an arborist in your area.
USE THE RIGHT MATERIALS
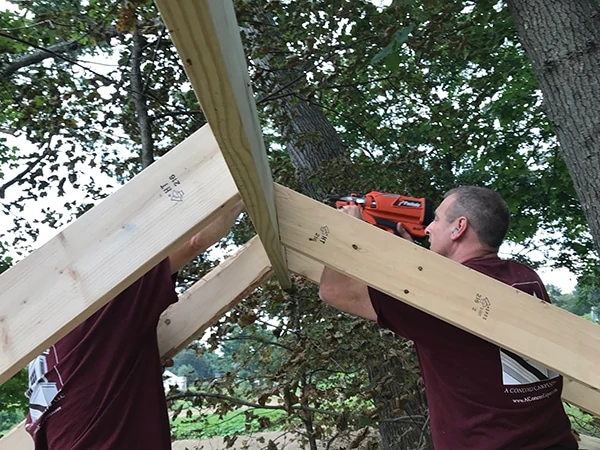
The framing of the treehouse needs to be treated the same as any exterior deck or structure. Use treated framing material, utilize structural plywood where you can, and choose cladding that will keep water out and protect the structure from rot.
SUPPORT THE TREE HOUSE
Prior to building your tree house frame and tree attachment, two things to consider with tree houses are that trees grow and trees sway in the wind.
The tree you are using will not stay the same forever. The trunks and branches will continue to grow, and your construction should accommodate the growth.
Avoid bolting the beams of the tree house directly between thick trunks. Tree trunks can generate immense pressure near the ground when the wind moves the branches higher up. When a tree moves, thousands of pounds of force are generated and can easily shear nails, screws or bolts. If you bolt a treehouse support beam between two trees, you’ll run the risk of the bolts snapping in strong wind.
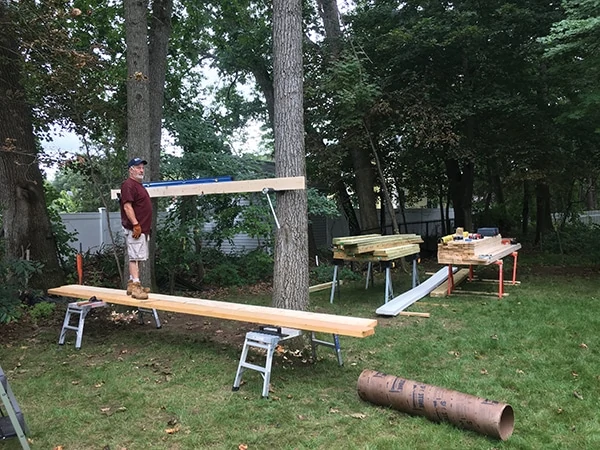
We were curious to see how much our trees moved in the wind. Prior to building, we held a 16-ft. straight edge and level at the base of the tree on a very windy day.
At 8 feet up, the tree trunk moved 1/2 inch. At 16 feet, it swayed more than 1 inch. The funny part was this movement was invisible to the naked eye.

Armed with this information we made three decisions:
- We chose a special bracket that would allow us 3x the movement we recorded.
- We decided that the roof edge would not exceed 12 feet in height and that it needed to be at least 3 inches from the tree’s edge, maybe more.
- We would use Treehouse attachment bolts in two parallel trees and utilize two 6×6 pressure-treated posts with 10×48-in. deep footings.
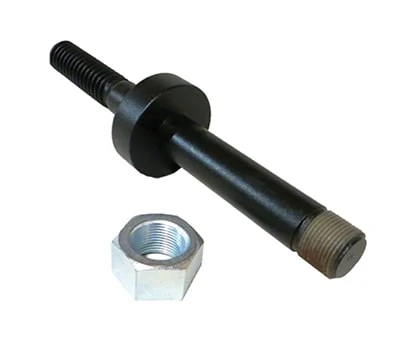
TREE HOUSE ATTACHMENT BOLT
The most important thing to remember when starting to build your tree house is to reduce the risk of the tree’s growth or sway factor. These two factors can shear fasteners and damage your tree house frame.
In today’s treehouse industry, the most efficient and practicable way to hold heavy loads in live trees are treehouse attachment bolts. TABs are engineered bolts designed specifically for supporting high loads in living trees.
One of the main features of TABs is their strength, requiring fewer tree penetrations for fastening your frame. Treehouses are subject to frequent load reversal produced by winds, as a result TABs are made of 4140 Carbon Steel. TABs are able to support from 9,000 and 12,000 pounds (4,100 and 5,400 kg), and boast a greater strength load than conventional lag bolts.
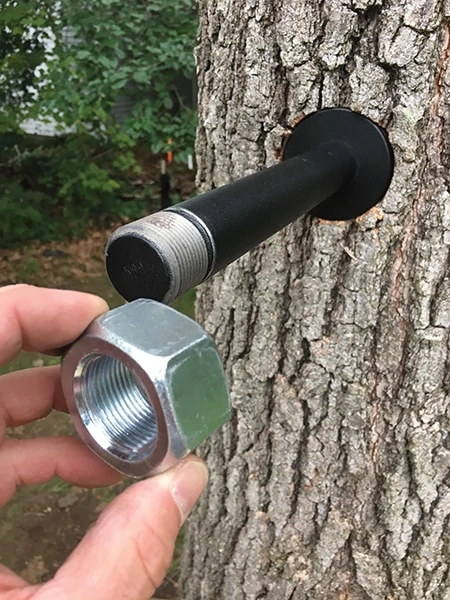
A typical TAB consists of a threaded metal bolt and a larger diameter collar. The stem of the TAB bracket is designed to support different types of cradle brackets.
The cradle or “floating” bracket is what we secure to our treehouse frame.
The collar of the TAB is available in 1-, 3-, and 6-in. sizes and provides extra bending strength by bearing upon the compression strength of the tree grain. Once the TAB is installed, the tree to grows around it, making it stronger.
We decided to use two TABs to build our tree house. We ordered ours online from Treehouse Supplies (www.treehousesupplies.com).
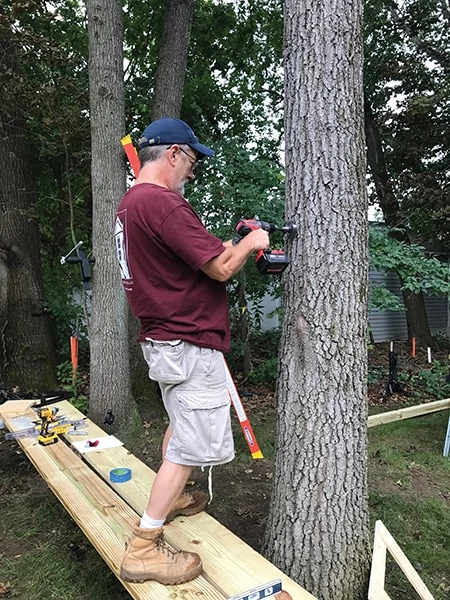
INSTALLING THE TABS
The TABs need to be installed according to the manufacturer’s recommendations. Don’t install TABs in trees with a diameter less than 12 inches.
You’ll need the following tools to install the TAB correctly:
- High torque drill
- Large ratchet / socket
- Torpedo level
- 3” self-feeding bit
- 1-1/8” x 16” auger bit
- Cheater pipe or socket
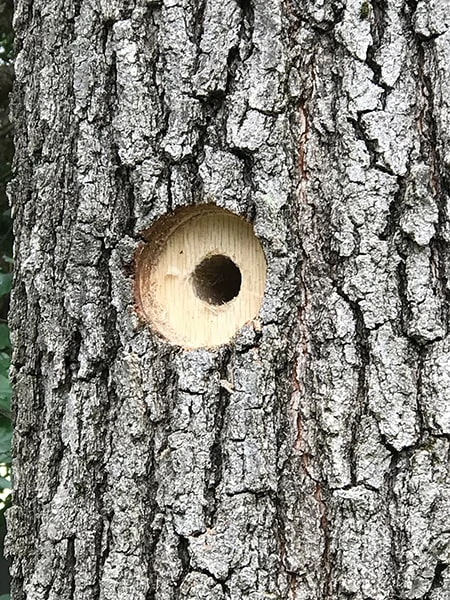
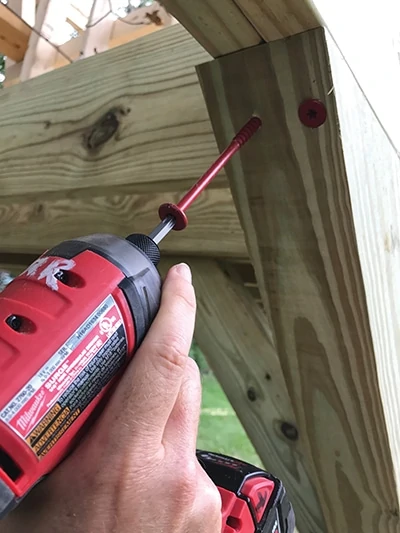
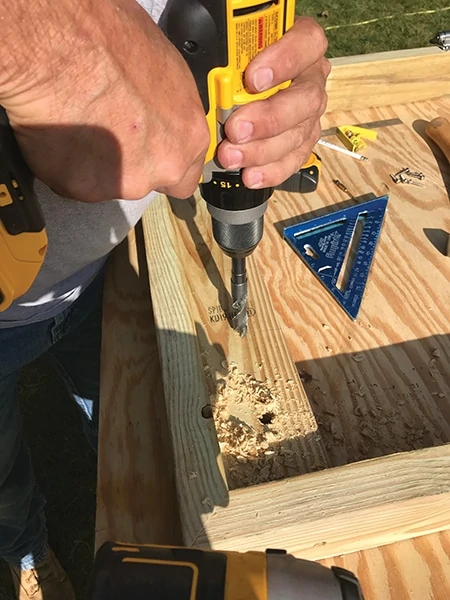
To install our TABs, we first drilled the larger 3-inch hole, then the smaller, deeper hole. It’s important to drill your hole level into the tree.
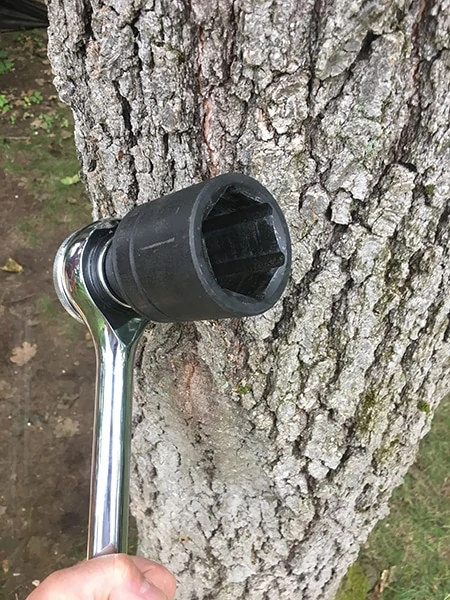
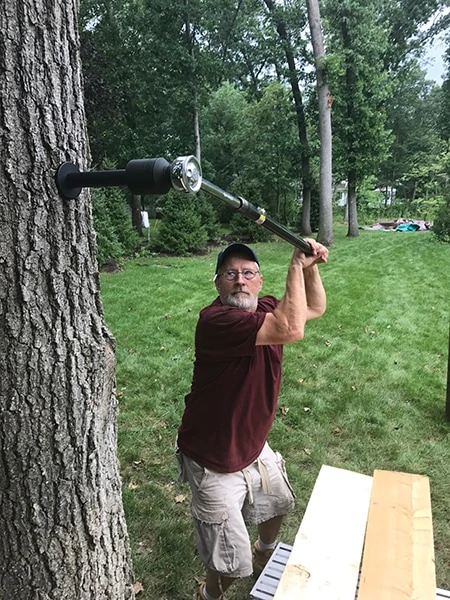
Once the holes are drilled we screwed in the TAB as far as we could by hand, then finished it with a large ratchet and socket, with the help of a cheater pipe for leverage.
We determined the height of our floor and subtracted to get the height of the TAB. Once we drilled the first TAB, we used a straight 2×4 and a 6-foot level to locate the second tree’s TAB.

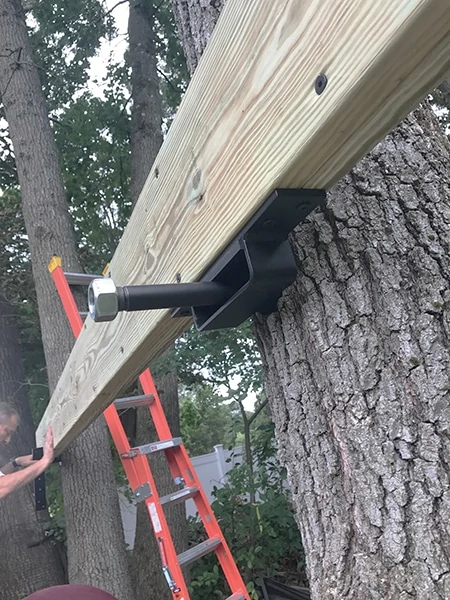
FLOATING BRACKET
A floating bracket is basically a platform support that can be used to span between two or more trees. We used two on our project.

The floating bracket slides onto the TAB and allows the tree to move freely and independently in any direction, while keeping the treehouse structure from moving.
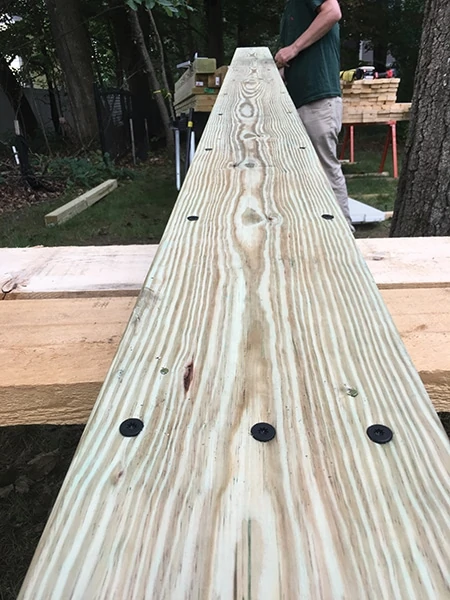
We laminated two 2×10-14’ pressure-treated boards to make a beam and mounted the brackets to the bottom. We would hang our floor joists off this beam.
BUILDING THE PLATFORM
We used 2×10 pressure-treated lumber for the treehouse floor system. The entire platform of the tree house is 8×14-ft. long. The treehouse is 8×8-ft. structure, and there are two 36-in. decks on either end.
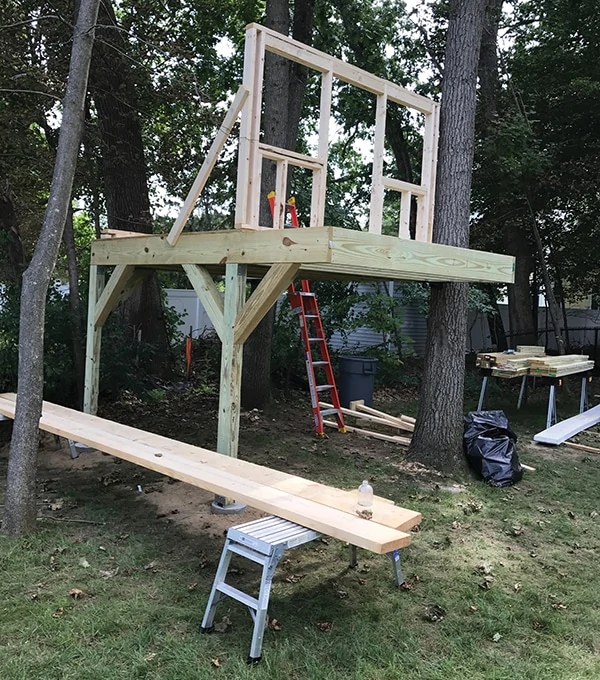
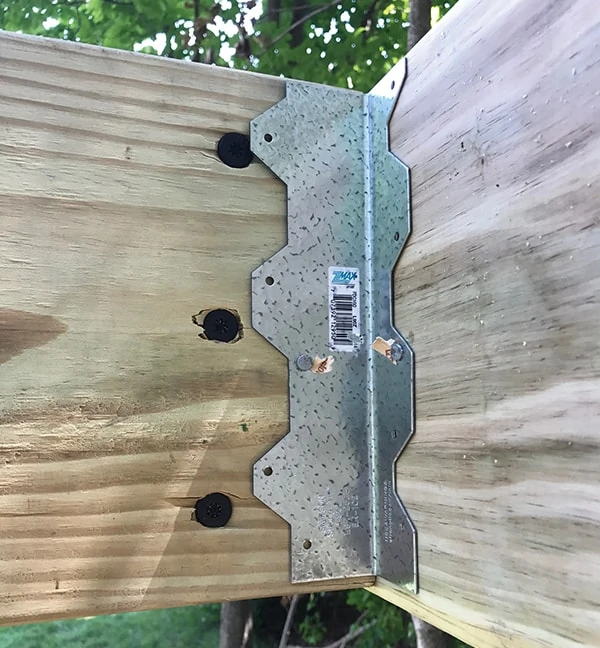
The floor system consists of two outside double 2×10 beams with 2×10 joists installed between them, direct nailed and supported by galvanized hangers.
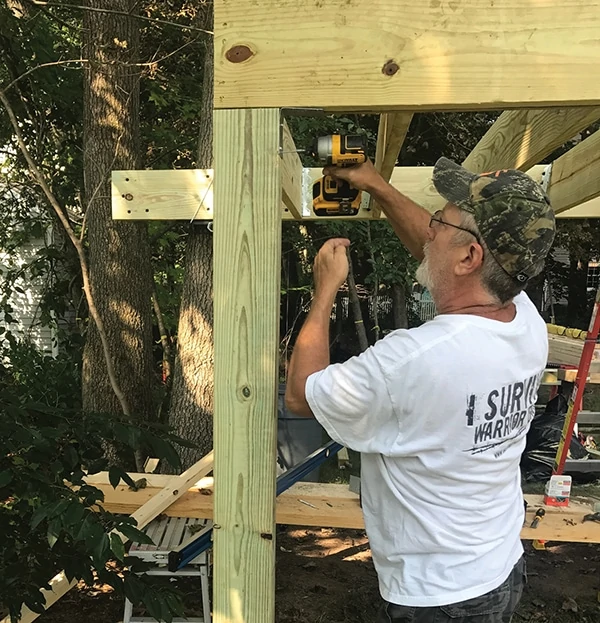
Opposite of the floating beam is a beam that is supported by two 6×6 treated posts connected with post-to-beam, and post-to-footing galvanized connections.
Each post received three diagonal post-to-platform brackets. The two concrete footings have 10-in. deep galvanized j-bolt, and measure 10 inches in diameter and 48 inches deep.
THE REST OF THE TREEHOUSE
I just covered the most important part of building this treehouse. The structure on top is conventional framing; it’s basically a small shed or house on a deck platform.
I’ll briefly touch on the methods, and materials we used.
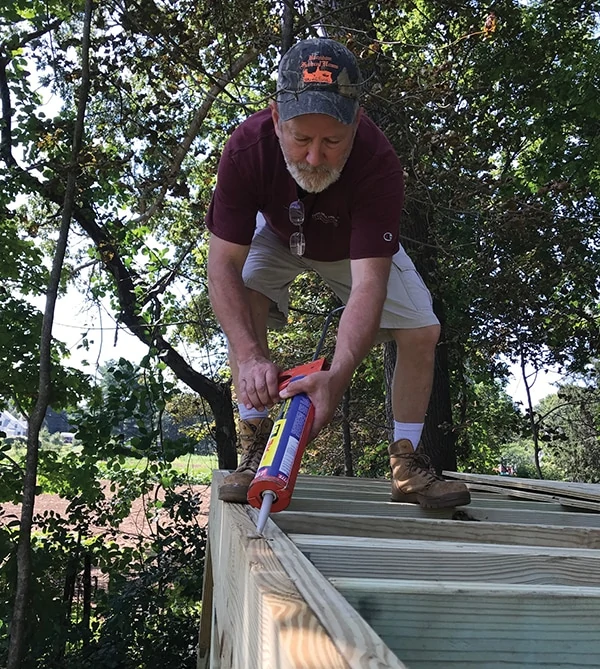
Decking—The decking of the treehouse is 3/4-in. CDX plywood glued and screwed to the joists. The exposed 3×8-ft. decks have 5/4×6-in. treated decking screwed down and spaced 3/8 in. apart for drainage.
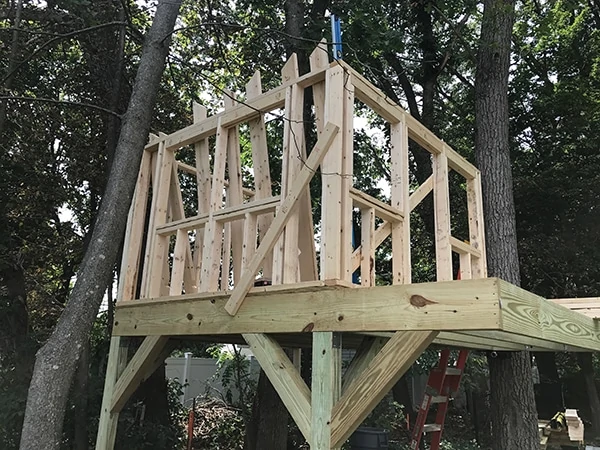
Framing and Roofing—The treehouse walls are built from 2×4, and the 2×6 rafters are reinforced with Simpson hurricane ties. We use a 2×8 pressure-treated ridge because it extends out and over a deck. The idea here was to mount a pulley and rope to it later.
We flashed the top of the ridge beam with lead flashing.
For roofing we chose CertainTeed Carriage House Tile, Sherwood Forest color. These shingles had a scalloped shape and were a fun detail to add to the treehouse.
A Velux 30-1/16×37-7/8-in. skylight was added to one side for light and venting.
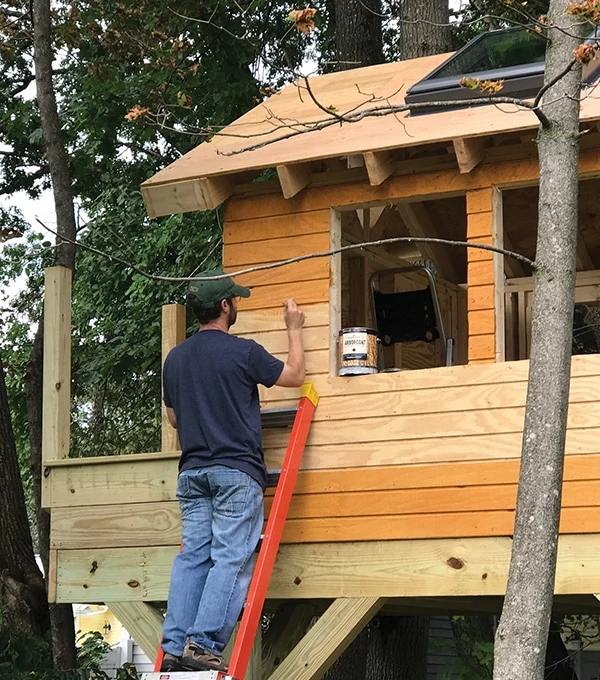
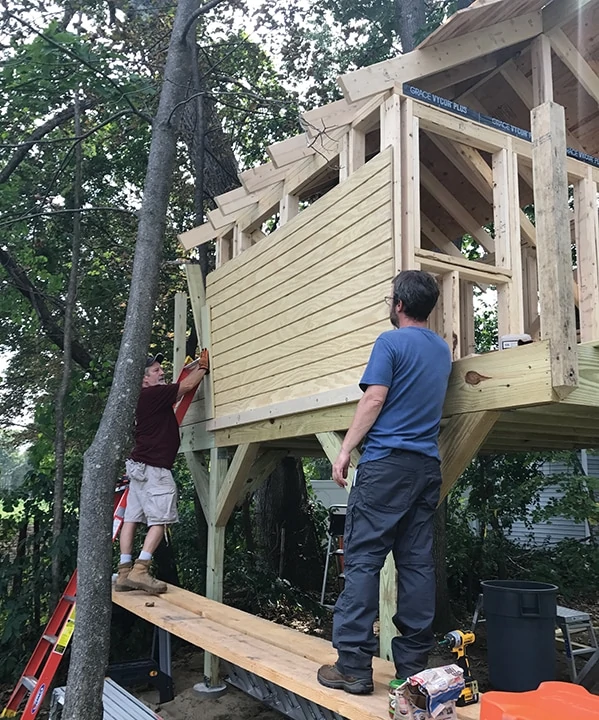
Wall Sheathing—For sheathing we used 1/2-in. T1-11 siding and oriented the lines horizontal to simulate a rustic clapboard or horizontal board look.
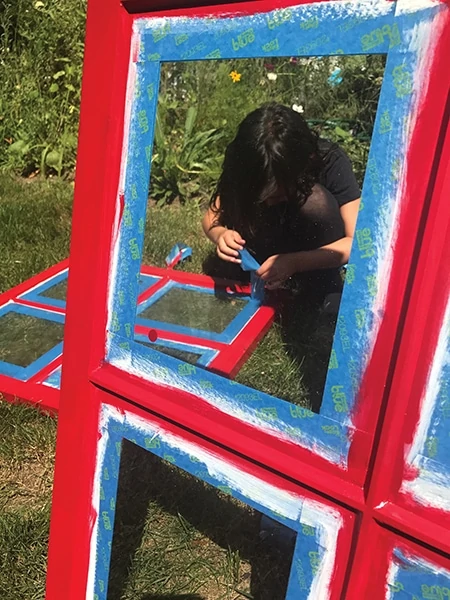
Windows and trim—We framed simple jambs and used Bosco cellar window sash for the windows. The windows have a simple lock and two hinges each. 3M safety tape was applied to both sides in case of glass breakage.
Exterior trim boards are 3/4-in. Cedar.
Screens—The gable end on both sides was intentionally framed and left open for ventilation. We installed insect screening here.
Railings—Treated posts (4×4) with top and bottom railings surround the open decks. We drilled a series of holes in the guard rails and the homeowner rigged roping for the balustrade.

Flooring—We used IKEA Outdoor deck and patio interlocking floor tiles on the inside of the treehouse, installed in a herringbone fashion.
Door—The door was designed by the future tenants. Days after we had a solar eclipse, the kids decided that they wanted the door window to mimic an eclipse.
With a jigsaw we cut out a half moon and then used a burning tool to mark the outline of the sun and sun rays on the door. Insect screening was then applied to the door opening.