

By Tom Matthews
The time-honored look of brick paver patios is as popular today as ever. For homeowners in search of a backyard retreat for relaxing and entertaining, installing a paver patio makes an excellent do-it-yourself project to enhance the backyard and increase the value of the home. EHT offers a few building tips from the patio pros.
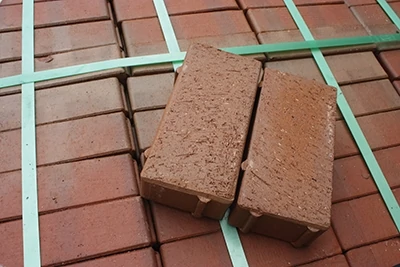
Use Clay Pavers
For patios, sidewalks and any walking surface, clay pavers represent the best value for the money because they’re manufactured with the intention to be pavers rather than intended for vertical applications.
Years ago, clay pavers were made at the end of a “batch” of face bricks—the bricks that are used to build the walls of homes and businesses. As a result, they were fired in a kiln the same length of time as the face bricks. And while face bricks do a fine job of holding up a wall when they are expertly laid by an experienced bricklayer, they are not engineered to support vehicular traffic.
Clay pavers that are meant to be pavers are more durable than face bricks (they withstand up to 13,000 lbs. per square-inch of pressure, which is greater than concrete). They’re colorfast, they do well in extreme heat and freezing cold, and they are a consistent size, which makes installation easier.
Plan Size & Layout According to Use
Gather all the furniture and amenities that you will regularly want on your patio—grill, table and chairs, fire pit, etc.—and arrange everything in a logical and user-friendly location. You can then use a rope or spray paint to outline the patio area to give you a visual estimate of its size requirements.
Locate Underground Utilities
Before breaking ground on your patio, call 811, the national “Call Before You Dig” number, designated by the FCC to protect American homeowners and professional excavators from the injuries, expenses and penalties caused by digging-related accidents that result in damages to underground utilities.
Sometimes, the design of the patio will depend on what’s already there. Keep in mind where the utilities are located and determine a safe way to get materials in and out of the construction site.
Choose your Base
A paver patio can be built with two methods of constructing the sub-base. A patio with a rigid base has pavers that are mortared in place. A patio with a flexible base is built with sub-layers of compacted gravel and sand.
Pattern & Shape
Keep in mind that the brick pattern and patio shape will impact how many bricks will need to be cut. Although a curved patio has a less formal appearance than a square one, the rectangular pavers will need to be cut to follow the curve of the border. The choice of brick pattern can also minimize cutting. A basket weave pattern is ideal because full pavers can be used throughout a square or rectangular shaped patio. Using a running bond or 90-degree herringbone in rectangular areas will only require half-cuts.
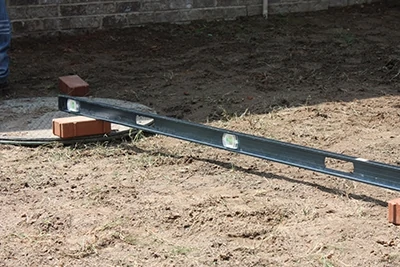
Shed Water
Don’t forget to slope the soil about 1/4 inch per foot away from the house to allow for proper drainage away from the building envelope.
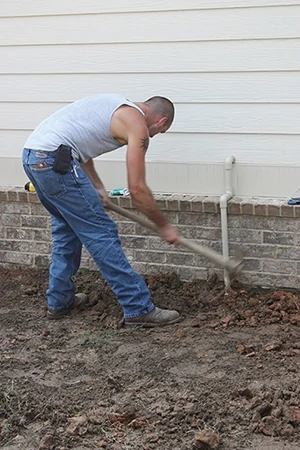
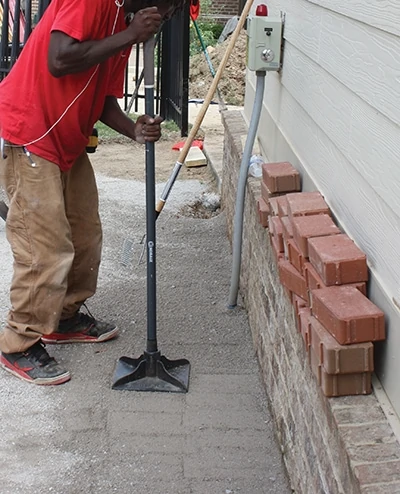
Compaction is Key
After excavating the patio site, use a rented plate compactor to tamp down the soil before building. (A hand tamper will also work, albeit more slowly.) After adding the bed of crushed rock, again use the compactor to tamp down the gravel base. And after installing the pavers, tamp the finished surface. Comprehensive soil compaction during all phases of construction will help ensure a strong, sturdy foundation for your walking surface.

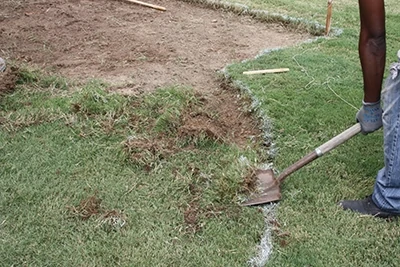
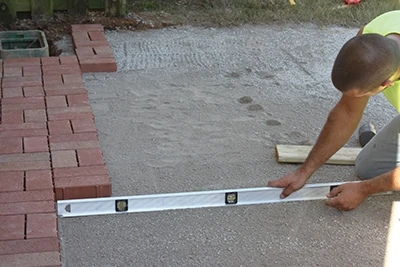
Excavation
As a general rule, patio pavers require about 4 inches of compacted crushed stone as a base for pedestrian use (up to 8 inches for climates where ice heaving is a problem). Dig deep enough to include the depth of the crusher run gravel, plus one inch of sand, and the paver itself on top. When installed and compacted, the paver should be just above the top of the ground.
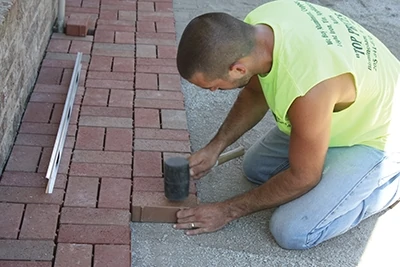
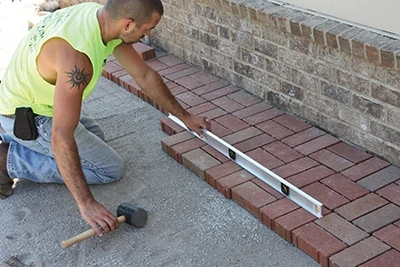
Carefully level the pavers as you proceed, checking them left-to-right and front-to-back in order to keep the patio in the same plane, but maintain the consistent drainage slope.
Fill Joints with Sand
Joint sand is the key to providing interlock between pavers and providing cushion between the pavers to prevent paver-to-paver contact and chipping. The sand joint between pavers should be between 1/16 and 3/16 inch. Concrete sand that has coarse and angular particles is recommended over masonry sand, which has rounder, finer particles. The joints need to be completely full of sand to function properly and promote interlock in the system.
Learn more about clay patio pavers at www.pinehallbrick.com.
Side Note
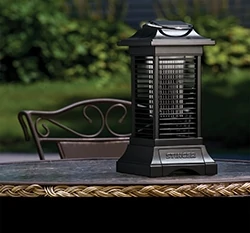 Stinger Insect Zapper Lantern
Airborne pests such as mosquitoes, flies, beetles and moths can be a major annoyance, particularly during the warmer months when entertaining on decks and patios, or just enjoying the outdoors. With the new Stinger Insect Zapper Lantern (BKC90), you can forget having to swat, slap and swish away irritating insects. This rechargeable lantern is proven to eliminate up to 40 percent more flying insects compared to similar products that use white UV light technology. Super portable, the Insect Zapper Lantern travels easily from the backyard to the campground and beyond.
Using black UV light technology and an Octenol lure to boost mosquito attraction, the cordless lantern is lightweight with a discreet design and quiet operation. Ideal for areas up to 625 square feet, like a campsite or a deck, the lantern incorporates bright white LED’s which are perfect for lantern-only accent lighting. The Stinger Lantern offers a 3-1/2 hour run time, 3-hour charge time and a sturdy ring for carrying or hanging. Available at Wal-Mart and select Home Depot stores, MSRP: $29.99.
