(guest post by Pat Overson)
If you are looking for a short-term solution for fixing a leaky roof, then installing a tarp is your most practical option. A tarp is not a replacement for real repairs done by a roofing contractor, but it will keep your leaky roof from causing permanent water damage to the inside of your house, which will buy you time for a proper contractor to arrive.
Installing a tarp on your roof is an easy DIY project and only requires a few quick steps and supplies. Follow these instructions and you will have the temporary protection needed for your home.
What you need
- Durable Tarp (Can be found at all hardware stores. Thicker tarps are better)
- 2×4 wooden boards (buy enough to go around the perimeter of the roof)
- Nails
- Hammer
- Screw Driver or Screw Gun
- Utility Knife (for cutting the tarp)
- Ladder
- Goggles and safety gloves
- Tape measure
Safety First
Before you install your tarp, try and enlist a friend to help you with the project. Another set of hands makes the job way easier and gives you someone to watch your back while you stand on the highest point of your house. Do not install a tarp during a storm and high winds and never walk on your roof when it is wet. Never walk on the tarp itself.
Be sure to clear out all debris from the roof. This means no broken panels or shingles and loose tiles or damaged vents.
Measure the area
Before you know what size tarp to use, you will need to measure the area where the damage occurred. Once you have measured, find the tarp that best suits your needs. A 20×30 feet tarp is your most common sized durable tarp, but smaller ones are not hard to find.
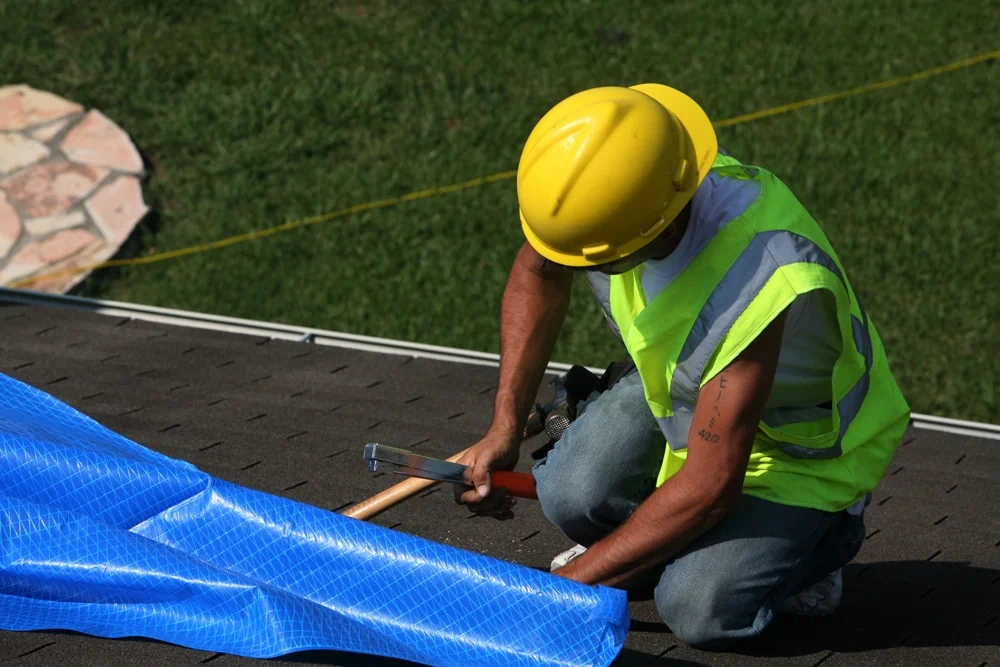
Unroll the tarp slowly over the damaged roof until the free end of the tarp extends over the peak and about 4 feet down the other side of the roof.
Secure the planks
Using nails, attach the peak end of your tarp to a 2×4. Place the 2×4 against the roof along the rake to prevent water collection. Your 2×4 should be two feet longer than the width of your tarp. Wrap your tarp around the board then secure the board to the roof with a screw.
Extend the top edge of the tarp over the roof
If your tarp is too long, cut the excess tarp from the other end with your utility knife. Remember to leave about a 4-foot overhang. Nail the tarp to a 2×4 as you did to the other edges of the roof. Nail parallel boards at least 10 inches apart, then wrap the tarp around the end board and pull it tight to the roof. Attach it under the eave with screws.
Secure the edges
Attach 2×4 boards to the sides of the tarp as the last step to ensure you tarp will keep water out.
Installing a tarp on your roof is a great temporary fix, but it is important to remember that real repairs on your roof are still needed. Be sure to call your local roofer as soon as possible.
Editor’s Note Pat Overson is the owner of Overson Roofing in Mesa Arizona. Overson Roofing has served its clientele respect and professionalism for over 30 years. The company won the Better Business Bureau Torch Award for ethics in 2016.


