Photo illustrated spiral stair project with 24 step-by-step photos
By Matt Weber
Constructing a spiral staircase is a daunting task even for experienced carpenters. For this reason, most DIY homeowners either avoid the project or fork over big bucks to pay a pro for a custom build. The manufacturers of the Arké spiral staircases recognized the demand for spiral stairs and the need for simplified installation, and the result is an innovative kit design that enables a DIY’er to assemble a staircase themselves without the need for special tools or skills. The Arké all-in-one kits include treads, landing, balusters, handrails, hardware and accessories. There is nothing to paint, weld, stain or seal.
Key Features
When it comes to installation and assembly, the Arké kits offer three unique design features that address common problems.
First, the system’s height is adjustable with the use of a patented spacer system. Rather than rely on an exact height measurement, the standard spiral staircase kit is adjustable in height from approximately 8 ft.-3in. to 10 feet. (For heights greater or lesser than the standard range, additional risers, center pole extensions and handrails are available.) The 1/8- to 1/4-in. thick spacers can be installed along the center pole between stair treads as needed to incrementally adjust riser height and thus the overall height of the staircase to perfectly match the landing.
Another key Arké feature is the option for directional turn of the spiral. Most manufacturers produce a specific unit based on the rotational turn (clockwise or counterclockwise) of the spiral for specific installation. This requires careful planning and measurement to avoid a restricted or blocked floor exit. The Arke kits, however, can be installed with either a clockwise or counterclockwise rotation, which can be decided during installation.
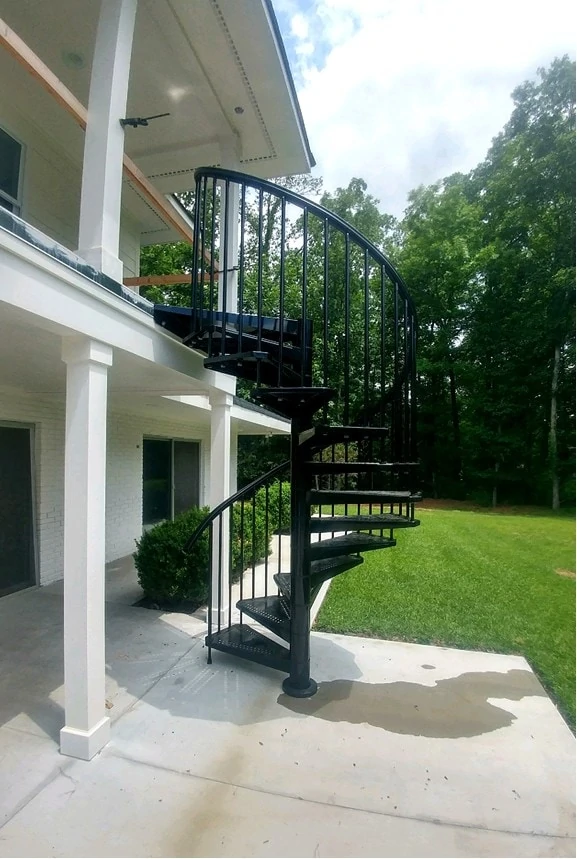
To accommodate different building sites, the Arke Sky030 kit pictured in this article, also features a landing which allows the staircases to be fitted to square openings through the floor, or to sites without an opening such as balconies and mezzanines.
The Planning Stage
When ordering a staircase kit, first measure from the finished floor on the top level to the finished floor on the bottom level of the proposed stair location. This determines the exact height required for the installation.
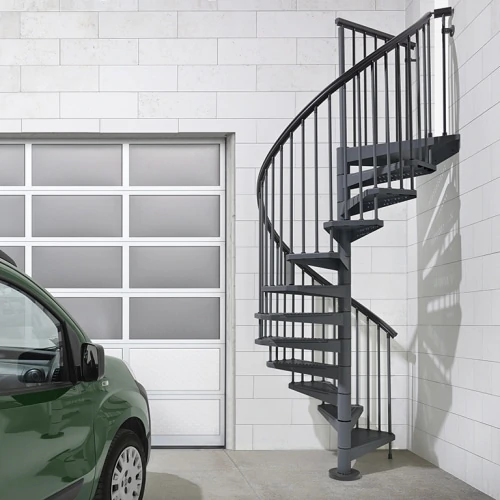
Next, measure the total amount of available space to determine the correct diameter of the stair. The finished space should be at least two inches larger than the total staircase diameter. The Sky030 kits are available in diameters of 47, 55 or 63 inches. (Note: If the installation must meet the IRC Building Code, the homeowner will need to choose the 63 inch diameter model, which is designed to meet the general IRC code requirements as relates to spiral staircases.)
The Sky030 kit also comes in three powder-coated painted color options; White, Iron Grey, or Black.
Step by Step Installation
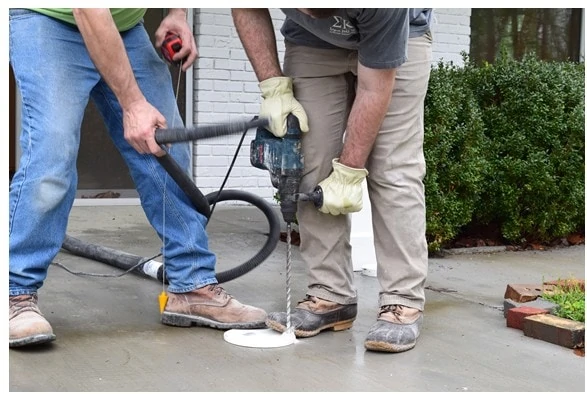
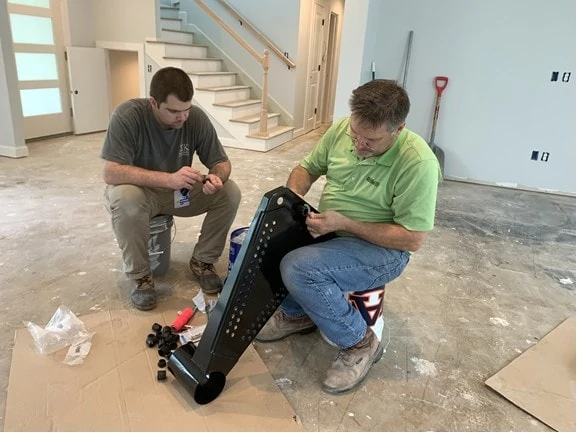
Assembly of the Arke kit begins with installation of the base-plate and the center pole.
The base plate was fastened securely to the slab with concrete anchors.
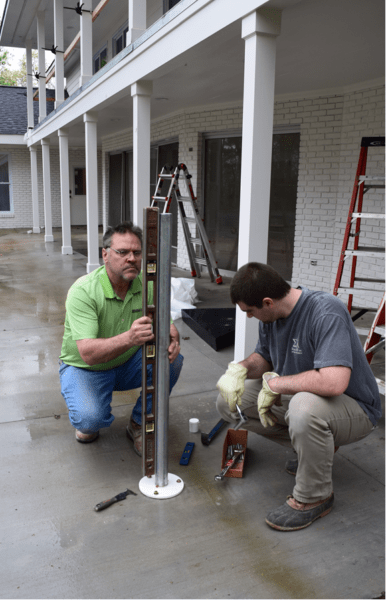
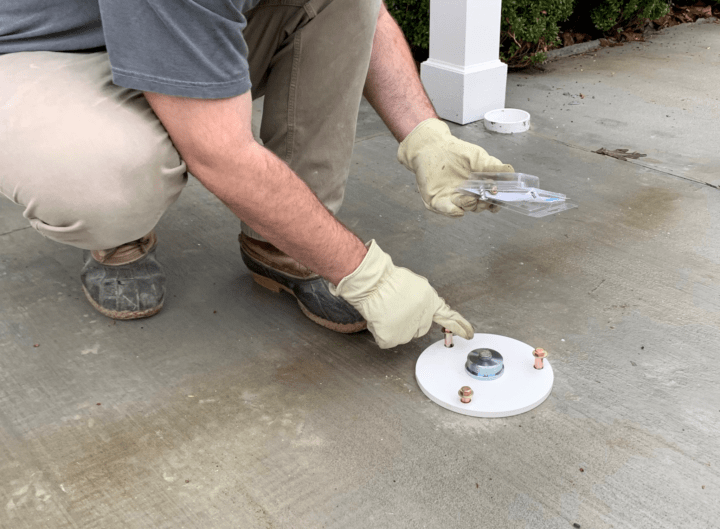
The metal center pole threads onto a steel coupler.
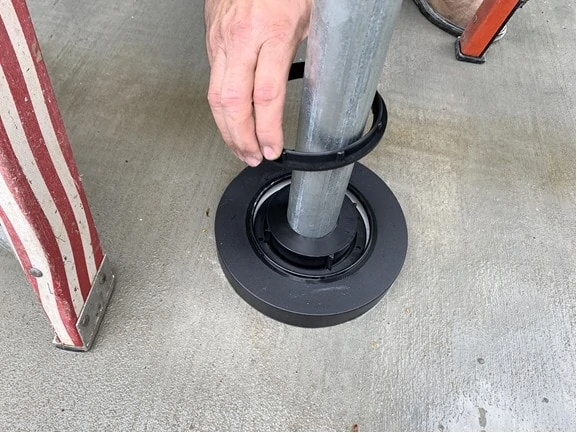
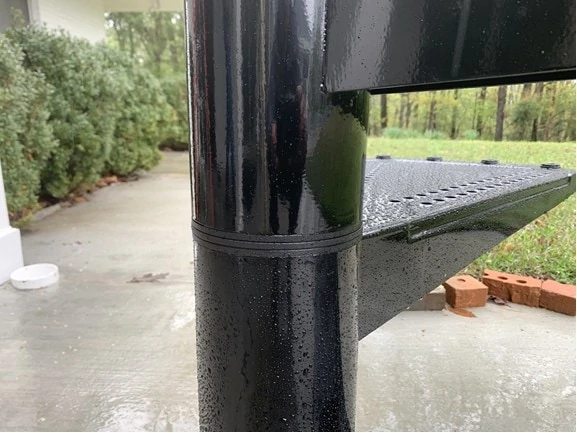
The plate cover and bottom collar slip over the pole.
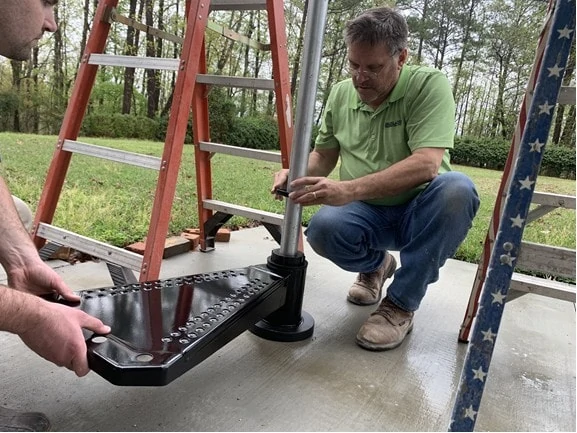
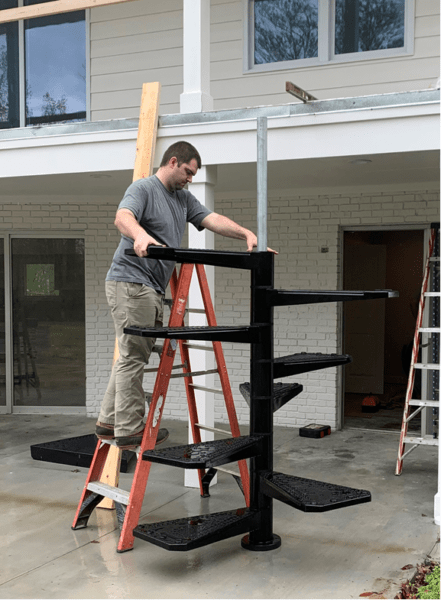
Each stair tread mounts over the pole with spacer discs.
During assembly, the treads are not in a fixed position and can be moved out of the way while you work.
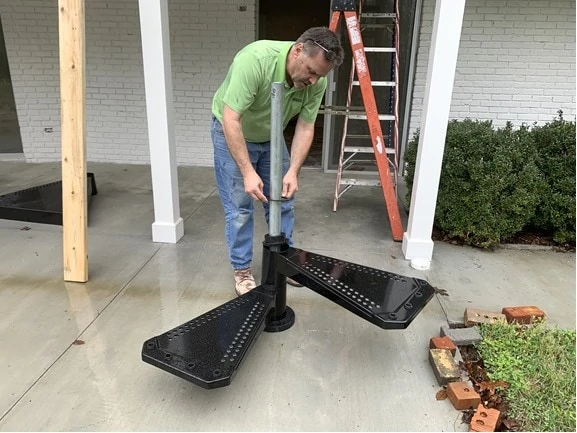
The kit includes detailed instructions on the number and placement of spacers required to achieve your desired staircase height.
Some pre-assembly of the treads is required to install the balusters and handrail connectors.
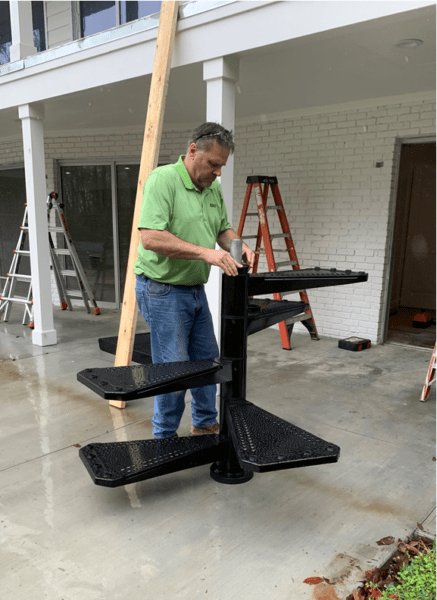
As more treads are installed, the weight of the components make the connections nest together and pull the assembly tighter around the center pole.
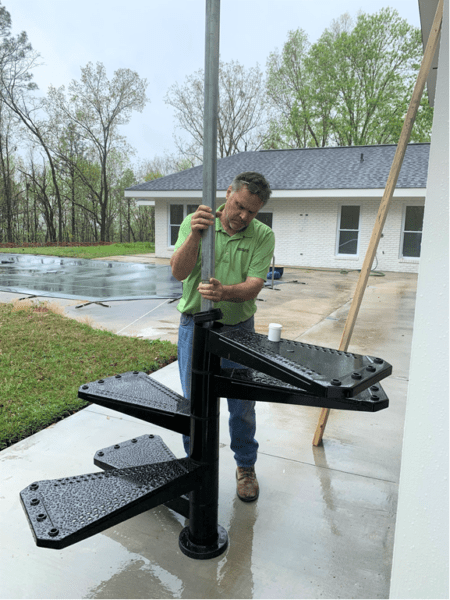
After a little grease is applied, a second center pole threads over the first.
With additional weight, the assembly becomes increasingly rigid.
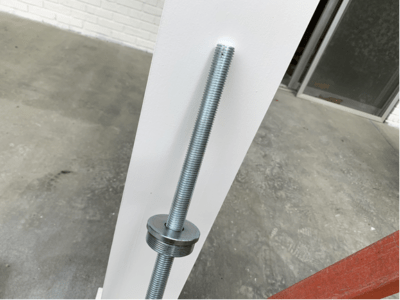
A Coupler and a threaded rod are installed at the top of the center pole.
The threaded rod awaits placement of the landing and top handrail post.
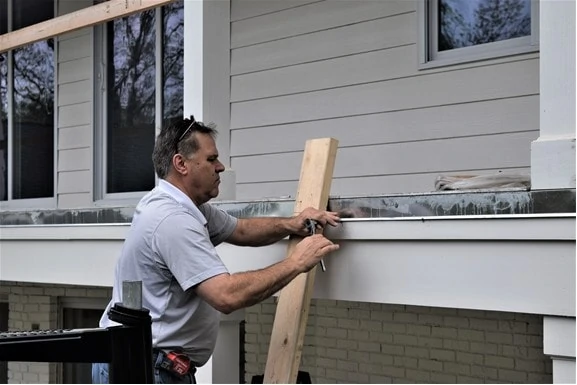
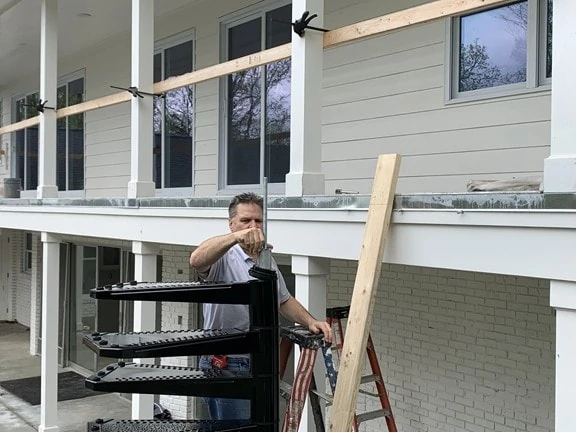
Measure and mark placement of the lag bolts, then partially drive them into solid framing of the house structure so they’re ready to support the landing.
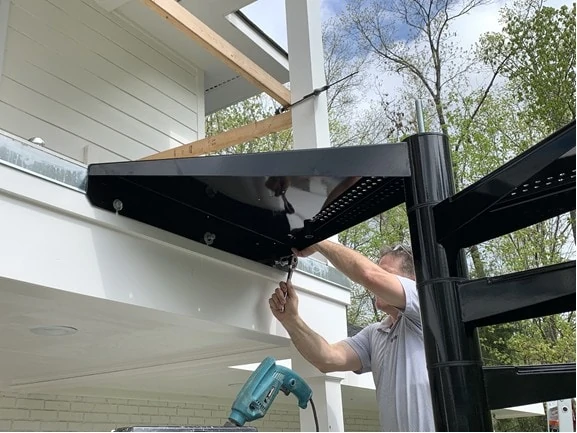
Mount the triangular landing over the lags and tighten the bolts.
Secure the landing over the center post.
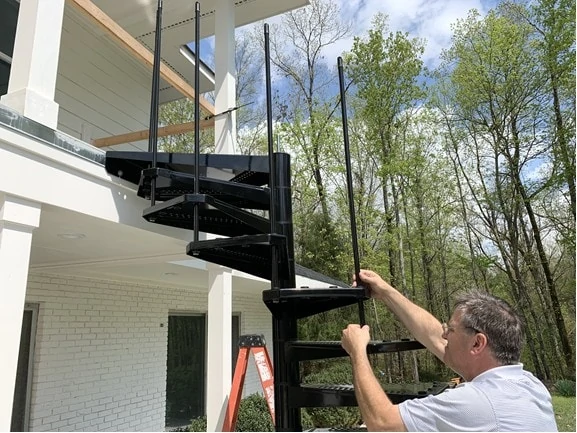
Insert the first baluster of each tread into the tread connectors. The front balusters extend through the treads and connect to the lower treads, which achieves the fixed tread position for the stairs.
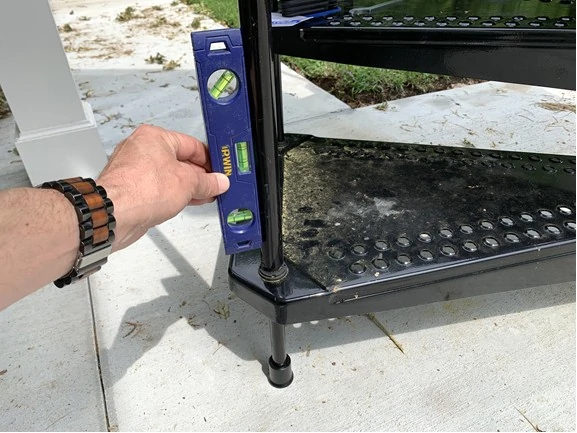
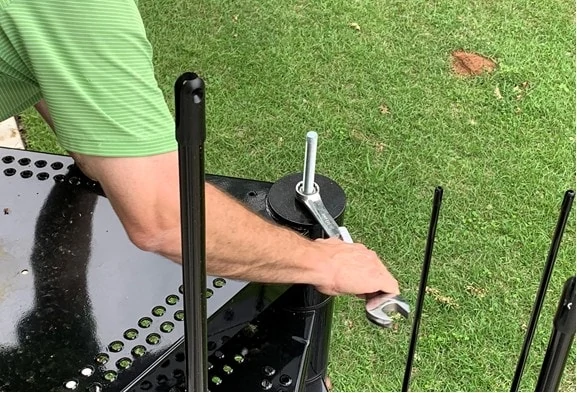
Make sure the balusters are plumb in every direction.
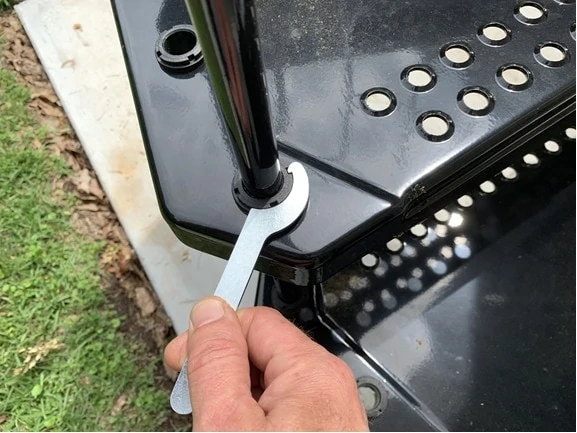
The baluster connectors tighten down with a wrench included with the kit.
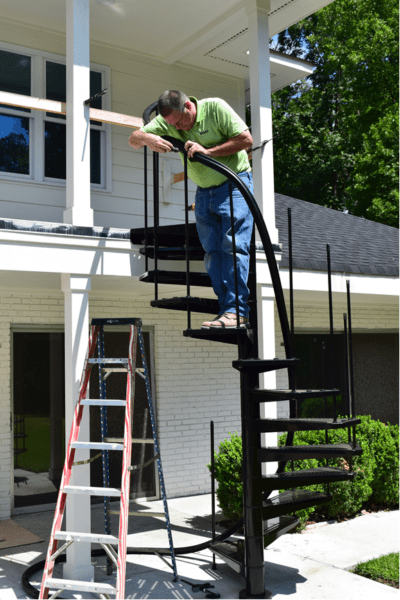
The stair rail is made of PVC, and we left it laying in direct sunlight throughout the morning which heated the rail, making it flexible and easier to install.
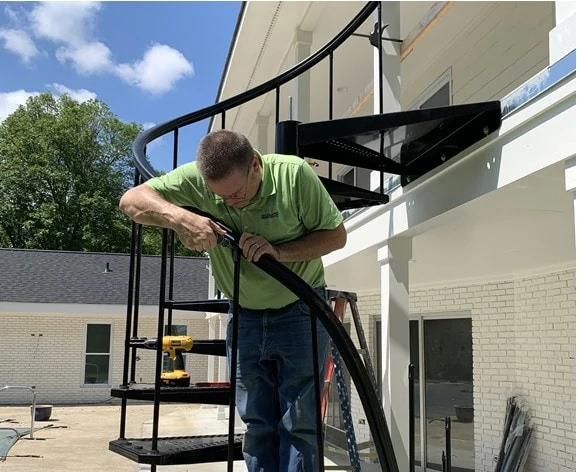
The bottom ridge of the handrail slots between two tabs of the handrail connector at the top of the balusters.
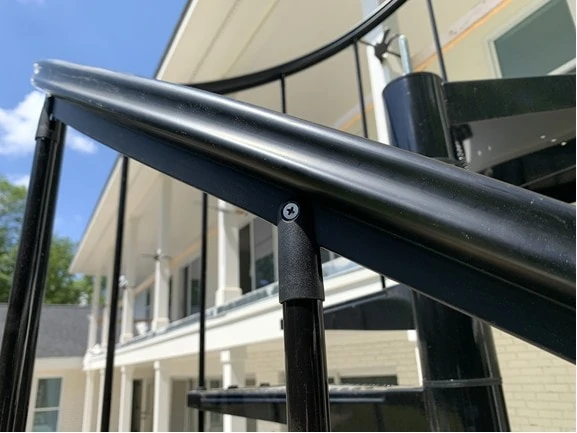
The stair handrail can be drilled as needed to provide fastener holes for the color-matched screws which secure the rail handrail to the balusters.
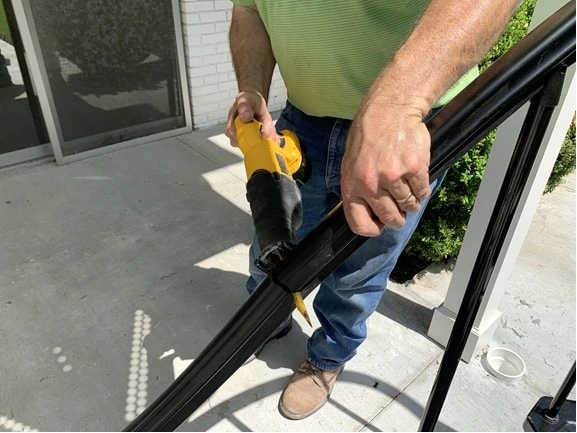
The excess rail can be trimmed to fit.
When the handrail is connected to the balusters, the joints of the staircase tighten and stabilize, and the staircase becomes rigid and stationary.
Once the interior balusters are installed, the staircase is rock-solid and practically complete. All that’s left of this project is connection of the top handrail after the balcony balustrade of the home is constructed.