A Step-by-Step Guide to Repairing a Concrete Walkway.
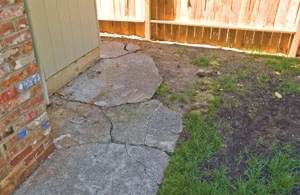
I hadn’t paid any attention to the sidewalk that goes from my neighbor Andy’s RV parking area to the backyard, until he made a couple of trips over it with the backhoe. Oops! Now, to their credit, this sidewalk was not done right the first time and wouldn’t hold up to a big ol’ boy on a bicycle, let alone a backyard-seeking backhoe. It was just too thin, especially along the edges.
Of course, the goal here is not to place blame, but to get the walkway into top form so Andy and Kaye could put their house on the market in preparation for moving to Europe (which really stinks because they are good friends and we’re going to miss them). But I digress. We tackled the sidewalk repair with a minimum of blood and tears, so we figured you could benefit from seeing how we did it.
The original walk was probably an afterthought using some extra concrete left over from a foundation pour. “Hey, we still got some mud on the truck—need some sidewalk or anything?” Whether or not the original involved too much beer, it certainly didn’t get formed to proper depth.
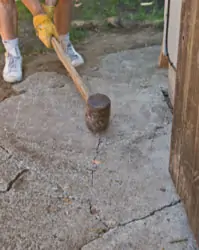
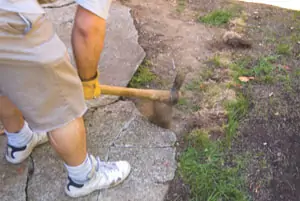
On the plus side, the existing walk was so thin we were able to bust up the concrete with a sledge hammer. If your concrete tear-out project was built better than ours you will probably need to rent a jack hammer to break it up enough to remove it. Of course, we should have used the backhoe while we had it there!
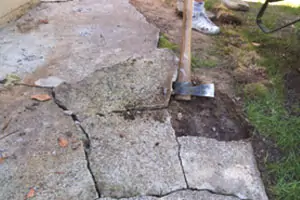
Remember, the goal in breaking up the old walk is to get pieces small enough to handle without having piles of small rubble, so don’t get too carried away.
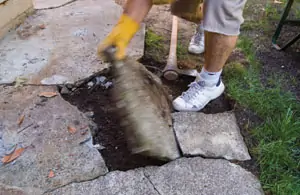
A mattock is a good tool for lifting the re-sized concrete chunks out of the ground. Once you get a few pieces loose, remove them before busting up more. This gives the concrete in the adjacent areas room to break off.
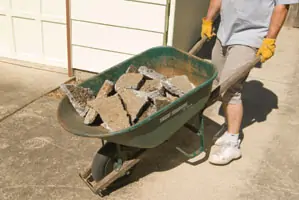
It goes without saying that concrete is quite dense, so don’t overload your wheelbarrow. Keeping more than half a load up front makes it easier to lift and balance the wheelbarrow.
We tossed the chunks of concrete into my pickup. With apologies to bedliner manufacturers, projects like this are why I leave the inside of my pickup bed stock—and yup, it gets “all narfed up” according to my brother. But it makes it easier to slide loads in and out, as well as easier to sweep and hose out. I figure if and when I get ready to sell the truck I can add a liner.
We had a couple of options for disposal of the concrete. Our local dump and recycle centers both had areas for “rubble.” The local sand and gravel company also has an area designed to receive “fill.” Our choice was made on proximity and fee level.
Building the Forms
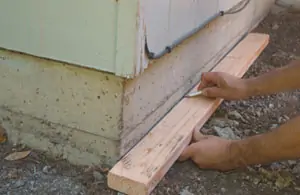
We used a laser level to mark several points along the foundation wall. We then used a piece of 2-by-4 and a carpenter’s pencil to make a heavy pencil line on the foundation to indicate the level of concrete along the house side of the walkway.
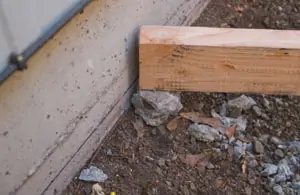
A piece of concrete elevated a 2-by-4 to grade while a level on top transferred the elevation out to the edge of the walk. We set the outside edge of the walk 1-inch below the house-side grade to get the required 1/4-inch-per-foot drainage drop.
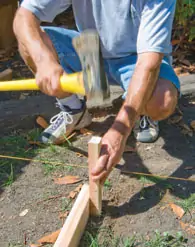
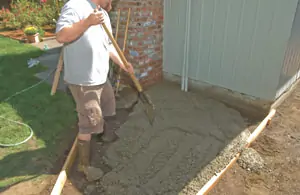
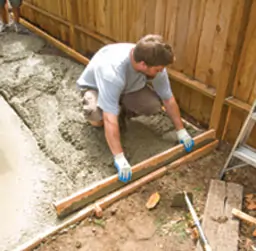
We laid out the concrete areas with a string and cut the form boards to match the strings. We made wood stakes and drove them in the ground to support the form boards.
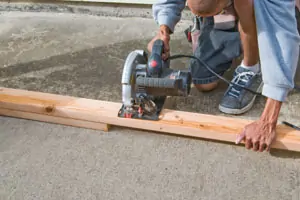
Although our crew has miter saws and table saws available, we usually do all of our wood cutting with a circular saw when we’re working on concrete projects. This includes ripping for stakes and screed parts.
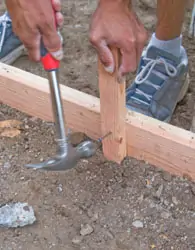
We nailed the wood stakes to the form boards with duplex-head nails for easy removal when the concrete is set.
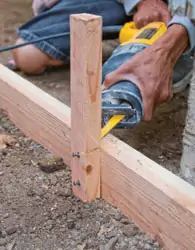
A reciprocating saw made short work of trimming off the stakes at form-top level. Flush stakes make things much easier during the fine grading, pouring and finishing process.
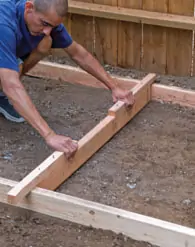
We used a 2-by-4 with a support piece nailed on top as a fine-grade screed. The fine-grade screed acts as a depth gauge and scraper to get consistent depth, something the previous sidewalk did not have.
Because we knew the ground was well compacted under our project, we made sure not to dig too deep but rather to dig down to the desired grade without loosening the gravel/dirt mix underneath. We avoided needing to re-compact the area. On larger slabs where cracking may be an issue, we plan for several inches or 3/4-inch minus crushed rock to be compacted.
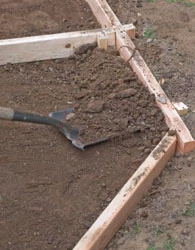
A flat-point shovel is a good tool to remove dirt scraped off during the fine grading process. The flat point helps maintain an even plane in the formed area and works well against the form boards to get the dirt out.
We used some of the extra dirt material as back-fill to help strengthen the form boards and minimize concrete leaks.
Pouring the Slab
We called Nation’s Mini-mix in Eugene, Oregon (www.nationsminimix.com) for the concrete. Nation’s process mixes the concrete on site. You can get just the amount you need.
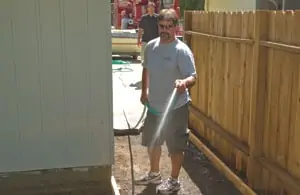
With the forms set, fine-grading done and the truck backing into position, we sprayed the entire area with water to keep the forms and dirt from drawing too much moisture out of the concrete mix.
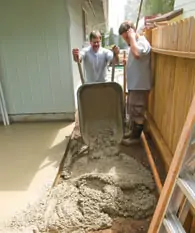
Once the truck is on site, it’s very important to keep things moving. Concrete providers usually have a per yard off-loading time requirement. If you take too long to pour, they’ll charge you extra for stand-by time. Using two wheelbarrows speeds up the process of getting the mud from the truck to the pour site.
Depending on the shape of your pour, a pair of rubber boots lets you get right into the thick of things to muck that mud into the corners of the formed areas.
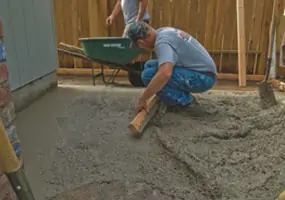
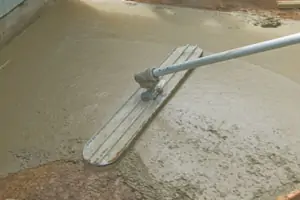
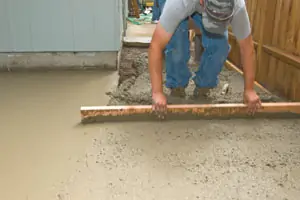
We used 2-by-4s as screed boards for grading the concrete flush with the top of the existing walk and form boards. We rented a bull float along with its long handles and reversible edge control to smooth the concrete and start the process of working the larger aggregate away from the surface.
With one section poured and the temporary dividing form board removed, we started adding concrete to the next section. The screed for the second section bridges over the form board on one side and over the fresh concrete of the first section on the other to determine grade height. Keep working the concrete back with the screed board and watch for any voids. If you keep a little mud piled up along the leading edge of the screed then you know you have the forms full to avoid low spots.
Of course, dumping the right amount of concrete with the wheelbarrow can save a lot of work moving material around within the forms.
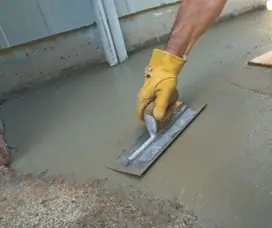
In addition to the bull float, we used a magnesium float to work some “fines” to the top for a smooth finish. After waiting for the concrete to set up a bit, we used a trowel to smooth the surface. The key is keeping the leading edge up while making each pass with the trowel.
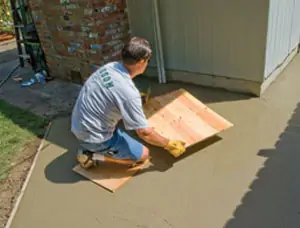
When the concrete is set up enough for troweling, you can get on it with knee boards, which in our case were scraps of plywood. Knee boards allowed us to reach the areas against the house during the finishing process.
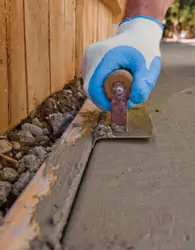
We used an edge tool to finish the sides against the form boards. An edge tool is a special trowel with a radius on one side, which takes the sharp corner off of the sidewalk edge.
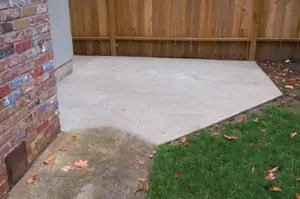
We used a joint tool to press a crease into the concrete that lined up with the inside corner. We usually put joints in a sidewalk about every 4 to 6 feet, but in this case we had a hard-to-reach stretch between the house and fence and some odd geometry where we wanted an extended corner.
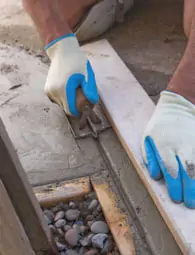
We used a 2-by-4 as a straight edge to lay out the joint. It takes some pressure to push the larger aggregate into the mud and several passes to make the joint smooth.
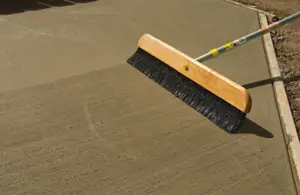
We put a broom finish on our sidewalk to provide traction and cover up minor imperfections in the finish.
Breaking Down & Wrapping Up
After the concrete sets up for a couple of days it’s time to strip the forms. We used the mattock to get under the form boards and pry them up. Of course, you can pull the duplex nails first, but sometimes leaving them in makes it easier to get the stakes out of the ground. In any case, be careful not to damage the edge of the concrete.
A hoe or flat-point shovel makes good scrapers to remove extra concrete from the form boards. You can save your form boards for future concrete projects or use them for shed construction. Be sure to watch for nails and residual concrete when cutting used form boards.
Although we formed our project with plenty of fall for drainage, we still tested it with a bucket of water. The sidewalk passed the test.
Materials List
- Sledge hammer
- Mattock
- 2x4s
- Circular saw
- Reciprocating saw
- Tape
- String
- Hammer
- Duplex nails
- Wheel barrow
- Garden hose
- Shovels
- Level
- Bull float
- Mag float
- Concrete trowel
- Edger
- Jointer
- Concrete finishing broom


