


By Matt Weber
Shelves come in all shapes and sizes. A single basic shelf has a very simple design: Just screw two right-angle brackets at the same height on a couple of wall studs then attach a flat board to the tops and voilà—you’ve got a shelf. Shelves are everywhere, from bookcases and built-ins to mantle shelves, closets and cubbies. Here’s a look at a few styles you can build yourself as well as some products you can purchase “off the shelf” or use as inspiration for your own designs.
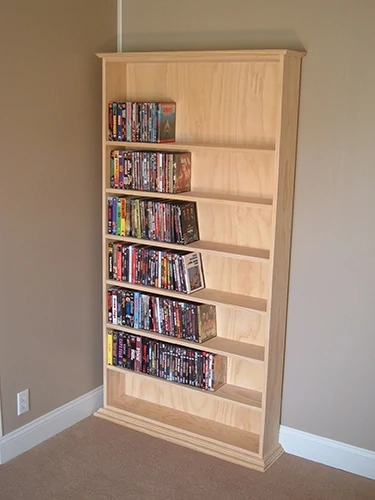
KEEP IT CLASSIC
A traditional wood case for a shelves makes a popular DIY project. For staingrade shelves, you can use solid wood such as oak or pine for the sides, top and shelves, and use a matching veneered plywood for the back. For more economical paint-grade projects, you can use less expensive finger-jointed boards or all plywood.
As far as how to design a shelf case, the possibilities are endless regarding its height, width, depth and trim detail. You can assemble using general carpentry skills and fasten the joints in multiple different ways. You can fasten the shelves with dowels, pins, dadoes, cleats or pocket screws.
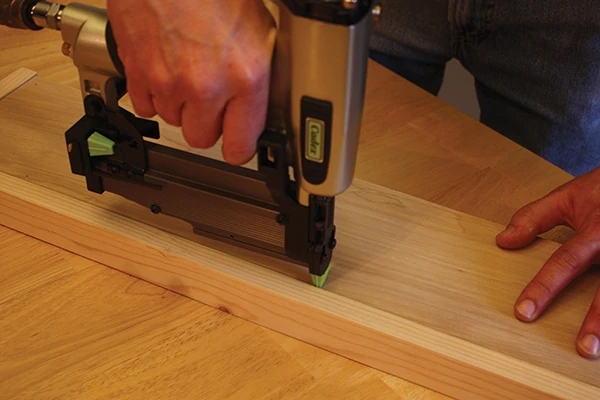
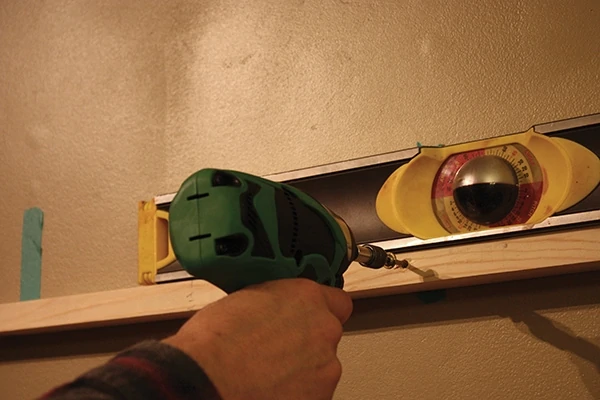
For DIY’ers, a pocket-screw jig provides an easy way to make a strong joint for attaching shelves to a case. Pocket-hole joinery relies on a twostep process. First, use a special “stepped” drill bit to drill the pocket hole. The bit has a 1/2-in. diameter shank but also features a shoulder with a narrower tip that drills a pilot for the shaft of the screw. The bit’s 1/2-inch shank bores a pilot hole to house the wider head of the screw.
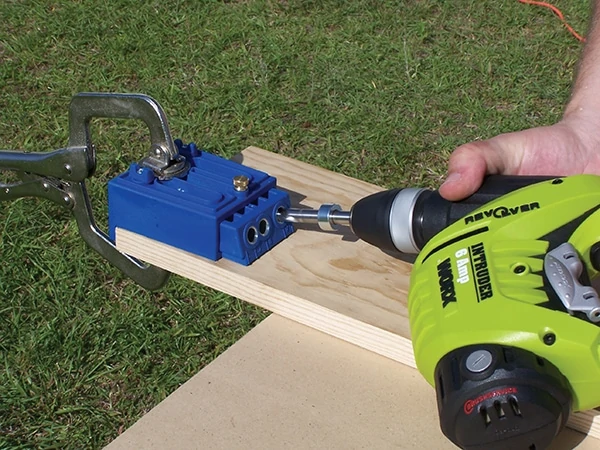
This initial pocket hole is drilled at an offset angle with the help of a special jig (shown in blue). Simply clamp the jig onto the edge of the boards and drill through the jig’s guide holes, which hold the bit at a precise angle.
The depth of the pocket hole and the length of the screw depend on the thickness of the wood you’re joining (indicated with alignment markings on the jig). Drill the holes, add wood glue along the mating edges of the boards, reassemble and then drive in the pocket screws to secure the joint.
A few more design tips for a shelf case:
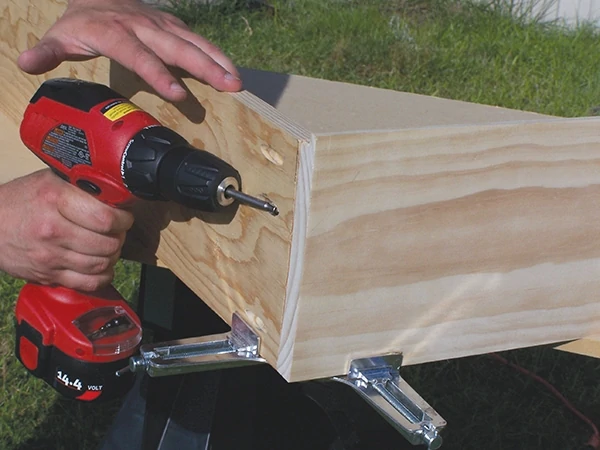
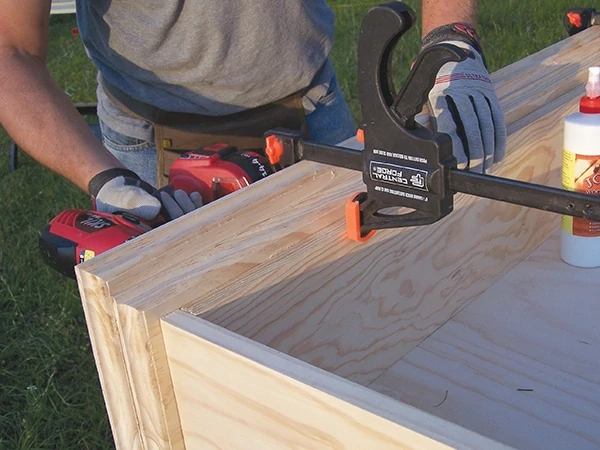
- Use right-angle clamps to hold the shelves in place when fastening.
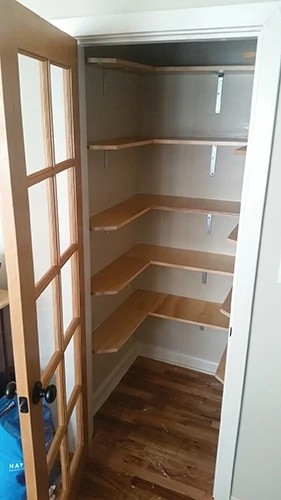
- For adjustable shelves, make “shelf standards” that line the sides with parallel holes to use with removable pins as shelf supports.
- For tall cases, add stability to the bottom by attaching a “toe” plate that extends beyond the face.
- Secure tall cases at the top with a safety strap that connects the case to the wall to prevent them from tipping over.
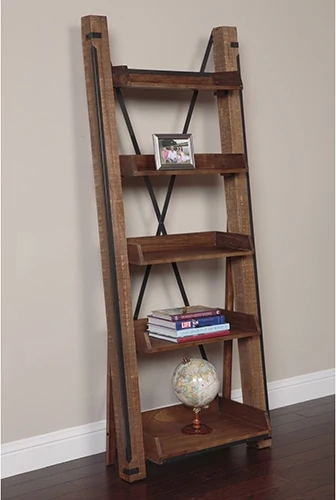
GO WITH RUSTIC
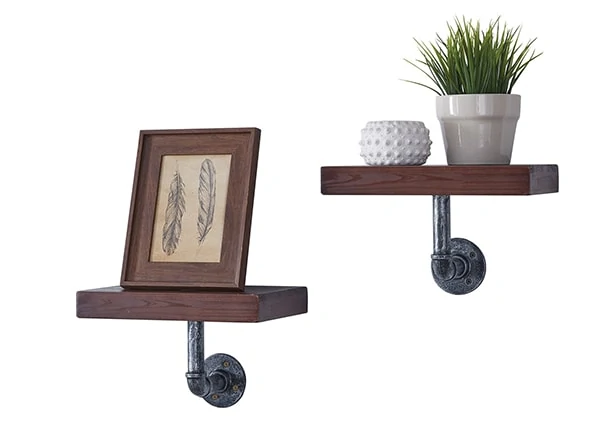
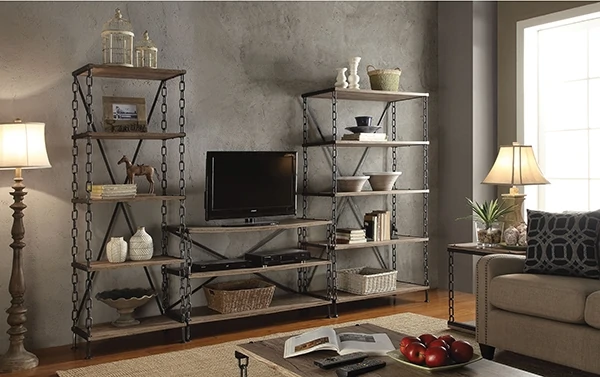
Rustic furniture is now very popular, characterized by a mixture of industrial elements such as metal pipes, angle iron, chains or even rebar, combined with organic materials like stained wood.
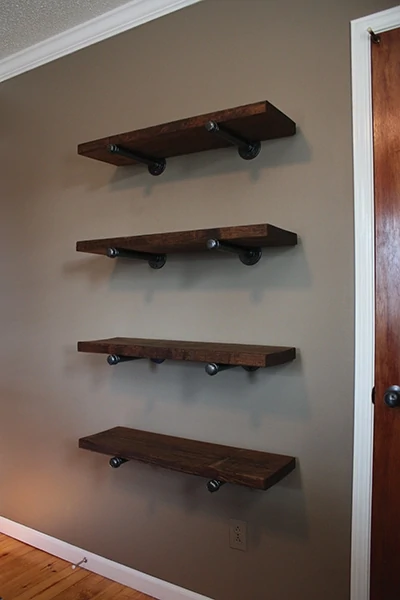
The metal elements are often painted black to protect them from rust as well as to enhance the “mechanical” aspect of the style— plus black goes with everything. The wood is often darkly stained and even distressed for an aged appearance.
One particularly fun aspect of building rustic furniture is that its character comes from its rough, rugged appearance, so dents or dings in the finish look that they were meant to be there. This makes construction of rustic furniture go a lot quicker and with less stress than taking the traditional carpentry approach, where you fuss over every little aspect of the wood surface as you assemble, sand and finish the project.
The EHT staff recently built simple rustic shelving using lumber shelves supported by galvanized pipe brackets. The shelving for this project was cut from simple 2×10 lumber. Each shelf bracket consisted of one 10-in. pipe (threaded on both ends), an end cap and a floor flange. We settled on using 3/4-in. pipe for a strong, sturdy look, and each of the four 30-in. shelves required two brackets. The pipes and fittings have matching threads, so they simply screw together for assembly.
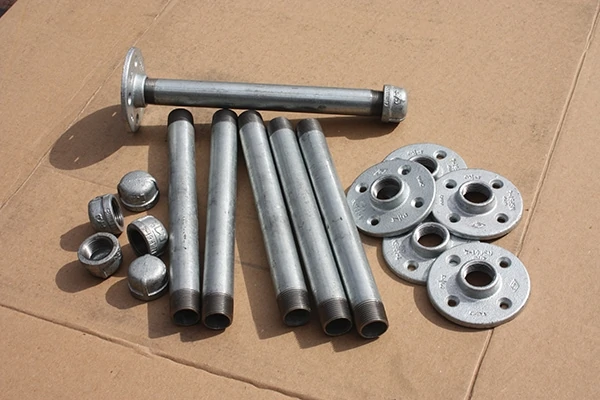
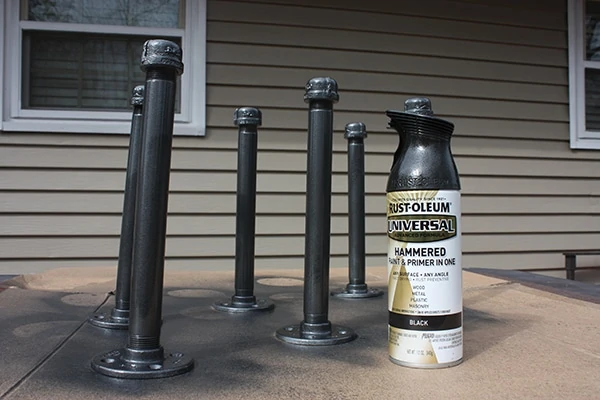
To paint the pipe brackets, we used a black Rustoleum spray paint (and primer in one) that offers a special hammered texture to the metal finish. The project also requires heavy-duty screws to mount the brackets into the wall studs, wood stain for the shelves, and polyurethane for a protective top coat.
The shelf lumber was cut to size, and we distressed the surface with a variety of tools to give it the appearance of age and damage. We smacked the boards with a heavy trucker chain to give it dents and dips. A handful of 1/2-in. nuts threaded over a heavy-duty wire can be used to whip sharper dents and dings into the surface. A simple punch tool can provide pinholes reminiscent of worm or insect damage. And when used sparingly, the waffle face of a framing hammer can create an interesting relief pattern.
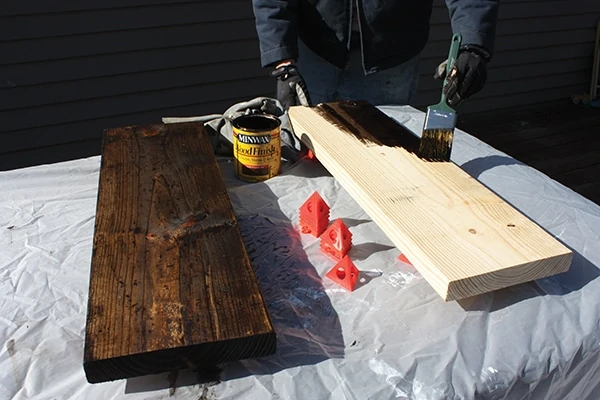
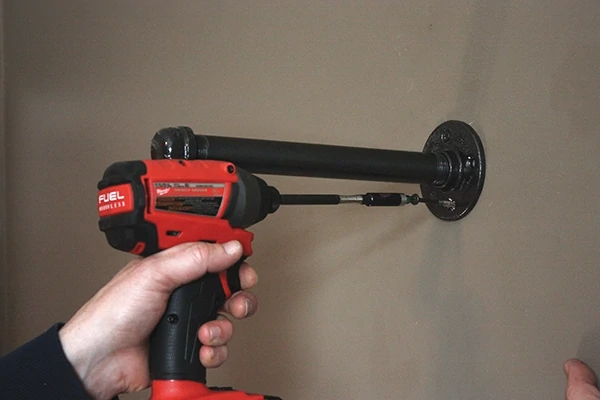
Add your stain of choice to the wood, then screw the brackets as shelf supports into the studs for secure mounting. We laid the shelves on top and let gravity hold them in place, or you can fasten them to the brackets if you prefer.
Beyond shelf brackets, you can use similar metal elements to construct all sort of industrial frames to serve as shelf cases, then add your wood shelves in any number of creative ways.
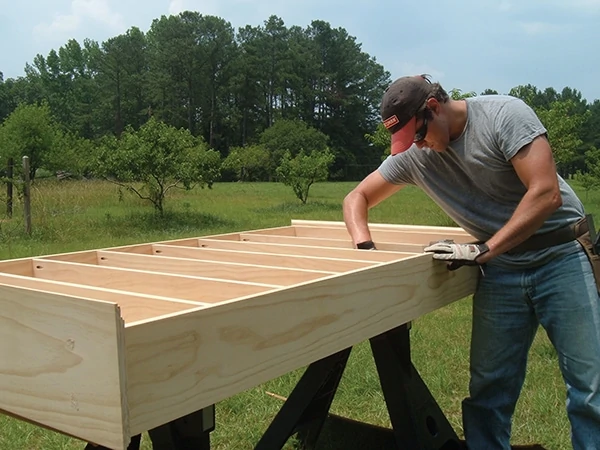
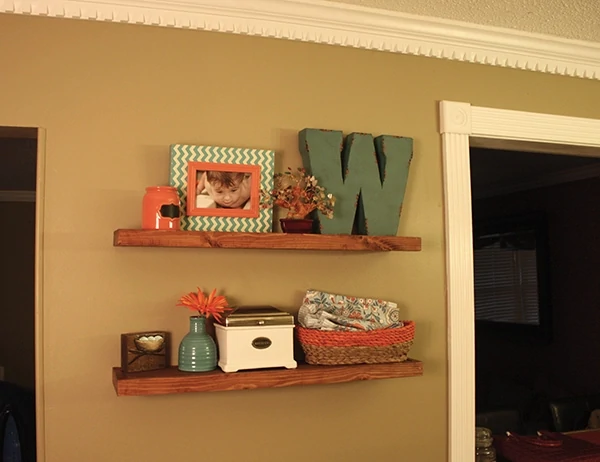
FLOATING SHELVES
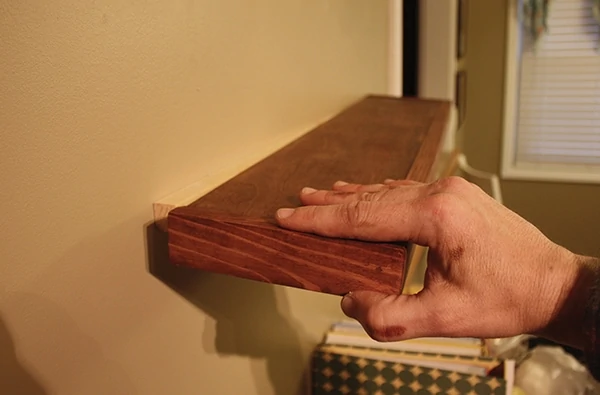
Floating shelves are basically made of flat, hollow boxes that have no visible mounting hardware. Depending on the method of construction, the hollow shelf mounts to either metal rods or a wooden cleat that fit inside the rear of the box and supports it from within. The rods or cleat are fastened securely into the wall studs for the best holding power.
One thing to consider when designing these shelves is the hollow nature of the construction. Since the mounting cleat usually only extends about 2 inches into the shelf, the shelf must be lightweight and well-balanced so as not to pull away from the fasteners that hold it to the cleat.
The EHT staff recently built some shelves with the upper and lower panels made of thin 1/4-in. plywood—not exactly heavy-duty material. For this reason, it’s smart to limit the size of these shelves to a fairly shallow depth. Ours extended only 6 inches away from the wall.
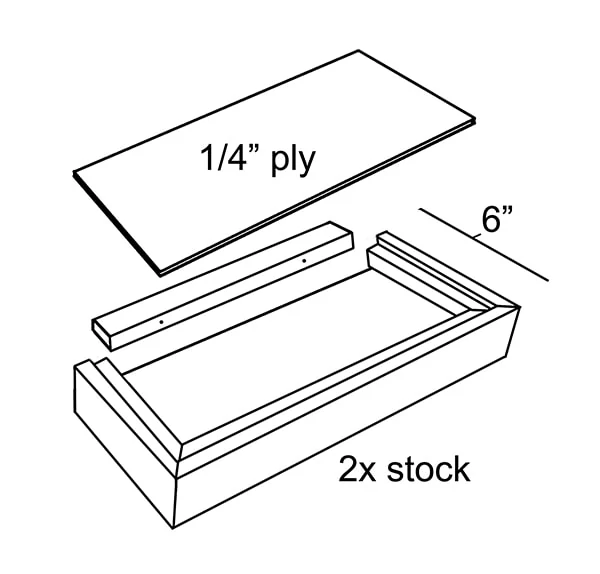
The front and side edges of the shelves were made of the 2×2 pine material, while the upper and lower panels were 1/4-in. staingrade birch plywood. To ensure a flat, flush shelf surface, we cut 1/4-in. deep rabbets along the upper and lower edges of the 2×2’s. When arranged as the sides of the box, these rabbets form an interior channel or trough for the plywood.

We cut the mounting cleats to fit snugly inside the channels at the back of the shelf boxes. To mount the shelves, make sure the cleats are fastened securely into the wall framing and cross at least two studs. Slide the floating shelf boxes over the cleats and screw them from the top surface down into the cleats.
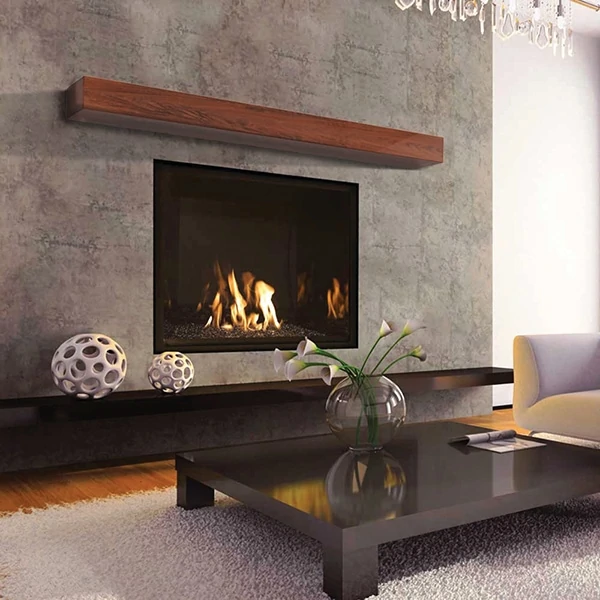
Although the shelves we built were small in nature, the floating shelf design can be expanded (more in width than in depth) and is often utilized to construct freestanding mantle shelves above fireplaces.
With a little research and an open mind to design, you can take aspects of any of these various shelf concepts and apply them to your next custom project.

Side Note
FLOATING CLOSET
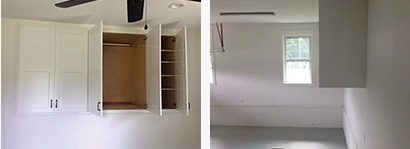
This bedroom had no storage. The homeowner wanted a closet plus storage shelves, but the room was already very small, and adding a partition wall to enclose new storage space didn’t make sense. Without occupying more space inside the room, the only option was to find storage outside the room, which is usually prevented by having exterior walls or another room on the opposite side of the interior walls. In this case, however, the bedroom was oriented adjacent to a large garage with a lower floor than that of the room. The creative design solution: A series of halfheight “floating” closet/cabinets built into the wall between the bedroom and garage, providing ample storage while economizing interior space, all without encroaching on the usable living space inside the garage. Our staff thought this approach was pretty clever, so we thought we’d share it here.
