

Don’t Flush your Money Away
By Clint C. Thomas, Esq. Photography by Zoe Thomas
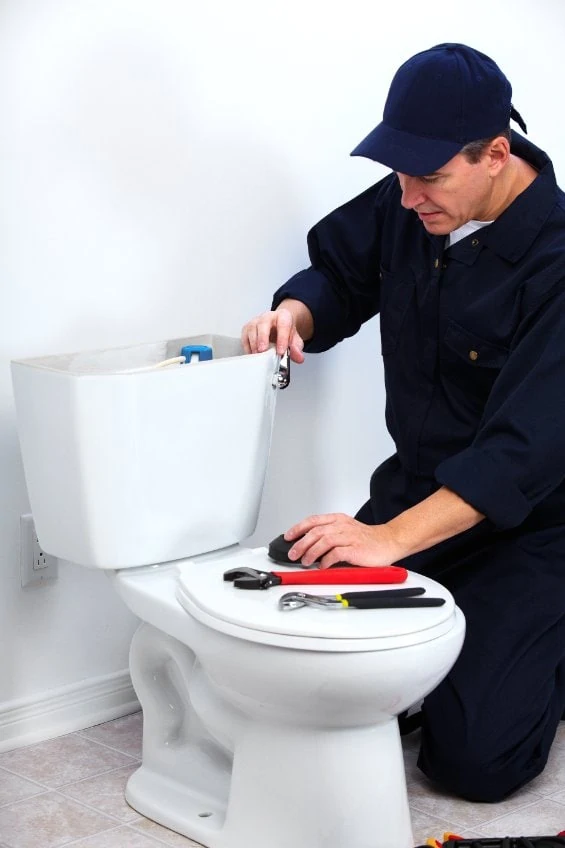
Plumbers are among the most expensive skilled trades around. Between the fees charged for just showing up at your house, known in the vernacular as a “service call”, to the $85-per-hour labor rate, parts and fuel surcharges, plumbers are not cheap. I’m not knocking plumbers and I’ve used my fair share in the past, but I’ve always watched what they did and after seeing it, I’ve wished I’d just done the job myself.
We’ve all heard that most accidents happen in the home, and it’s true. They do. Thanks to a recent household accident I had to replace a commode in one of our bathrooms because the tank had been broken. If you have pre-teen or teenage children, then you know what kind of mischief they can cause without even trying to do so.
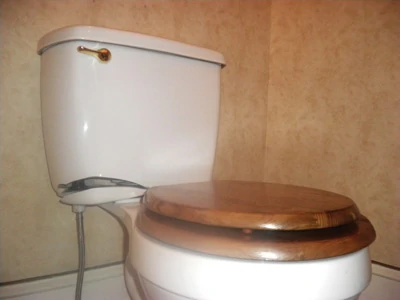
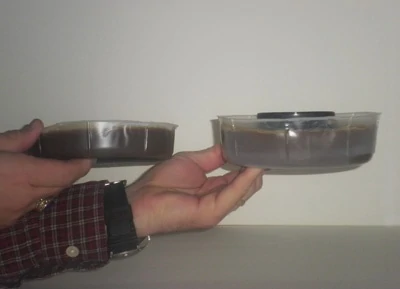
I began this project by going to my local box store and buying a new commode and a new wax ring. Commodes are secured in place by bolting the base of the toilet onto a PVC flange located at the top of the drain pipe in the floor. A wax ring is used to form a watertight seal between the base of the commode and the top of the drain. It resembles a giant doughnut made of wax, and some have a funnel-shaped piece of plastic attached to the bottom to help direct the flow of waste water into the drainpipe’s opening. Wax rings come in two different sizes. There is a regular size and an “extra-thick” size. The larger size is sometimes used to ensure a tight seal when a floor has been remodeled and the new flooring is higher than the PVC flange. This often happens when ceramic tile is installed where formerly there was only vinyl.
Remove the Old
The next step is to remove the old commode. Begin by making sure that the water supply line is turned off at the shut-off valve under the toilet. If your commode does not have its own shut-off valve, you’ll need to turn off the main valve for the entire house and then bleed off the pressure by turning on the faucet of another fixture until the water stops running.
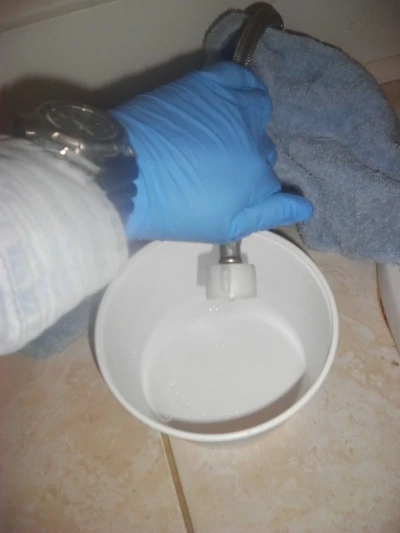
With the water off, flush the commode to drain the water out of the tank. With the tank empty, use a pair of Channellocks to unscrew the supply line from the bottom of the toilet tank. Make sure you have a bucket and an old towel handy because there will still be water in the supply line and it will need to be poured into something to keep if off the floor. There will also be some residual water in the bottom of the tank.
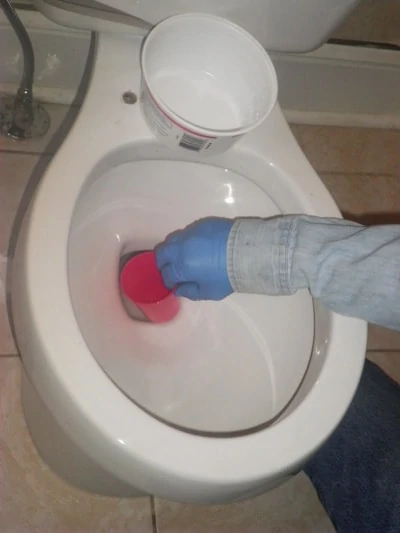
The next step is actually one of the hardest and the most unpleasant. The water inside of the toilet bowel should be drained out. If this water is not emptied from the bowl it will run out the bottom of the toilet when it is moved. In theory, this water should not leak out even after the toilet has been disconnected and lifted off the floor, provided that the toilet remains perfectly level. This is nearly impossible, however, so it’s smart to drain as much water as you can. One way to accomplish this is to use a plunger and force as much down the drain as you can. Another way is to use a small, disposable cup and bail the water out. If you choose the latter option make sure to wear latex gloves and thoroughly wash your hands afterwards.
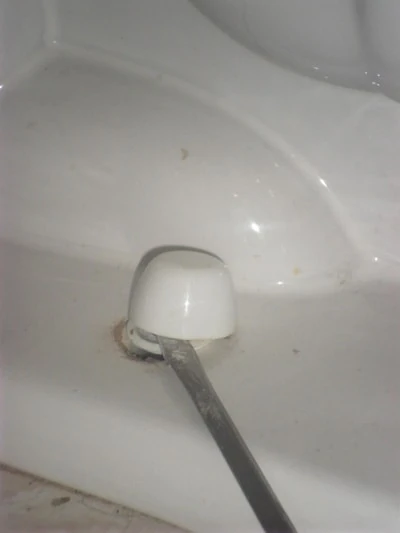
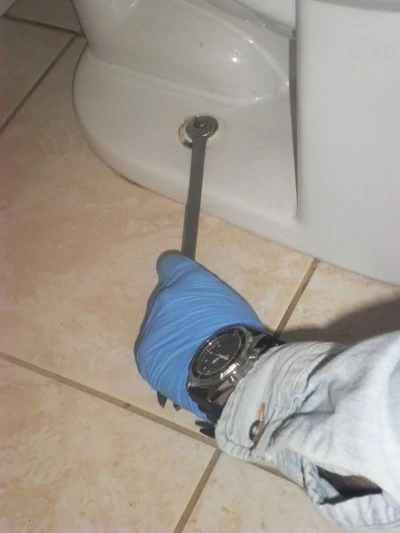
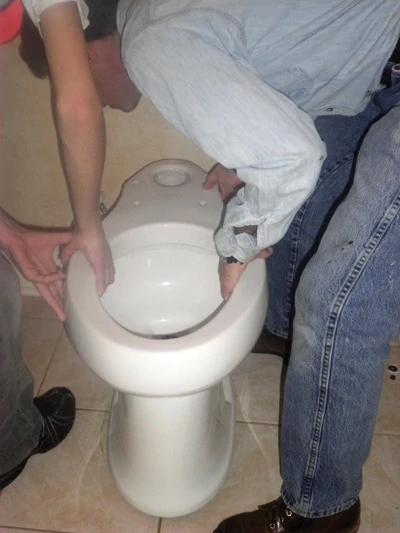
With the water supply line turned off, the tank emptied and the bowl drained, it is now safe to disconnect the commode from the floor. This is done very easily by popping off the plastic caps on either side of the commode’s base with a screwdriver and then unfastening the nuts with a wrench or socket. The bolts are attached to the flange so they will not come out on their own. The commode will lift off these two bolts after the nuts have been removed.
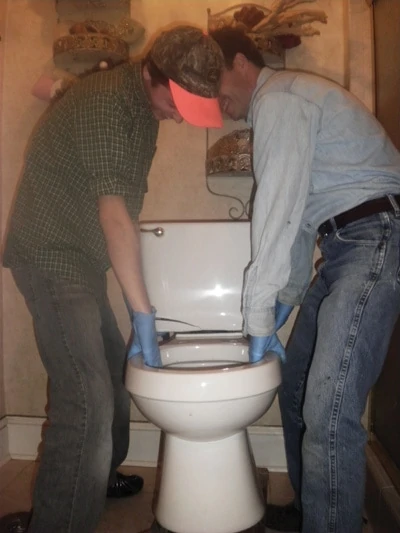
Removal and installation of a toilet is preferably a two-man job. A porcelain commode that is emptied of all of its water is still heavy and is unbalanced because of the position of the tank. Most commodes weigh in excess of 75 lbs. and are best lifted by two people with each standing on either side of the commode. One hand is placed under the tank and the other under the front of the bowl. Both people then lift straight up simultaneously, remembering to lift from the knees and not with the back.
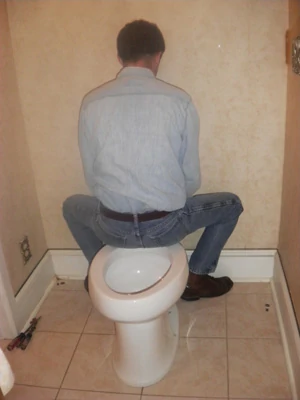
Carry the old commode outside immediately after removing it because the bottom of it will have some of the old wax ring stuck to it. If you are doing this job alone, the easiest way to maneuver a commode is to straddle the bowl with your body facing the toilet tank. This will allow you to pick up the commode by either placing your hands under the bottom of the tank or around either side of the neck that connects the tank to the bowl. This neck is just about the center of gravity for a commode. It can be a little awkward walking with a toilet bowl between your legs but it is manageable.
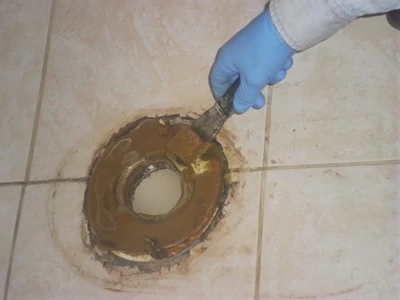
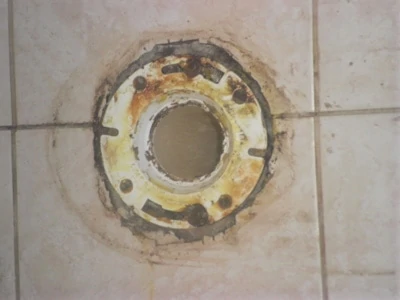
With the old commode out of the way, you should then scrape clean the PVC flange on the floor drain with a putty knife. Again, be sure that you wear latex gloves when you’re doing this job. I keep a plastic grocery bag handy and scrape the old wax directly into the bag for easy disposal.
Install the New
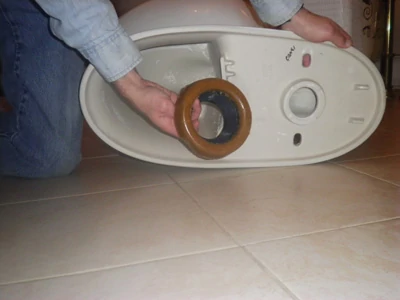
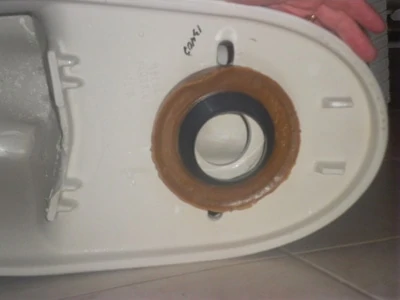
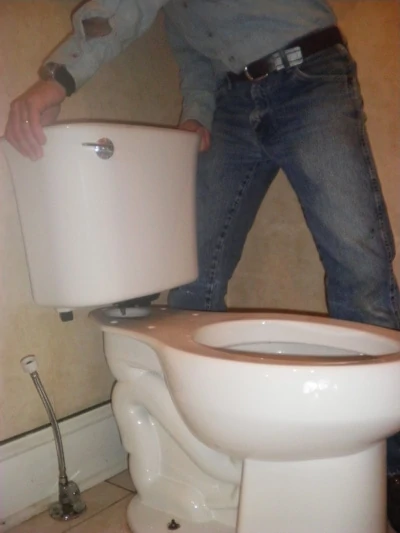
Begin installation of the new commode by removing the top of the tank so it won’t fall off and break. Tilt the commode and attach the wax ring to the bottom by centering it over the trap’s exit hole and simply sticking it against the bottom of the commode. The adhesive nature of the wax will hold it in place long enough to secure the commode to the floor drain. As you set it down, be sure that you line up the two bolts that are protruding from the PVC flange with the holes that are on either side of the commode’s base. Set the commode in place as evenly as possible so the wax ring will spread around the entire circumference of the drain hole. If one side is set in place before the other side, then all of the wax may squeeze unevenly over to the other side, which will cause a leak.
Once the commode has been set in place, but before you’ve put the nuts on the flange bolts, straddle the toilet bowl and sit down on it. Then you should gently rock it from side to side and then front to back. Do this several times to help spread out the wax for a watertight seal. Remember, the wax ring is the only thing that is preventing the toilet’s waste water from running onto the floor when it is flushed.
The next step is to attach the washers and nuts to the bolts protruding through the base and tighten them in place. A word of caution: Do not over-tighten the nuts. Porcelain, unlike wood, will crack or break if it is subjected to too much pressure. It’s also a good idea to run a bead of silicone around the base of the commode. This will also help to keep it from moving and seals the bottom edge.
However, make sure that you leave a weeping hole in the front and back of this bead of caulk in case the wax ring failed to seal correctly. If there is not a weeping hole then any water that leaks out will build up under the commode and rot the floor and subfloor. After about a week’s time without seeing any water it is then safe to go back and add enough silicone to close up these holes.
This same gasket-replacement procedure is used to fix a commode that leaks around the base due to the failure of an old wax ring. The only difference is that the original commode is being re-used, which requires that the bottom of the commode be scraped free of any old wax that has stuck to it.
The final plumbing step is to re-connect the water supply line to the bottom of the toilet tank. Normally just hand-tightening this connection will suffice, but if that’s not enough then a half to full turn with a pair of Channellocks will do the job. Remember to turn the shut-off valve back on slowly so you do not allow a sudden blast of pressurized water to shoot through your new connection, possibly causing a leak.

The only step remaining to finish the project is to install a toilet seat. This is just a matter of aligning the plastic bolts on the seat’s hardware with the holes in the neck that connects the bowl and tank together. Plastic nuts screw onto the bolts to secure the seat in place. When tightening the nuts, it is usually a good idea to insert a screwdriver into the slots on the top of the bolts and then use your hand or a pair of Channellocks to tighten the nuts. Toilet seats take a lot of abuse from people wiggling and moving so it is important that these bolts are extra tight. Remember that these parts are usually plastic and will easily strip. “Extra tight” and “over tight” are not the same thing.
Stop flushing money down the drain by paying someone to perform basic plumbing repairs. Many plumbing issues are simple in nature and can be easily remedied with a few skills and some patience.
Side Note
 Secure a Tank
Designed to prevent leaks and damage caused by the gap between the toilet tank and wall, Secure-A-Tank is a fully adjustable brace which secures the toilet to prevent take movement. Without the support of the wall, any pressure against the tank produces significant strain on the bolts that connect the tank to the bowl. Over time the stress can crack the tank or deform the gaskets that keep water from leaking through the bolt holes. Secure-A-Tank can be cut to size so that it fits the gap to enhance stability and support. The extension and clip pieces are quick to assemble, and the brace is easy to install on the back edge of the tank. The lid fits over the clips and hides the already clear Secure-A-Tank braces. Visit secureatank.com.
