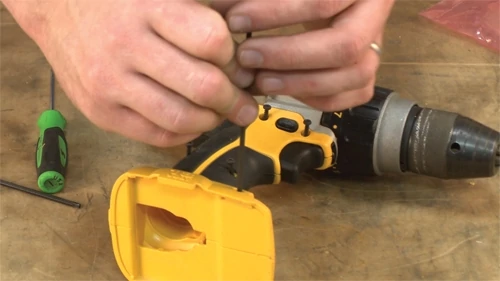
Dead power drill? You might need to replace the tool’s power switch.
By Alyssa Vincent
Power tools, like any other household item, wear down after years of use. When a power tool breaks down, your first instinct may be to replace it or take it to a repair center. However, taking a DIY approach to power tool repair is easier and more economical than you might think.
One of the most common power tool repairs is replacing its switch. The switch is part of the tool’s electrical system and may start to wear out after a few years of use.
You’ll want to eliminate battery problems first, but the most common symptom of a broken drill switch is that it won’t turn on. A broken switch can also cause the drill to lose variable speeds or fail to switch between forward and reverse mode.
Diagnosing and replacing a drill switch is a pretty straightforward repair. It’ll take you roughly 20 minutes to perform. While we used a DeWalt drill for this particular repair, this how-to should help you replace the switch in nearly any drill.
To diagnose and repair a drill switch, you’ll need a screwdriver, needle-nose pliers and a multimeter.
To get started, you’ll first want to open the drill casing.
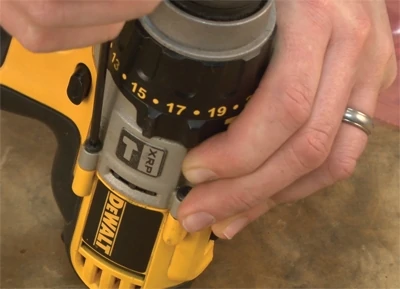
Unscrew the two screws holding the transmission to the case, then a series of screws holding the two case halves together.
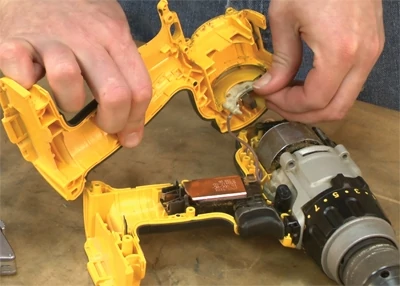
Once that’s done, separate the two halves of the drill. If there’s a sticker on the base holding the two halves together, you’ll need to cut through it with a box cutter.
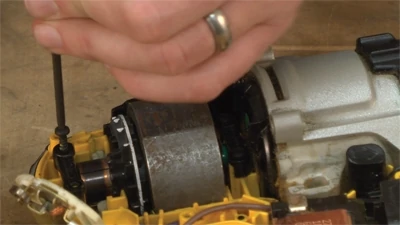
Next, in order to remove the switch, you’ll need to remove the wires connecting the switch to the brush holder.
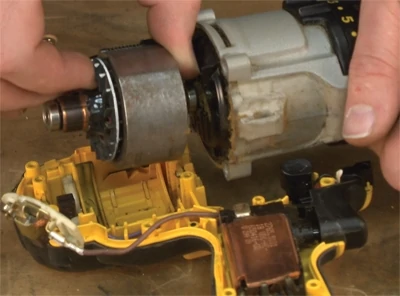
To do that, you’ll need to remove the drill’s motor assembly. Remove the motor by removing the two screws on the outside the drill case that hold the transmission in place.
Once that’s done, you’ll need to remove the two blocks holding the motor assembly in place. These blocks are attached to the case by four screws.
Once those are removed, you’re free to pull the motor and transmission assembly away from the drill.
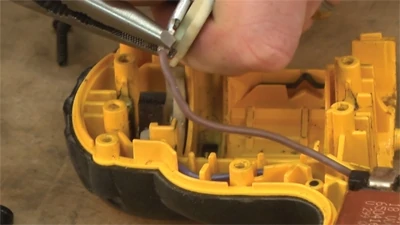
Now you’re able to separate the brush holders from the wires going to the switch. Be sure to make note of which wire goes to which brush holder, as you’ll need to reassemble it the same way.
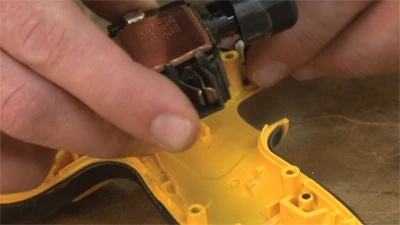
Next, remove the switch from the drill.
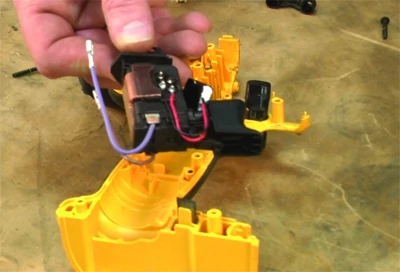
Test its electrical continuity with a multimeter.
Set your multimeter to the continuity setting. Checking for continuity is done in the ohm’s settings. An ohm is the unit of measurement of resistance in a circuit. Many multimeters have an audible tone setting which can be used when checking for continuity.
Touch one of the test probes on the multimeter to one of the battery connections on the switch. Then touch the other test probe to the opposite connection and pull the switch trigger. Repeat this process on the other side.
If your multimeter does not beep or otherwise indicate resistance on one or both sides, you’ll need to replace the drill’s switch.
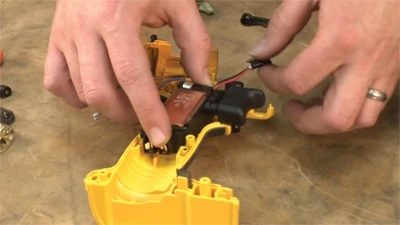
Replacement switches can be found at eReplacementParts.com for roughly $50. Test the new switch with the multimeter before installing.
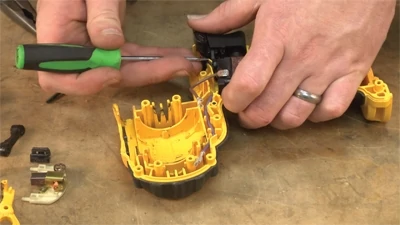
Place the new switch into the drill body where the old one was. Route the switch’s wires back into the drill’s housing.
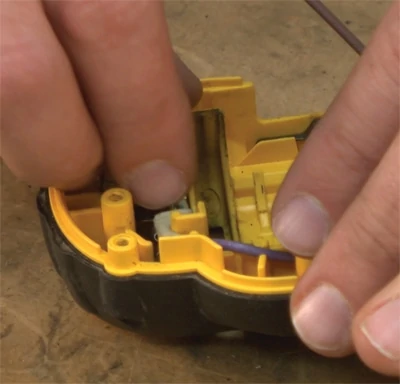
Replace the wire to the lower brush assembly and replace the assembly back into the drill.

Reinstall the motor and transmission assembly back into the drill, and replace the blocks around the armature bearings to secure it to the housing.
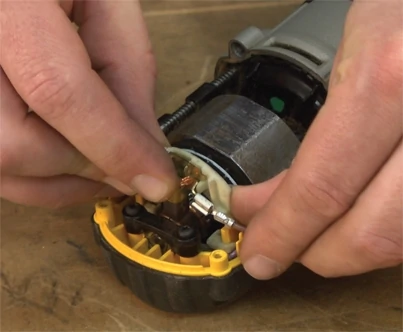
Replace the two screws on the outside of the case that hold the transmission in place.
Reconnect the wire to the second brush holder and reinstall it into the drill. Tuck any wires that come out of the casing as necessary.
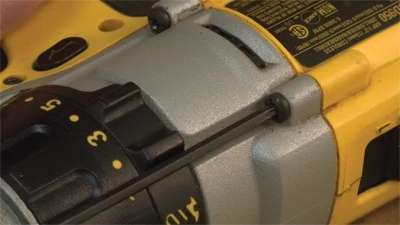
Finally, reinstall the other half of the drill casing, screw it together and install the last two transmission screws.
Your drill should now be fully operable, and it was easier and less expensive than buying a new one or taking it to a repair center. Plus, you now know how to completely take your drill apart, which will make future repairs a breeze.


