


By Matt Weber
If your vehicle acts as if it has the flu, it could mean the camshaft position sensor needs to be replaced. If the engine idles roughly, stalls frequently, has a drop in power, accelerates slowly, sputters or sounds like it has a nagging cough, your camshaft position (CMP) sensor could be failing. If left unaddressed, the engine could eventually die while you’re driving.
The CMP sensor identifies the position of the camshaft to the ignition control module (ICM), engine control module (ECM) or powertrain control module (PCM). The ECM uses this data to determine the timing of the ignition, as well as the timing of the fuel injection required by the engine. When the sensor fails to do its job, the engine can’t function properly.
When not replaced, the vehicle could experience hard starting (or failure to start), long crank time, misfire, decreased power, spark plug fouling, catalytic converter failure, poor fuel economy or intermittent shutdown … all fine reasons to replace the camshaft position sensor.
Often, these symptoms will be accompanied by the dreaded “check engine” light. If so, an automotive computer scanner should be able to confirm whether or not the sensor is the problem. Many automotive supply stores will scan your vehicle’s onboard diagnostic system free of charge.
If you determine the camshaft position sensor is the problem, the good news is that replacement is usually very simple, if you can easily gain access to the sensor. The CMP sensor is mounted in several different places, depending on the model. The sensors are specific to vehicle and range in price from $10 to more than $80.
Step by Step

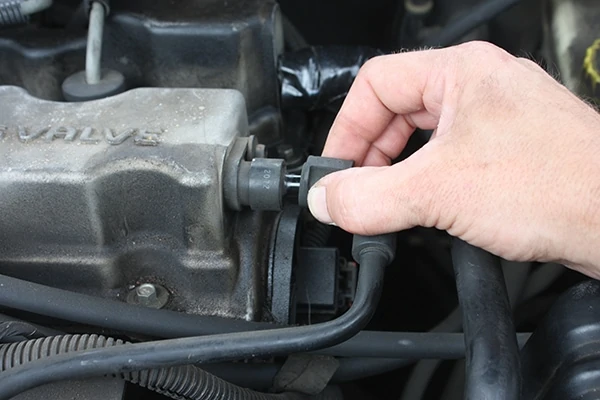
When replacing the CMP sensor, make sure the ignition is in the OFF position. On this 2003 Dodge Stratus DOHC model, the CMP sensor was conveniently located near the top of the engine, on the end of the cylinder head. To access it, however, I still had to remove the PCV hose.
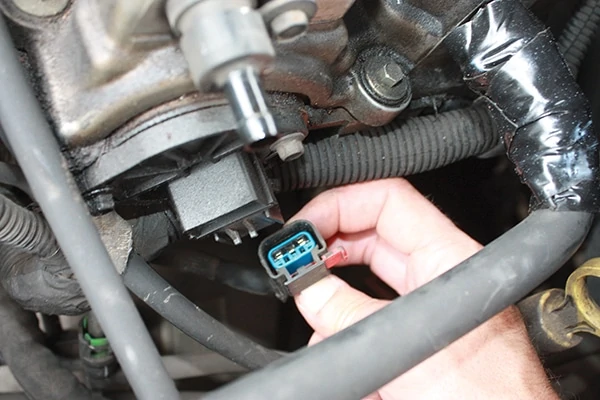
I then disconnected the electrical connector to the CMP sensor. This photo shows the red lock tab that has to be pulled out and disengaged to remove the connector.

The sensor was mounted to the cylinder head with two screws, which I removed.
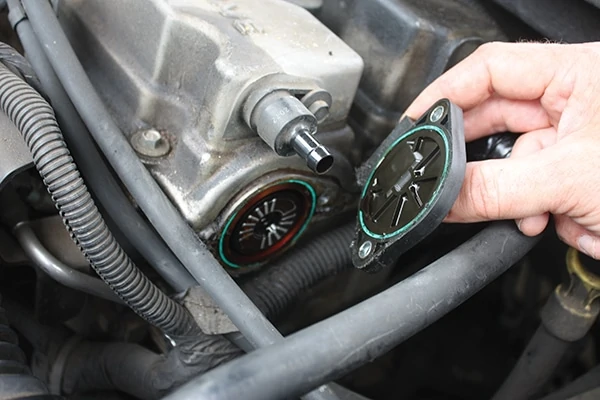
The old sensor pulled off easily.
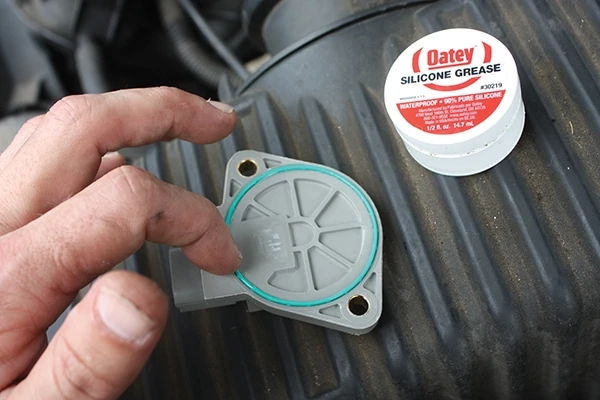
I applied a little silicone grease to the gasket of the new replacement sensor.
Installation is the reverse of removal. Once everything was reconnected, the result was a dramatic improvement in engine performance, all due to such a little component.
